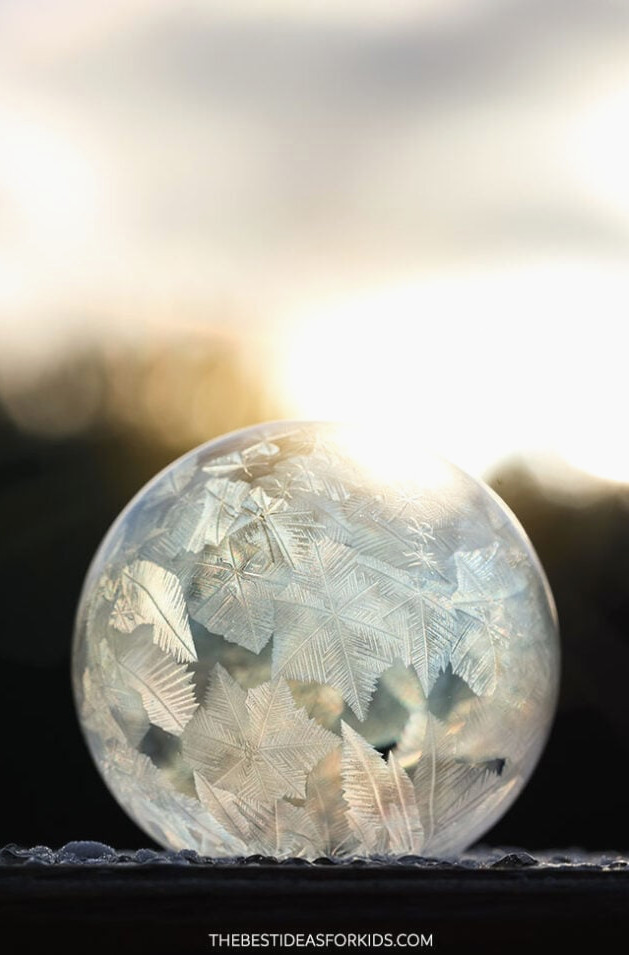
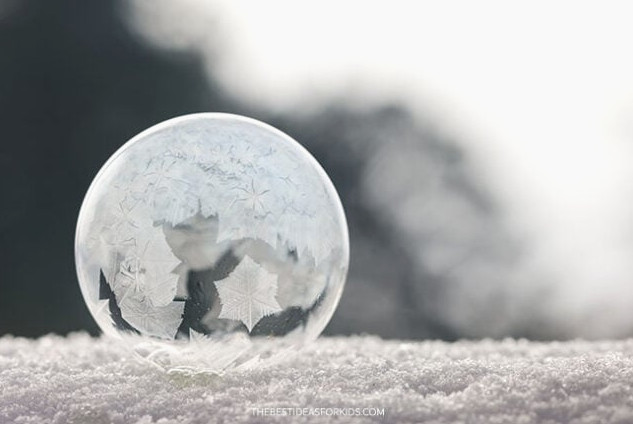
The most amazing part of this experiment is watching ice crystals form before your eyes! You can expand the activity into a science investigation by testing different bubble recipes. Which mixture gives the best results, and why does it work so well?
Always pay attention to weather advisories and wear several suitable layers. Stay outside only for the length of time recommended by your local weather service.
What is the Science?
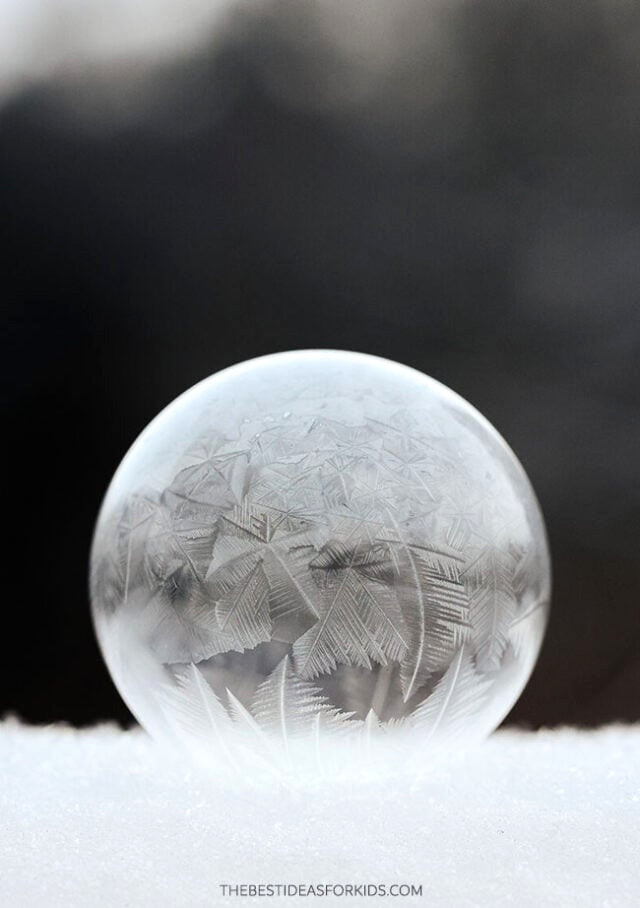
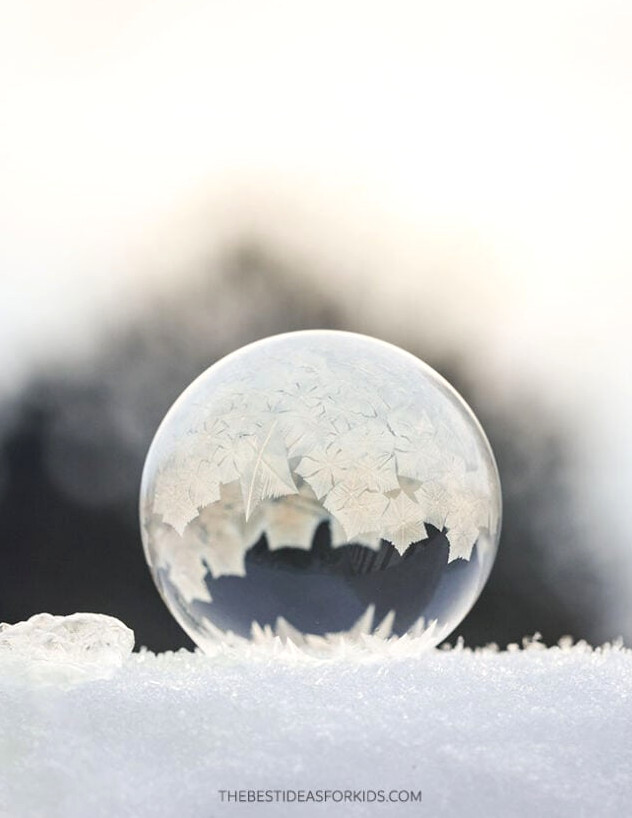
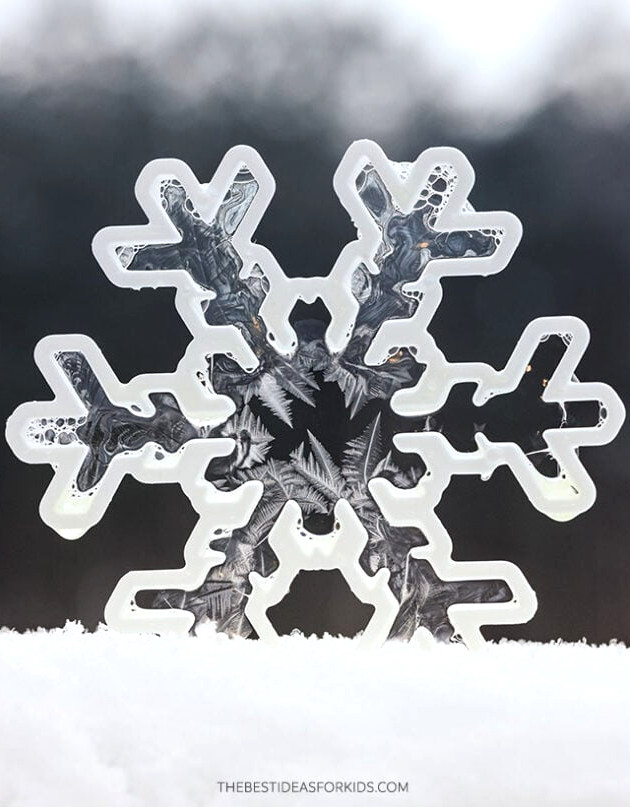
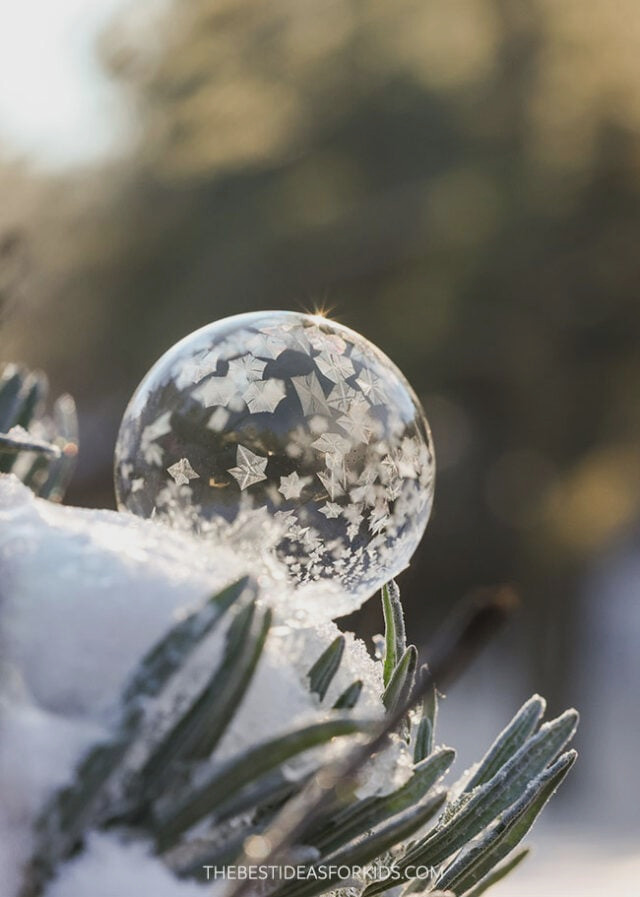
A bubble is made from a thin layer of water trapped between two layers of soap. When the bubble meets freezing air, the water begins to solidify. Ice crystals form in one area first and then slowly travel across the bubble’s surface. As they spread in different directions, they create the sharp, feathery patterns seen on frozen bubbles. The appearance of these patterns depends on both the air temperature and how quickly the bubble freezes.
If blowing a bubble is too challenging, try dipping a cookie cutter into the solution and watching the crystals form on it instead. This approach is often easier because the cookie cutter stays in place instead of blowing away.
Supplies Needed
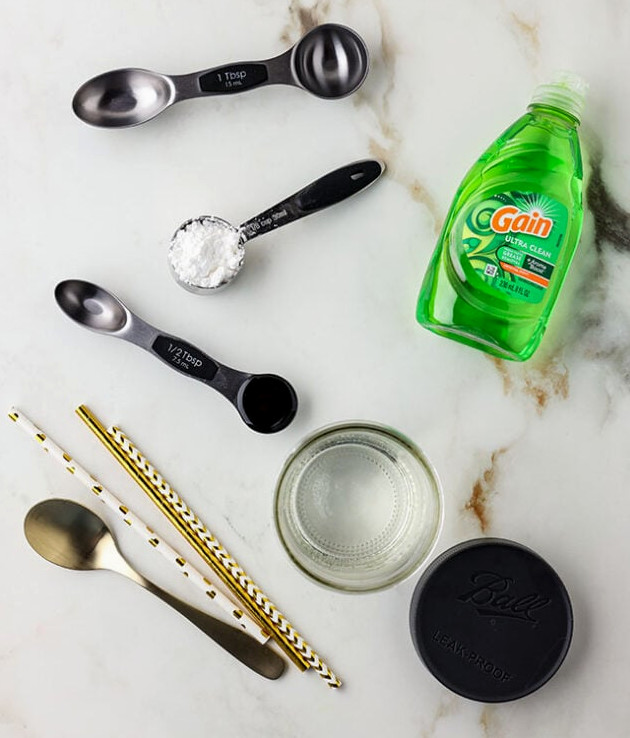
- 1 cup hot water
- 2 tablespoons powdered sugar
- 1 tablespoon glycerin (food grade)
- ½ tablespoon corn syrup
- 5 tablespoons dish soap (we used Gain by Dawn is also a good brand)
- Jar with lid
- Straws
- Measuring cups and spoons
How to Make a Frozen Bubble
1. Mix the bubble solution.
This recipe is worth trying because the glycerin and corn syrup help the bubbles hold their shape and resist popping. Regular bubble solution may also work, but those bubbles are likely to burst more quickly.
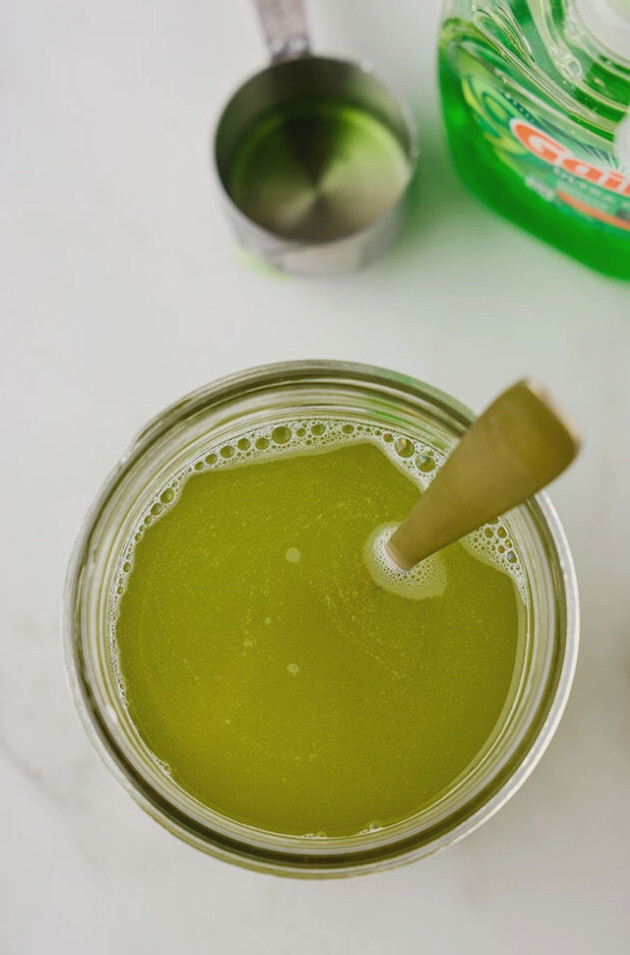
- Place 1 cup of hot water in a mason jar. We used the hottest water available from our tap.
- Add 2 tablespoons of powdered sugar and stir until the sugar has fully dissolved.
- Mix in 1 tablespoon of glycerin and 1/2 tablespoon of corn syrup, then stir well.
- Pour in 5 tablespoons of dish soap and gently combine the ingredients.
- Close the jar and chill the solution in the refrigerator for at least 2-3 hours.
- Take the cold mixture and straws outside, then watch as the bubbles turn to ice!
2. Use the straw.
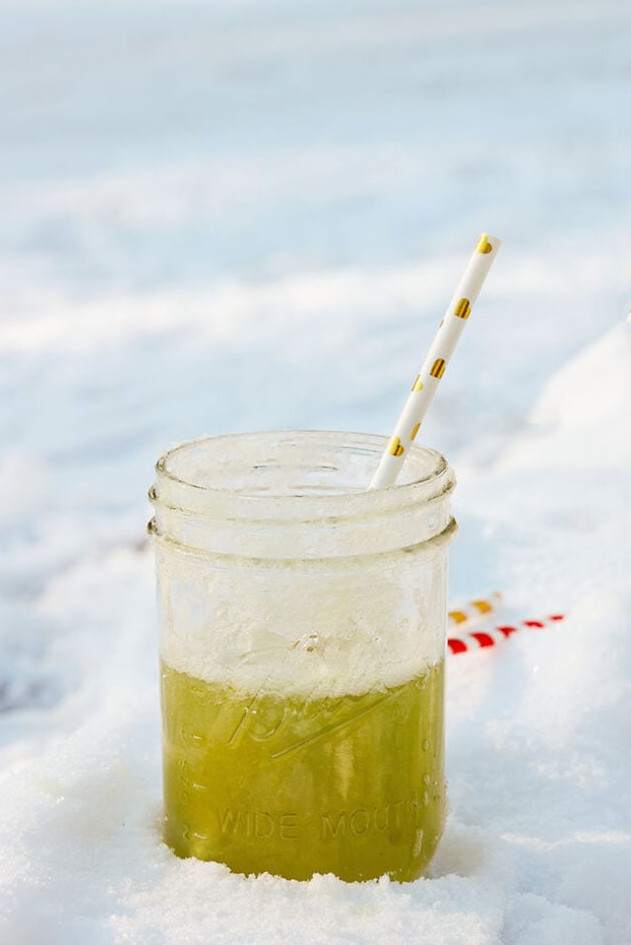
Submerge one end of a straw in the bubble solution so it becomes coated. Make sure the straw goes at least 2 to 3 inches beneath the surface. Hold it close to the spot where you want the bubble to freeze, such as a patch of snow or a cold plate. The bubble needs to rest on a chilled surface.
3. Blow the bubble.
Have an adult place the dry end of the straw in their mouth and blow gently. Blowing too hard may cause the bubble to pop. Once the bubble begins to form, slowly move the straw downward until the bubble rests on the chosen surface. *An adult should complete this part because a child might accidentally suck the solution into the straw instead of blowing through it.
Stop blowing once the bubble touches the surface. Then carefully pull the straw away by moving it upward or sideways at an angle to avoid breaking the bubble. It may take a number of tries to get the technique right. You can also leave the straw inside the bubble and watch the freezing process from there.
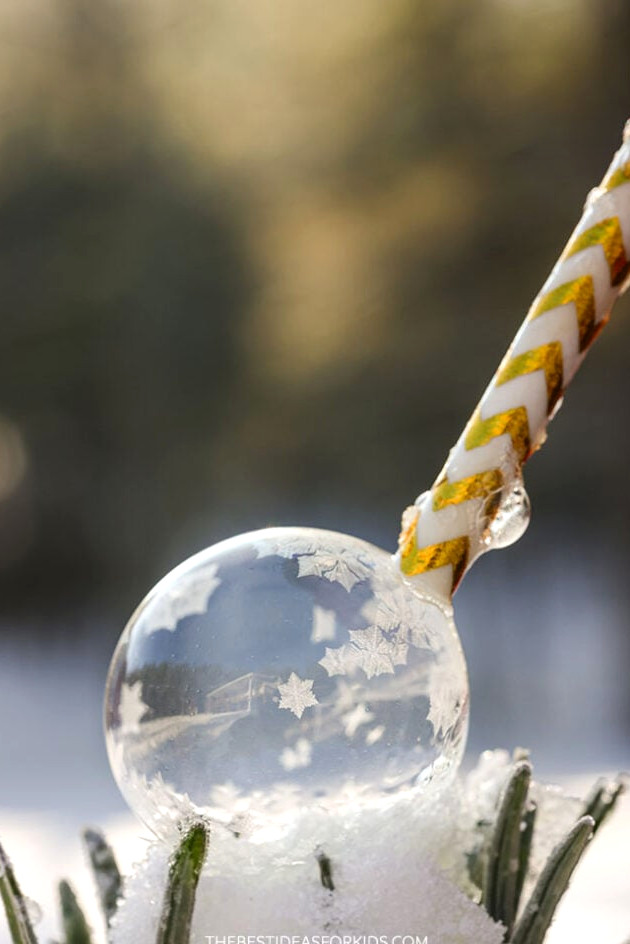
4. Watch the crystals form.
When the air temperature is below freezing, small ice crystals should begin appearing on the bubble after only a few seconds.
Helpful tips for blowing the bubbles:
-
- This solution works especially well at 25 degrees Fahrenheit (-4 degrees Celsius) or below. The temperature needs to be well under freezing. Check for weather alerts and dress appropriately before heading outdoors.
- Calm conditions produce the best results. A gentle breeze can easily destroy the bubbles, so find a sheltered area or wait for a day with minimal wind.
- Blow through the straw slowly and gently. Don’t be concerned if a few bubbles burst—it may take patience and several attempts, but watching them freeze
makes the effort worthwhile! Seeing crystallization take place in real time is an unforgettable part of the activity. If the bubbles still will not cooperate, try the cookie cutter method described above, or use a larger bubble wand and watch the crystals form directly on the wand!
- We had the greatest success by gently blowing the bubble above a surface with a straw. When you are ready to release it, move the straw softly upward and away.
My bubbles keep popping! What can I do?
When the bubbles burst repeatedly, move to a sheltered location or use your hands to block the breeze. Very little wind—or none at all—is best for keeping the bubble intact. You may also add another tablespoon of glycerin, which can help make the bubbles stronger.
Can I use regular bubble solution?
Yes, regular bubble solution is an option, though it may pop before it has time to freeze. The glycerin and corn syrup in this recipe produce a more durable mixture that is better able to withstand popping.
Can I use regular sugar in this recipe instead of powdered sugar?
Yes. Replace the powdered sugar with regular sugar using the same amount—a 1:1 substitution means adding 2 tablespoons. PLEASE NOTE: Bubbles made with granulated sugar may take longer to freeze and might not freeze when temperatures are close to 32 degrees Fahrenheit. Powdered sugar helps the bubbles freeze faster and remain able to freeze at slightly warmer temperatures! We compared both mixtures at the same time and clearly noticed a difference. You can also use this variation as a science experiment and compare the two results yourself.
Can I omit the glycerin in this recipe?
The recipe can still be made without glycerin, but the bubbles will be more fragile and may pop sooner. If you skip the glycerin, try adding another ½ tablespoon of corn syrup, bringing the total to 1 tablespoon, to help reinforce the bubbles.