Discover more than 50 Valentine’s Day perler bead designs! This collection features hearts, flowers, Cupid, and plenty of other fun patterns.
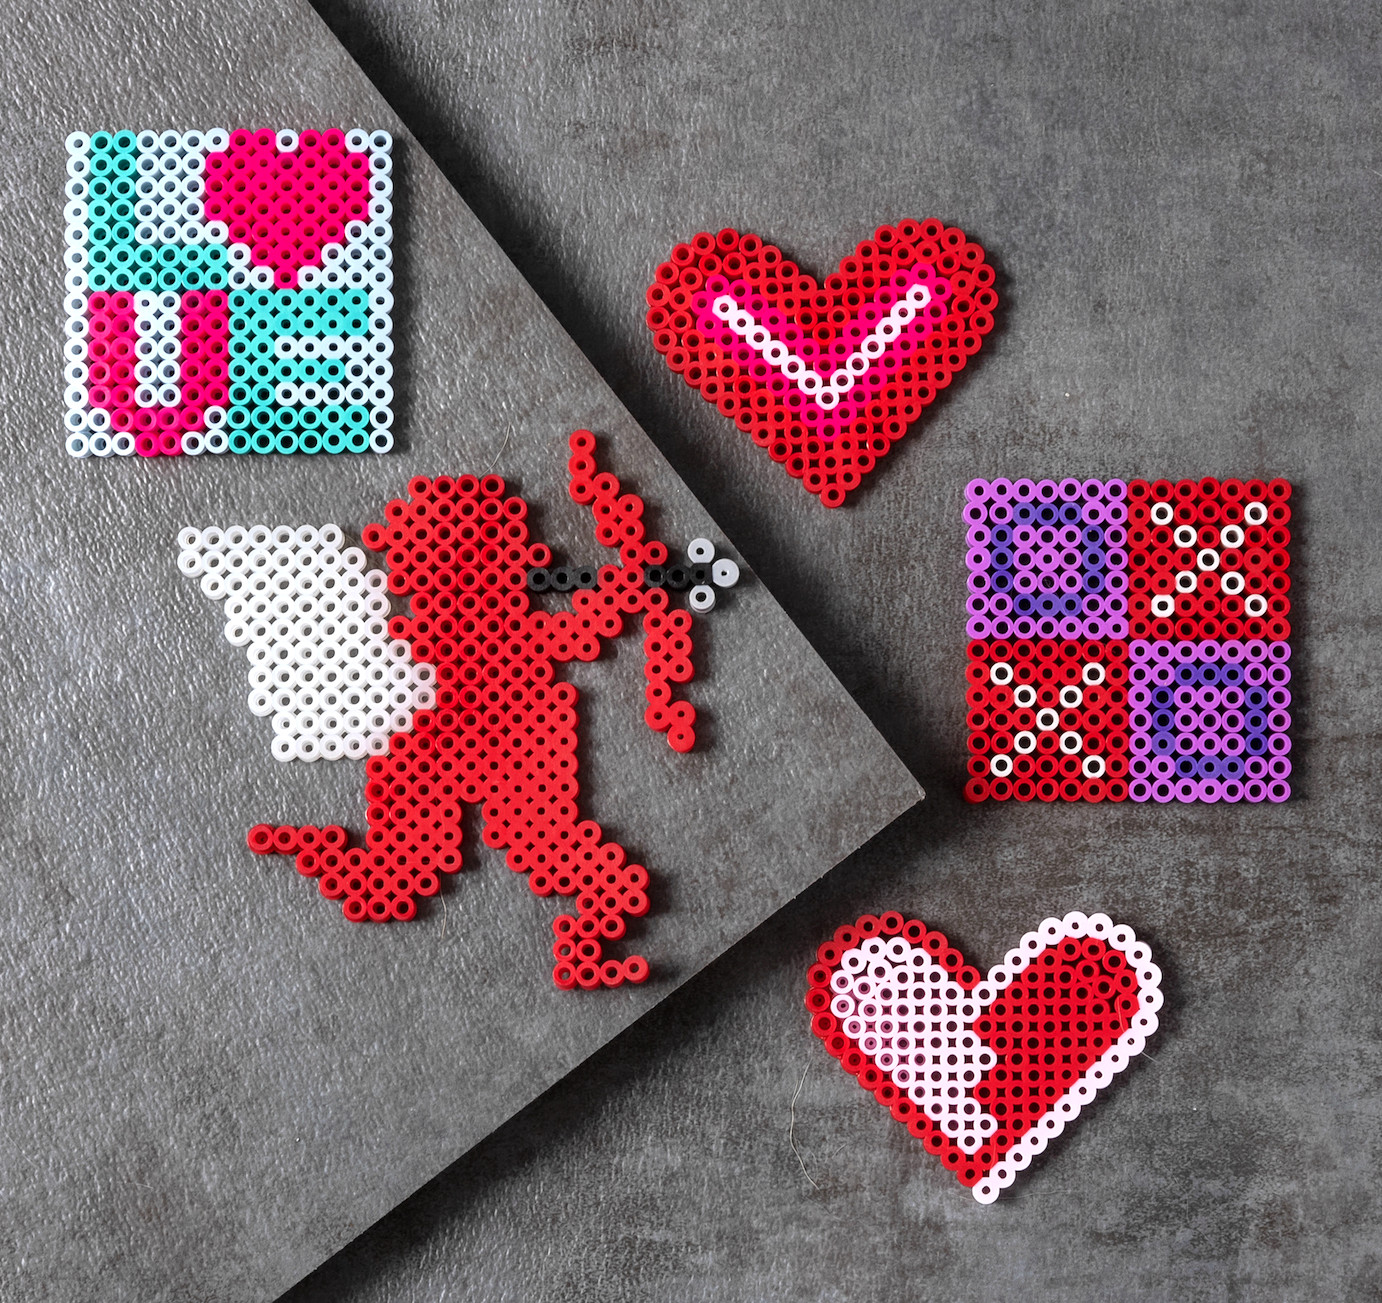
What do you remember doing for Valentine’s Day as a child? For me, it involved two main things: making crafts and handing out valentines. By “valentines,” I mean the cards you distribute in the classroom.
And perhaps you were the same, but I had a very thoughtful selection process.
It was important to match each valentine with the right recipient! Naturally, I wanted my closest friends to receive the sweetest ones. Cards about best friends or being “bananas about you” were reserved for them.
My other classmates received the “you’re so cool” and “you’re a great catch” cards. They had slightly less serious messages than the best-friend valentines, while still being playful and fun.
And then there were the boys.
Even at nine, I didn’t want to send a boy the wrong message. I wasn’t interested in making any long-term promises . . . I simply wanted something to place in their decorated shoebox for the holiday. So, I kept the most simple and neutral valentines for them.
Did anyone else put this much complicated thought into handing out their valentines?? Or was I the only one?
Being young and knowing very little about love can make Valentine’s Day feel complicated. Fortunately, the holiday crafts are easy—and genuinely enjoyable. Today, I’m sharing Valentine’s Day perler bead ideas that children will adore!
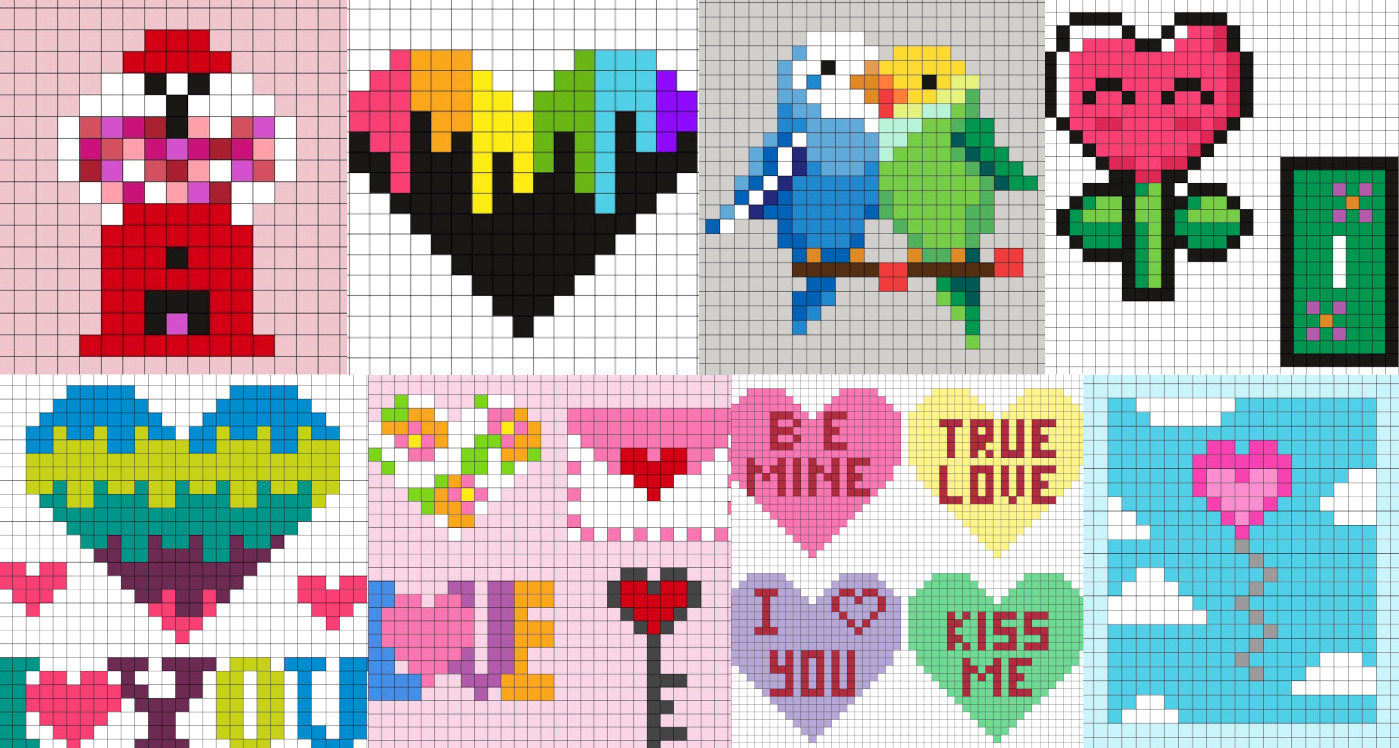
Let’s be real—the grown-ups will enjoy these designs just as much. If perler beads are new to you, you’ll find them wonderfully calming and entertaining. They’re also far less untidy than something like paint. That makes them ideal for Valentine’s Day!
Perler beads are suitable for children ages six and older, making this a delightful project to enjoy with elementary-aged kids. If you’re ready to work with perler beads—also called hama beads, fuse beads, or melty beads—you’ll have a great time exploring this pattern collection.
Valentine Perler Beads
Here are a few helpful details to keep in mind:
- Several designs are bigger than a 29 x 29 pegboard, so you’ll need either anextra large pegboard(49 x 69 tall) or multiple square pegboards joined together to create a larger “canvas.”
- A number of these designs require either heart pegboards or hexagon pegboards, both of which are useful additions to your general crafting supplies.
- You may notice that some pattern backgrounds below are not white. They are only colored to create contrast and make the placement of the white beads easier to see. Adding the background is optional.
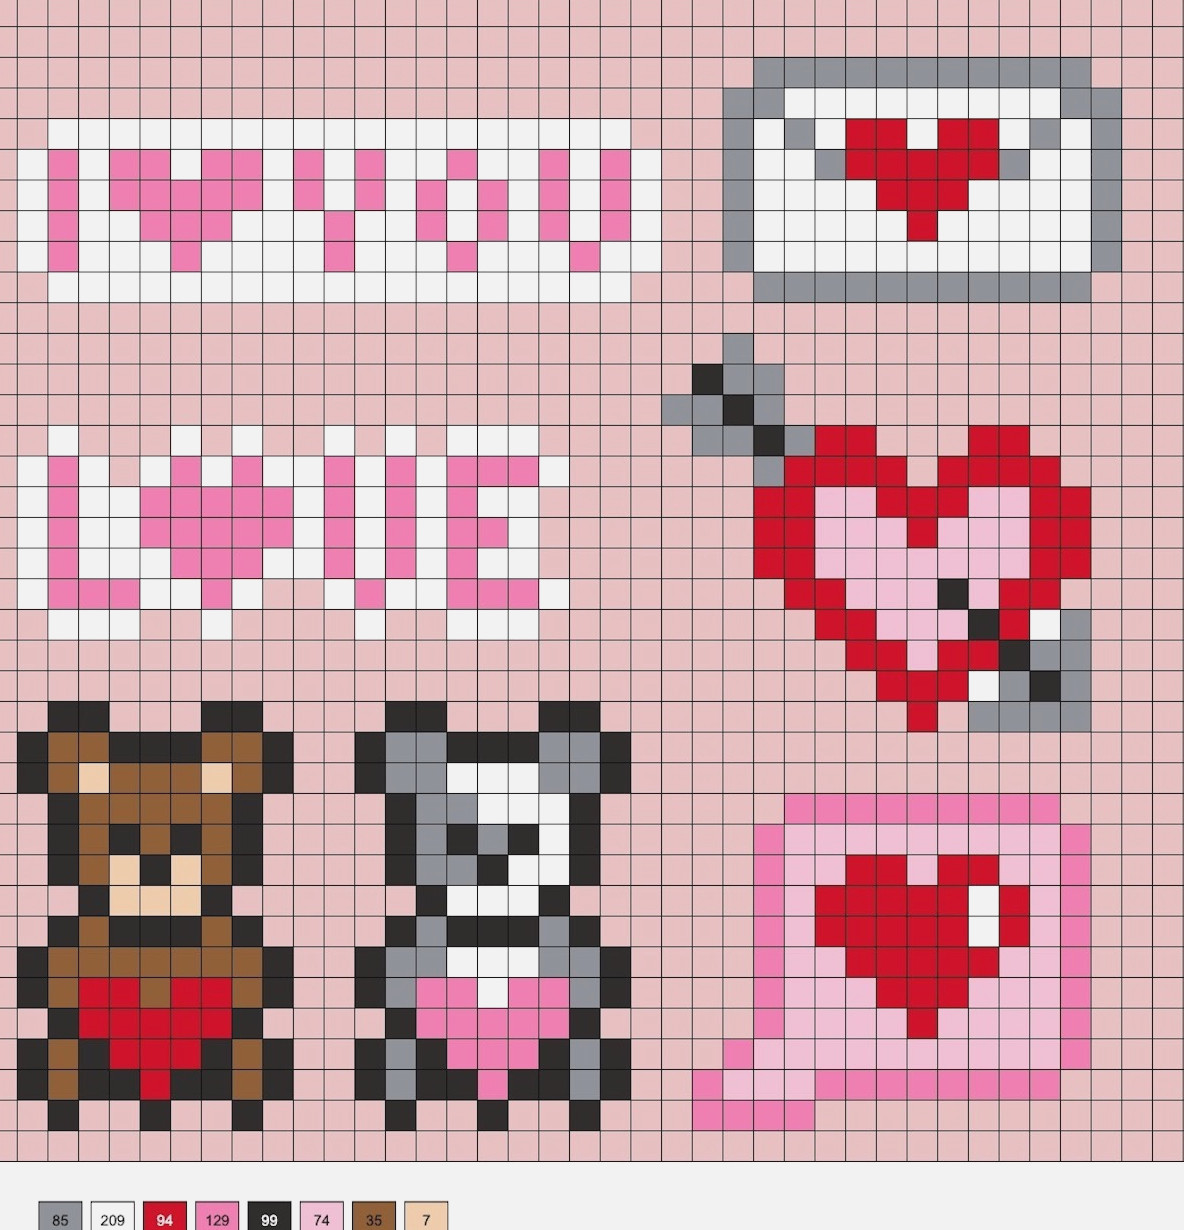
Valentine Mini Perler Beads
For these designs, you’ll need 85 gray, 209 white, 94 red, 129 pink, 99 black, 74 light pink, 35 brown, and 7 tan beads.
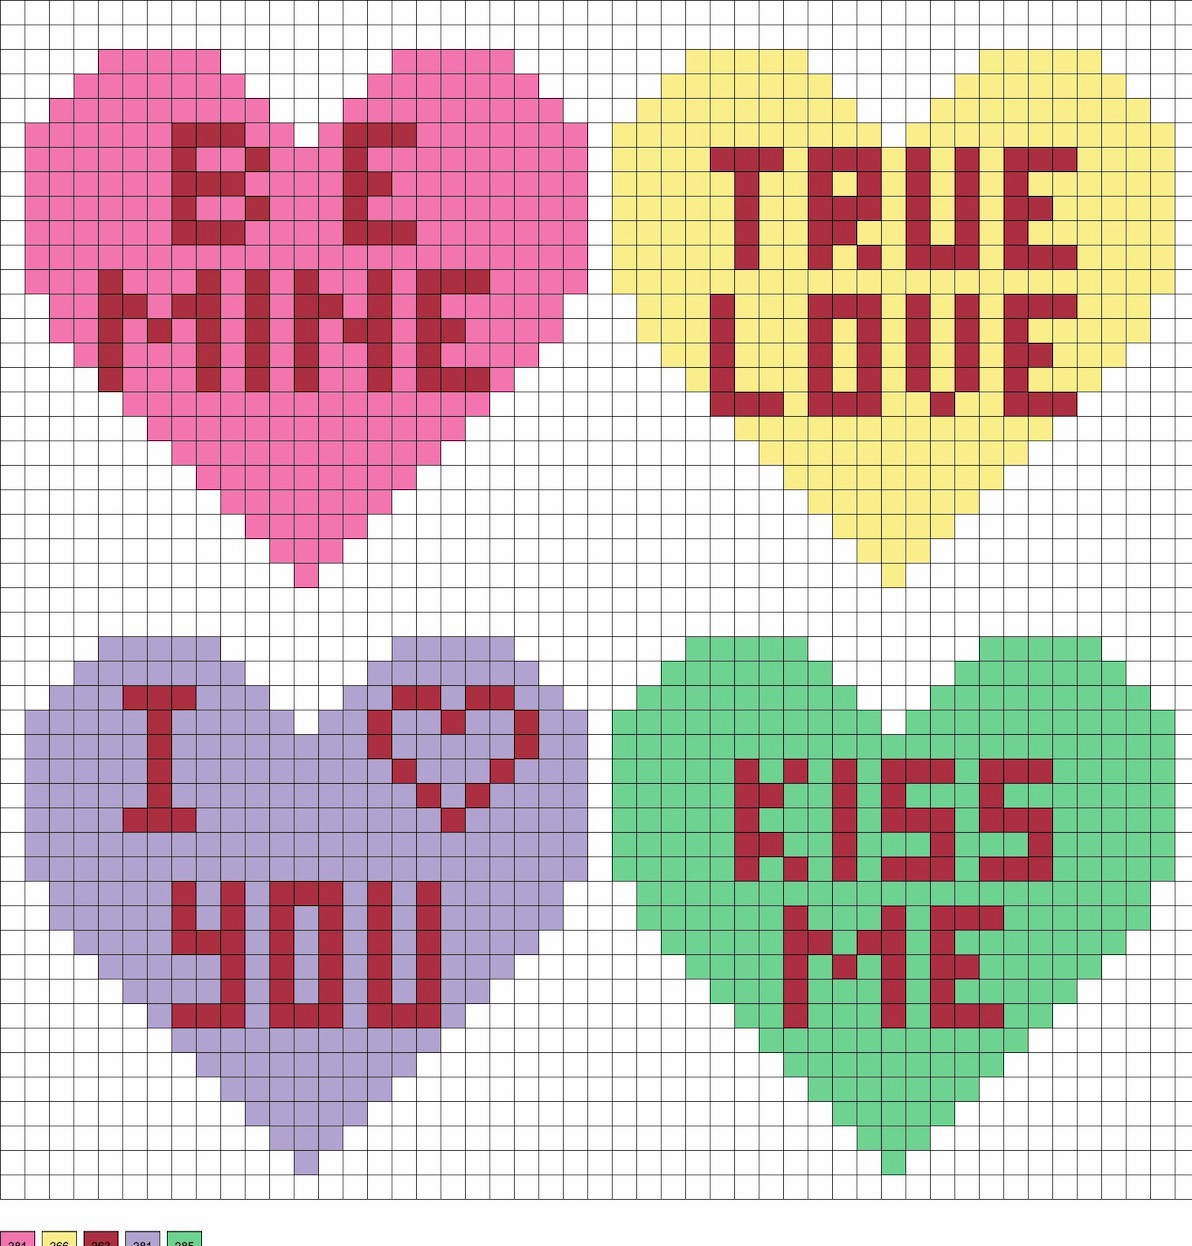
Conversation Hearts
These heart designs require 281 pink, 266 pastel yellow, 263 red, 281 pastel purple, and 285 pastel green beads.
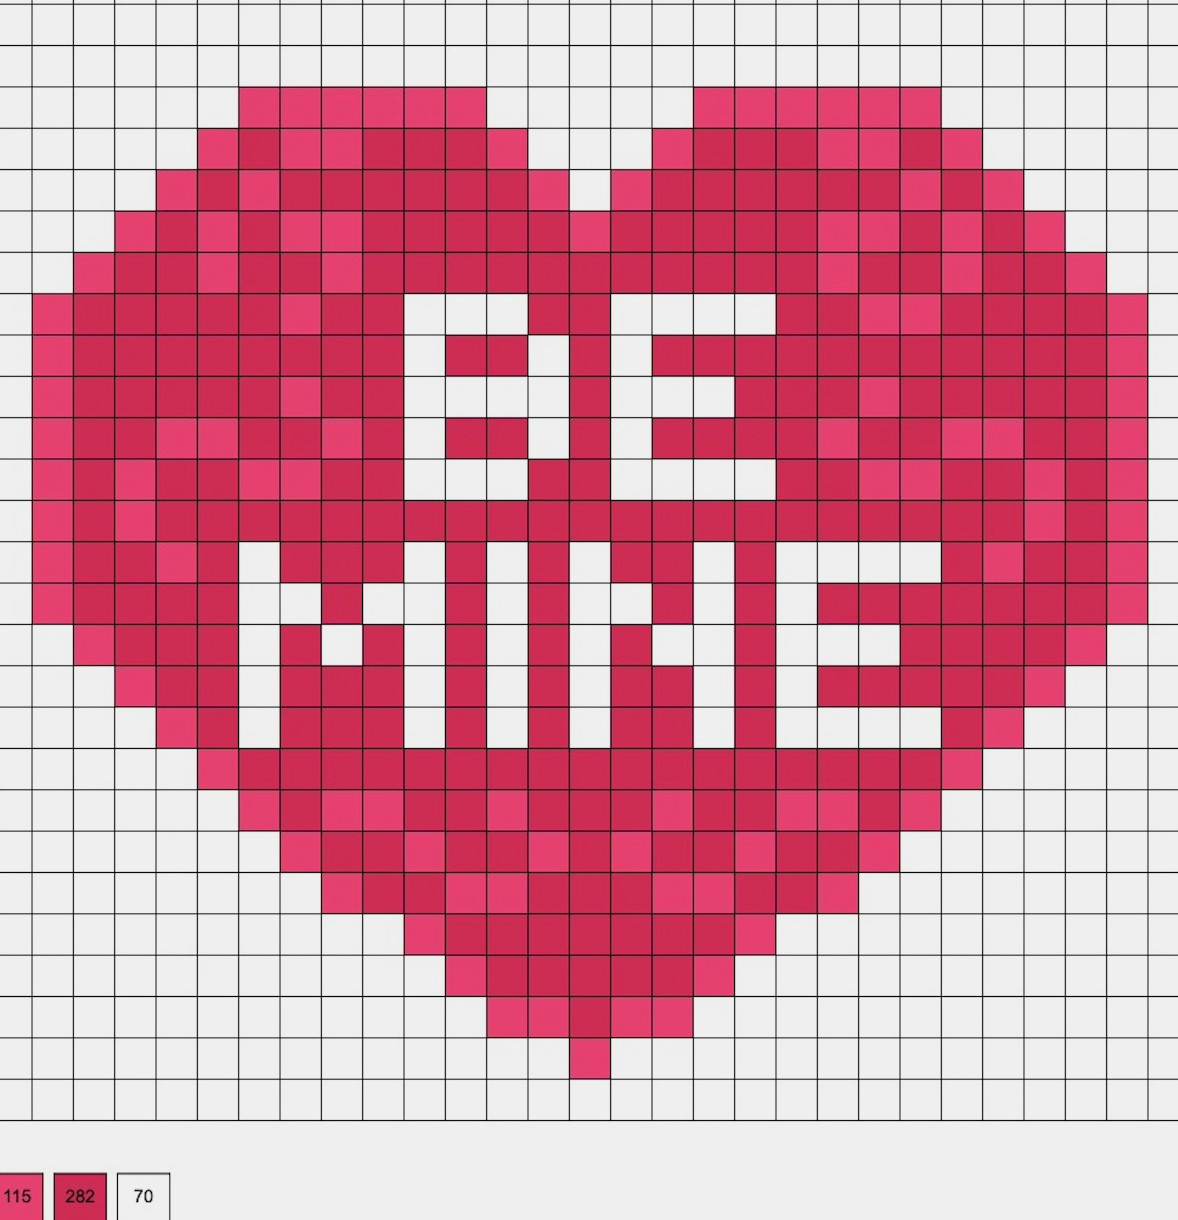
Be Mine Heart
You’ll need 115 fruit punch, 282 magenta, and 70 white beads for this design.
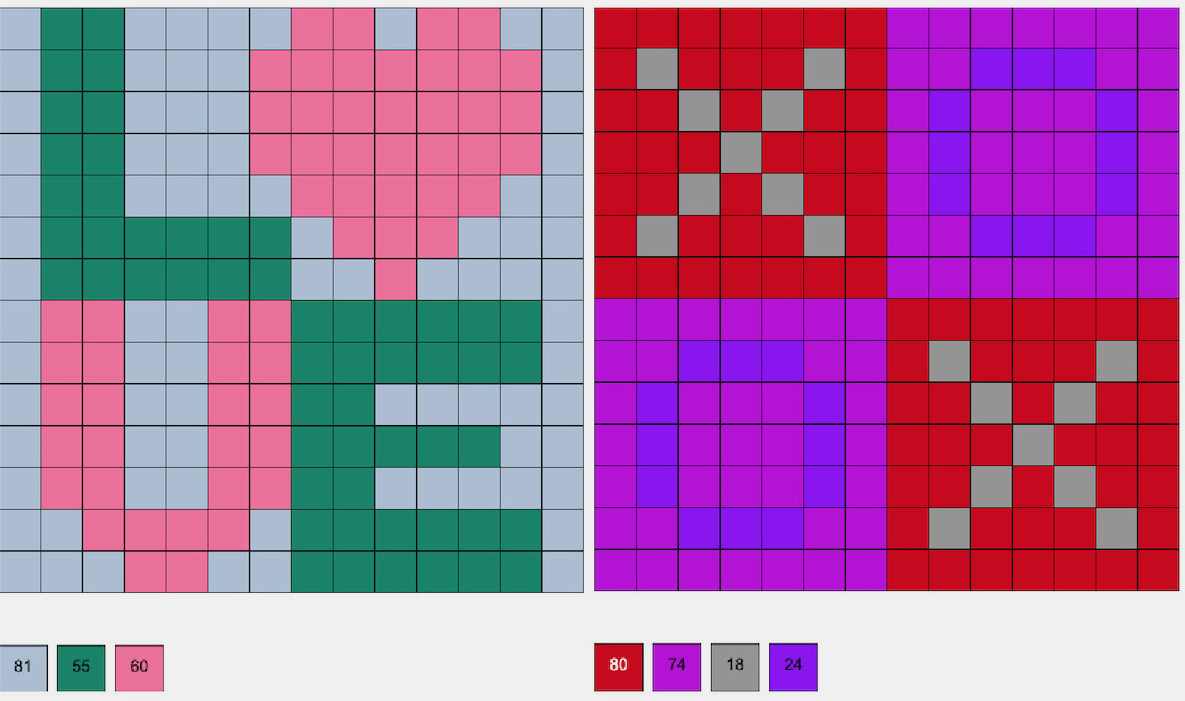
LOVE and XOXO
Create these designs individually on a small square board measuring 14 x 14 beads, or place both patterns together on one larger board.
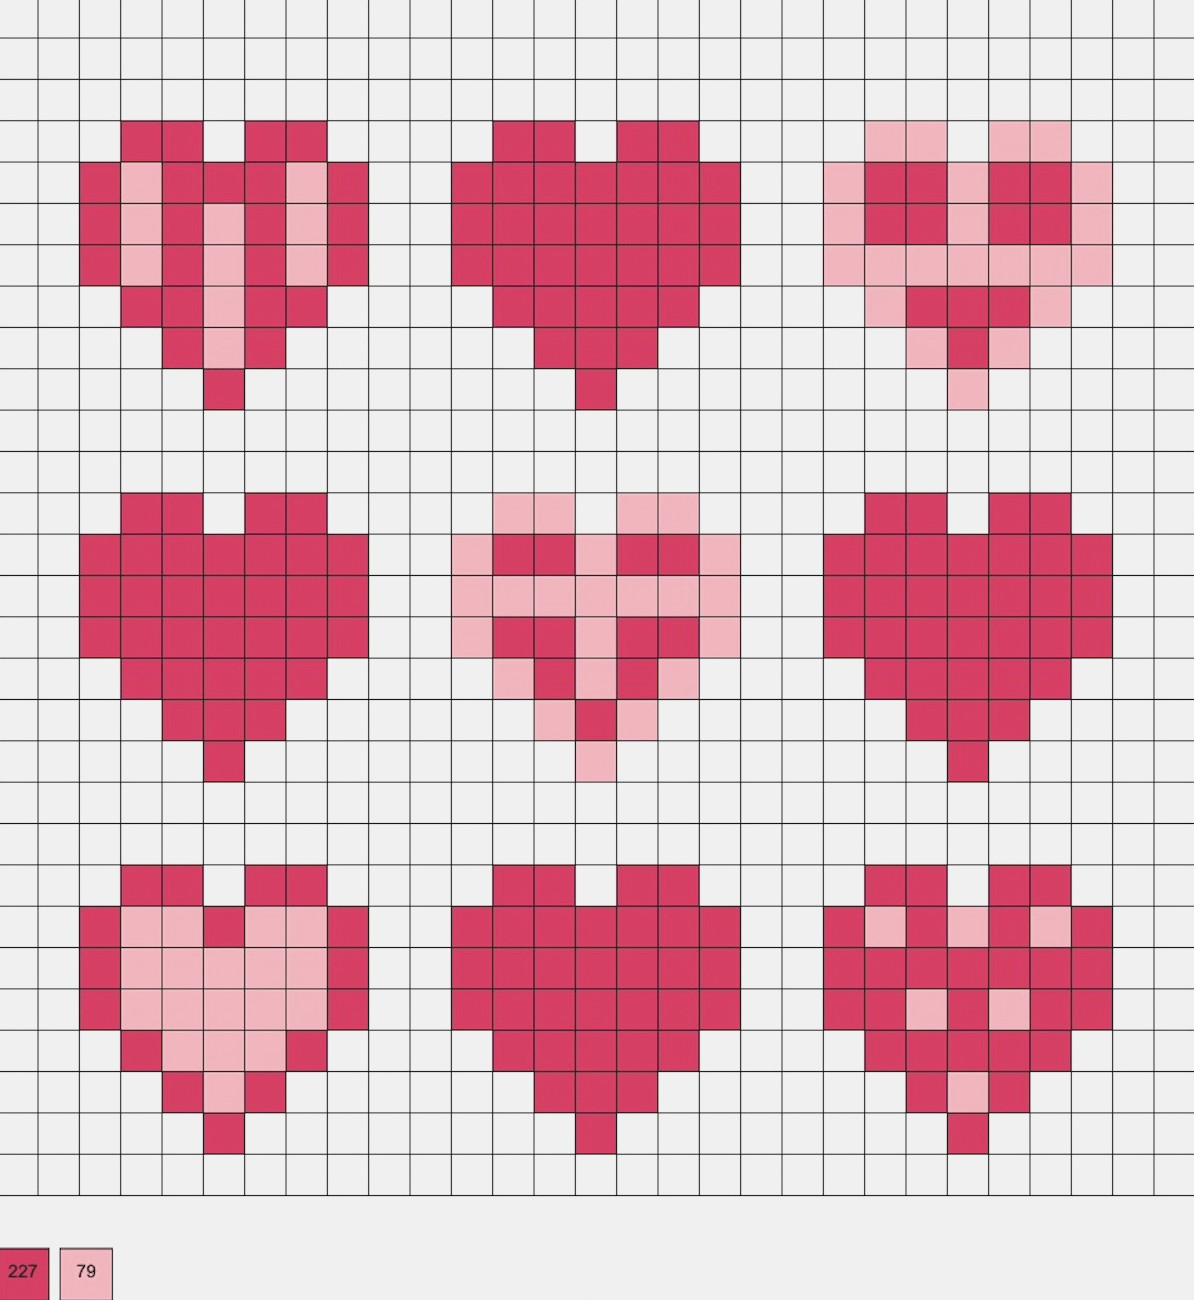
Mini Pink Hearts
These little hearts call for 227 fruit punch and 79 pink beads.
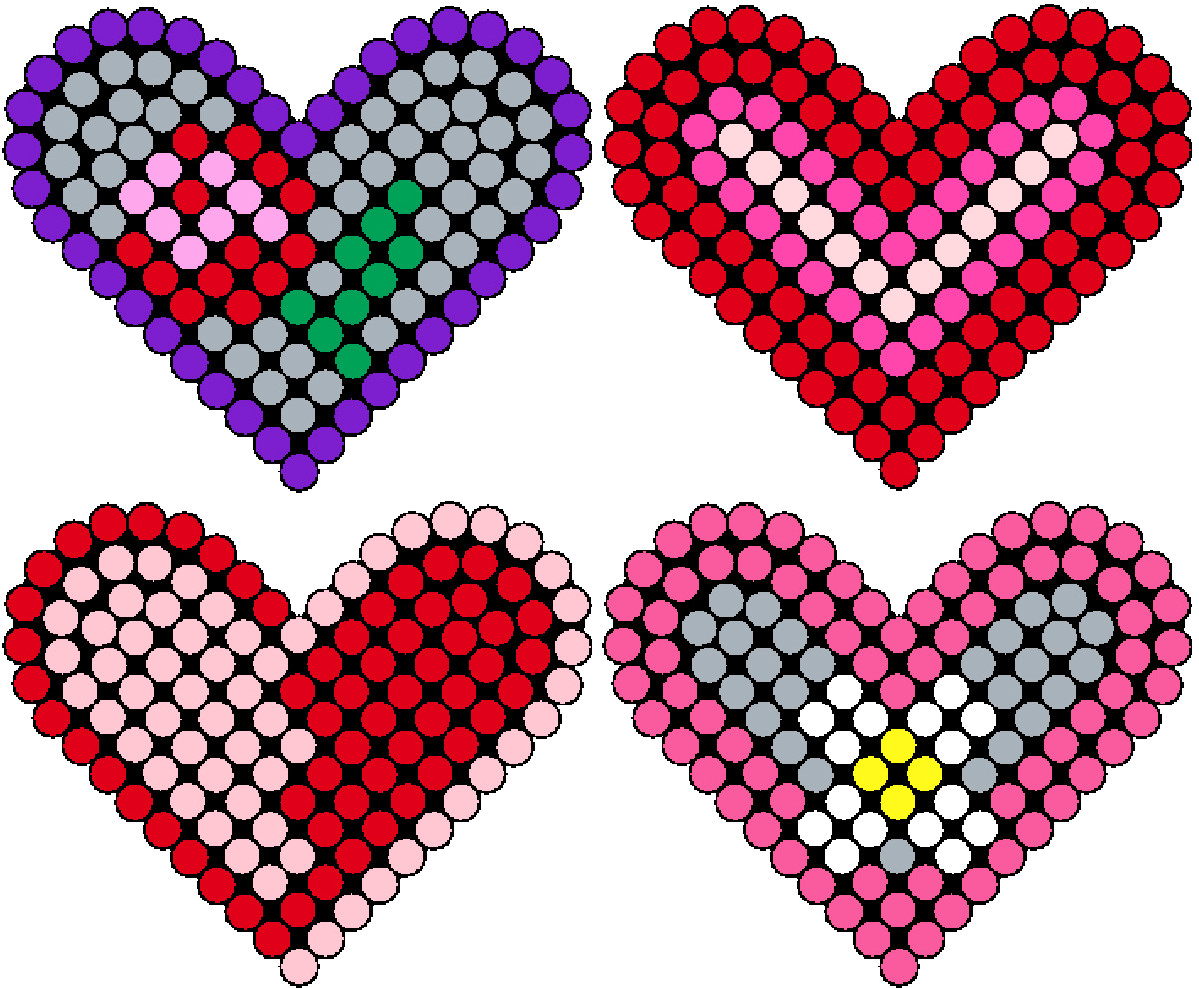
Heart Shaped Perler Beads
These designs are created with the small heart-shaped pegboards, each of which accommodates 121 beads.
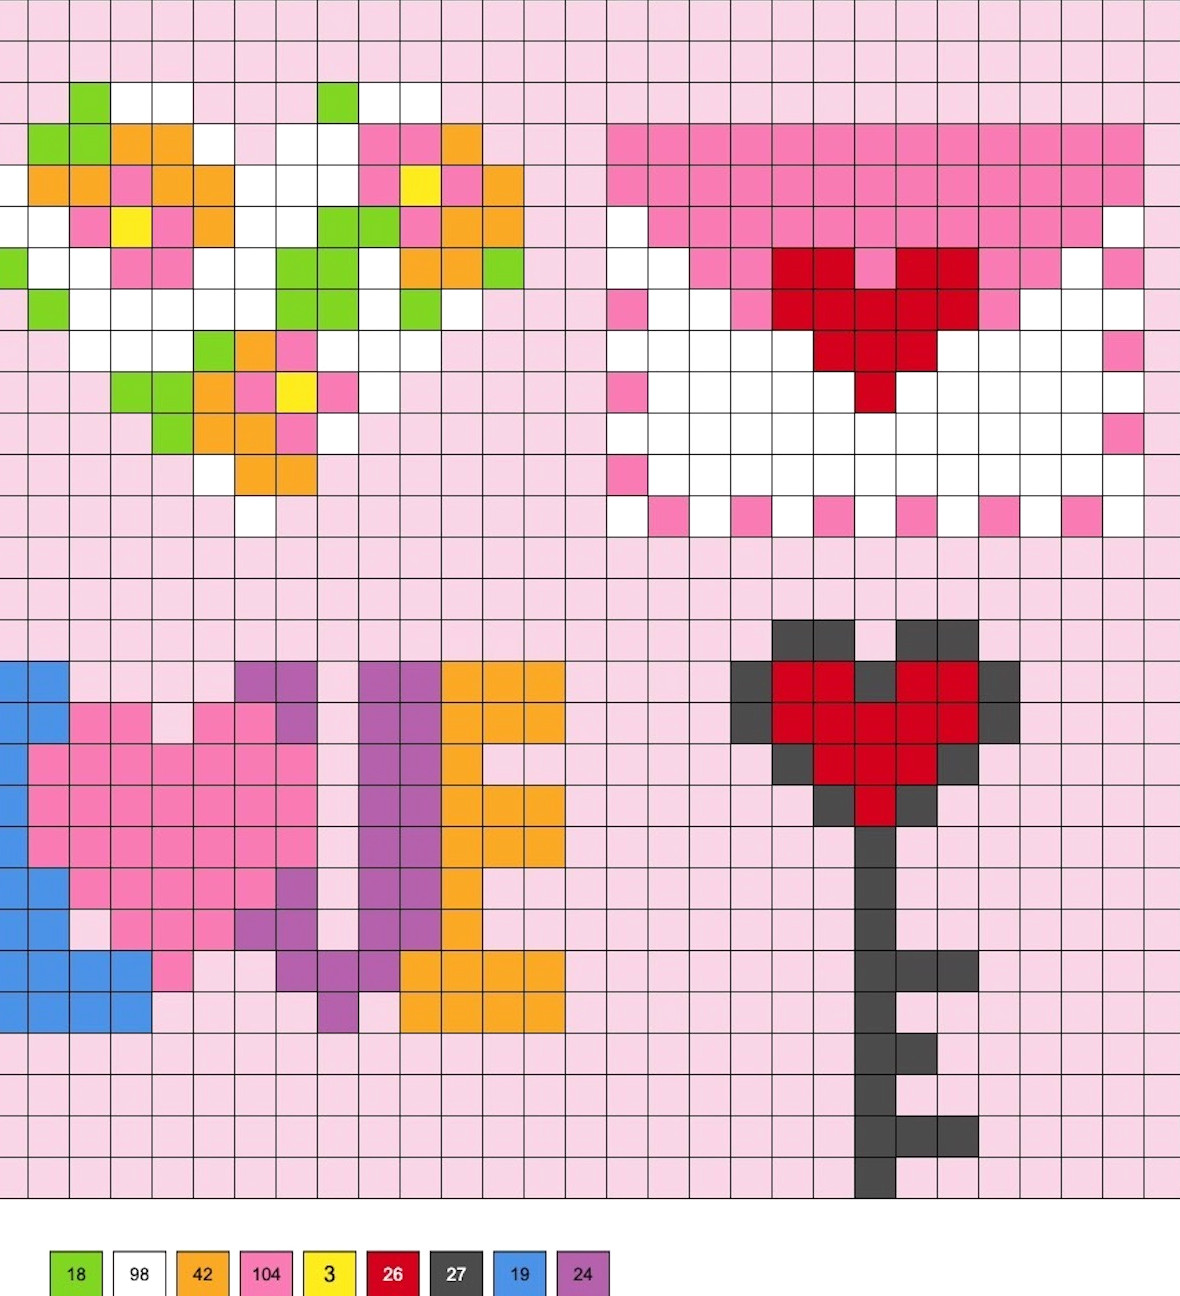
You Have the Key to My Heart
These designs require 18 lime green, 98 white, 42 cheddar, 104 pink, 3 yellow, 26 red, 27 charcoal, 19 blue, and 24 purple beads.
Cupid Holding His Bow
To create this design, you’ll need the large hexagon pegboard, along with 118 red, 40 gray, and 5 black beads.

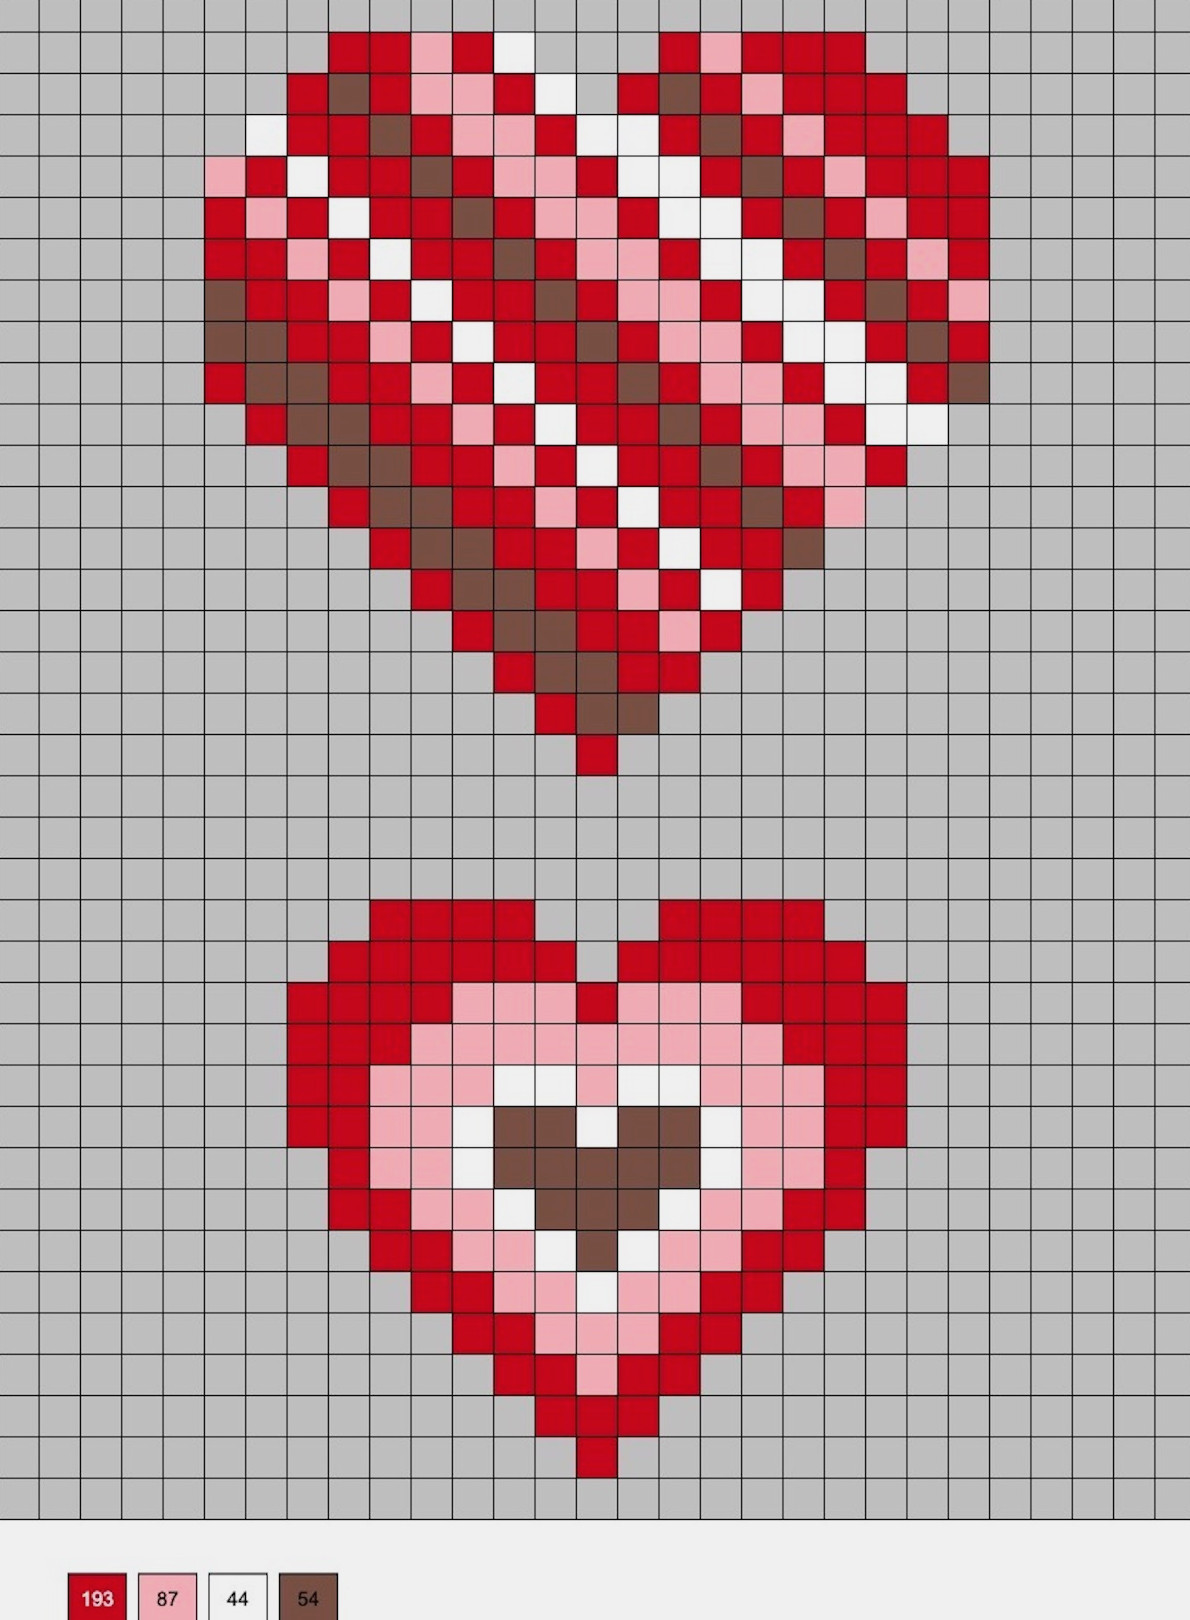
Red, Pink, and Brown Hearts
For these designs, you’ll need 193 red, 87 pink, 44 white, and 54 brown beads.
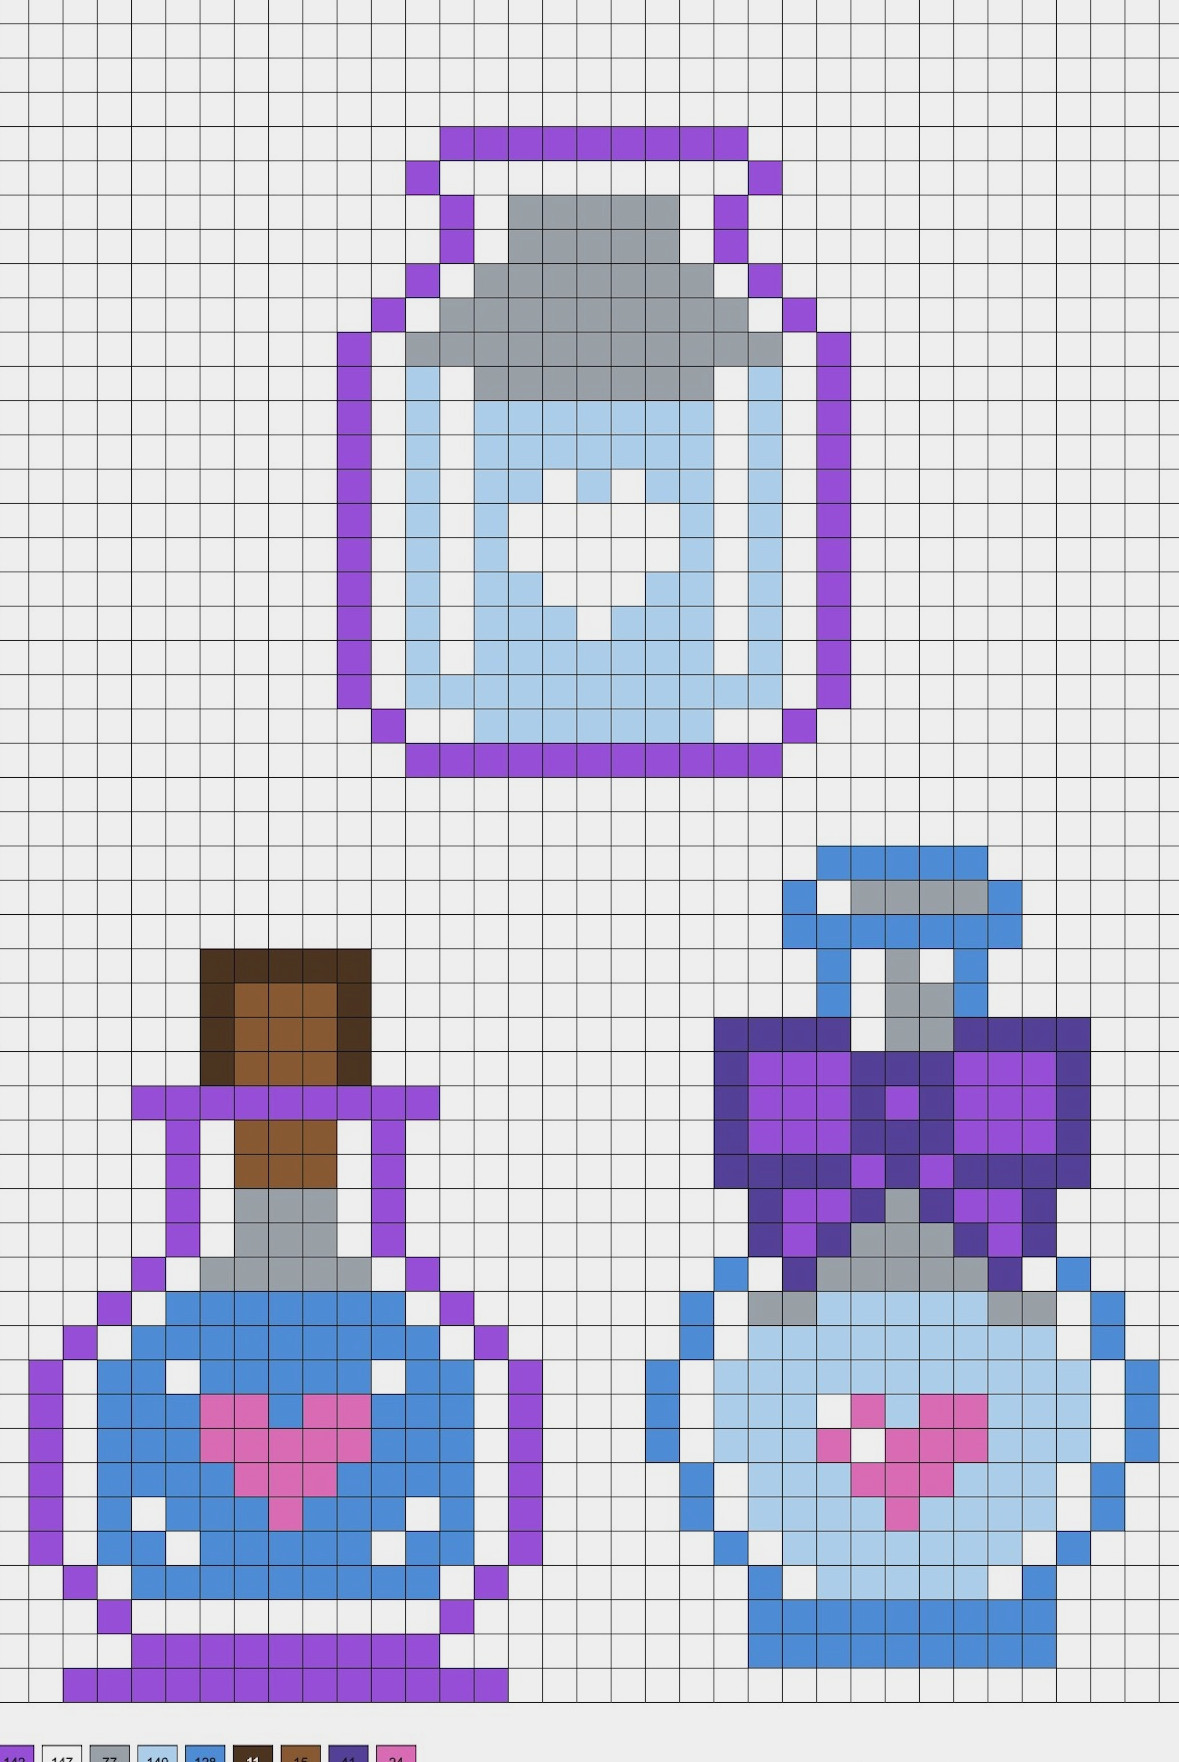
Bottles of Love Potion
These designs require 142 plum, 147 white, 77 gray, 140 light blue, 128 pastel blue, 11 dark brown, 15 brown, 41 purple, and 24 pink beads.
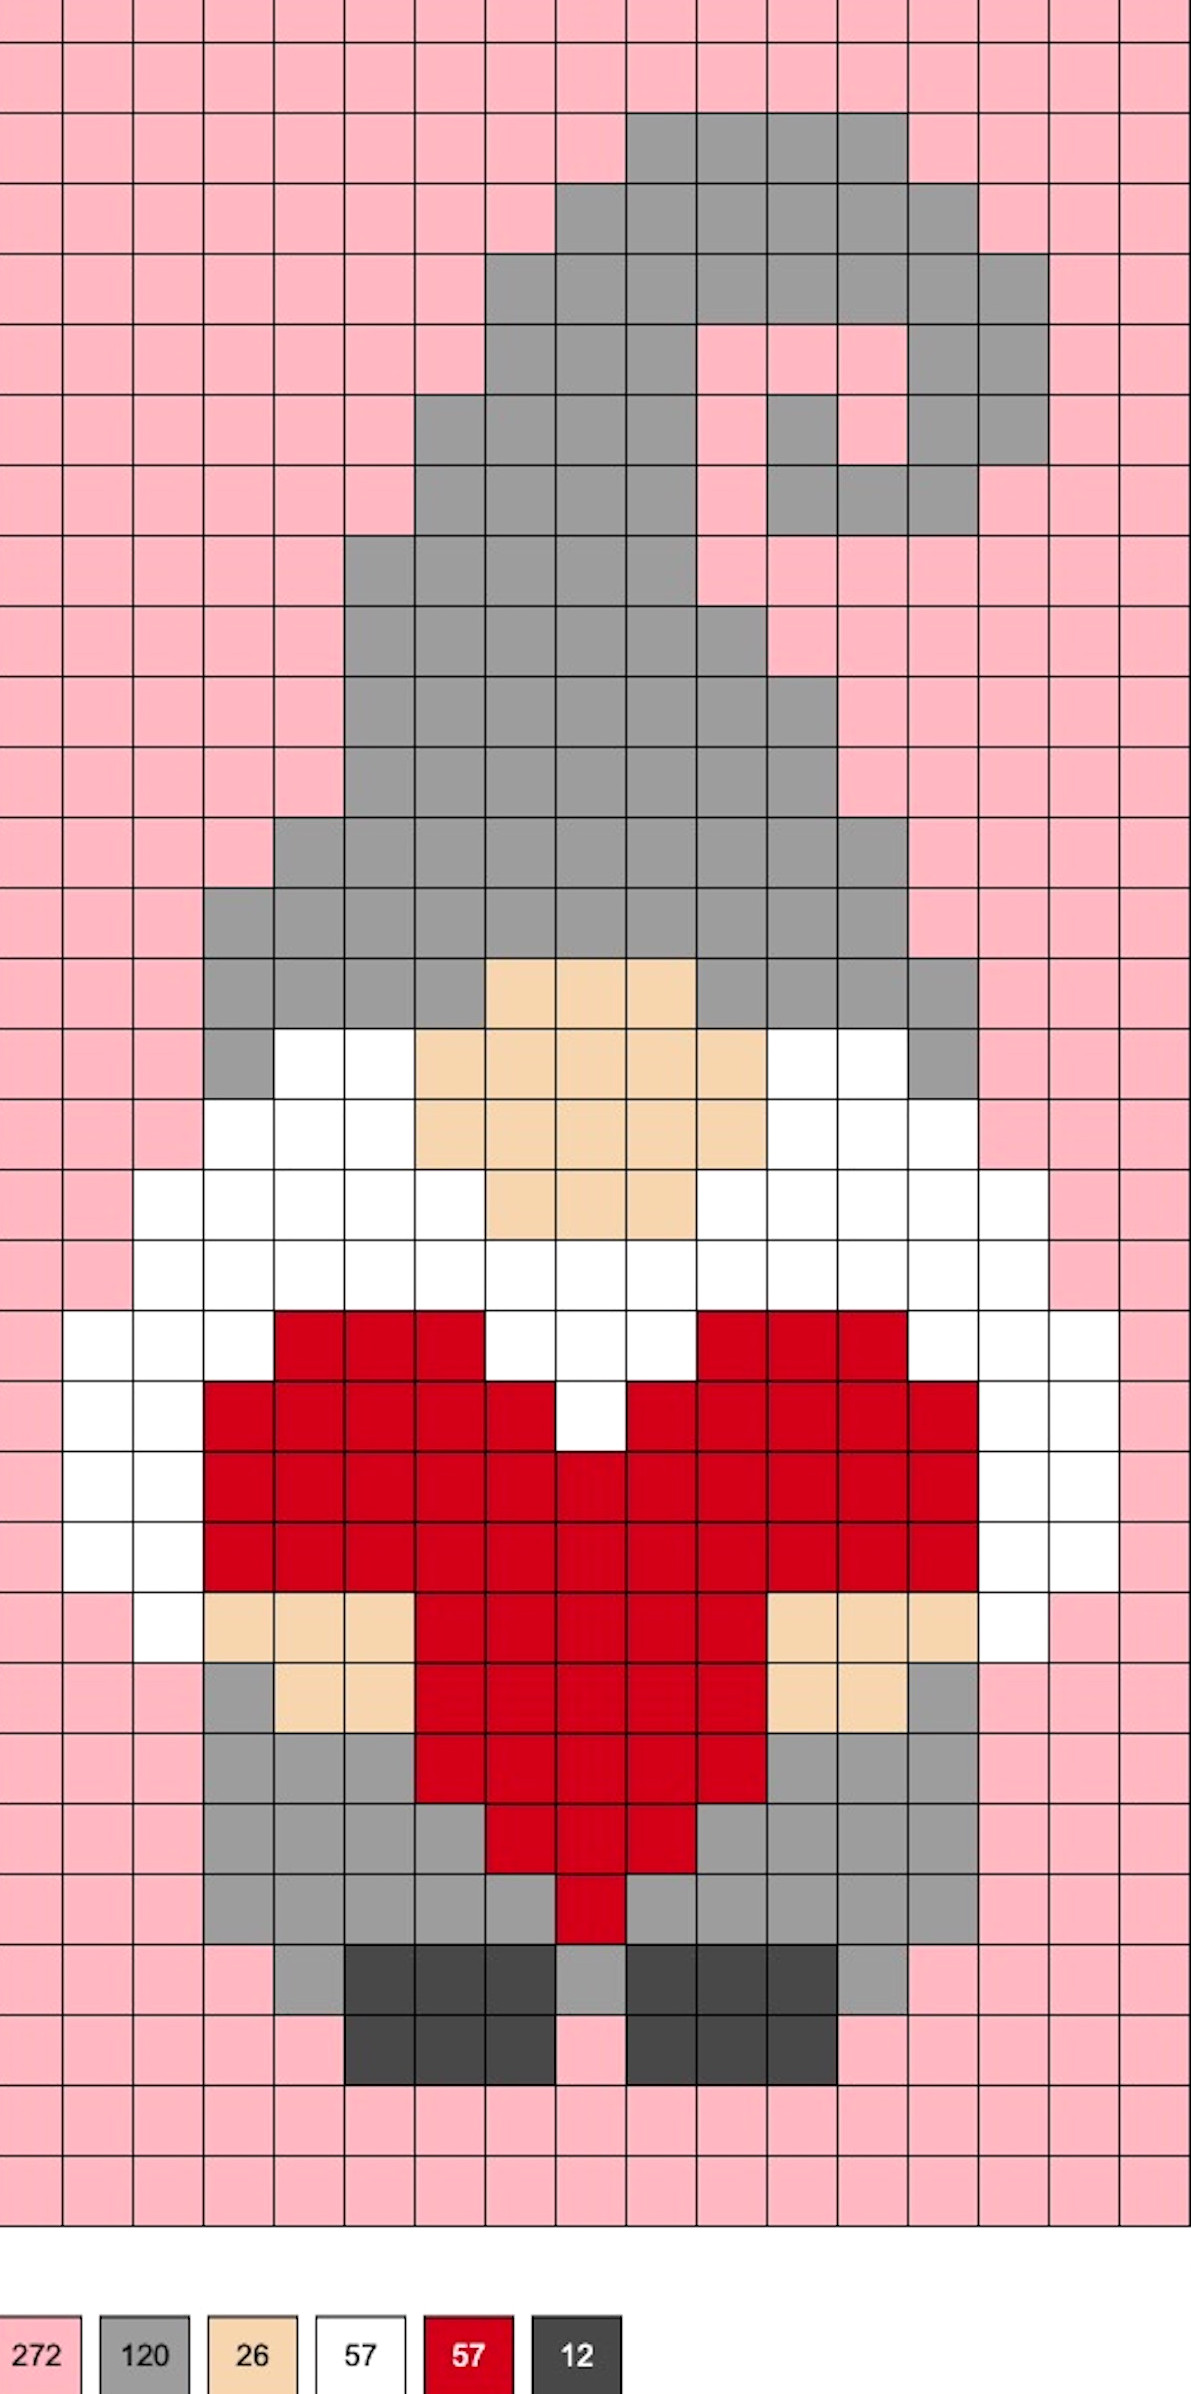
Gnome for Valentine’s Day
This little gnome requires 272 pink, 120 gray, 26 flesh, 57 white, 57 red, and 12 charcoal beads.
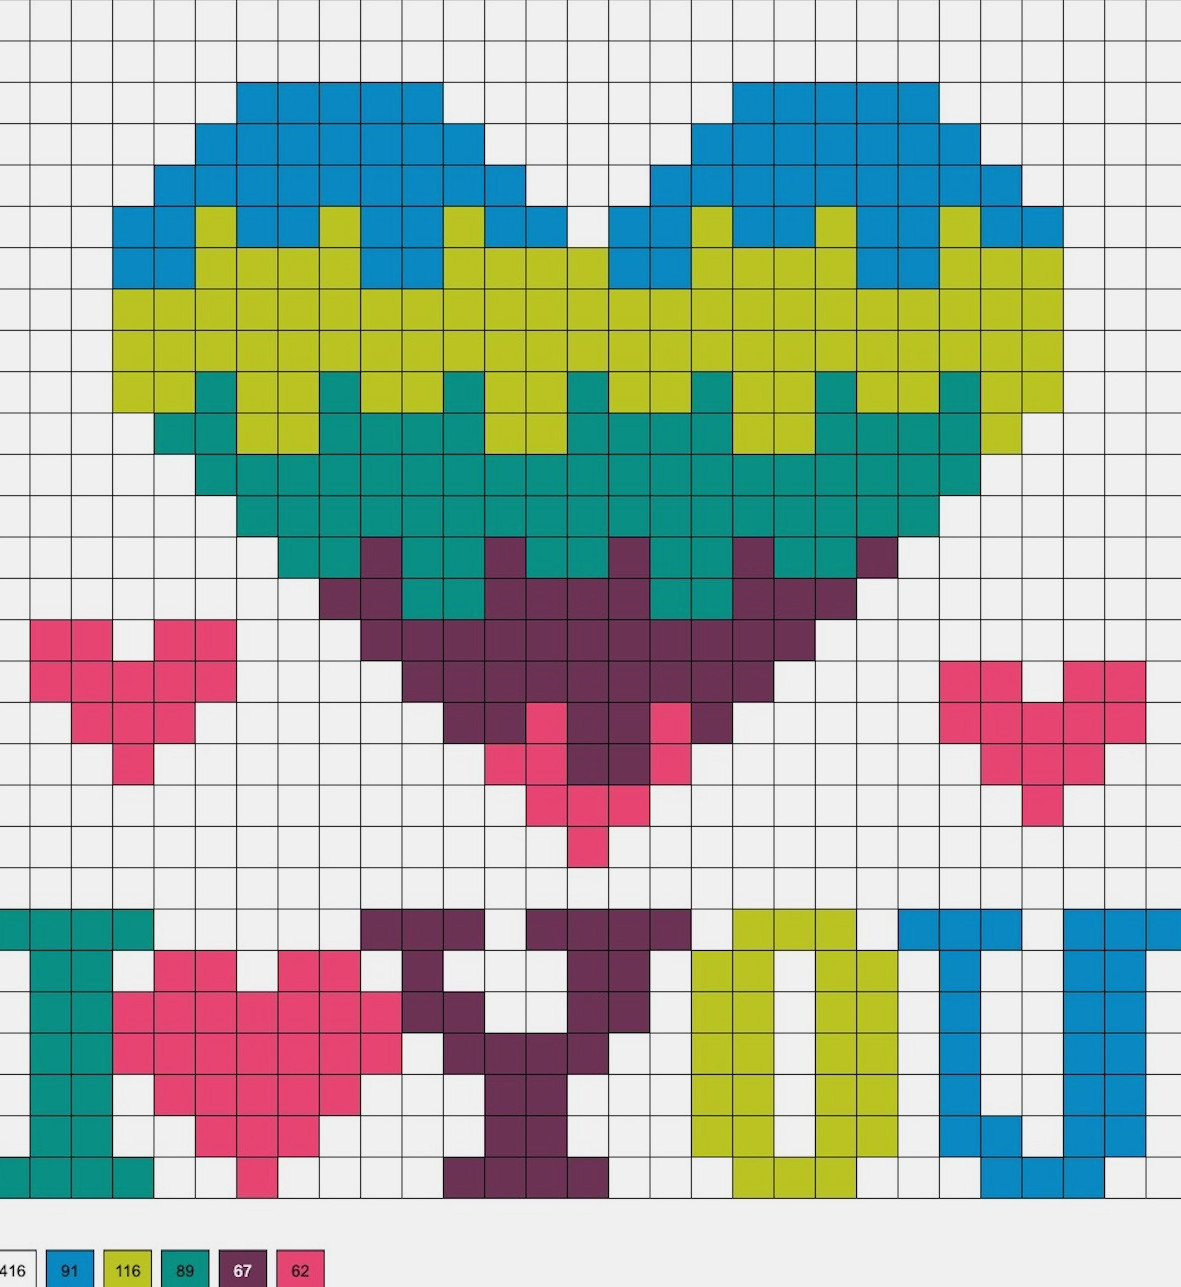
Colorful I Love You
Use 416 white, 91 blue, 116 lime green, 89 parrot green, 67 purple, and 62 magenta beads for this design. Its background is completely filled to cover a full 29 x 29 square.
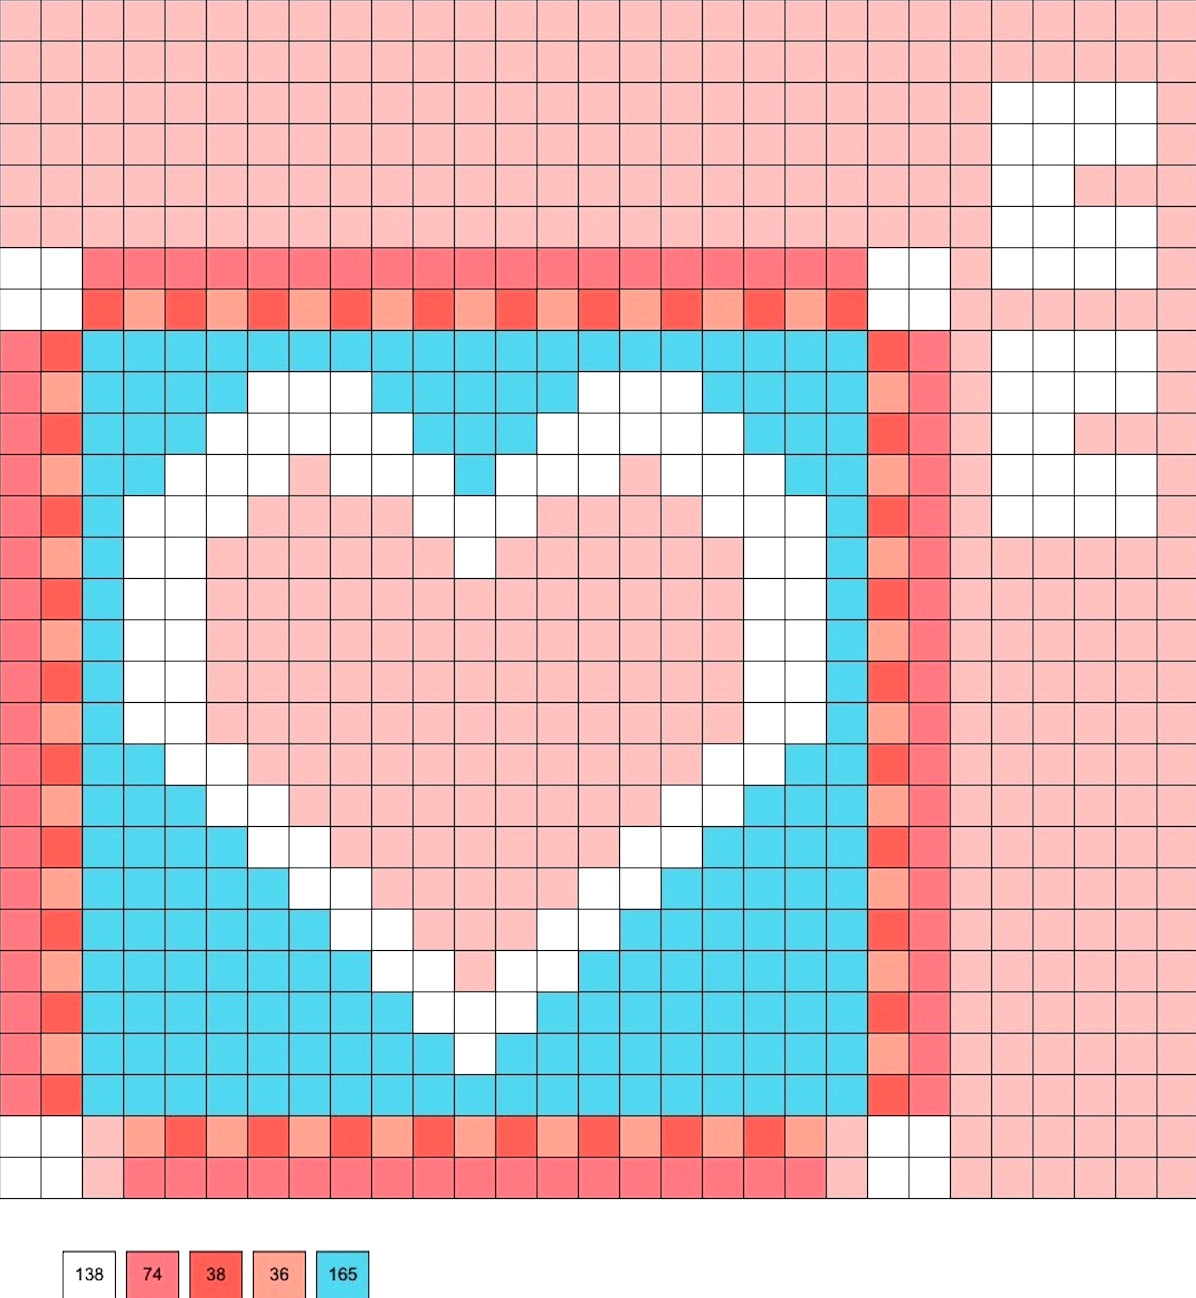
Heart-Shaped Frame with Stand
For this frame, gather 138 white, 74 salmon, 38 hot coral, 36 blush, and 165 turquoise beads. The pink background serves only as a contrast, so the heart’s center should remain empty. After completing the pieces, place the two stand parts into the lower sides of the frame. Attach the picture to the back with tape!
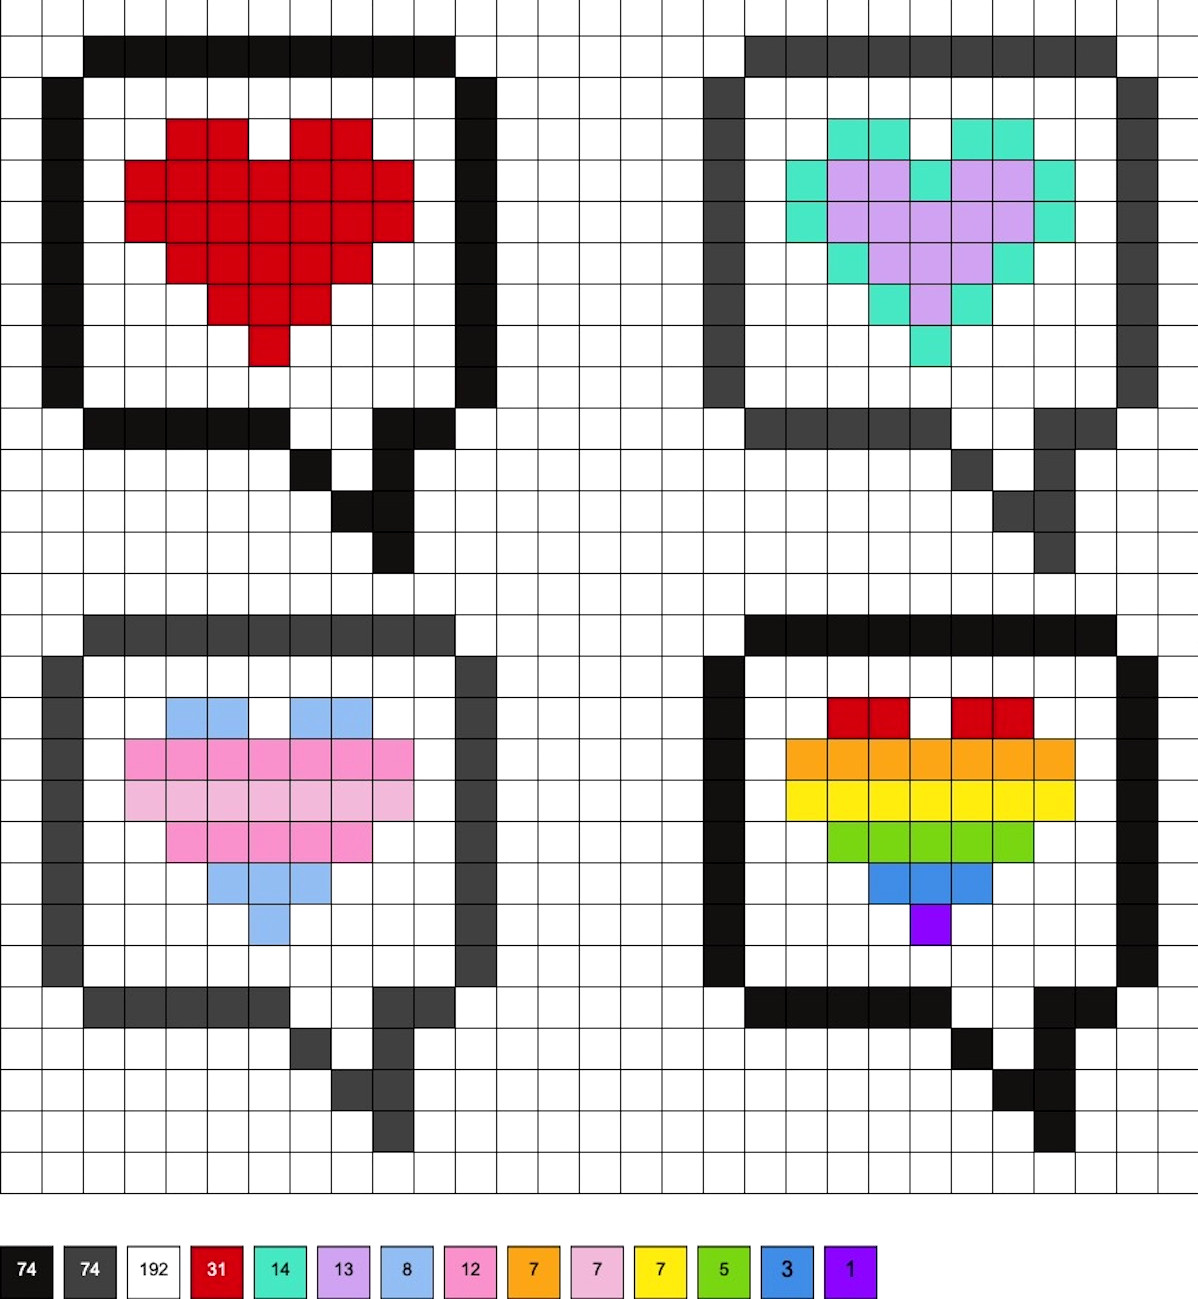
Hearts Inside Quote Bubbles
These designs call for 74 black, 74 charcoal, 192 white, 31 red, 14 light green, 13 light lavender, 8 blueberry creme, 12 pink, 7 cheddar, 7 flamingo, 7 yellow, 5 kiwi green, 3 light blue, and 1 purple bead.
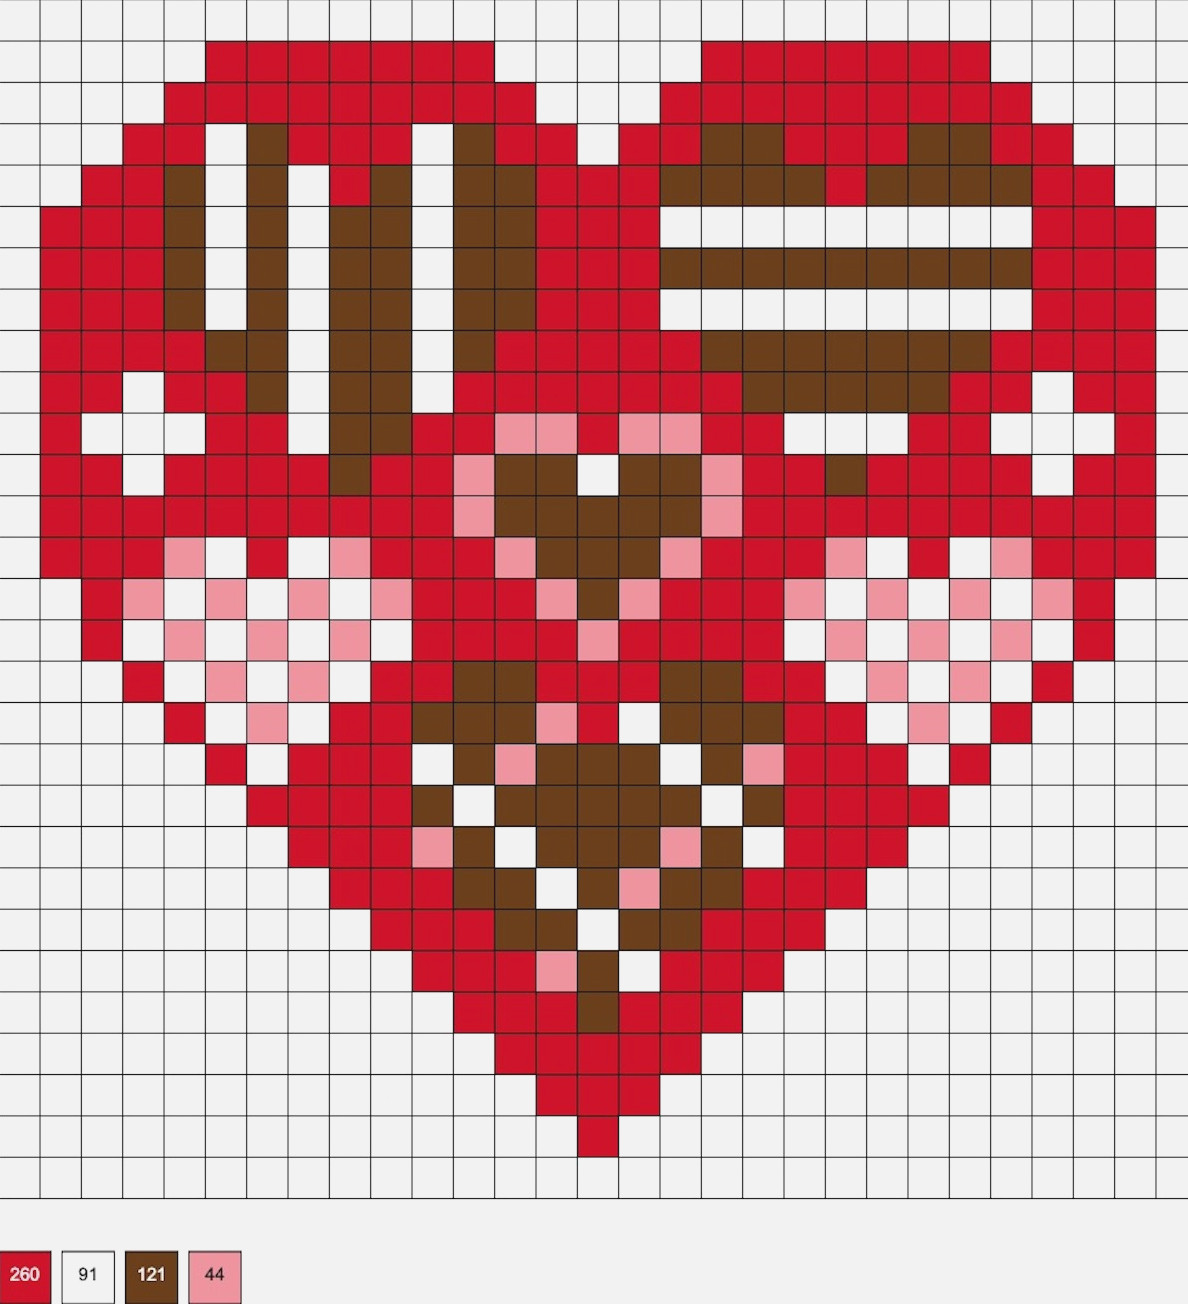
Box of Heart Candy
This design requires 260 red, 91 white, 121 brown, and 44 pink beads.
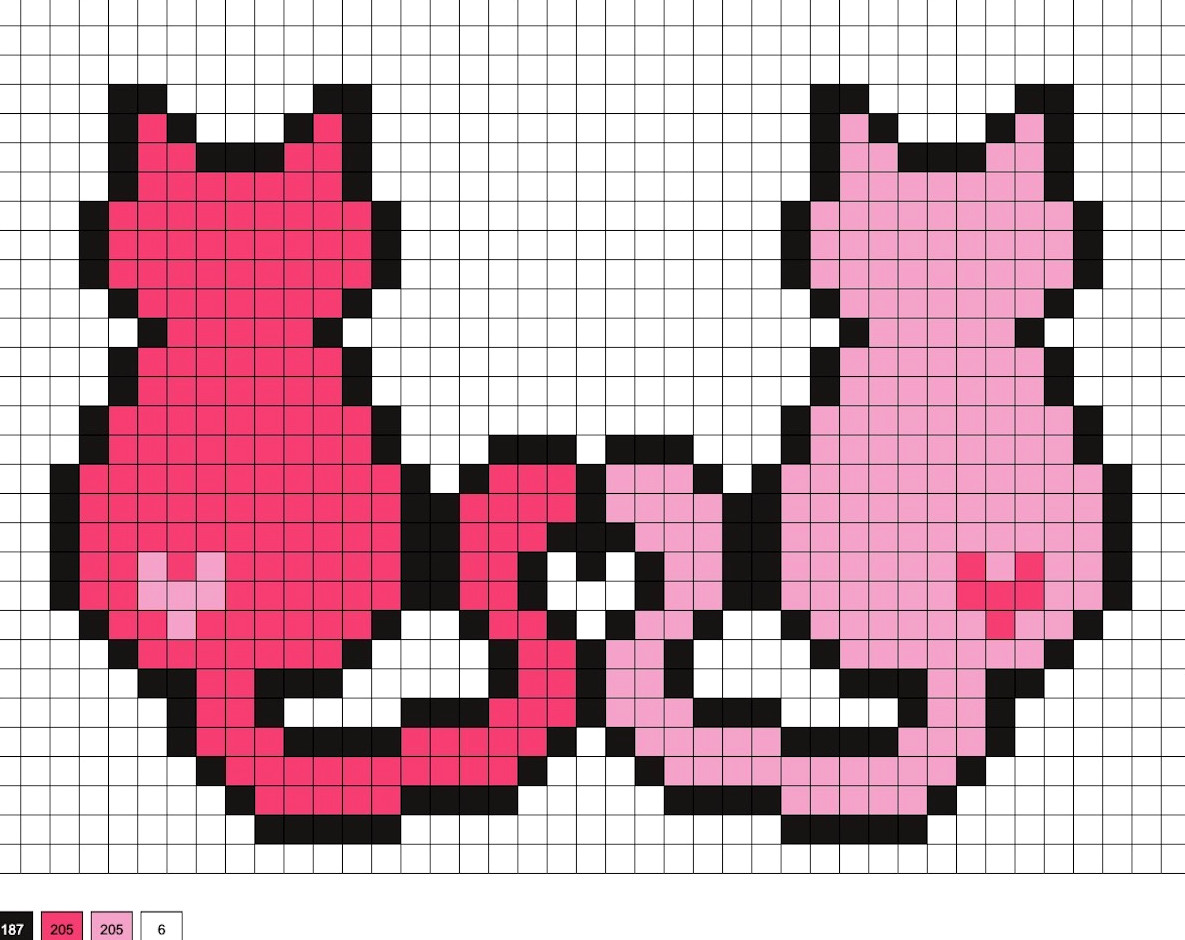
Cats with Curly Tails
You’ll need 187 black, 205 fruit punch, 205 cotton candy, and 6 white beads to make this design.
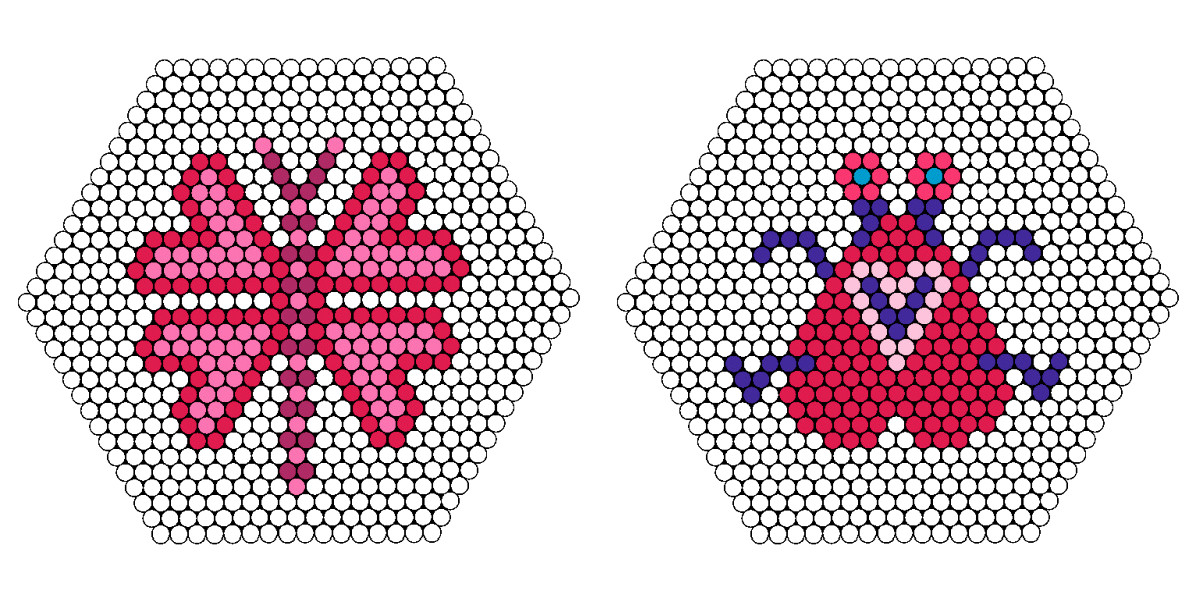
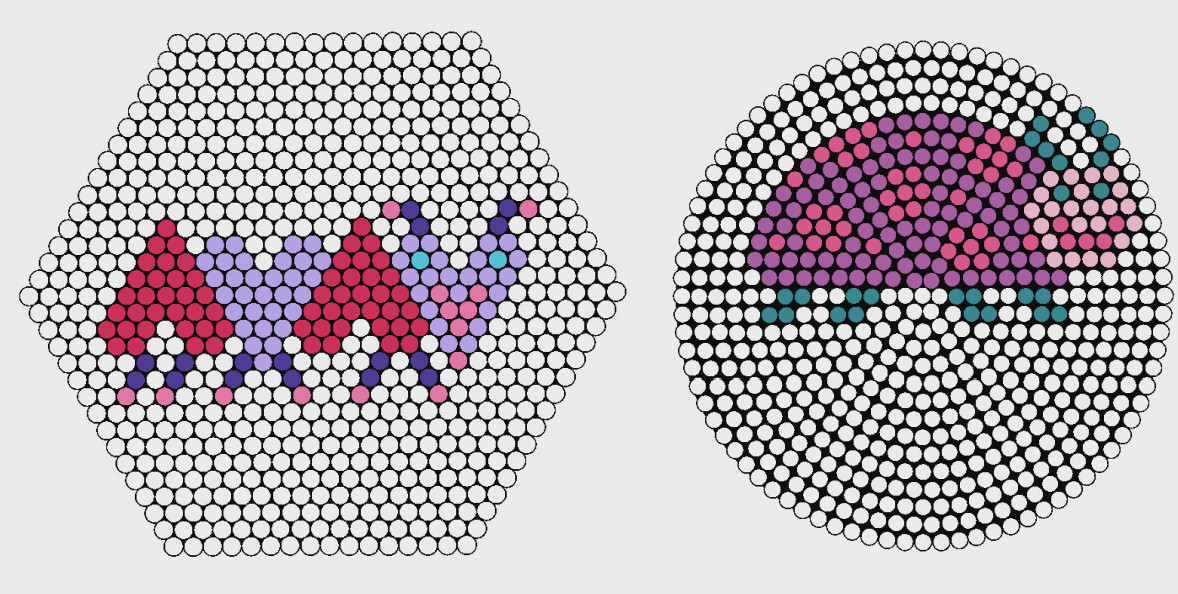
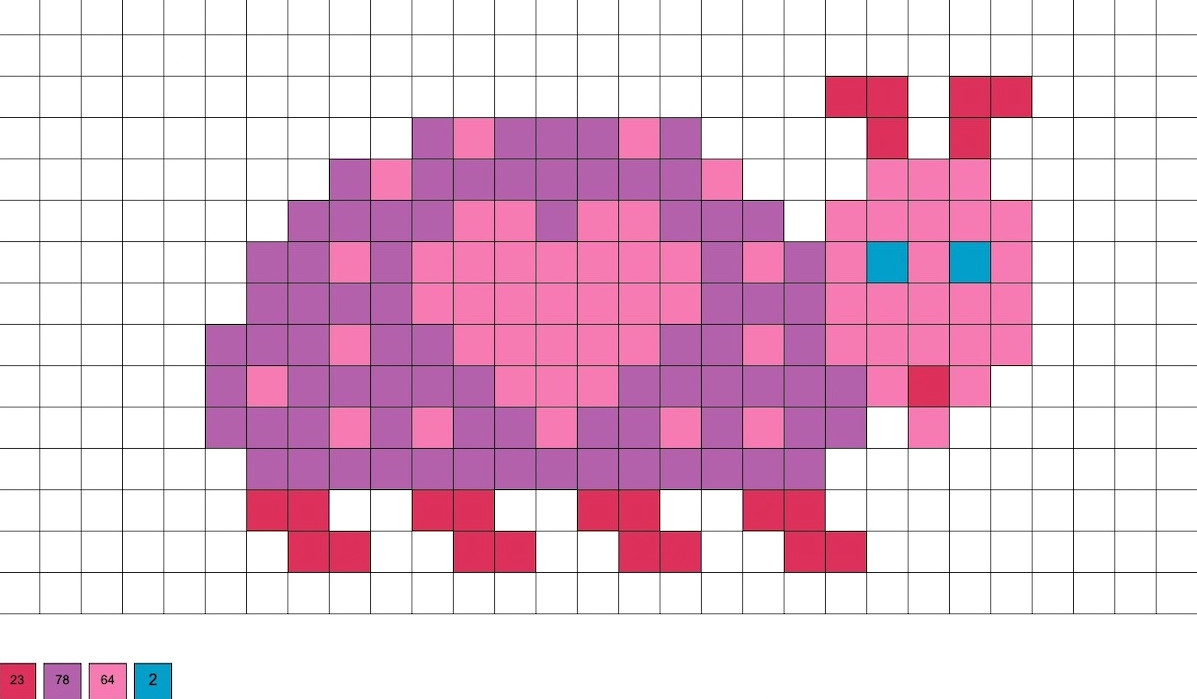
Love-Inspired Bugs
Create these adorable holiday bugs with a hexagon, regular, and round board.
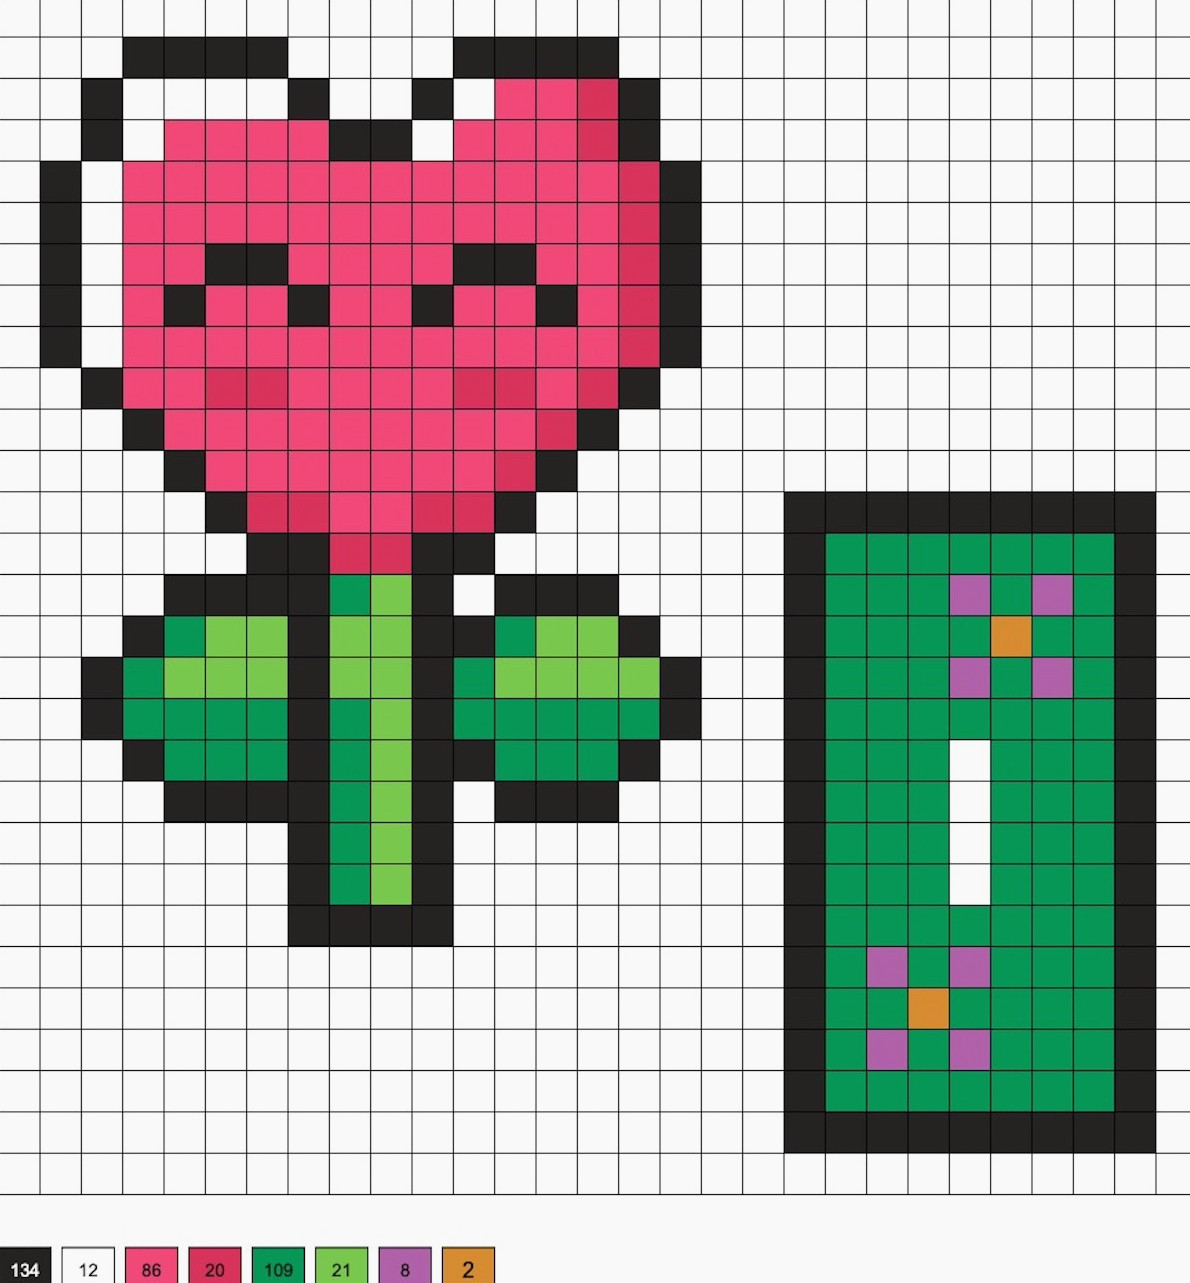
Heart-Shaped Flower with Stand
This design calls for 134 black, 12 white, 86 magenta, 20 fruit punch, 109 shamrock, 21 kiwi green, 8 plum, and 2 honey beads. After putting the two pieces together, slide the heart flower into the stand—no glue is needed.
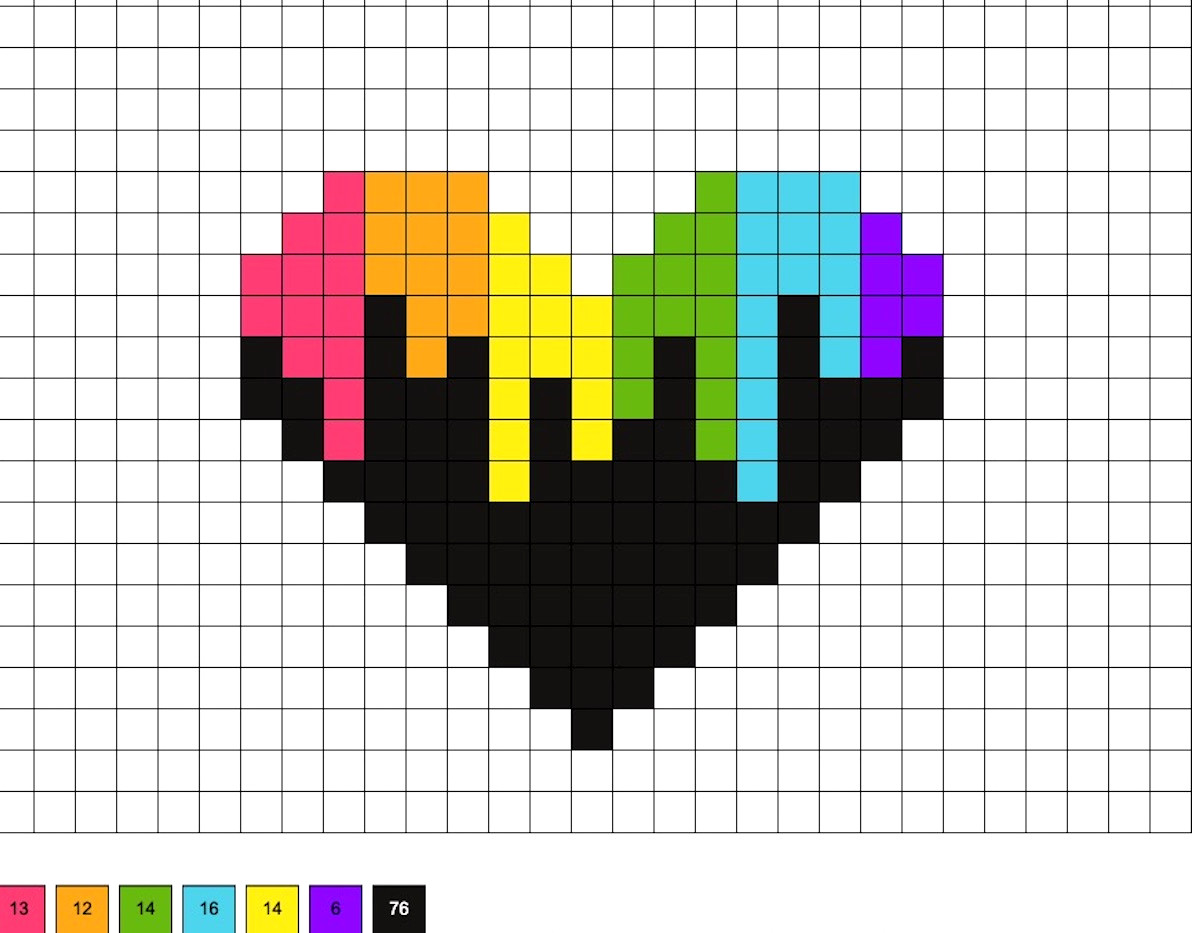
Rainbow Heart with a Melting Effect
This lovely design requires 13 magenta, 12 cheddar, 14 green, 16 turquoise, 14 yellow, 6 purple, and 76 black beads.
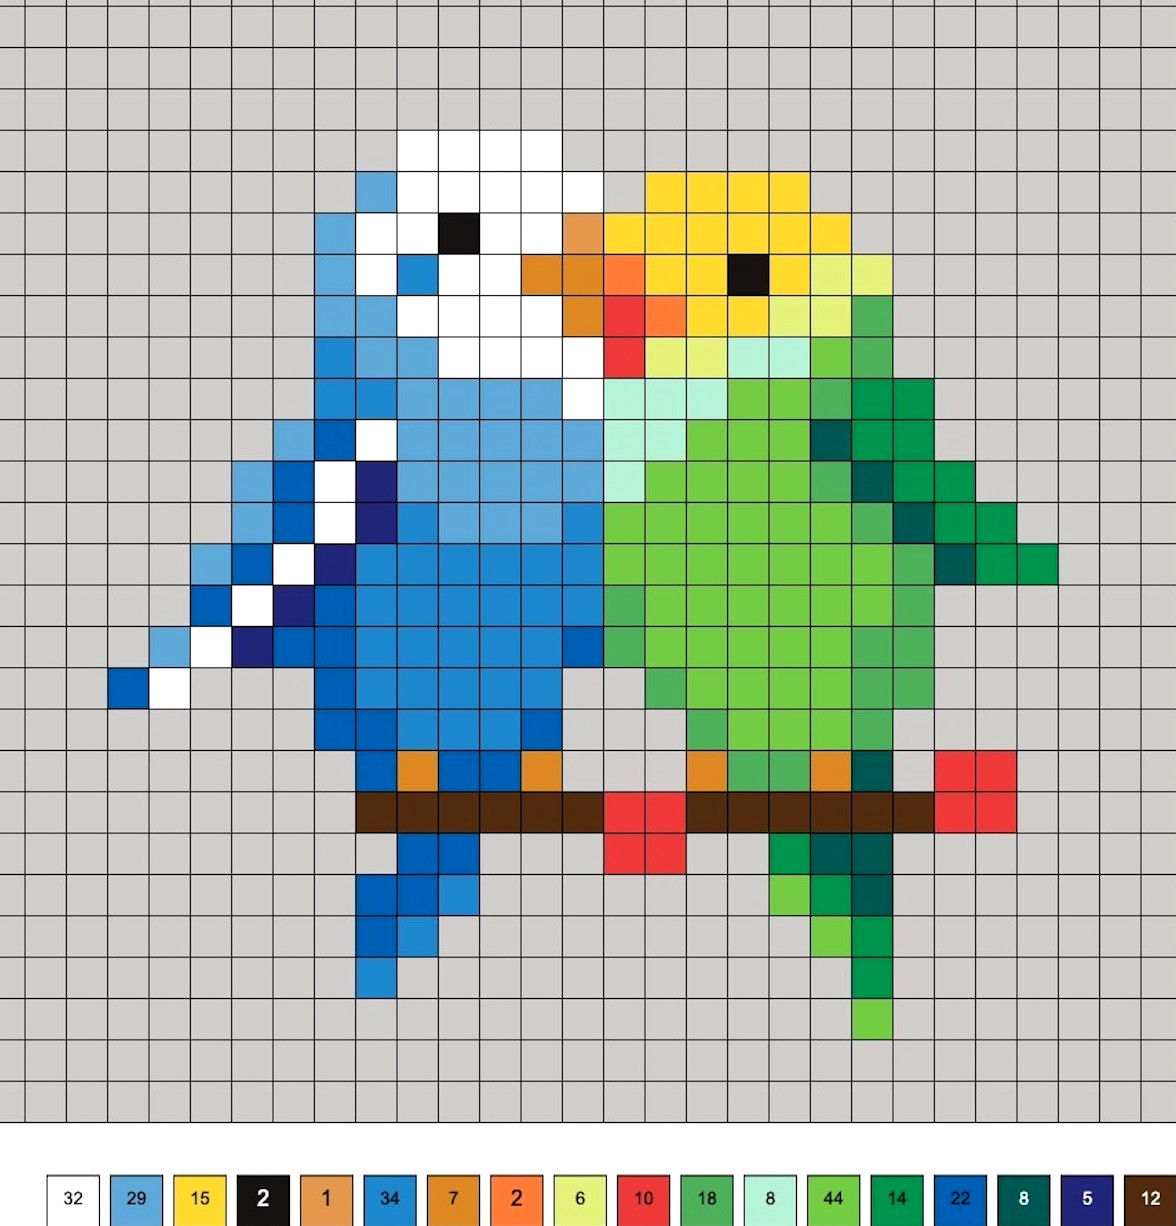
Cuddling Parakeets
These adorable birds require 32 white, 29 pastel blue, 15 yellow, 2 black, 8 honey, 34 light blue, 2 orange, 6 sherbet, 10 red, 18 bright green, 8 mist, 44 kiwi green, 14 dark green, 22 cobalt, 8 forest, 5 dark blue, and 12 brown beads.
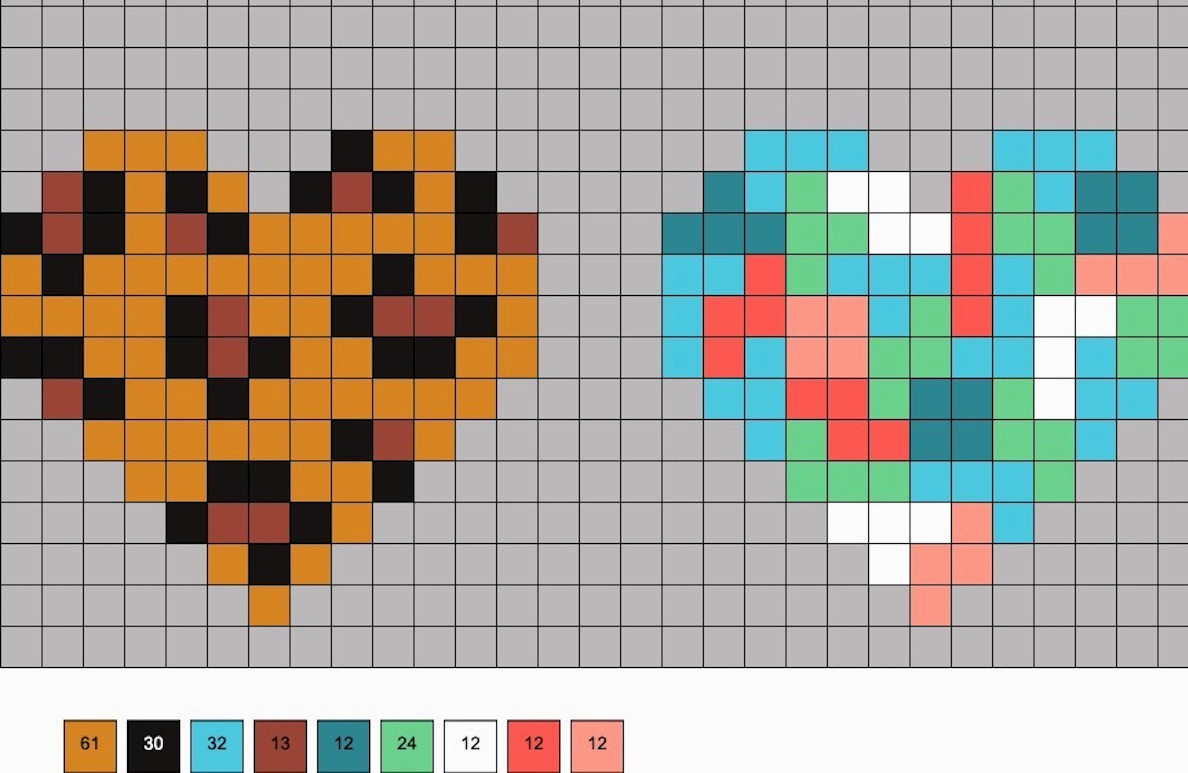
Leopard and Tetris-Inspired Hearts
For the leopard heart, you’ll need 61 honey, 30 black, and 13 brown beads. The Tetris heart calls for 32 aqua, 12 teal, 24 light green, 12 white, 12 hot coral, and 12 salmon beads.
Valentine’s Day Garland
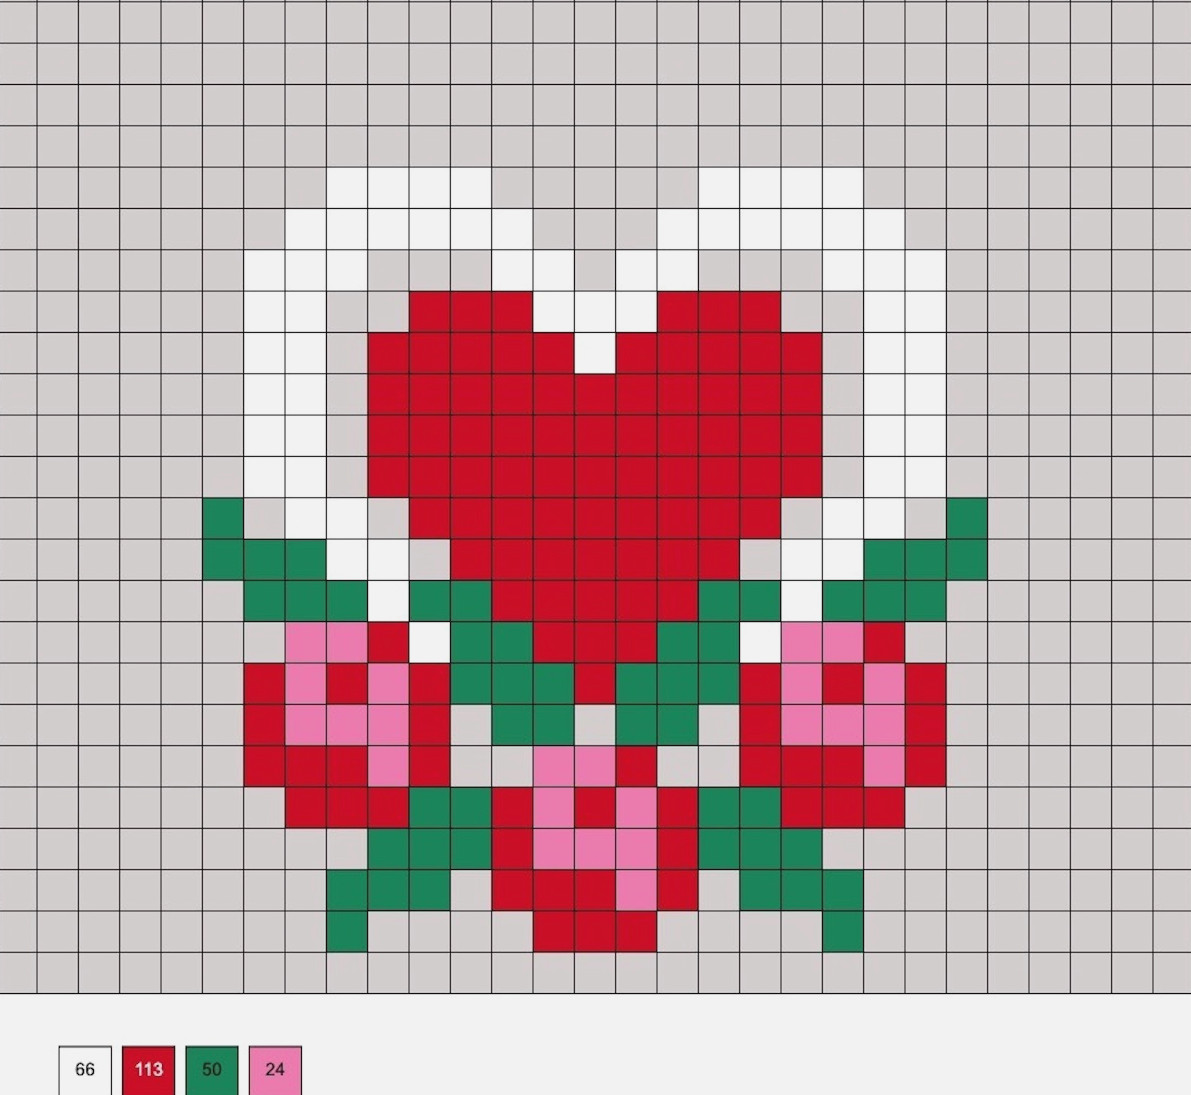
You’ll need 66 white, 113 red, 50 shamrock, and 24 pink beads for this design.
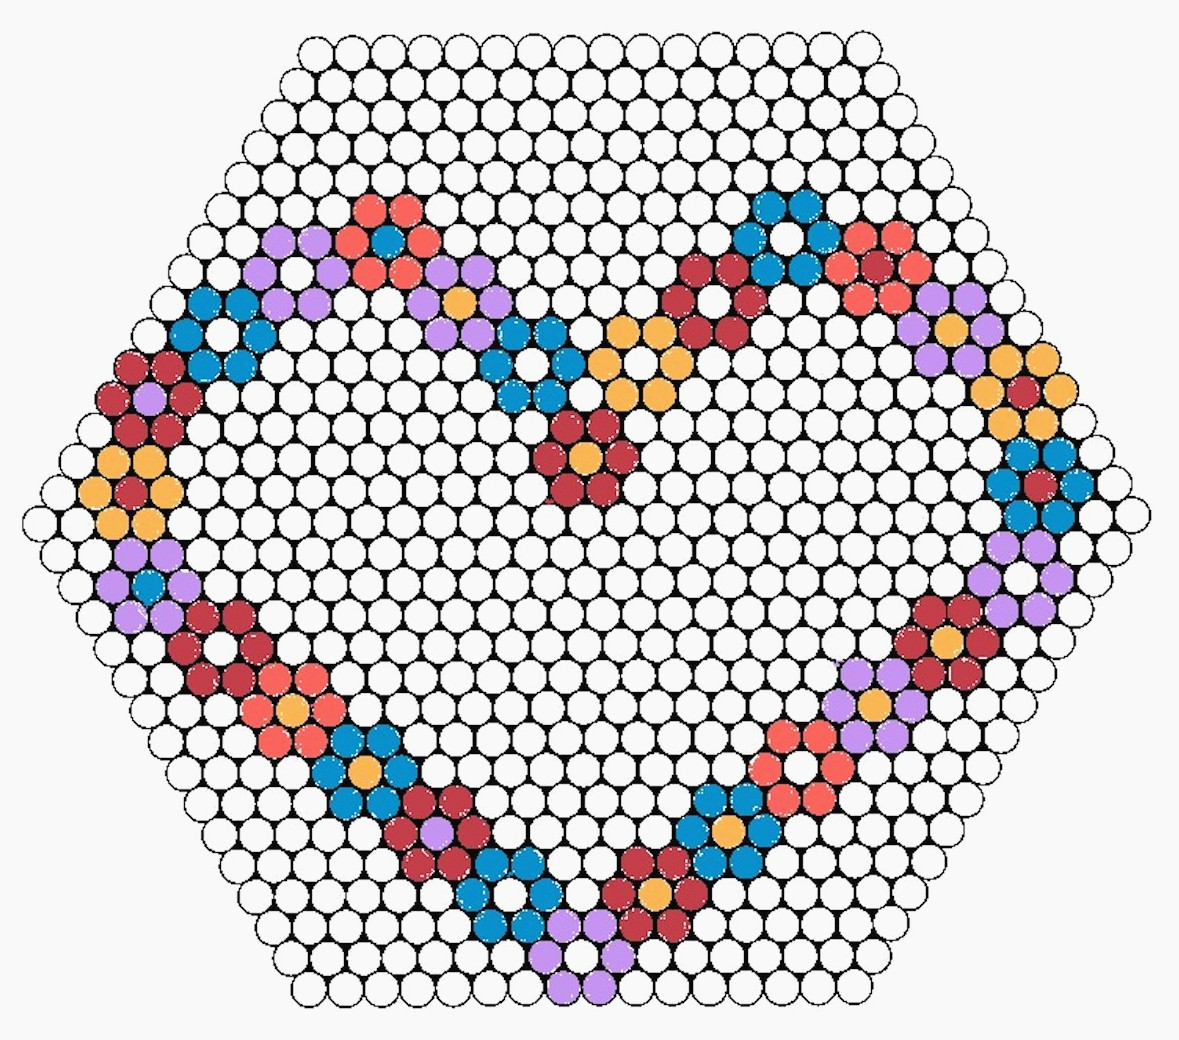
Flower-Filled Heart
A large hexagon board is needed for this lovely flower design! Every little flower requires 7 beads, with 28 flowers in all for a grand total of 196 beads in assorted colors.
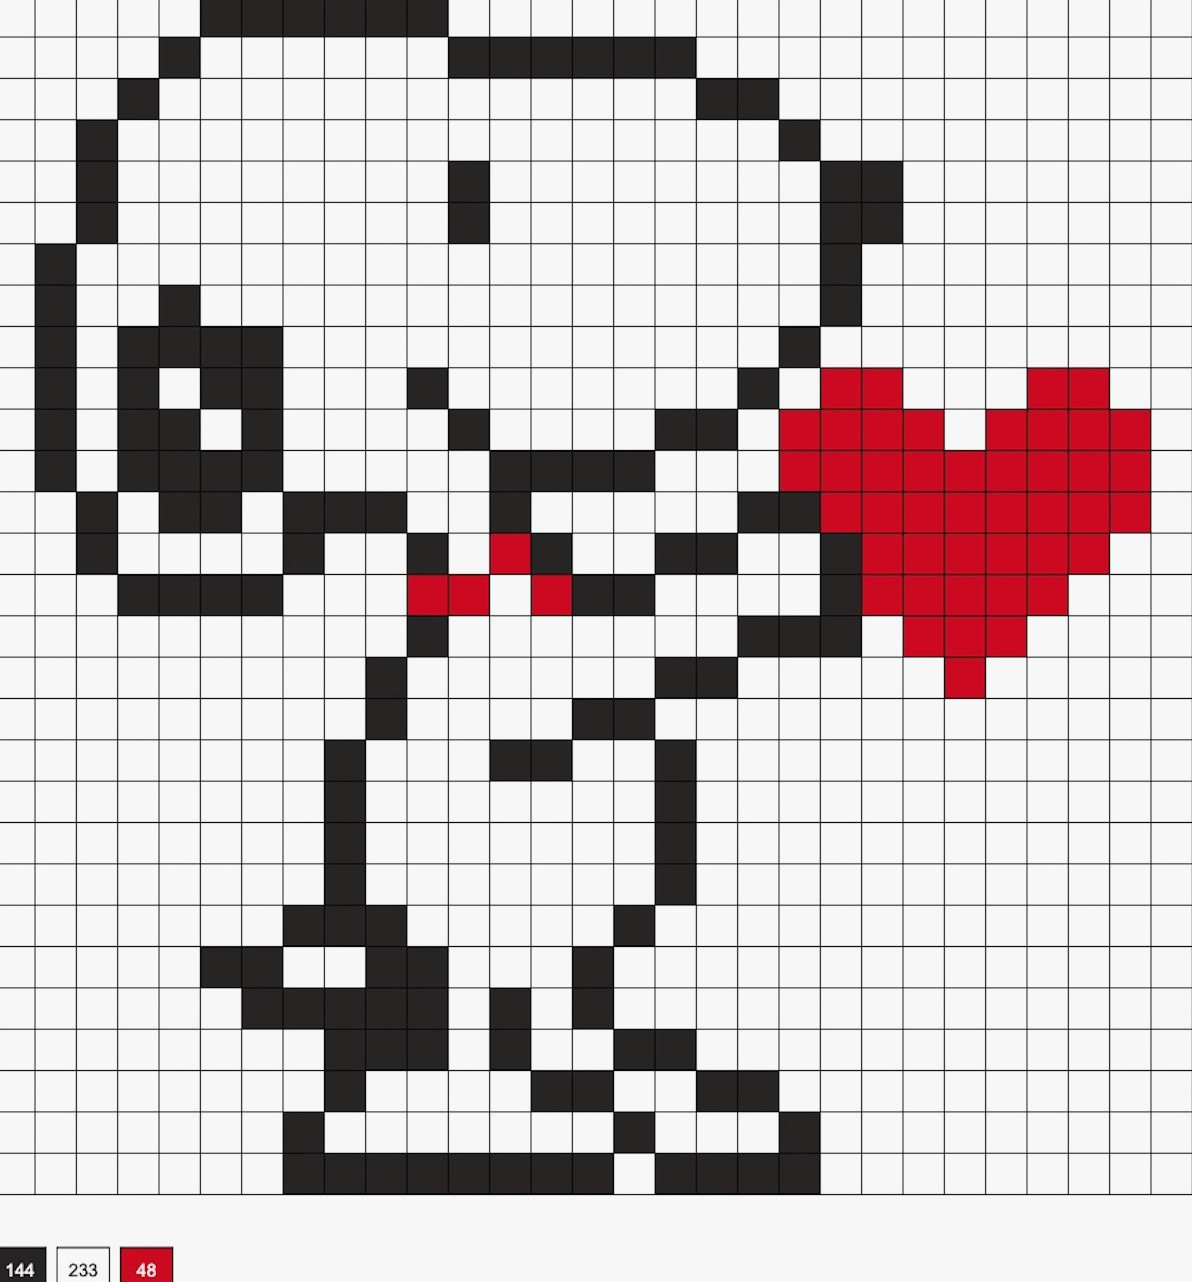
Snoopy Carrying a Heart
For Snoopy, gather 144 black, 233 white, and 48 red beads.
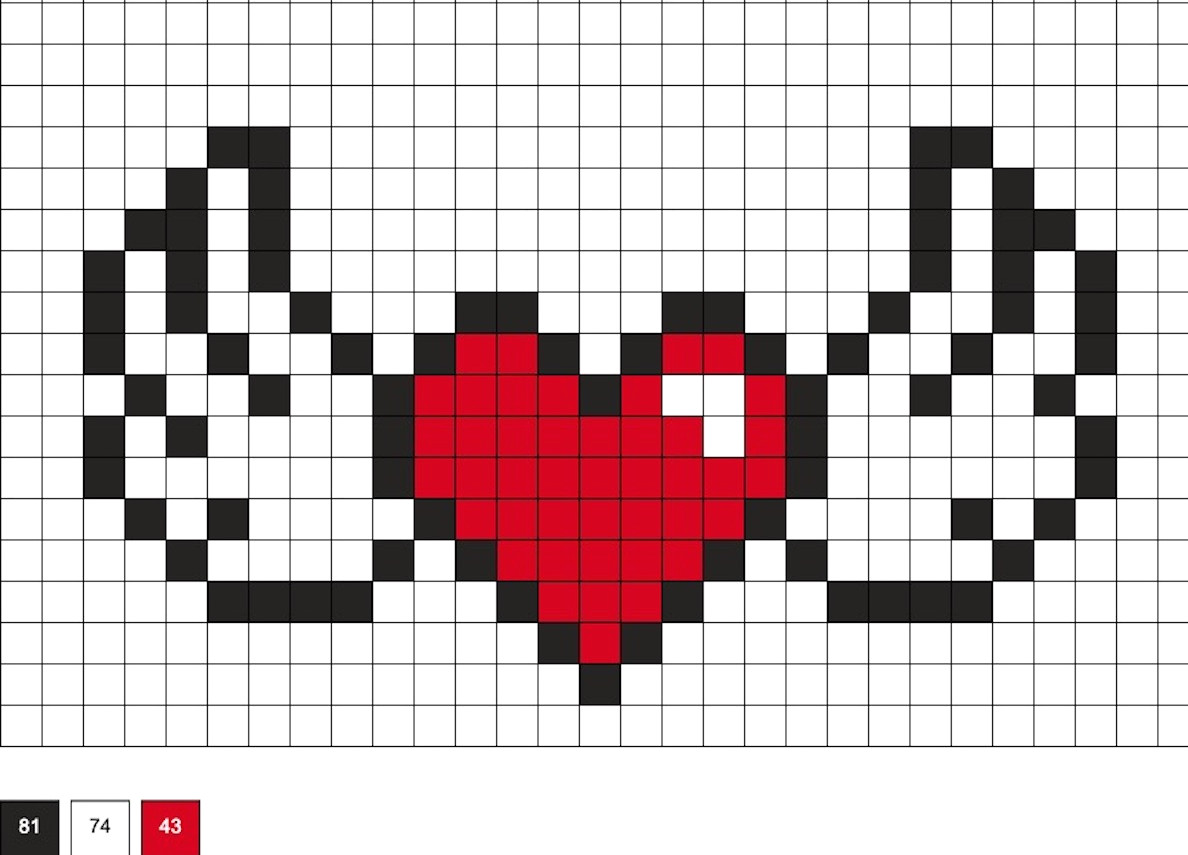
Winged Heart
You’ll need 81 black, 74 white, and 43 red beads to complete this pattern.
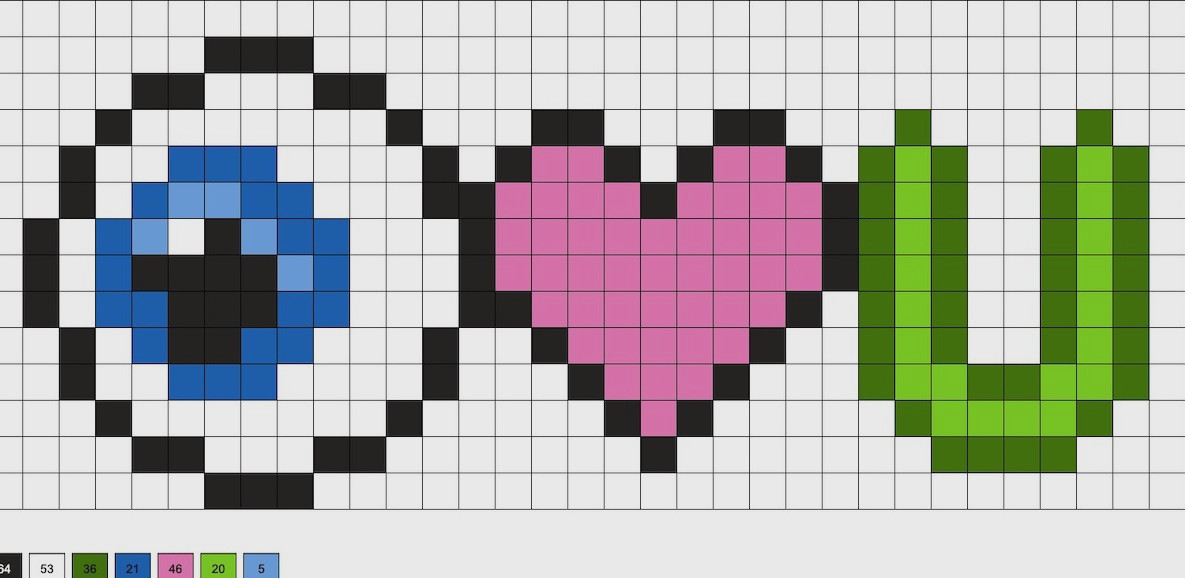
Eye Adore You
To make this design, use 64 black, 53 white, 36 shamrock, 21 cobalt, 46 pink, 20 kiwi green, and 5 light blue beads.
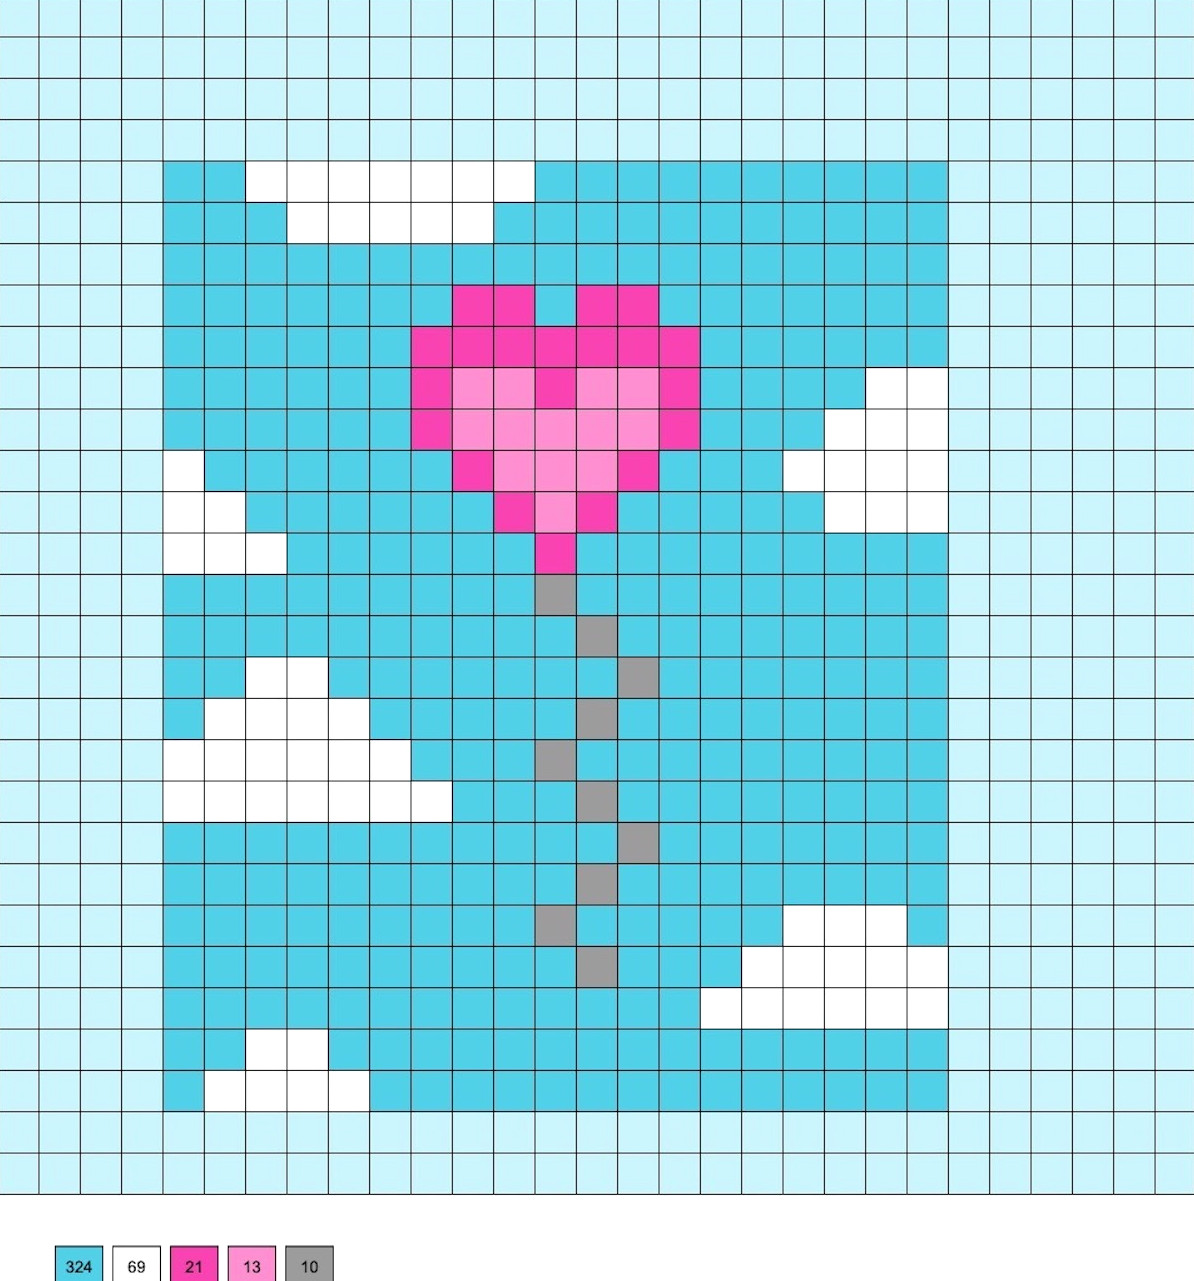
Heart Balloon Display
This design calls for 324 sky, 69 white, 21 pink, 13 cotton candy, and 10 gray beads.
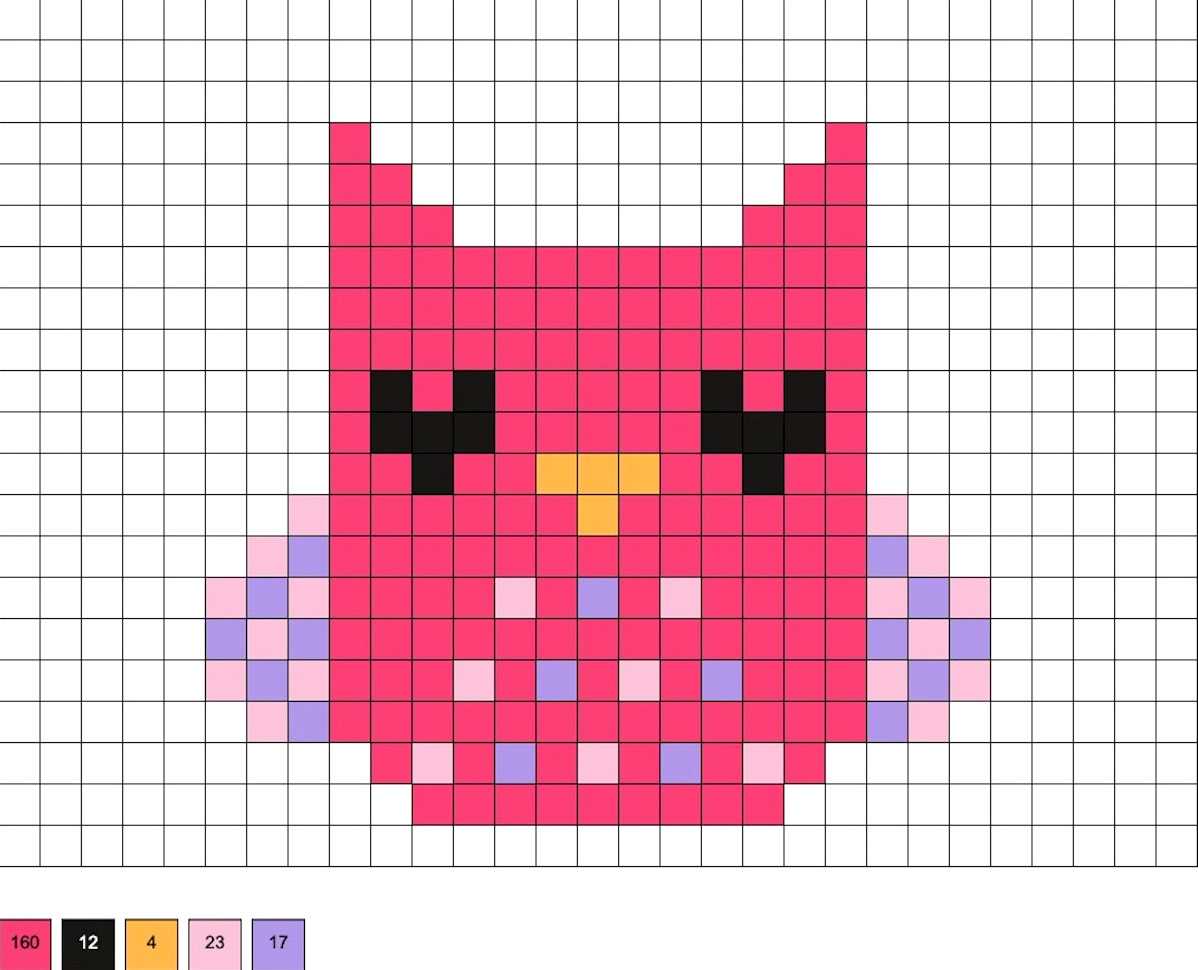
Pinky the Owl
To create her, use 160 magenta, 12 black, 4 cheddar, 23 pink, and 17 light lavender beads.
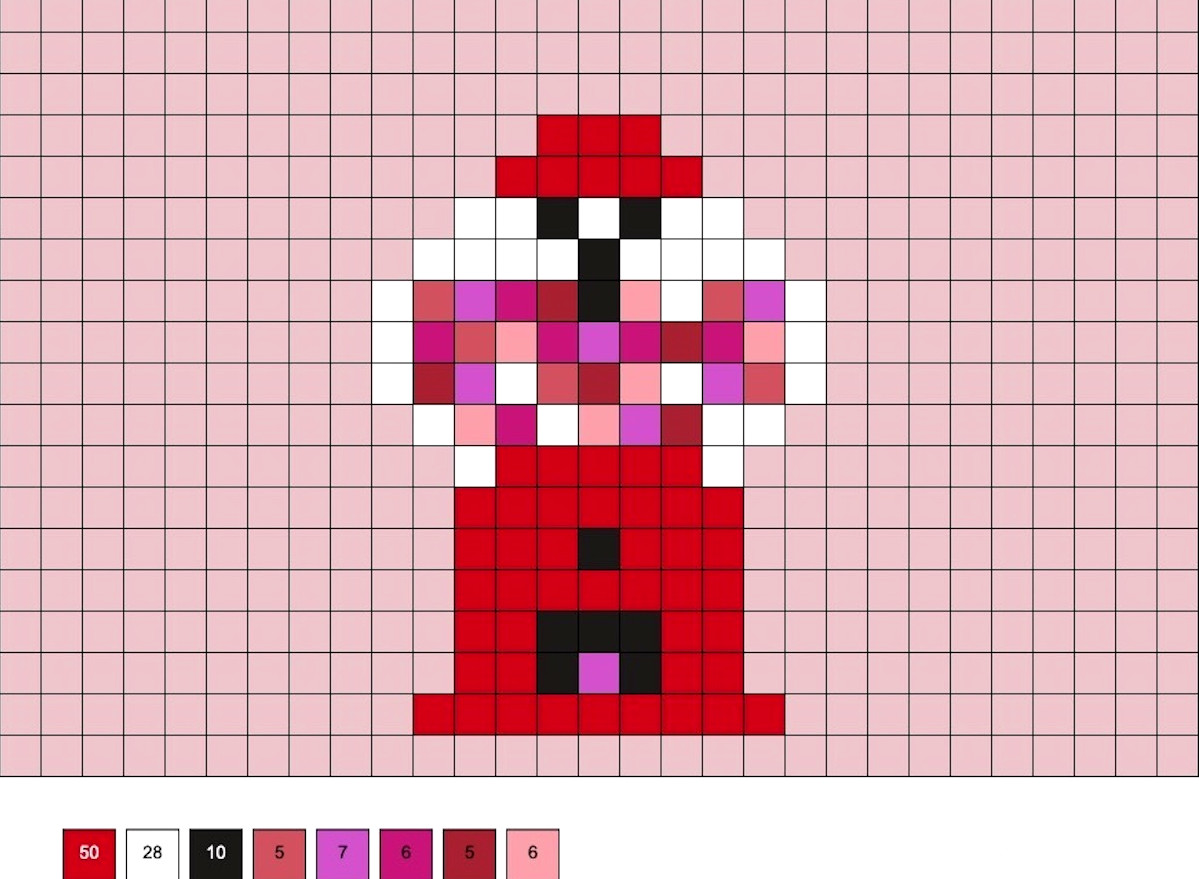
Valentine’s Day Gumball Dispenser
This design requires 50 red, 28 white, 10 black, 5 magenta, 7 pink, 6 raspberry, 5 cherry, and 6 blush beads.
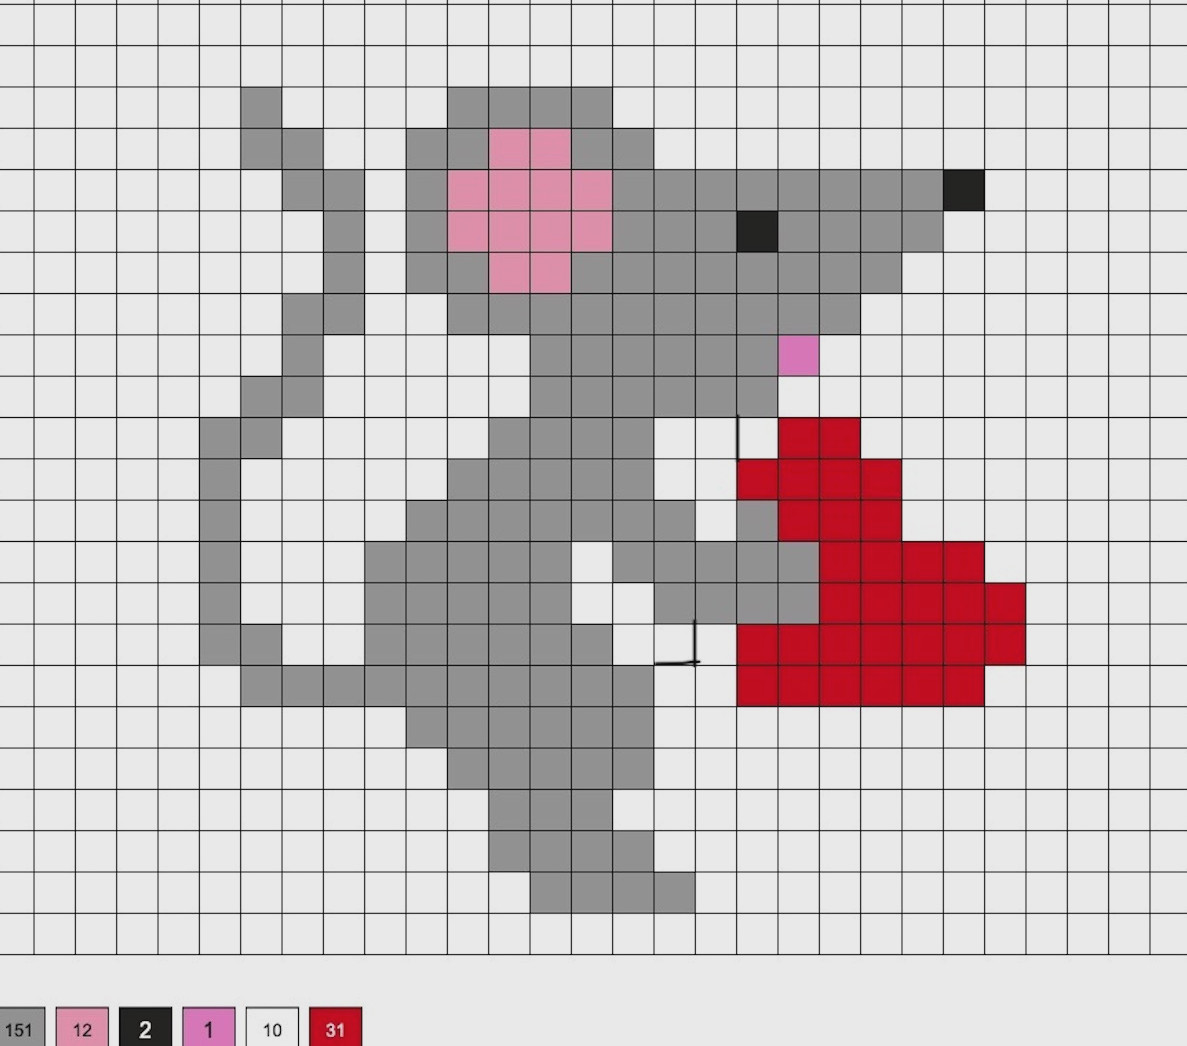
Mouse Carrying a Heart
For this pattern, you’ll need 151 gray, 12 cotton candy, 2 black, 1 pink, 10 white, and 31 red beads.
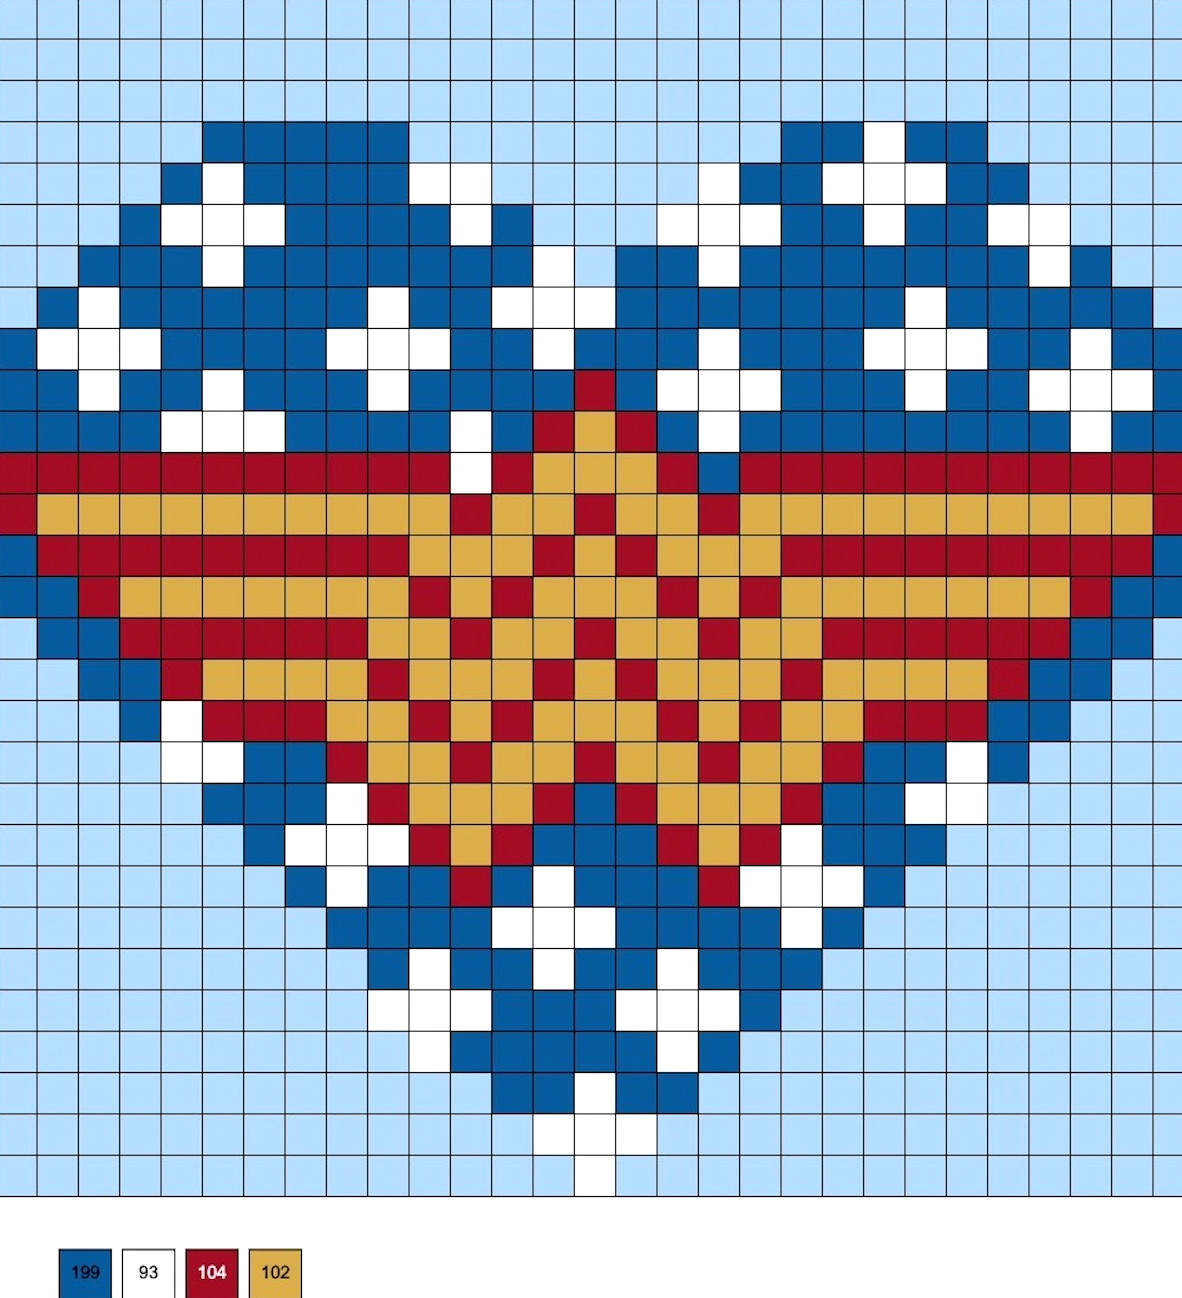
Wonder Woman-Themed Heart
This design calls for 199 dark blue, 93 white, 104 red, and 102 gold beads (butterscotch may be used as an alternative).
Heart with Paw Prints
A total of 121 pink and 74 black beads are needed for this pattern.
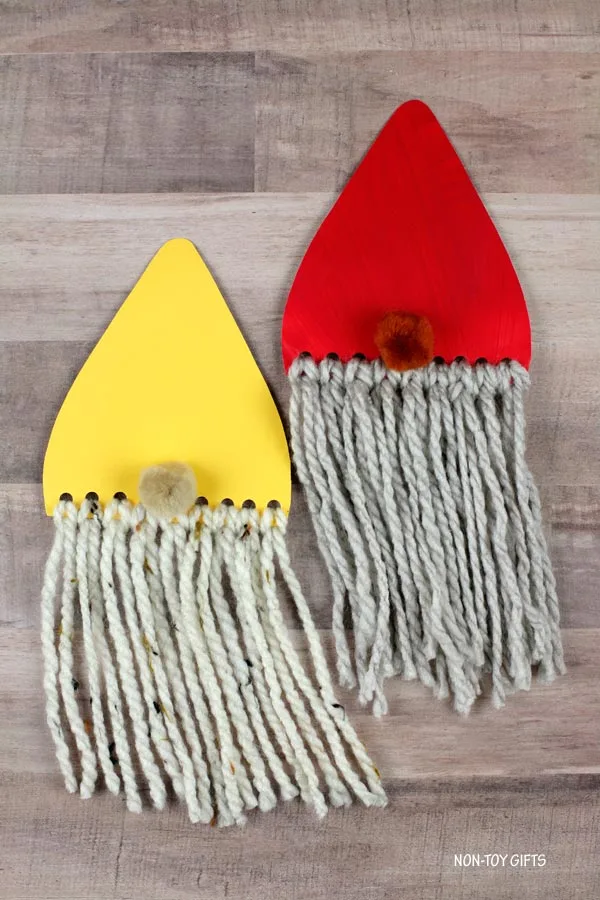
These paper plate DIY gnome decorations are simple to create with children. Display them on the Christmas tree or use them to adorn the mantel.
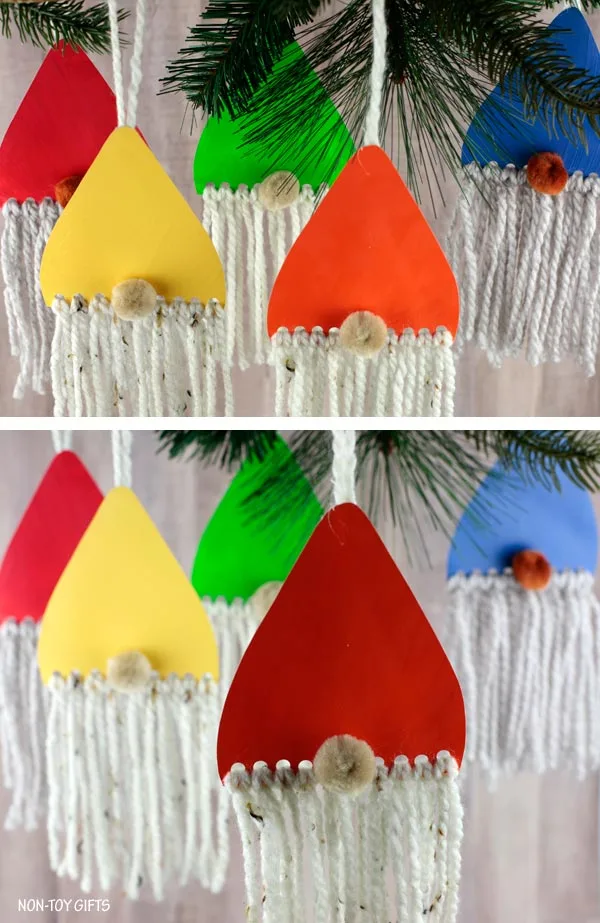
Maybe you adore gnomes and would like to bring some character to your home this festive season with a few Christmas gnomes. Why purchase them when handmade gnomes are so easy to create?
Whichever the case, these lovely rainbow paper plate DIY gnome ornaments are just what you need.
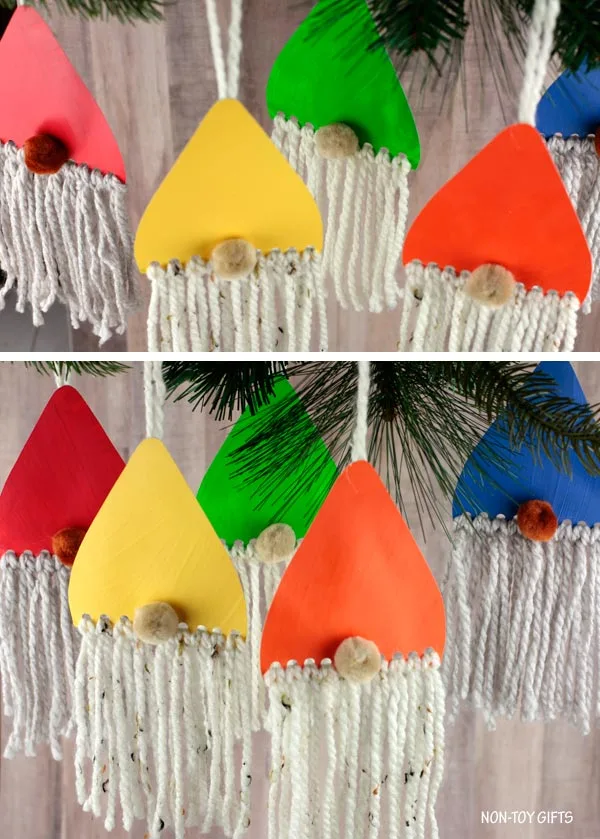
History of gnomes
Gnomes have existed in folklore for countless years, while the earliest garden gnomes were made in Germany during the early 1800s. They quickly traveled across other European nations and became particularly well-liked in England and France. These small clay figures were created as garden ornaments for affluent Europeans.
Following World War I, gnomes began to lose their appeal, but Disney’s 1930s film Snow White and the Seven Dwarfs revived their popularity. By then, garden gnomes were reasonably priced, allowing everyone to buy one.
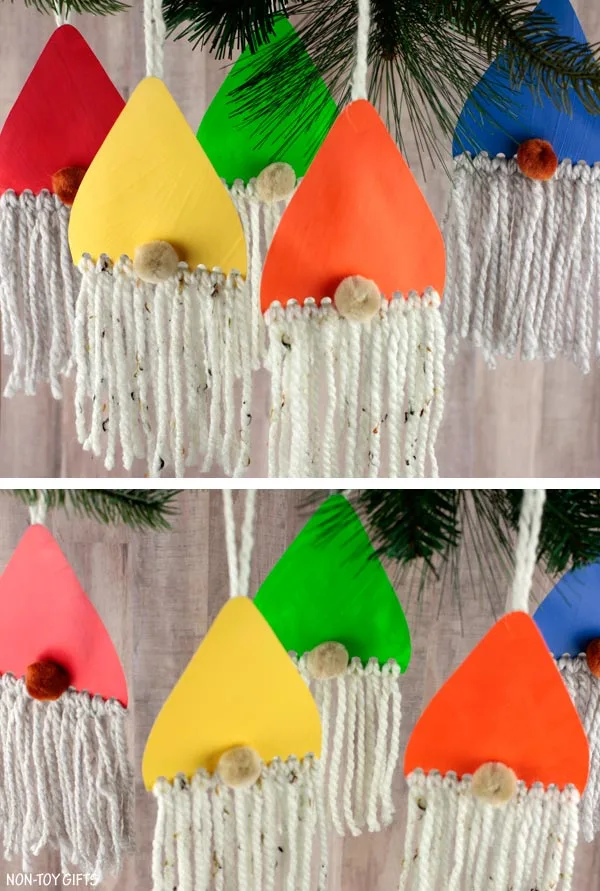
Today, gnomes appear in well-known books, serve as characters in games and films, and can be seen in parades or gnome-inspired parks. (I had no idea until now that Minnesota, where I live, had a gnome park. I’m adding it to my list of activities for next summer).
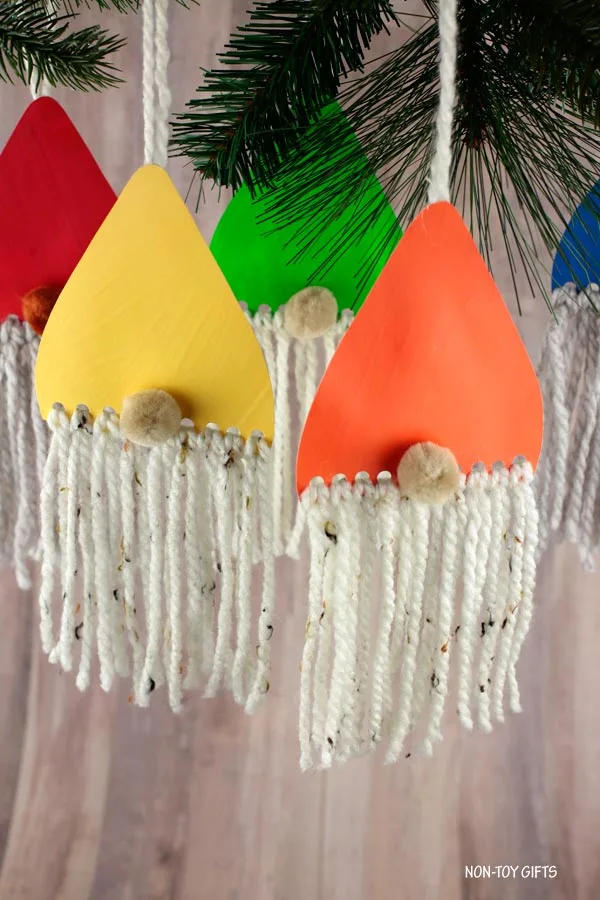
What do gnomes represent?
Gnomes represent good fortune.
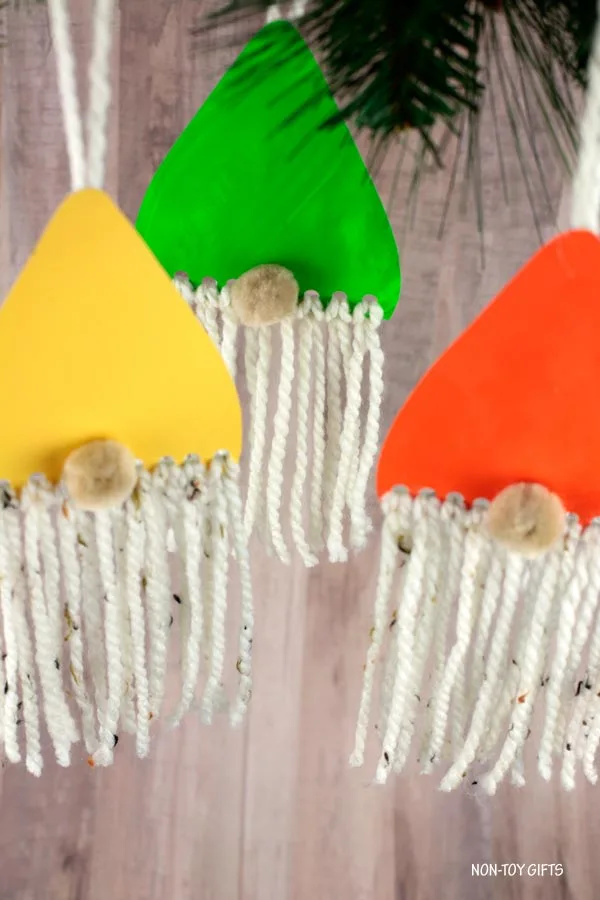
Since everyone could use a little good fortune at home, let’s create these handmade Christmas gnome ornaments today.
Last week, we made these paper plate gnomes – a yarn and paper plate project for preschoolers and older children to use as a sewing exercise.
Today’s gnome ornaments are another festive craft project for children. They’re simple to put together and support young children in developing hand-eye coordination and fine motor abilities.
I designed a free printable gnome hat template, which you’ll find at the bottom of the post.
Materials:
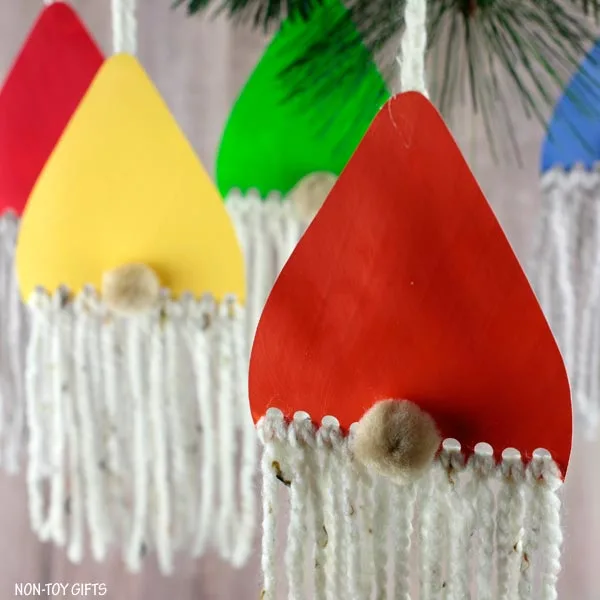
Making DIY gnome ornaments
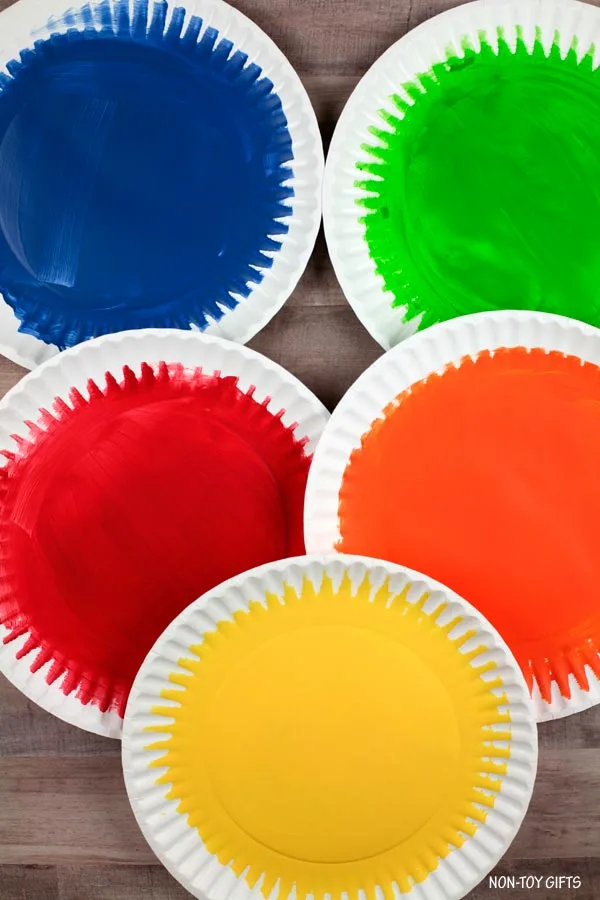
First, paint a paper plate using any shade you prefer. It will become the gnome’s hat.
Get the template, then trim out the hat shape.
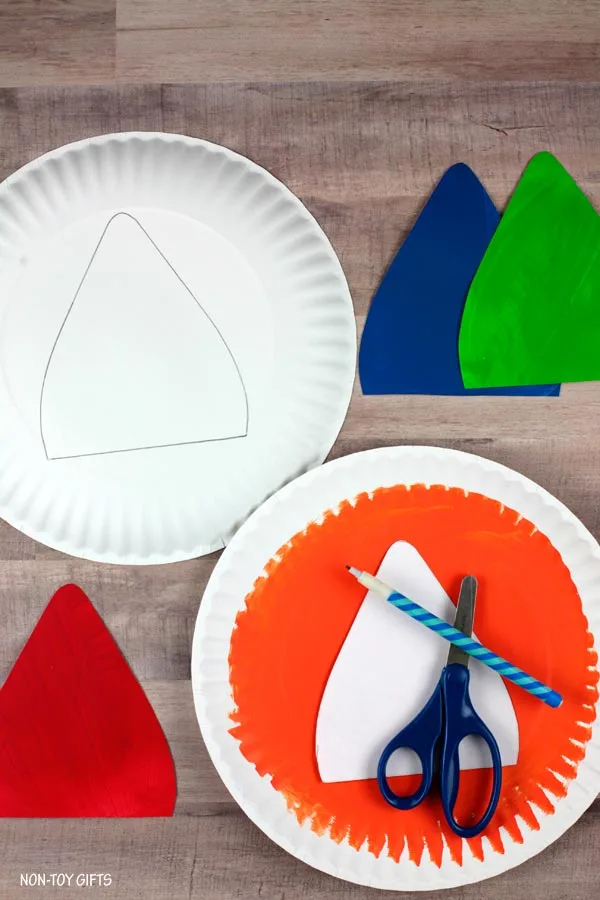
After the paint is fully dry, flip the paper plate over and outline the hat on its underside. Then cut it out.
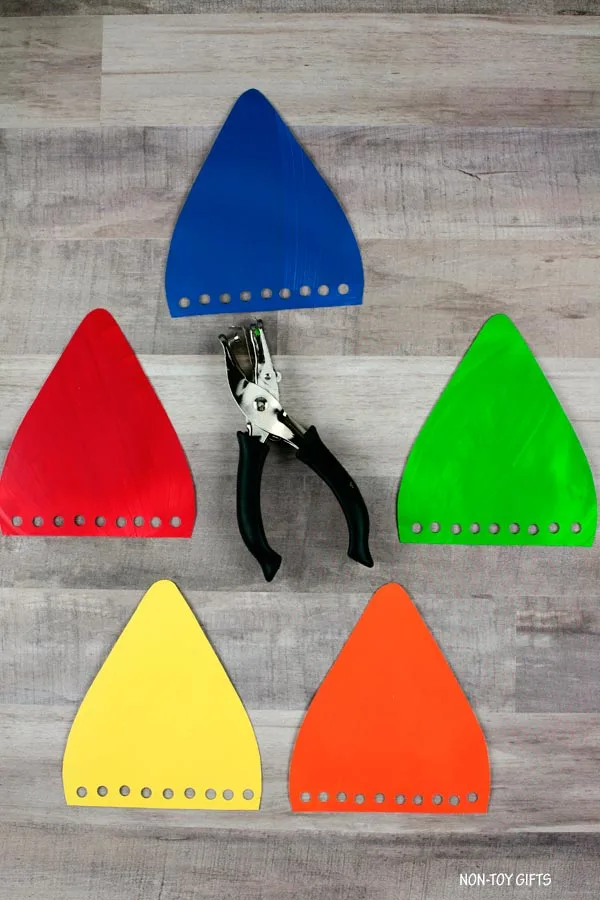
Punch openings along the lower edge of the hat.
Snip several pieces of yarn, using the same number as the holes. Ensure every piece is equal in length.
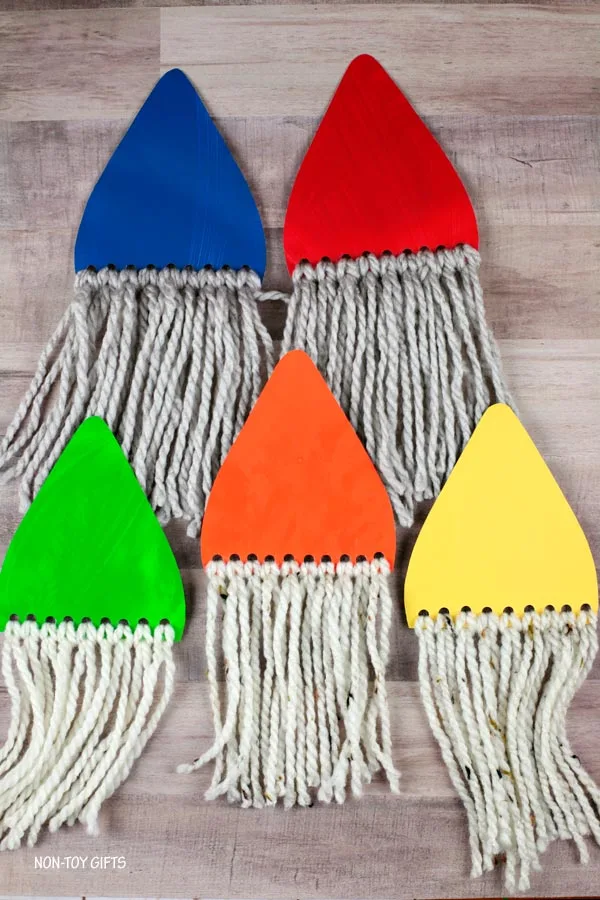
Bend one piece in half, then push the folded section through a hole in the hat to form a loop. Pass the opposite end of the yarn through the loop and tug firmly to fasten it to the hat. Continue until the gnome’s entire beard is finished.
Attach a pom pom with glue to the lower edge of the paper plate hat.
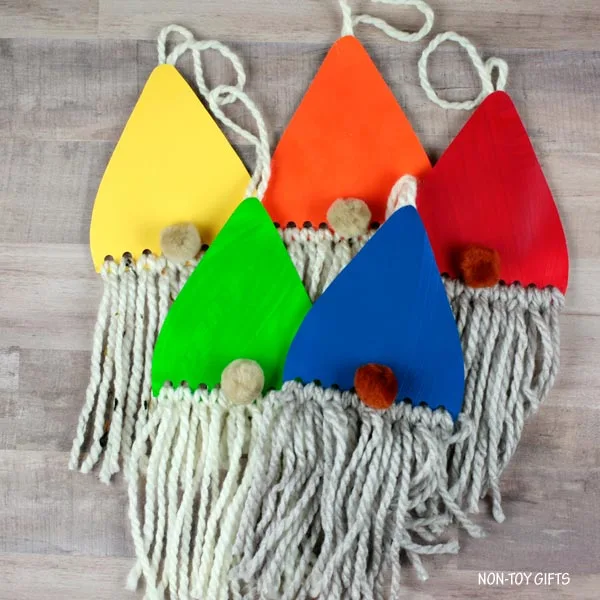
Snip one more piece of yarn and adhere it to the upper back of your ornament.
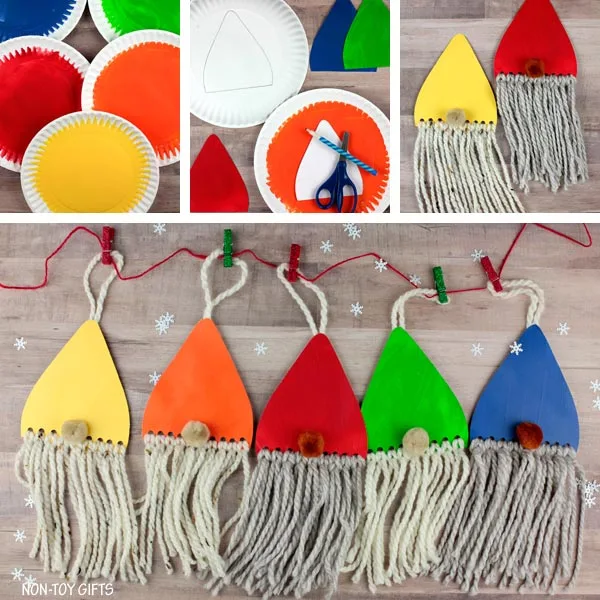
Supplies
- gnome hat template – located at the end of the article
- paper plate
- acrylic paint
- white or gray yarn
- white, tan or brown pom pom
Equipment
- paintbrush
- scissors
- hole puncher
- hot glue gun and glue sticks
Directions
- First, paint a paper plate using any shade you prefer. It will become the gnome’s hat.
- Get the template and trim out the hat design.
- After the paint is fully dry, flip the paper plate over and outline the hat on its reverse side. Then cut out the shape.
- Punch holes along the bottom edge of the hat.
- Trim multiple yarn pieces according to the number of holes. Ensure every strand is the same length.
- Take one strand, fold it in half, and guide the folded part through a hole in the hat to create a loop. Pull the remaining ends through the loop and tighten to atChristmas Paper Chain in Four Easy Stepstach the yarn to the hat. Continue this process until the gnome’s beard is complete.
- Secure a pom pom with glue along the bottom of the paper plate hat.
- Trim an additional piece of yarn and attach it with glue to the upper back of your ornament.
Tips
TIP: Choose a colored paper plate to avoid having to paint it.
Did you ENJOY this craft?
Embrace the holiday mood by discovering how to create a Christmas paper chain. Make a simple, inexpensive decoration for your home or Christmas tree! Kids and grown-ups will both enjoy this activity.
Skills Required: None. You don’t need any previous crafting experience to make these chains. Simply cut the paper, join the ends, and connect the loops.
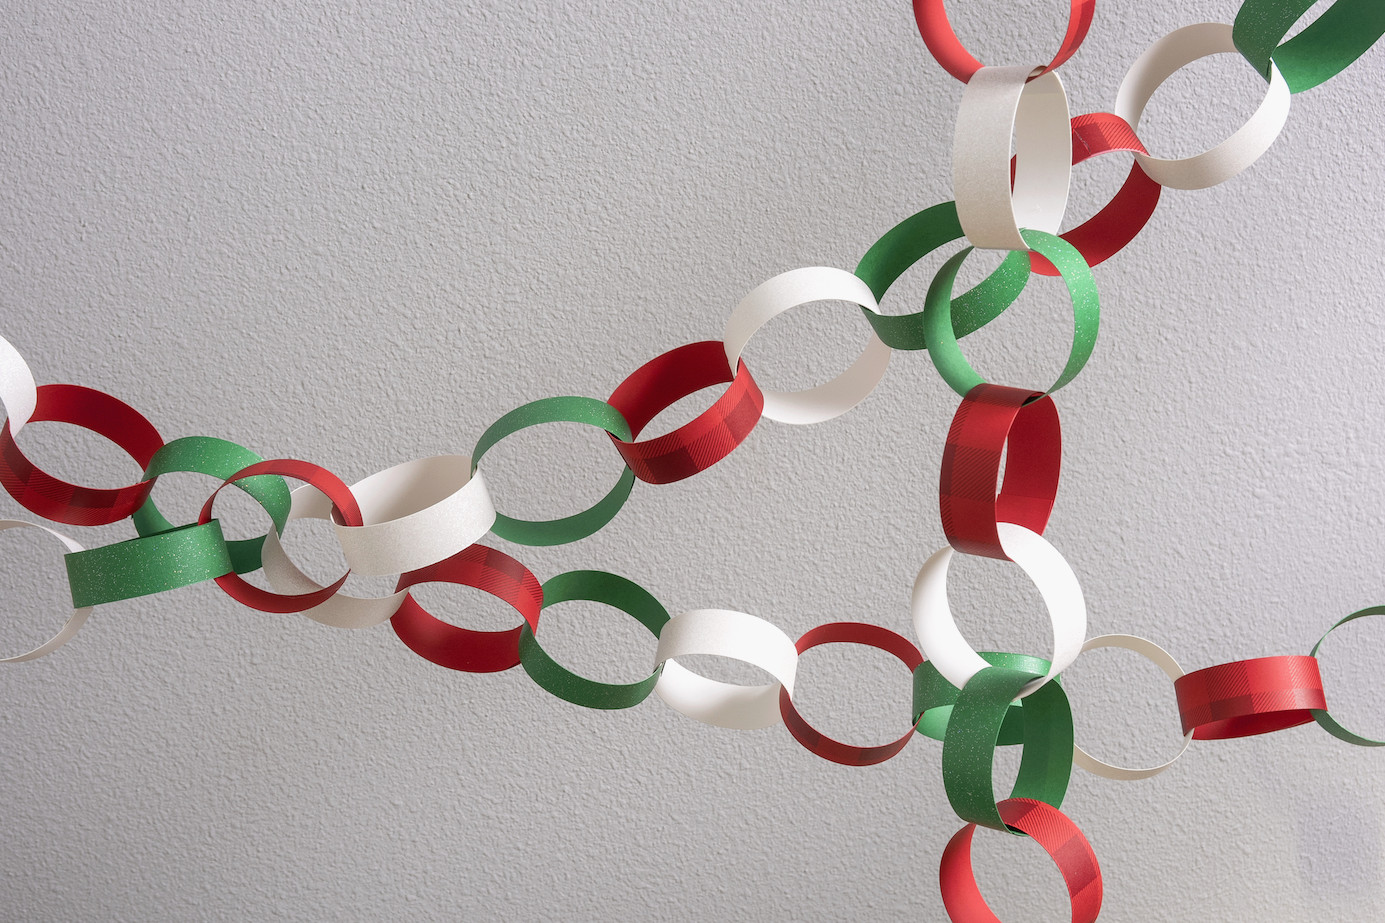
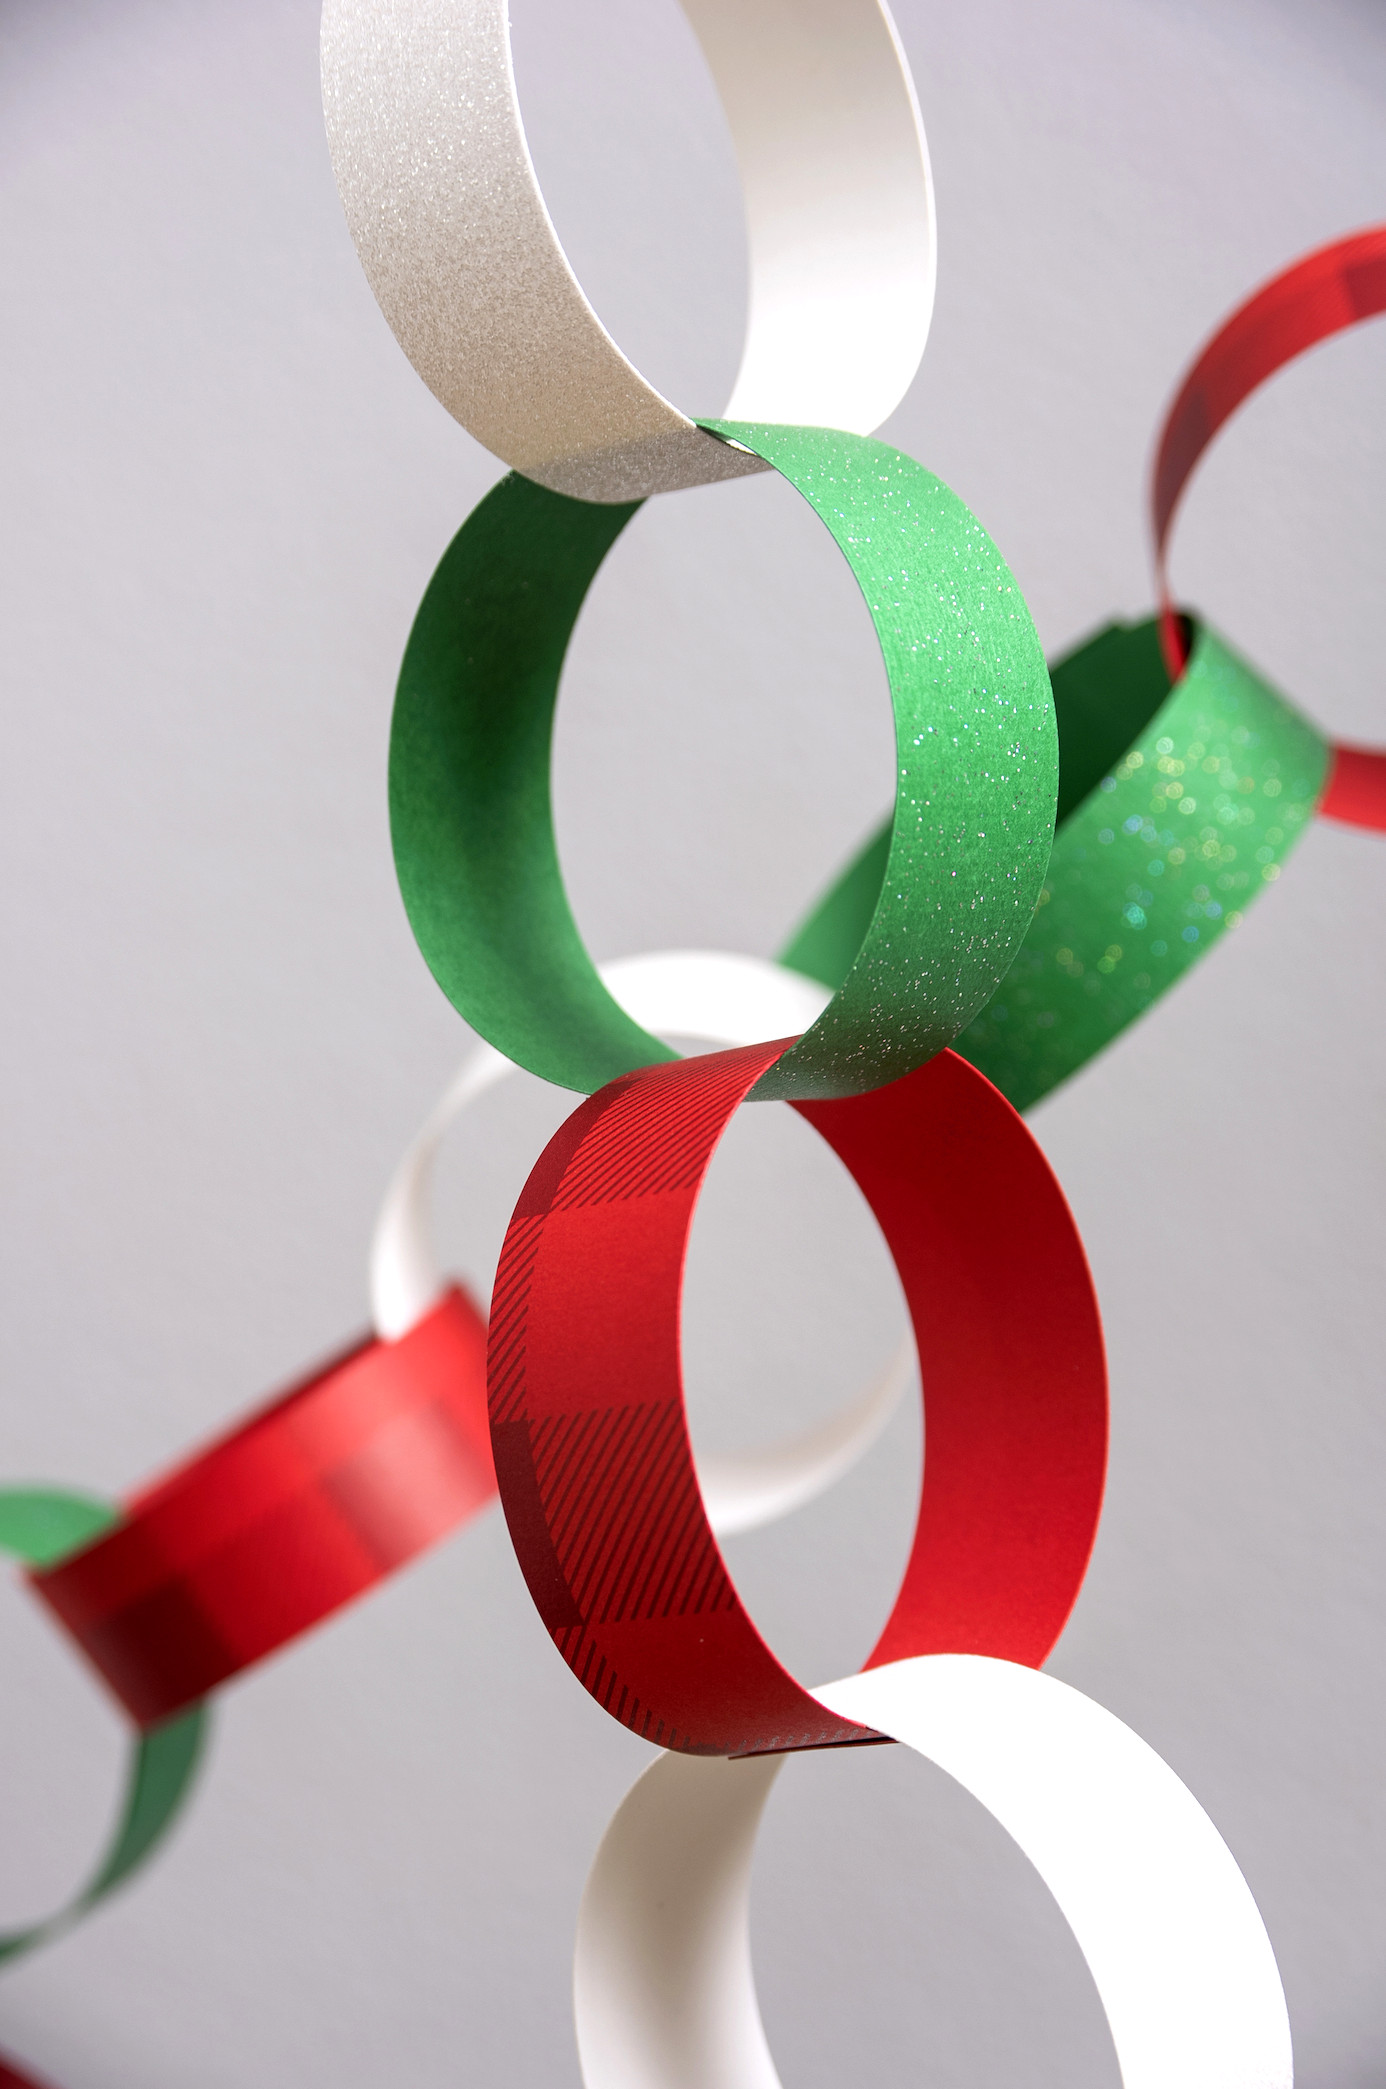
The festive season offers an ideal opportunity to get crafty and adorn your home with homemade Christmas decorations! As you can probably guess, I’m a big fan. Today, I’ll demonstrate how to make a Christmas paper chain.
Let’s be honest: paper chains have existed for ages! They aren’t a new idea. Ever since construction paper was created and people began enjoying paper crafts . . . paper chains have been popular.
They remain popular because they’re simple to create, even for complete beginners. They also bring back memories of making crafts at school. Who didn’t create one when they were young?
This uncomplicated but delightful craft brings holiday joy to any space, and best of all, it’s remarkably easy to put together.
A project like this is useful for much more than Christmas. Paper chains work wonderfully as home decorations, birthday party accents, shower decor, classroom embellishments, and even wedding decorations.
Depending on the paper you select, they can look relaxed or elegant. No matter which supplies you decide on, they’re inexpensive to make. The essential material? Paper.
Once complete, suspend your paper chain from the ceiling, stretch it along a mantel, or use it as garland on the Christmas tree. Smaller chains can also be made to embellish holiday cards and gift packages.
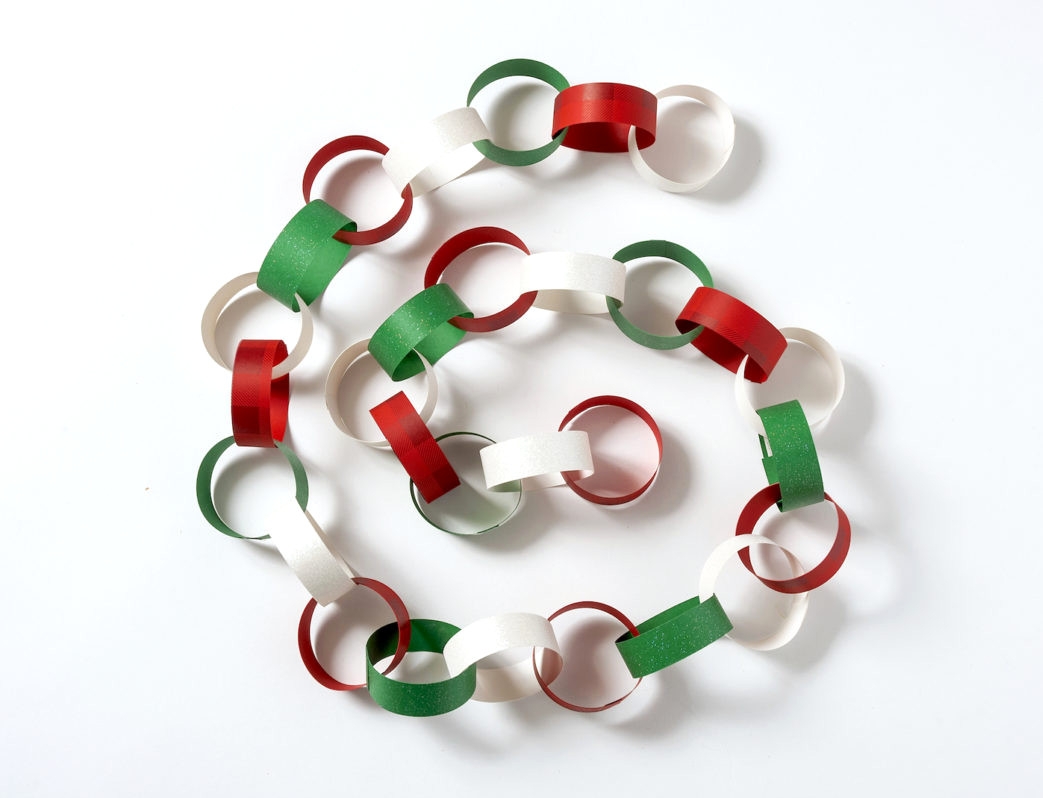
Before explaining how to assemble the chain, I’ll address several common questions about this craft. If you’re ready for the instructions, scroll down to the how-to card at the bottom.
Q: What is a paper chain and what is it used for?
A: A paper chain is an uncomplicated but eye-catching craft created by looping and connecting strips of paper. It is commonly used for decorations and festive occasions. Both children and adults can enjoy this engaging, hands-on project.
Q: How do you make a paper chain?
A: Begin by selecting your paper colors and varieties, then cut the strips, form a starter loop, and continue adding additional loops. I’ll guide you through this easy four-step method (and there’s a video as well).
Q: Can you use different materials to create one?
A: Absolutely. Construction paper, cardstock, wrapping paper, paper bags, and recycled items such as magazine pages can all be used. Make sure the material bends easily enough to form loops and remains sturdy enough to keep its shape (reinforce it if necessary).
Q: How can I make my chain more unique and personalized?
A: Give your chain an individual style by selecting paper in various colors, designs, or textures. You can also try changing the width, length, and shape of the strips.
For additional seasonal character, consider using old Christmas cards or leftover wrapping paper.
Q: How do I store and reuse my paper chain if I want to keep it?
A: Gently fold or coil the chain, being careful to avoid flattening the loops. Keep it inside a resealable plastic bag or airtight container to shield it from dust and humidity. Place it somewhere cool and dry, away from direct sunlight, to help prevent the colors from fading. When you’re ready to use it again, simply unfold or unroll it and hang it wherever you like.
Here are the materials you’ll need for this craft.
Gather These Supplies
- Construction paper or cardstock
- Stapler or Glue Dots or glue (school glue, glue stick, or hot glue too)
- Ruler
- Pencil
- Scissors or craft knife
I like using cardstock because it offers greater thickness and support.
There are multiple ways to join the paper ends and form the loops. The options used most often include adhesive dots, glue, and a stapler.
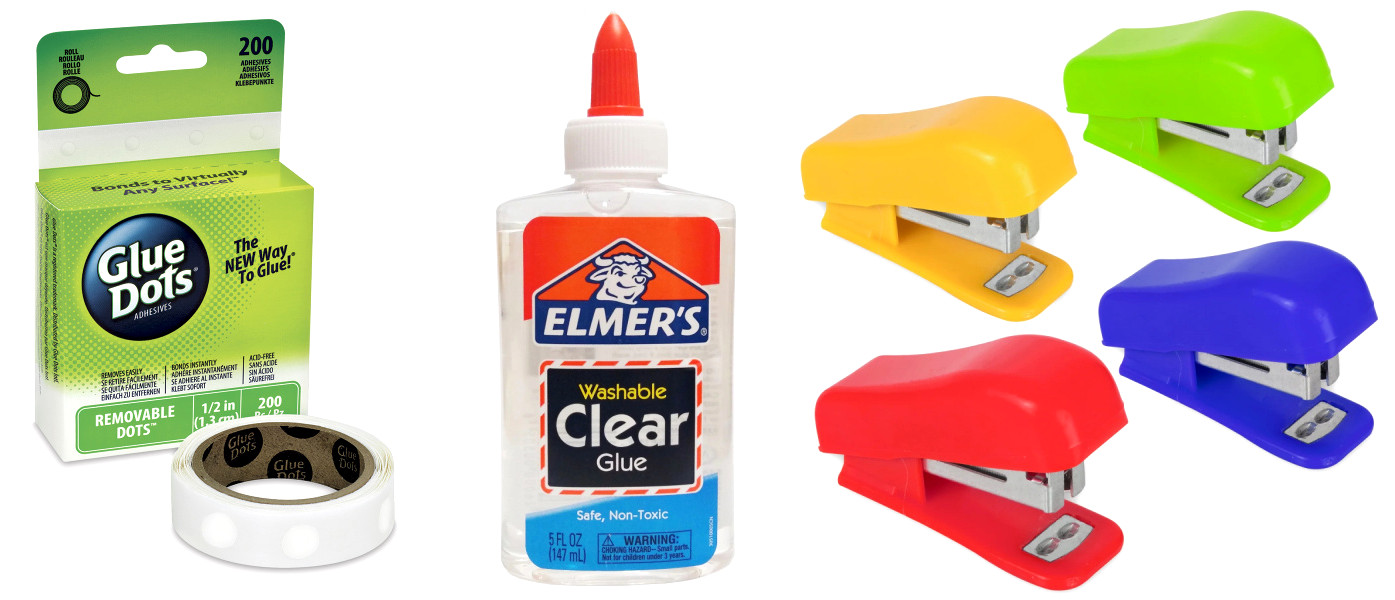
Glue Dots, also known as adhesive dots, are useful because they create no mess and remain hidden. They’re also simple to use. They may be the priciest choice, although they’re still fairly affordable.
Glue is another excellent choice, especially when crafting with children. Hot glue, liquid glue, or glue sticks can all work. With this method, you’ll need to keep the paper together until the adhesive sets, so choose quick-tack glue when working with young children who may become restless.
As a final option, you can reach for a stapler when necessary. The staples are somewhat noticeable, and the paper edges may not lie completely flat, but they’re a handy solution when you’re in a hurry!
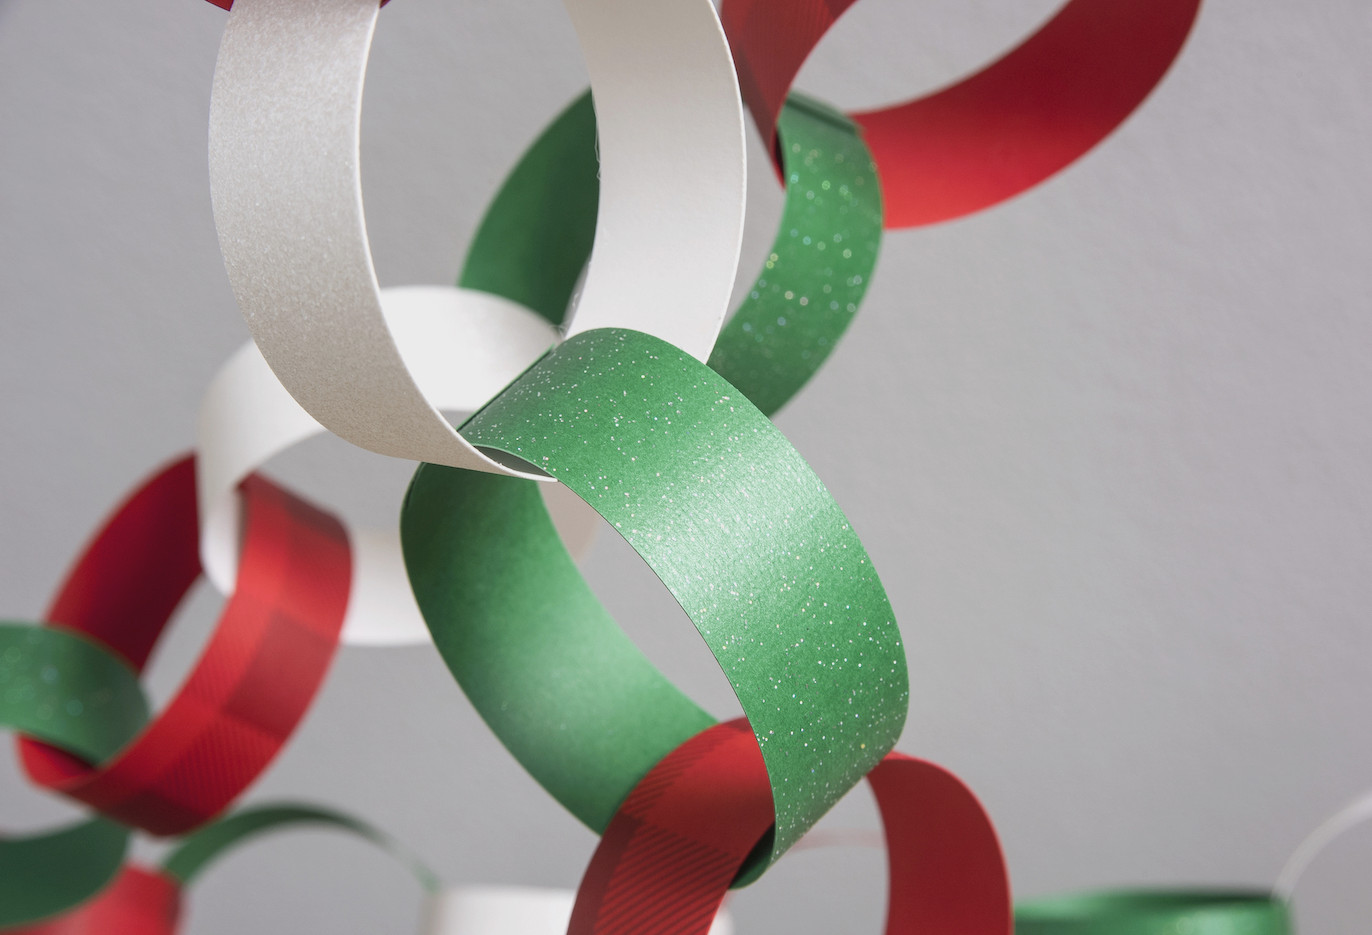
Ready to create your Christmas paper chain? Find the instruction card and video below!
Christmas Paper Garland
Looking for an enjoyable project to share with the children or hoping to give your festive decorations a handmade feel? This simple paper chain craft is bound to bring smiles.
Makes: 3 chains
Price: $1
- Select the paper for your garland. Sturdier sheets will help the chain maintain its form. I used green glitter, white glitter, and red buffalo-check paper. Every sheet creates approximately 11 links.
- With a craft knife and ruler, slice the paper into 1″ strips. Without a craft knife, use the pencil to mark guide lines, then snip along them with scissors.
- Apply glue or one or two Handprint Christmas Tree Craft For Kidsadhesive dots to one end of a paper strip. Curve the opposite end around and press it in place until secured. Allow it to dry or cool.
- Pick up another paper strip and pass it through the first link. Secure its ends with glue and leave them to dry. Repeat until every strip has been incorporated and the chain reaches your preferred length.
- Attach the last link, then allow the garland to dry before hanging it with Command strips or tape.
This handprint Christmas tree project makes a wonderful activity for families or classrooms. It is an easy craft that creates a lovely decoration for your home or learning space.

We enjoy creating handprint projects, and although most of our crafts use just one handprint, we have also made a few designs with several. Have a look at this handprint flower bouquet I made for my children’s teachers. It will show you what the tree may look like if you choose to add names to the handprints.
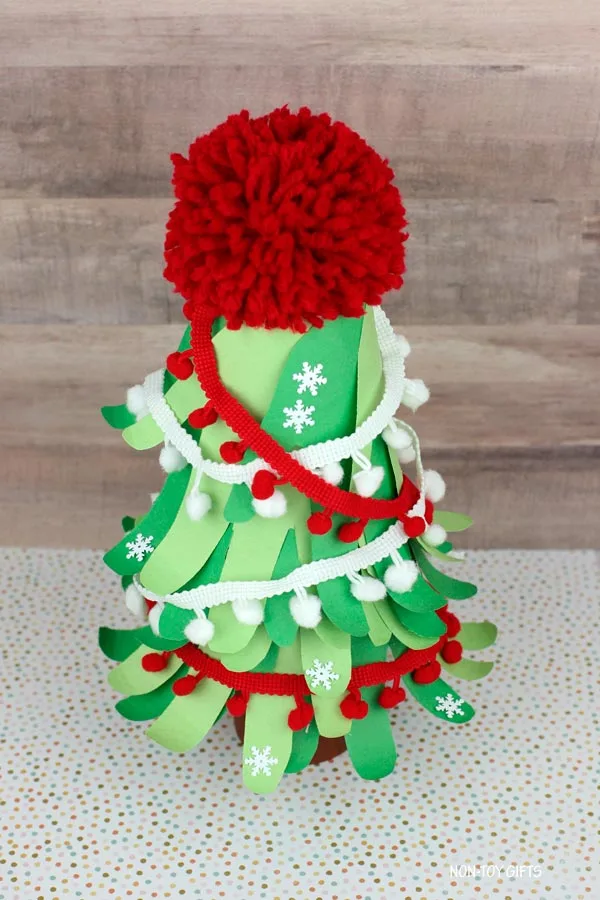
If you’re ready to try more holiday projects for children, be sure to explore these 30 Christmas tree crafts or these 24 handprint Christmas crafts.
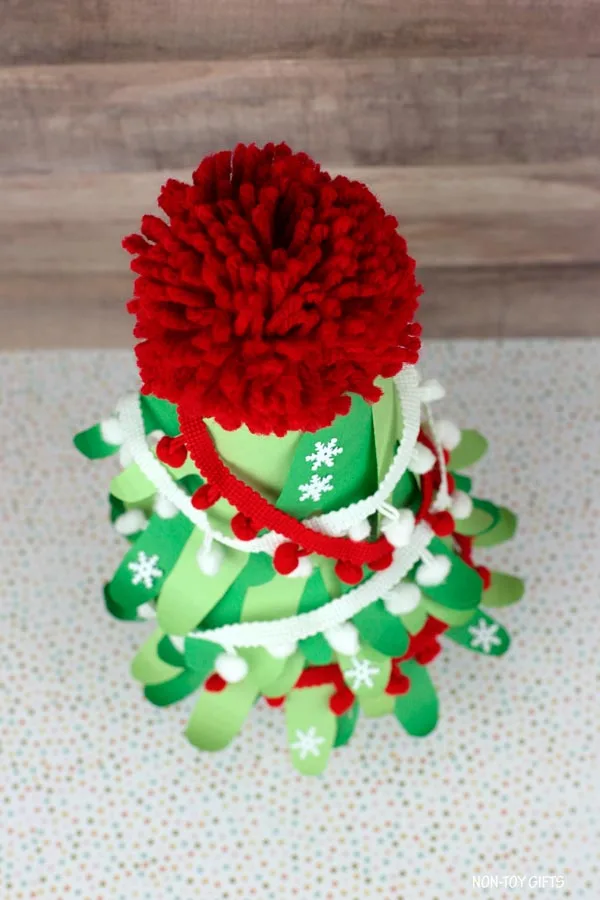
Adult assistance is needed for this handprint Christmas tree project because the handprints are attached to paper cups with a hot glue gun. Another option is to let children use a low-temperature glue gun. I began with a low-temperature glue gun when my boys were young, and they are now confident using a standard hot glue gun.
Materials:
How to create a DIY Christmas tree decoration
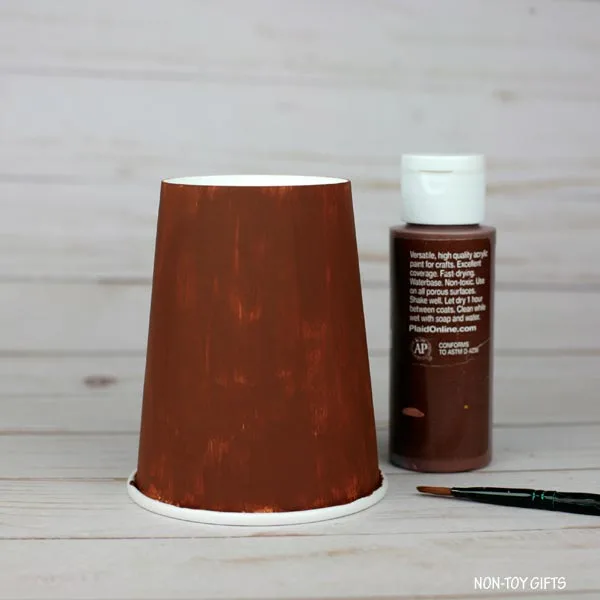
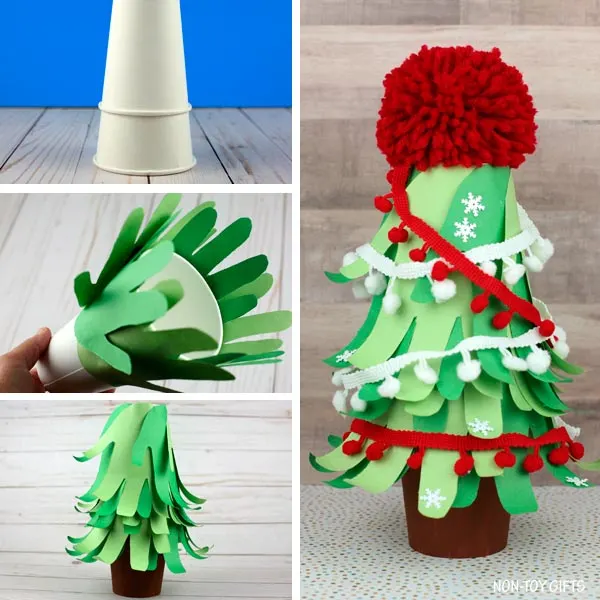
First, paint one of the 9oz paper cups brown. Leave it aside until it has dried fully.
Trace your child’s hand onto green construction paper, then cut out the shape. Continue until you have as many handprints as you would like for your Christmas tree. We made 22 handprints.
TIP: Choose several shades of green for the handprints.
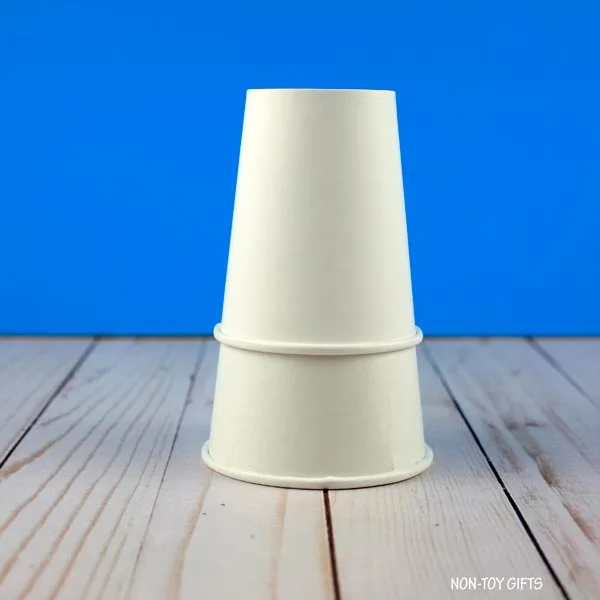
Put the white 9oz paper cup over the 12oz paper cup, then secure the cups with glue.
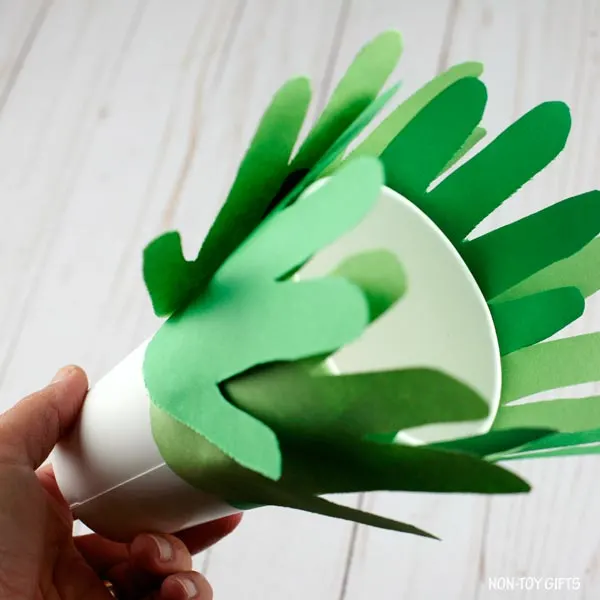
Attach the handprints to both paper cups with glue. Begin along the bottom and work your way around the cup.
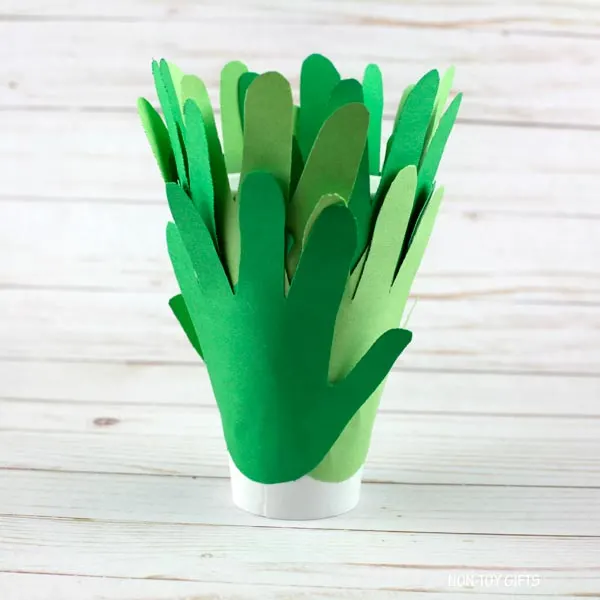
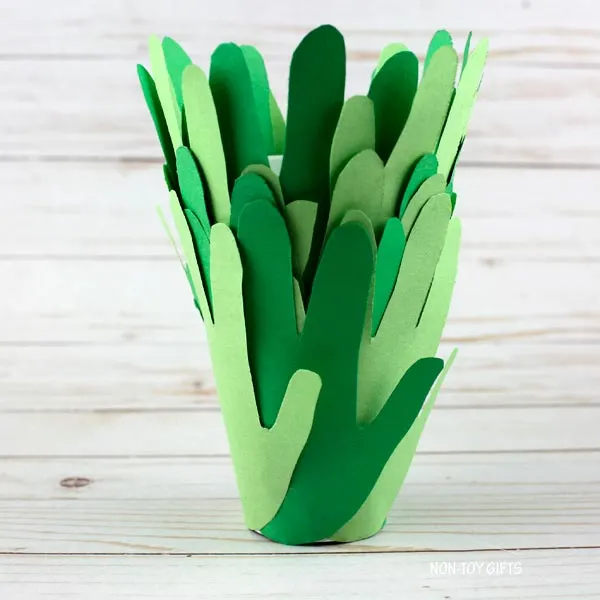
Add the second handprint row, then complete the tree with a third layer.
TIP: When using fewer handprints than we did, you might prefer making just two layers.
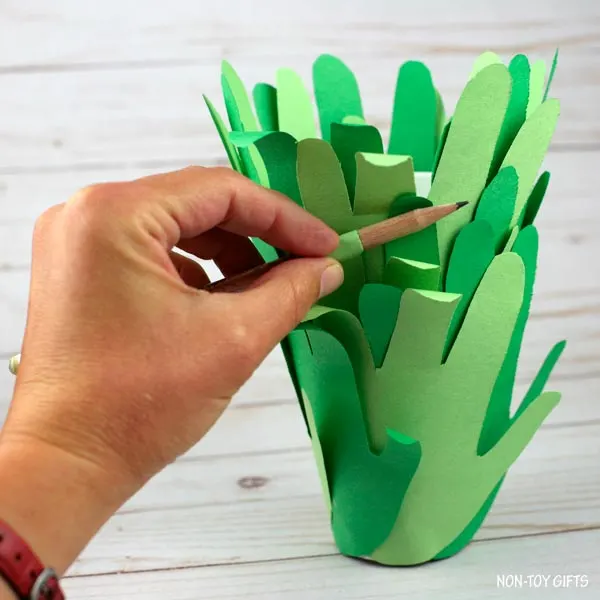
With a pencil, gently curl the fingers upward.
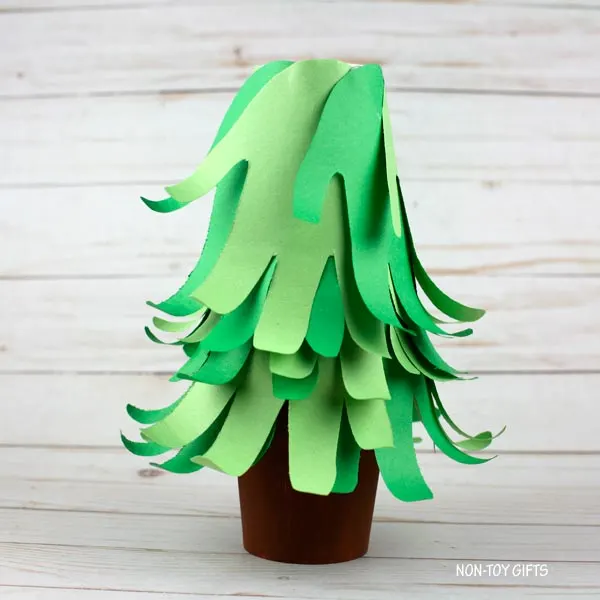
Set the tree onto the brown paper cup. You may glue the pieces together, although it is not essential.
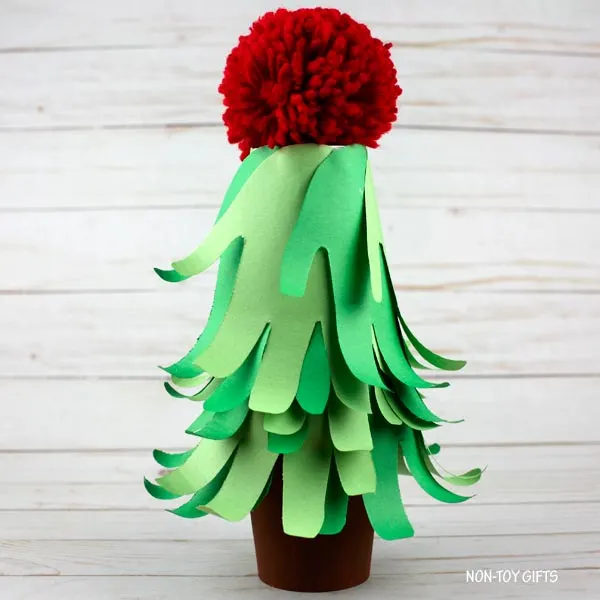
You can begin embellishing it now. We placed a large red yarn pom pom at the top and wrapped mini pom pom trim around the tree. We also had a few small snowflakes available, so we added those as well.
Materials
- 2 white 9oz paper cups
- white 12oz paper cup
- brown craft paint
- paintbrush
- green construction paper
- large red pom pom
- small pom pom trim
- pencil
Equipment
- scissors
- hot glue gun or low-tempThis Lime House in Gujarat Redefines Climate-Conscious Architecture | Dinterplay Architectserature glue gun with glue sticks
Tips
TIP: Select various green shades for the handprints.
Suggested Products
As an Amazon Associate and member of other affiliate programs, I earn from qualifying purchases.
Did you ENJOY this project
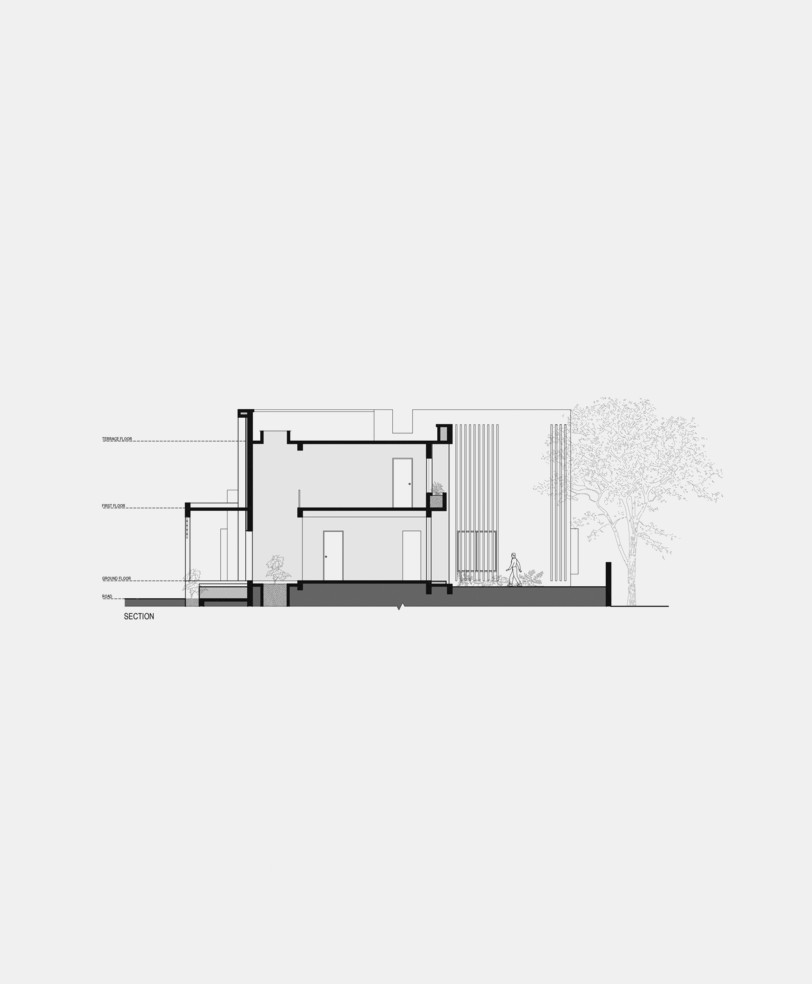
Drawn from the Sanskrit term Neeti, which signifies intention or a guiding philosophy, the project emerges through a sequence of deliberate design choices. Every choice addresses the climate, setting, and daily routines of family life. Set within the hot, dry terrain of northern Gujarat, Neeti – Lime House at Palanpur adapts age-old construction knowledge to modern habitation. Passive climatic techniques, organic materials, and carefully considered spatial organization work together throughout the design. Lime is not applied merely as a decorative coating; instead, the architects employ it as a breathable construction system. It improves thermal comfort, highlights artisanal skill, and serves as a central feature of the residence’s architectural identity.
This Lime House in Gujarat Reimagines Climate-Responsive Architecture | Dinterplay Architects

Positioned on a corner site edged by roads to the south, east, and west, and agricultural fields to the north, the home addresses both its surroundings and the family’s way of living. Rather than locating the main garden before the residence, the landscape occupies the eastern side of the property.

Shaping Spaces through Shade
In the morning, two established neem trees offer ample shade, and as the sun travels westward, the stepped building volumes progressively extend their shadow over the garden. Consequently, the outdoor area stays pleasant across the day and feels especially welcoming in the evening, when the family comes together. In this way, the building itself functions as an element of the climatic response.


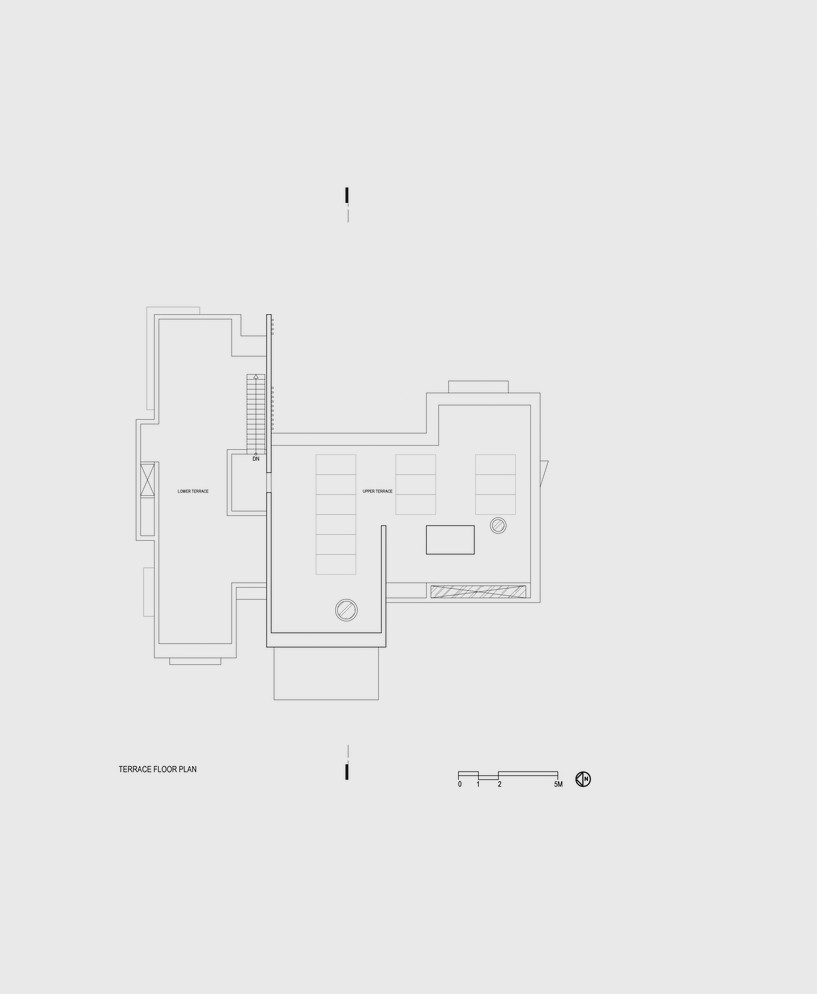
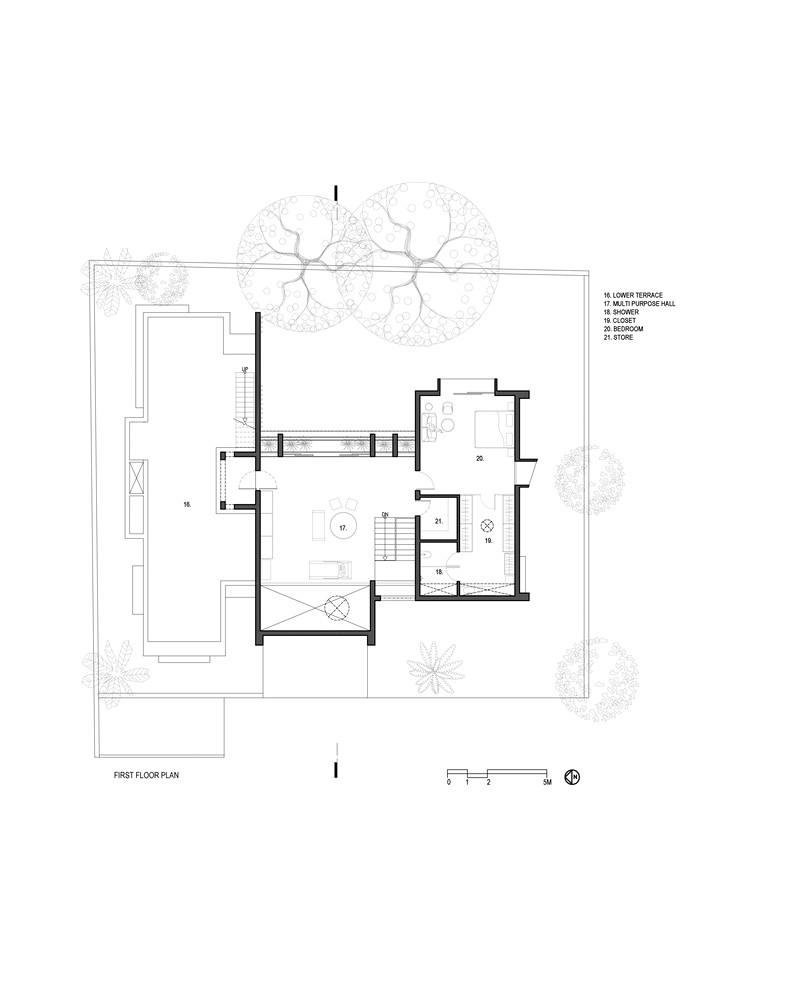
Three offset wings compose the residence, directing prevailing breezes while carefully negotiating privacy, natural light, and everyday activity. The bedrooms are placed along the more secluded northern boundary, whereas the living room, dining area, and kitchen remain visually connected to the garden. A double-height arrival court marks a measured shift from the public domain, while strategically located apertures capture views of the existing trees, promote cross-breezes, and moderate daylight. Broad roof projections and terracotta jaali screens shield the southern and western elevations from harsh sunlight while allowing air to move freely.

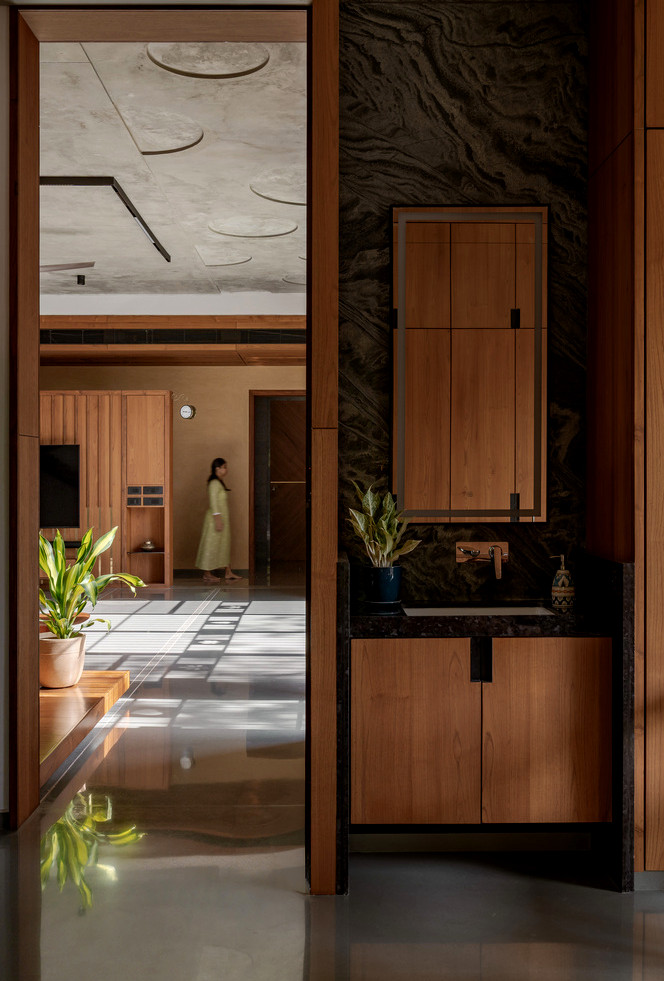
A Material Palette with Air
The choice of materials establishes the home’s identity as well as its ecological performance. Tactile lime plaster, dry-laid sandstone cladding, terracotta screens, Kota stone, salvaged timber, and handcrafted accents form a calm selection of locally obtained materials designed to mature beautifully with age.
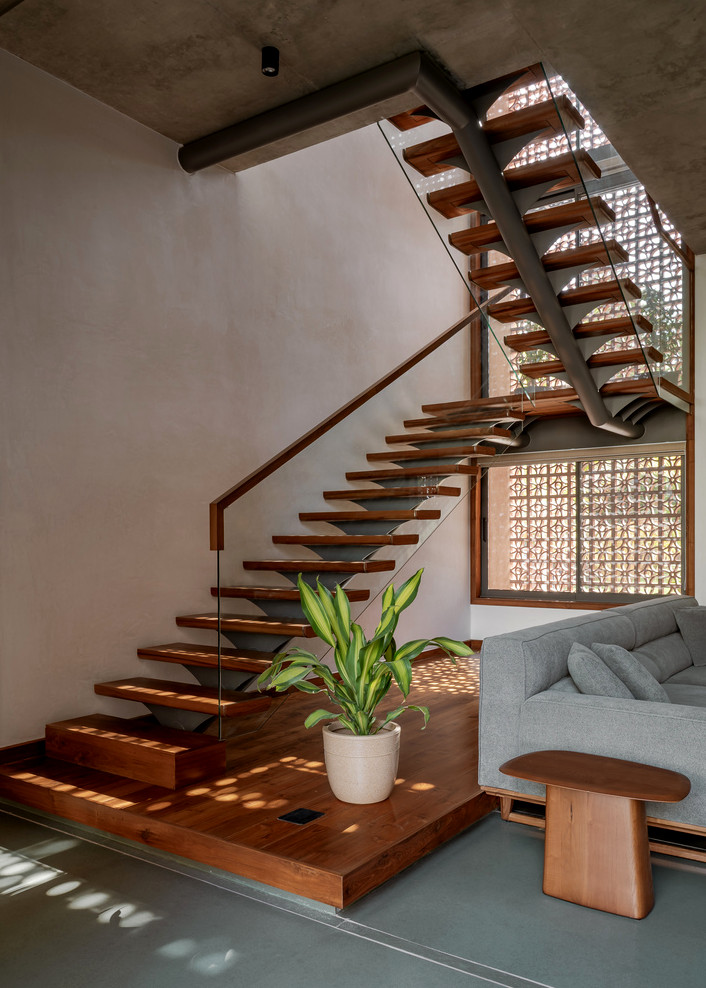
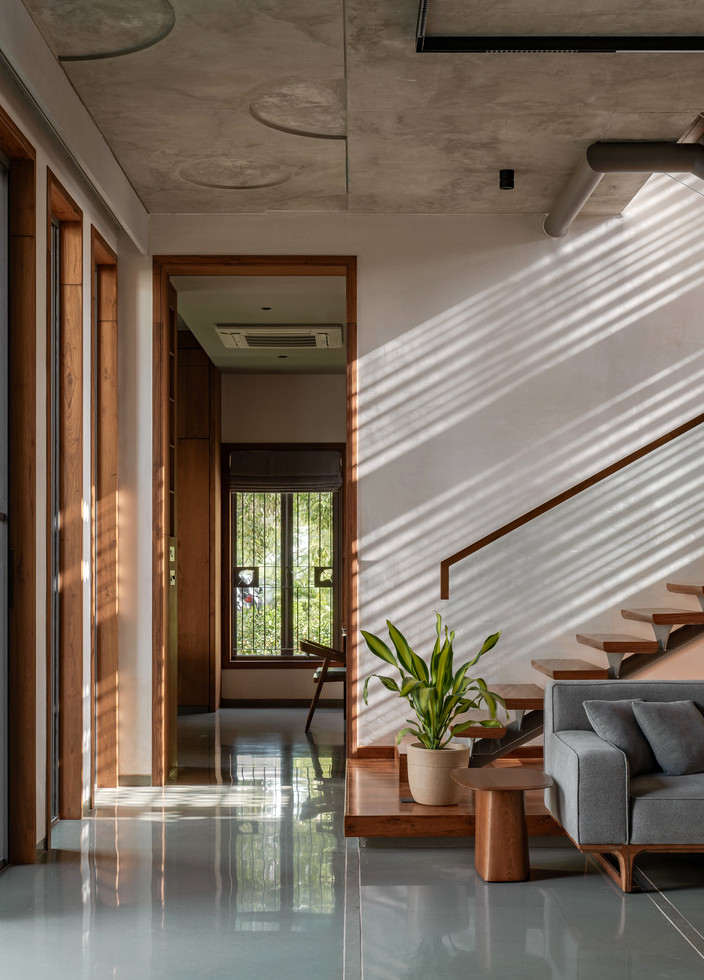
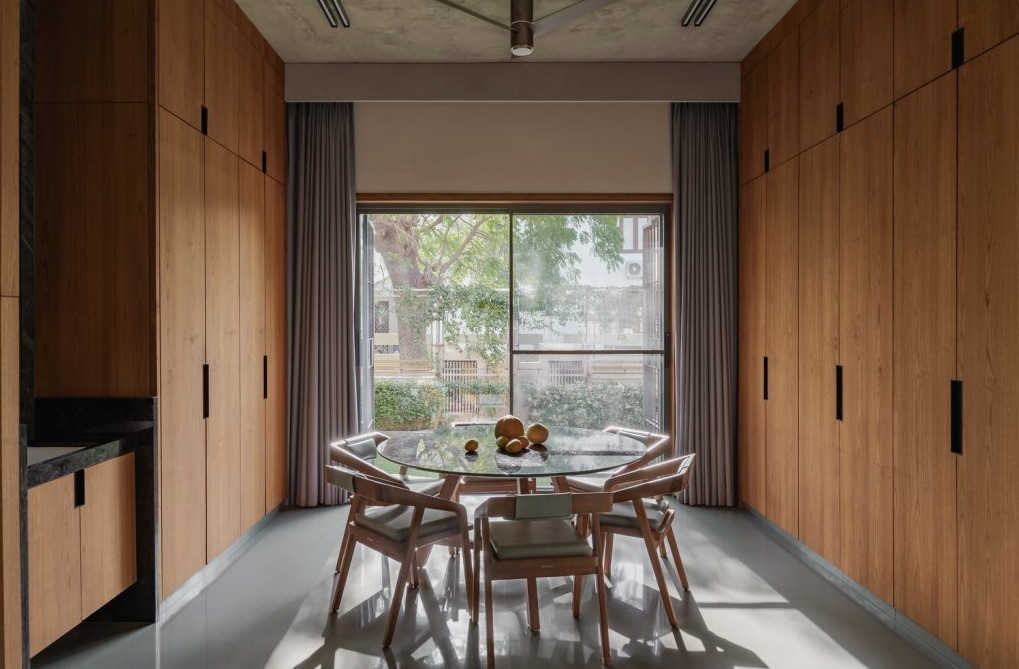
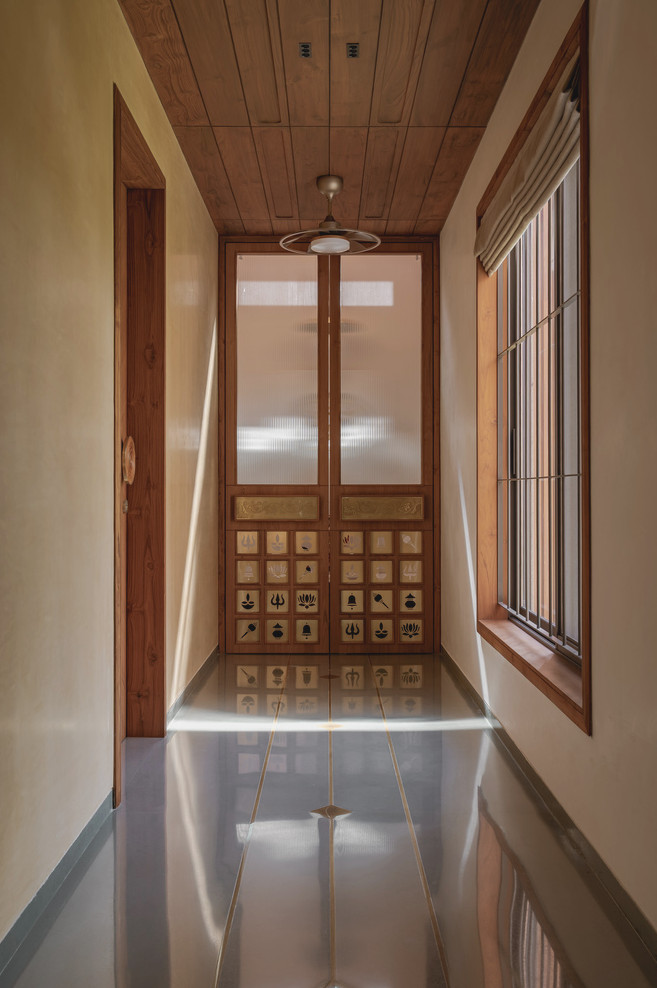
On the exterior, offset framed forms wrap the sandstone-covered surfaces, lending the façade dimension and a layered visual character. Within, artisanal lime plaster creates walls that can breathe, while leather-textured and polished Kota stone are arranged into understated flooring designs. Brass inlay bands along the passage to the Pooja area create a restrained connection with the prayer room, expressing material consistency through considered craftsmanship.
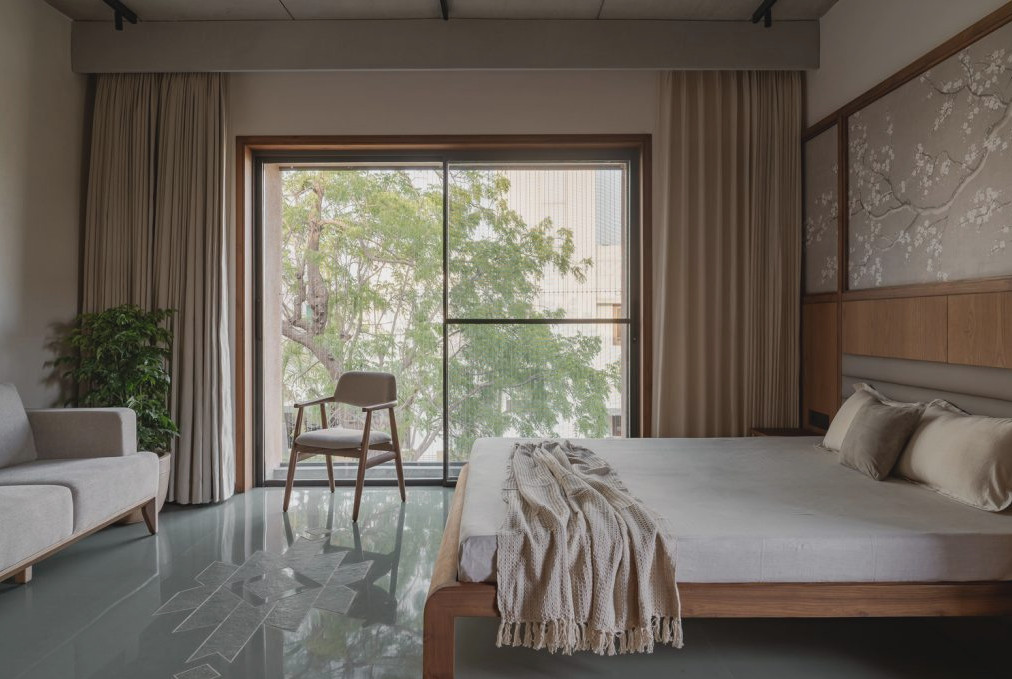
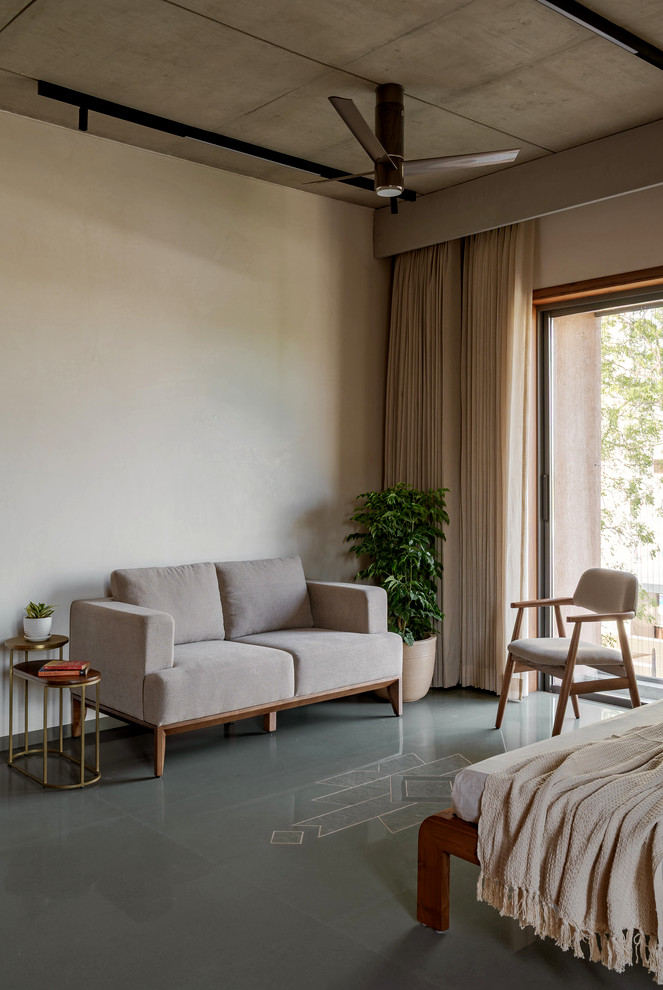
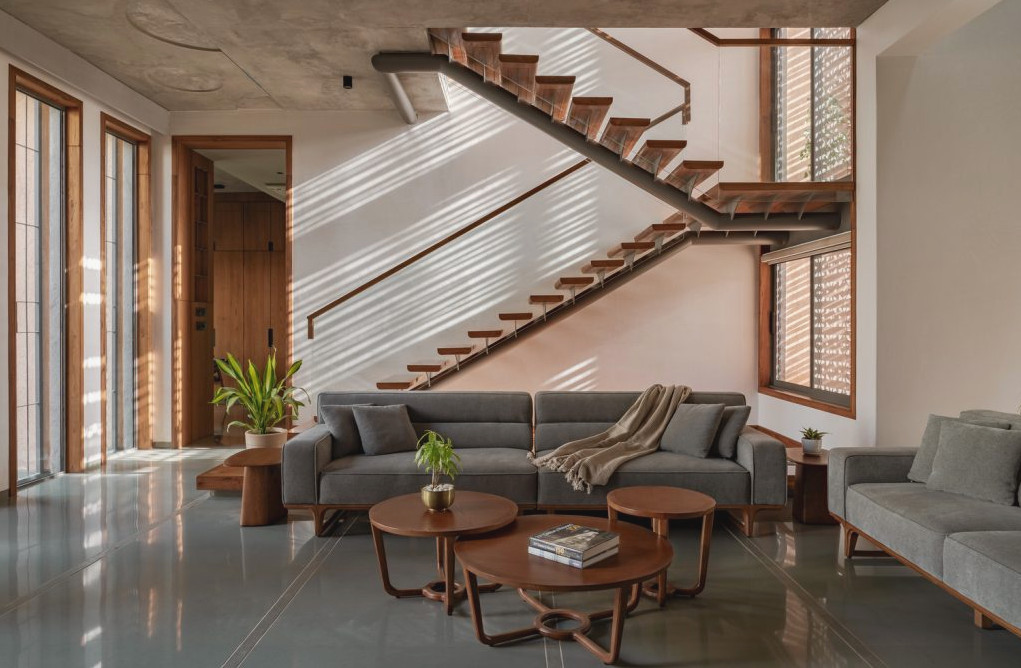
A sculptural stairway stands at the center of the house, linking its two floors. Taking inspiration from the cadence of the human spine, it brings together a fine steel backbone, wooden steps, and a clear glass balustrade, conveying structural honesty alongside an airy visual quality.
?
The project brief introduced a distinctive challenge: creating a residence that would embody inner resilience while functioning as a comfortable retreat for several generations. The client imagined rooms capable of serving as private sanctuaries while also encouraging family interaction—a nuanced equilibrium between independence and closeness. Every occupant, from senior family members to young children, demanded careful attention, with subtle luxury integrated throughout to enhance daily life.
How This Multi-Generational Home in Hyderabad Makes Family Bonding Its Most Valuable Luxury | Pranjal + Manu Architects

Creating Spaces for Every Generation
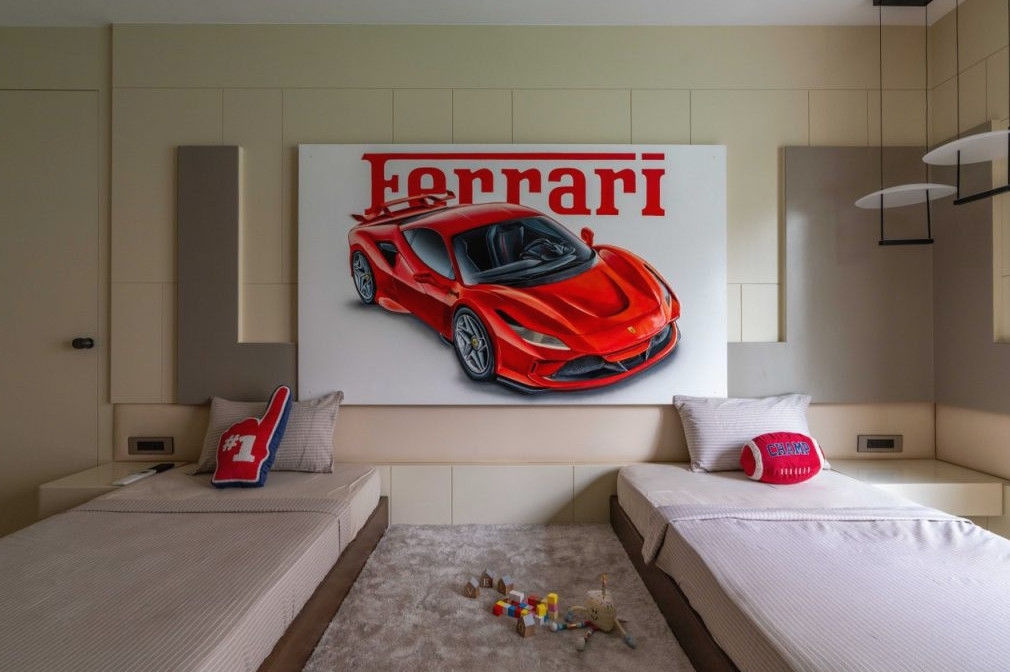
While the residence included five bedrooms, the layout lacked rooms assigned to specific activities. To address this, we creatively combined several functions within the shared areas. The formal lounge can be converted into a guest bedroom, while the home theatre doubles as a children’s playroom and an adults’ card room through the use of versatile furniture. Each resident’s individuality created a design obstacle, which was thoughtfully resolved through a solution-oriented approach. In the primary bedroom, handrails are cleverly concealed within the door handles to support the elderly resident’s movement. A hidden art door links the mother’s bedroom with the children’s room, encouraging both access and interaction. Achieving this called for deliberate planning and an inventive application of visual disguise.
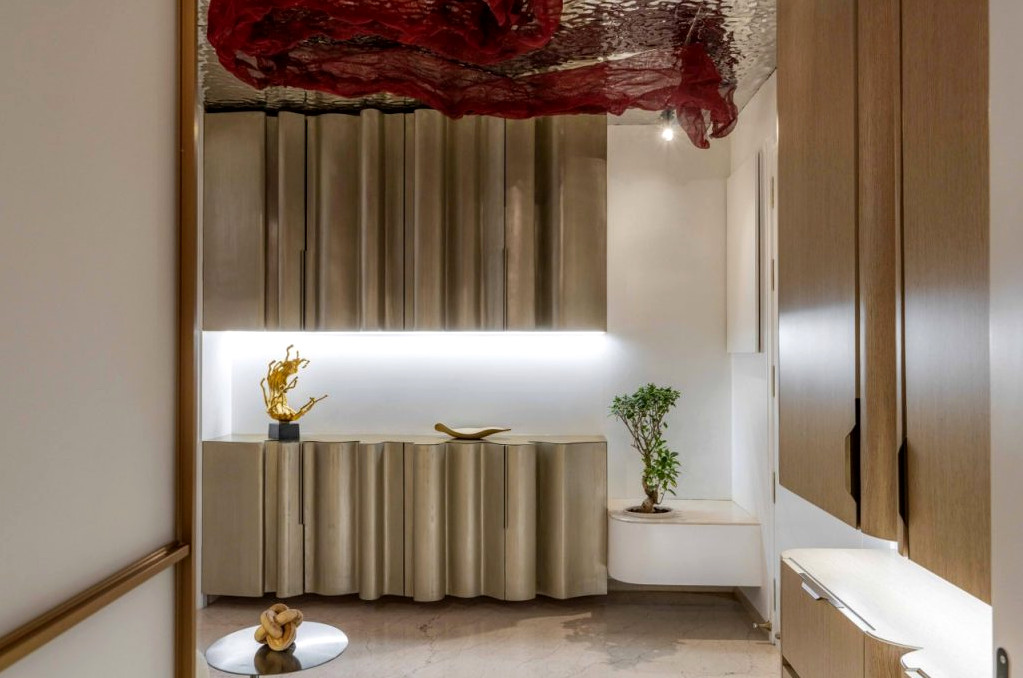
Curiously, a situation that first appeared to be a practical complication—overseeing the project from London while construction took place in India—ultimately became an advantage. Regular video meetings enabled an exceptional level of detail, as design revisions and technical documentation were developed overnight for direct execution the following morning. This collaboration across time zones maintained steady momentum and ensured exacting supervision.
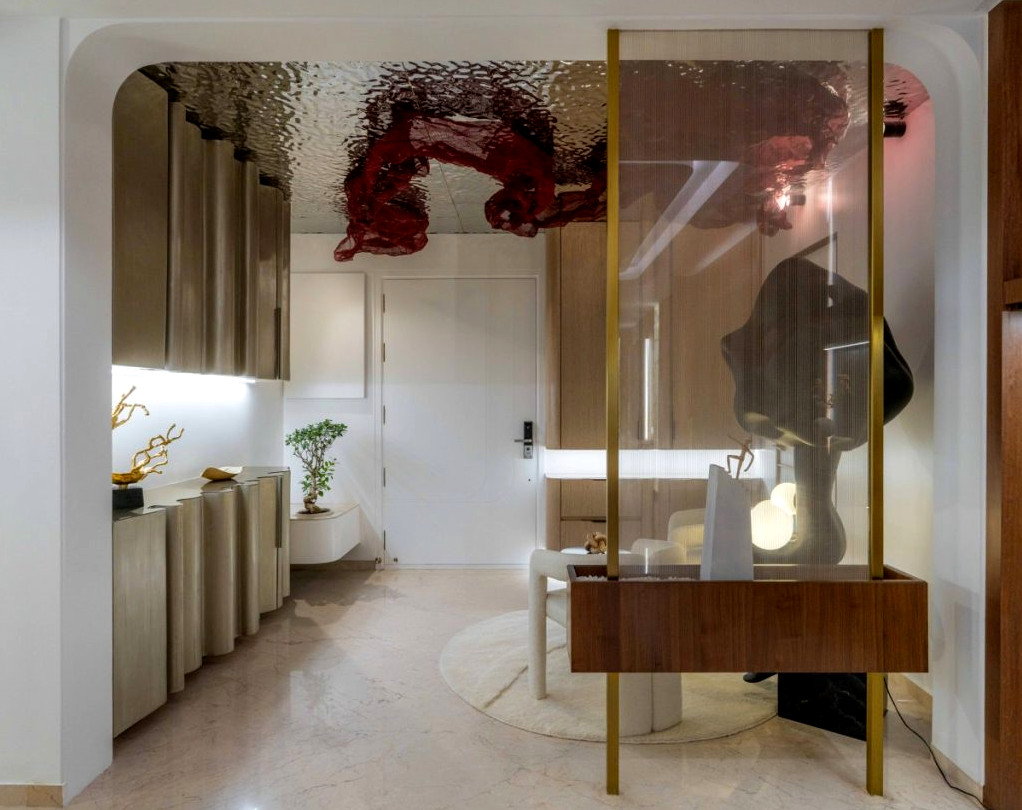
Shaping Every Curve
Converting the sinuous curves from initial sketches into detailed working drawings was the easier stage of the process. Bringing them to life, however, presented a different challenge—or so we assumed. We anticipated that the contractor might hesitate at the extensive number of curved elements requiring fabrication through methods including CNC routing, laser cutting, and steam bending. Instead, the response was unexpectedly positive: the contractor welcomed the concept wholeheartedly and applied exceptional accuracy and dedication to reproducing each curve as envisioned.
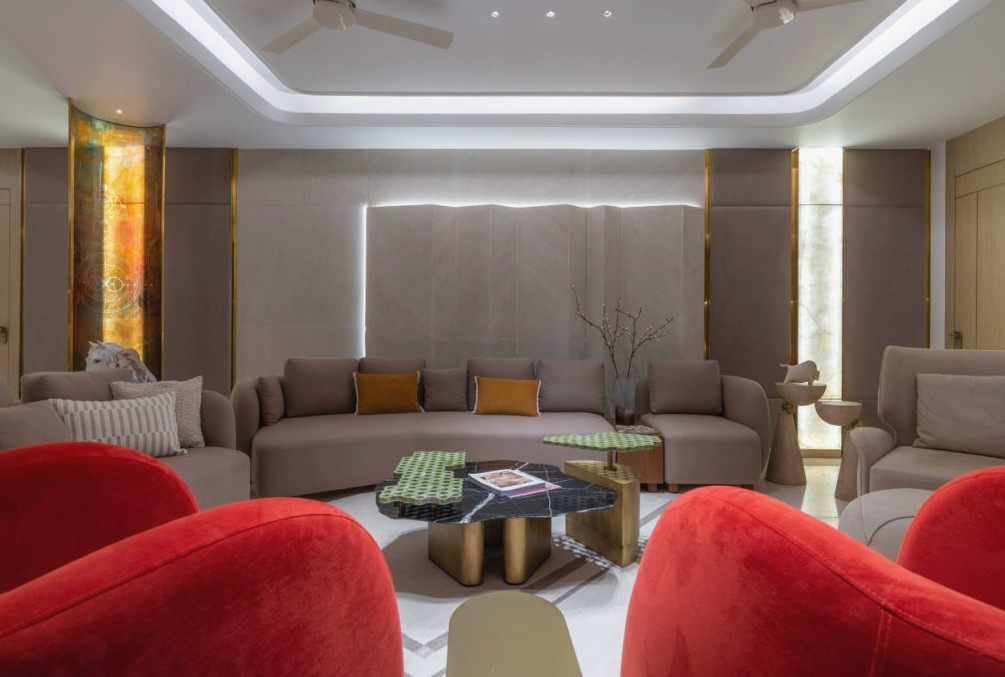
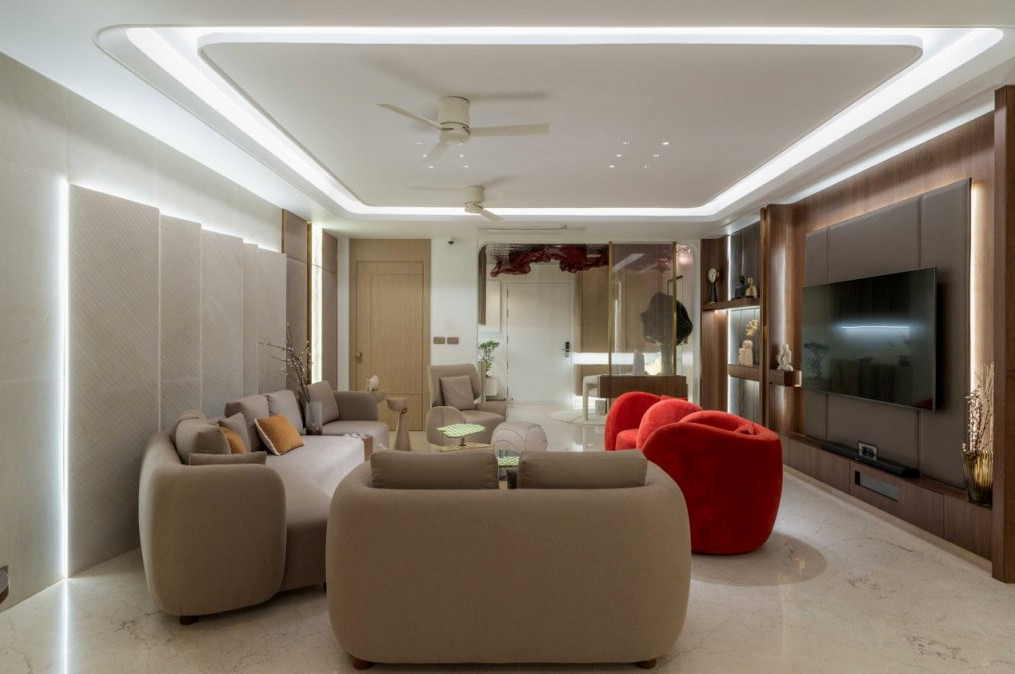
Each room has been individually conceived to express the clients’ stories through design. Every detail was carefully arranged, with components brought together to create a true home. In addition, memories of family members were incorporated into the current living space through a commissioned artwork positioned within the seating area, evoking unity and belonging. Indirectly lit onyx was strategically installed behind the piece, allowing light to pass through the translucent glass print.
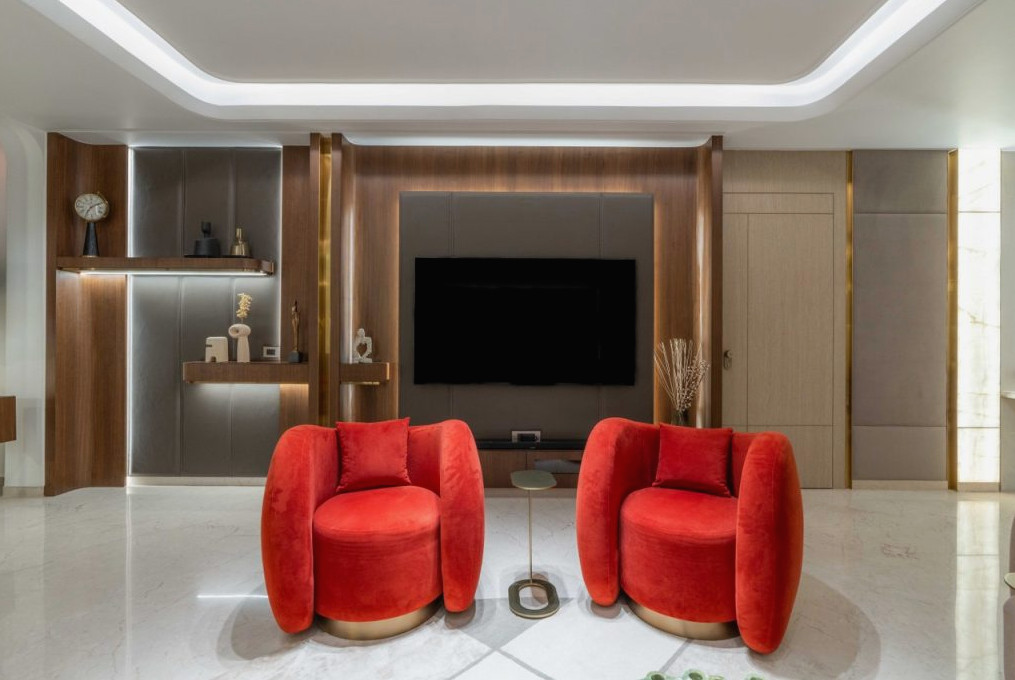
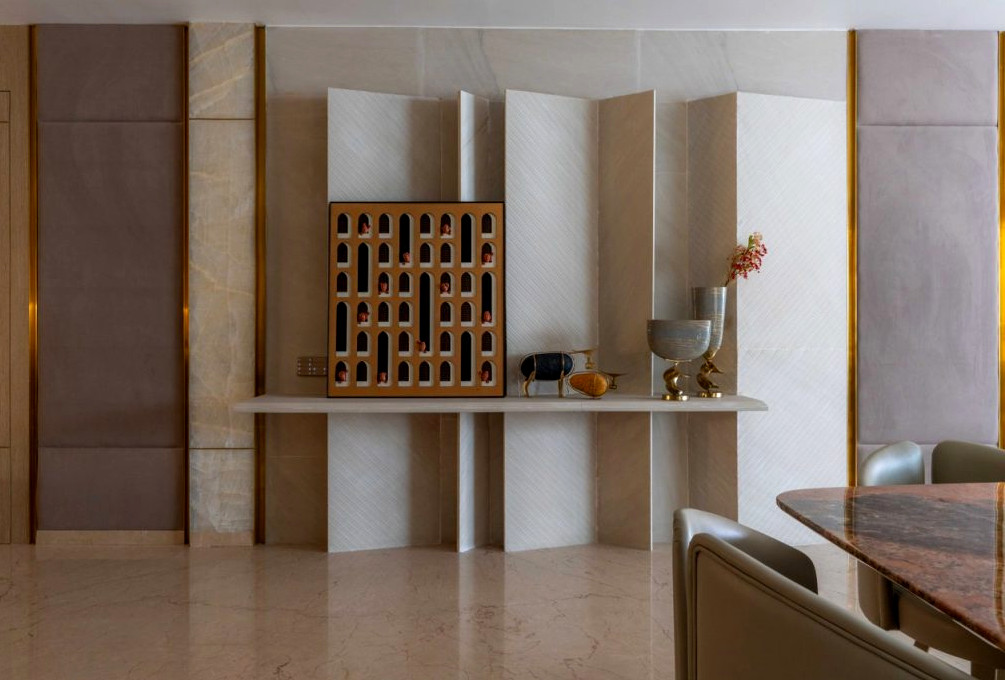
This tailored design process—connecting with the client through personal narratives and expressing those stories in understated ways—creates an environment they can genuinely identify as home. It was conceived exclusively for them.
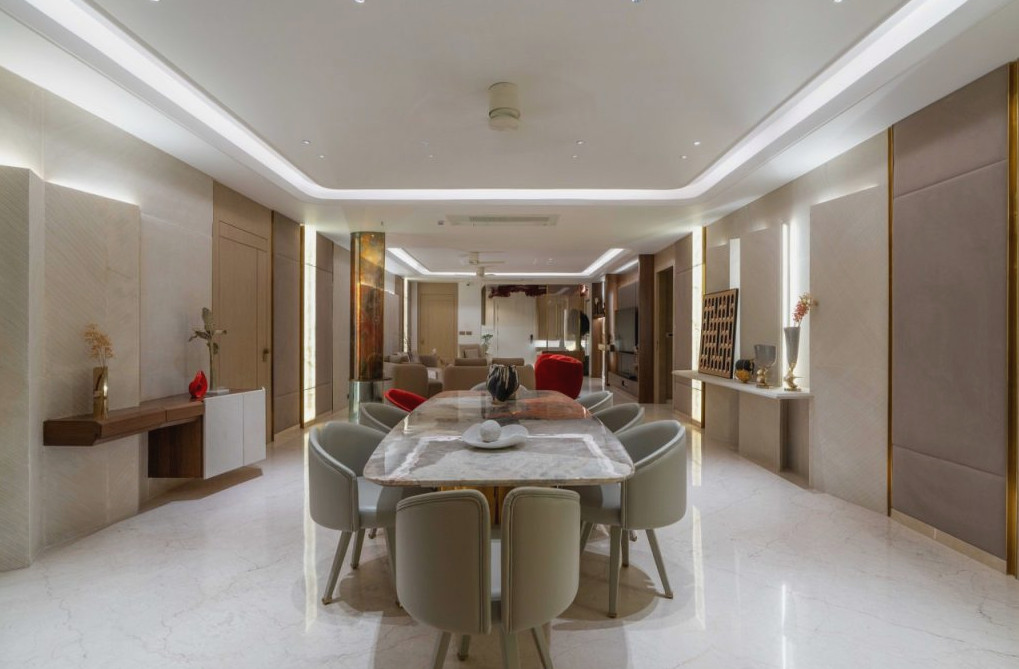
Kitchen
Every section of the residence has been adjusted to suit its user, anticipating individual movements and routines within the new environment. Our design philosophy focuses on responding to user requirements through a refined sensibility and meticulous attention to detail.
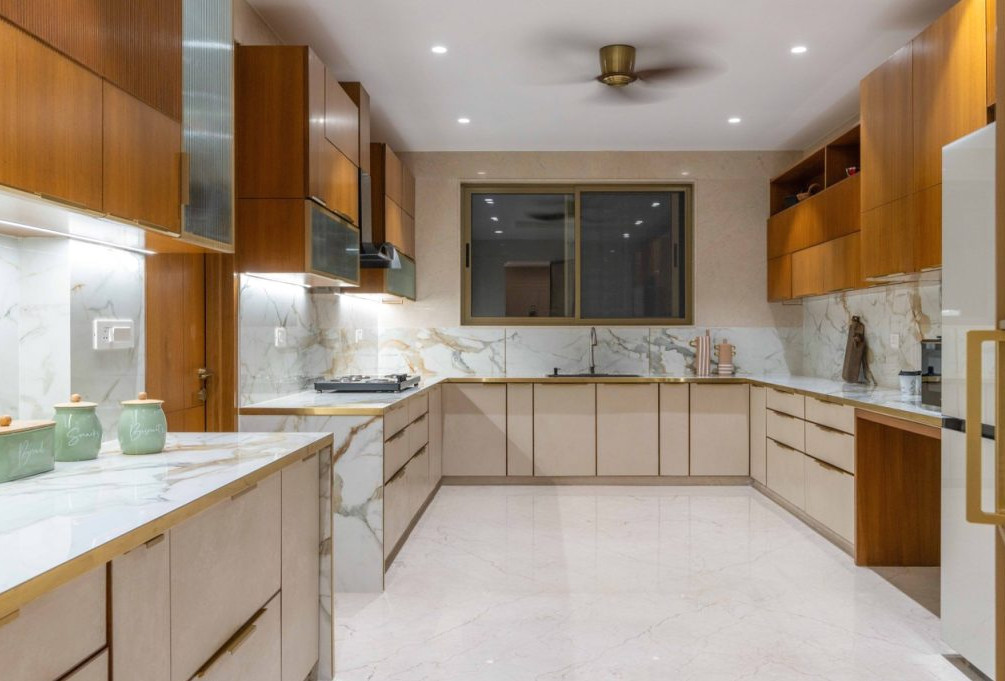
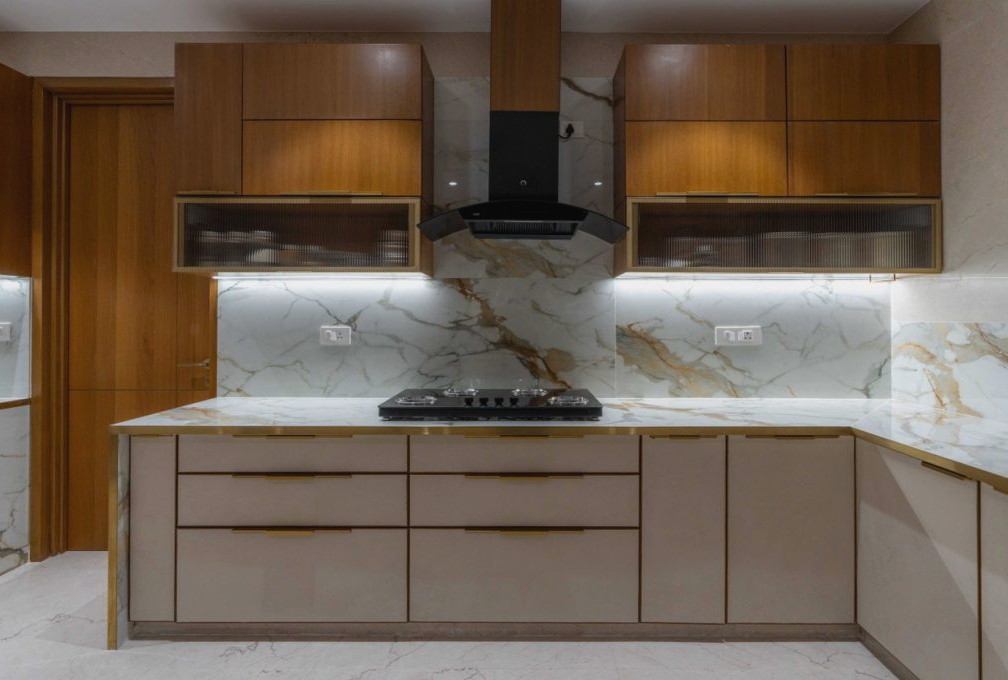
Master Bedroom
The project is anchored by a striking design idea: reshaping naturally robust, severe materials into forms that communicate softness and elegance. Stone, commonly linked with heaviness and permanence, has been sculpted and wrapped around curved surfaces so that it appears smooth and delicate. This transformation of material becomes a strong representation of feminine power—enduring yet compassionate, powerful yet refined.



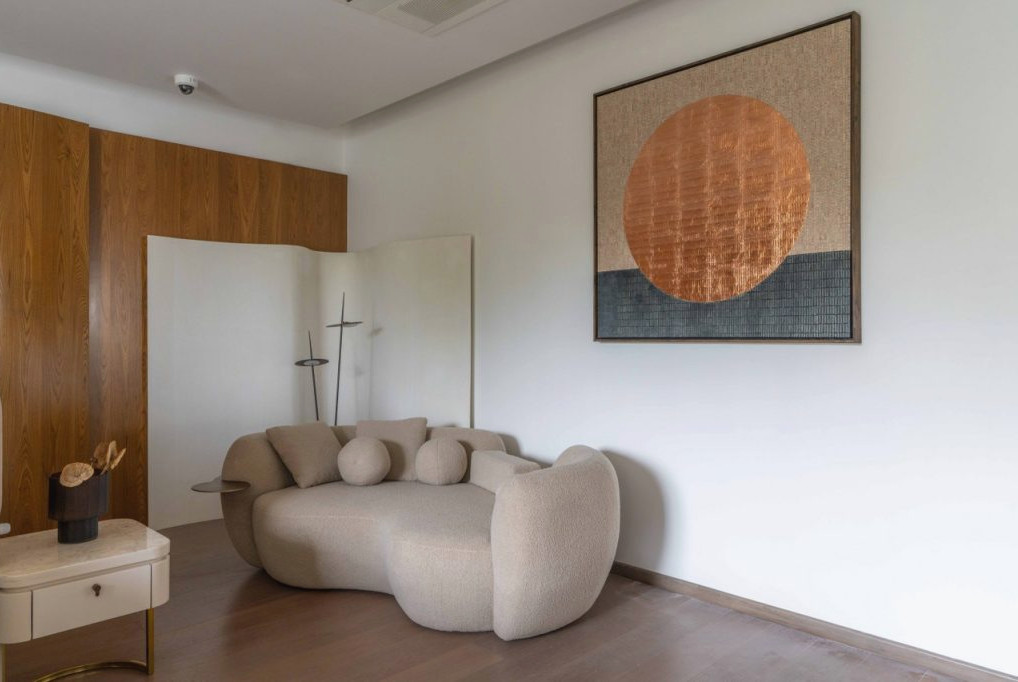
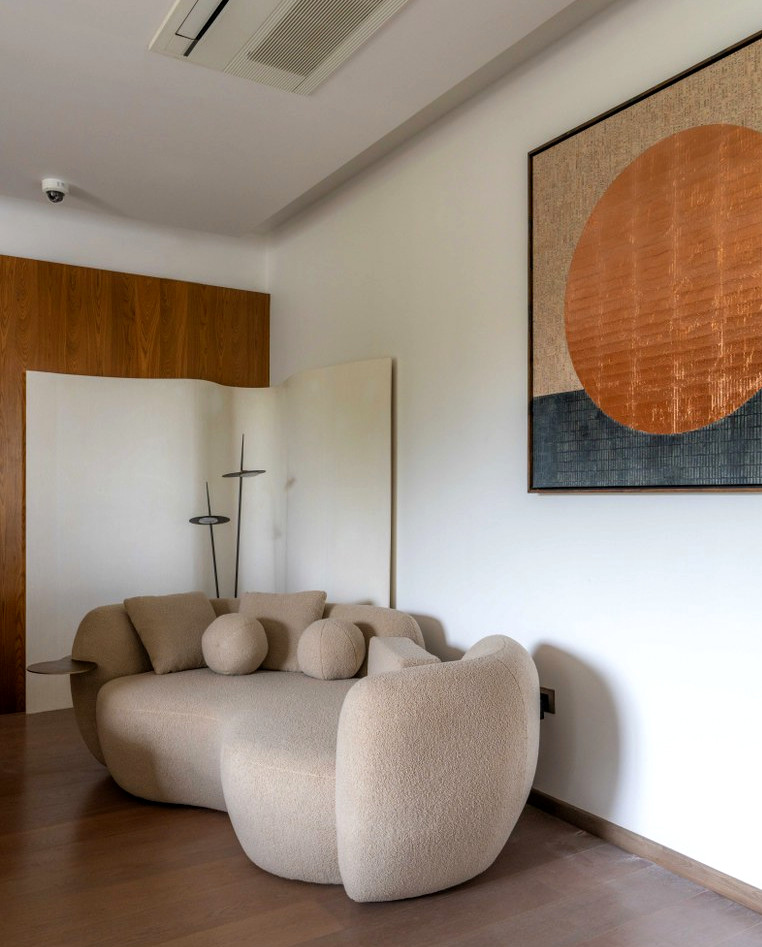

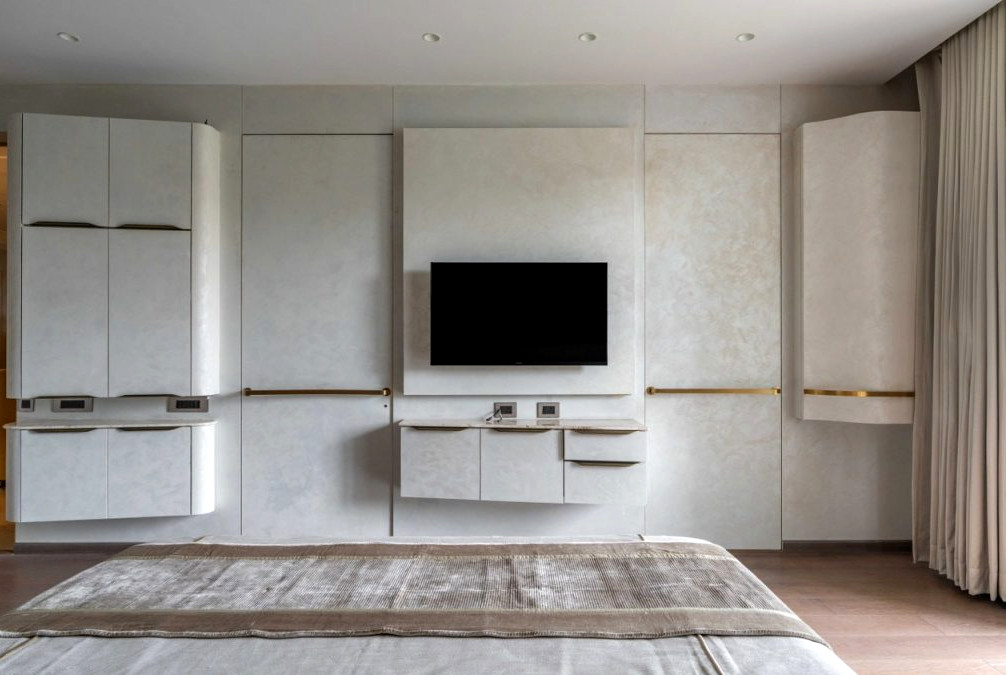
Guest Bedroom
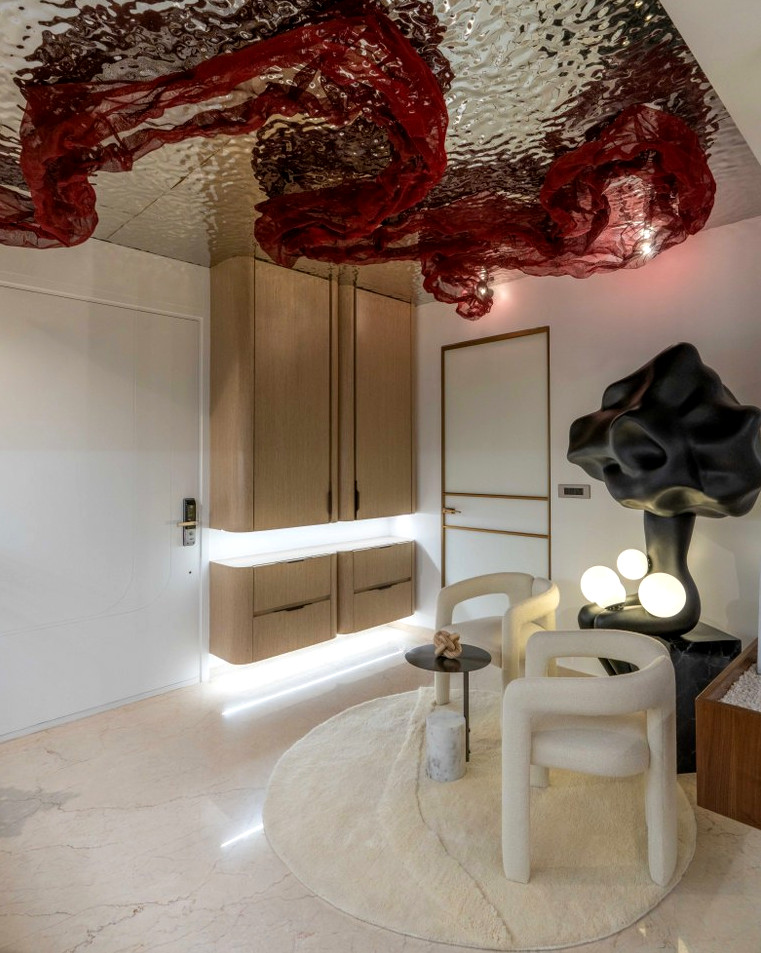
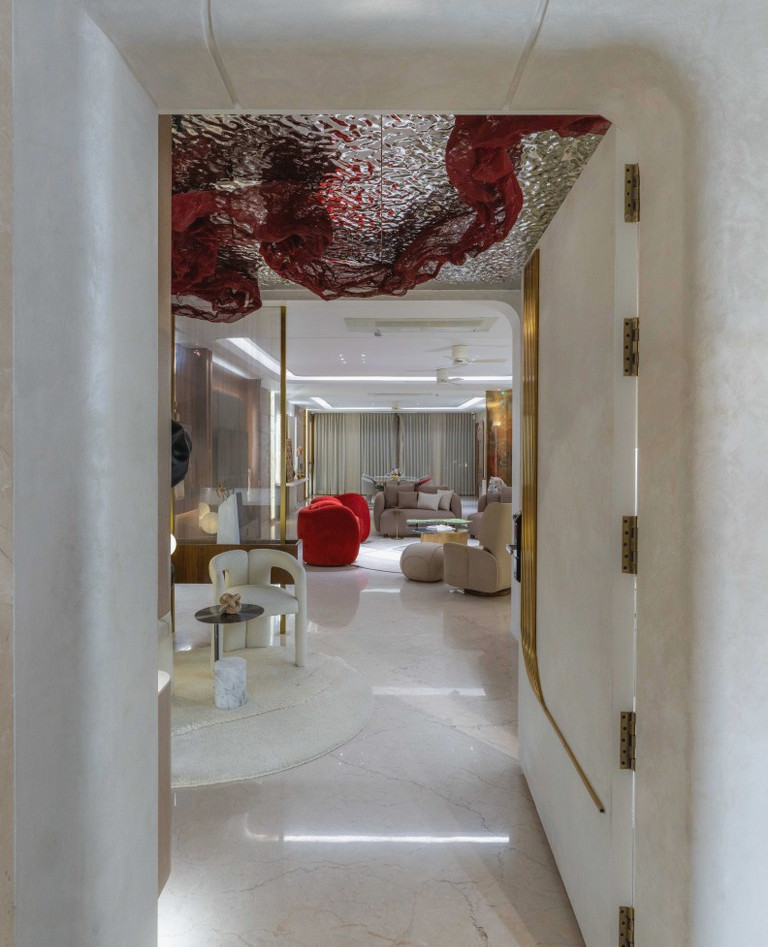
A tranquil base of beige and earthy hues shapes the home’s neutral palette, purposefully disrupted by carefully positioned red accents across the residence. These striking touches act as strong visual declarations—symbolising the dismantling of stereotypes and a self-assured claim to visibility. Textured, natural-finish walls add dimension and character, creating an ideal backdrop for upholstered pieces, timber panelling, and the bold flashes of colour.



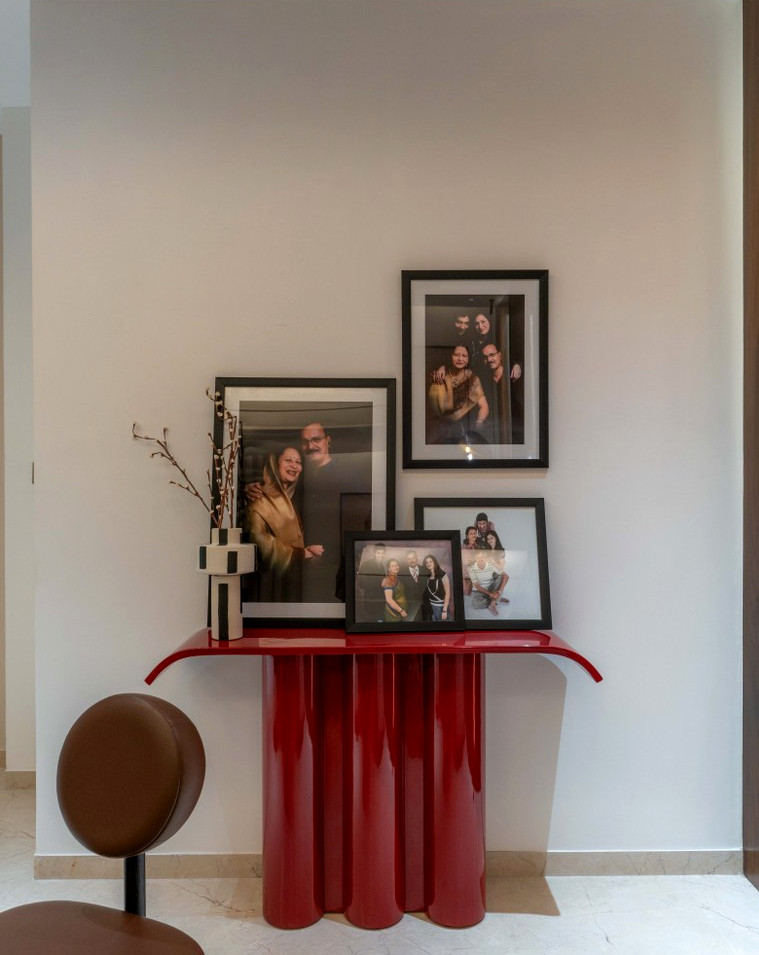

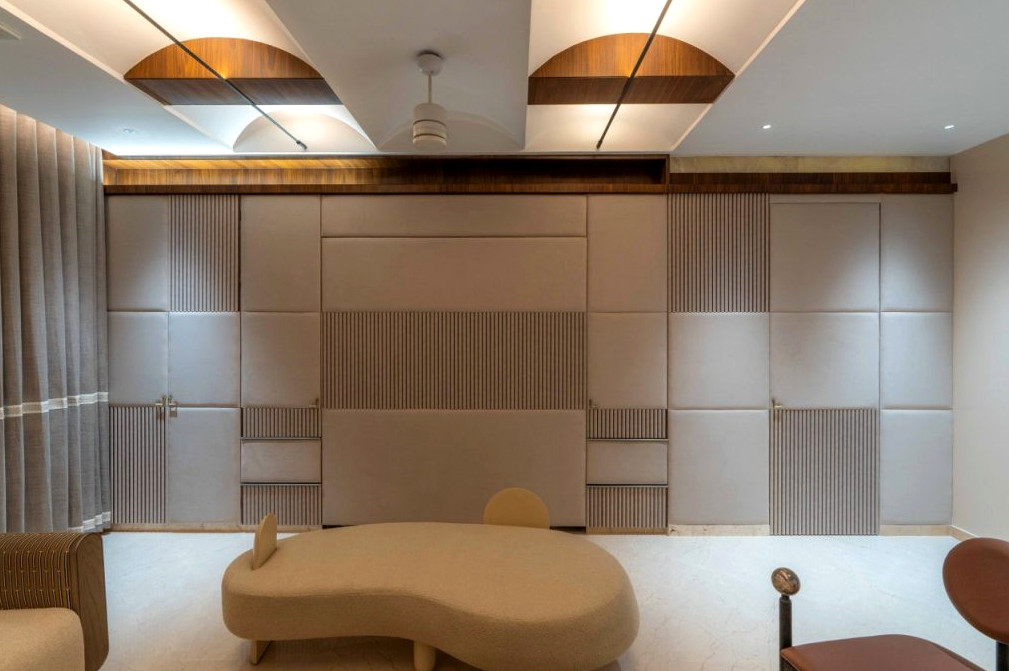
Vismita’s Bedroom
The lighting scheme is central to shaping the home’s refined atmosphere. Sparse ceiling fittings combine with illuminated onyx panels to create an even, well-balanced glow. Rather than relying on severe overhead illumination, concealed lighting and thoughtfully positioned highlights introduce warmth and opulence throughout the rooms, accentuating the building’s sweeping architectural forms.
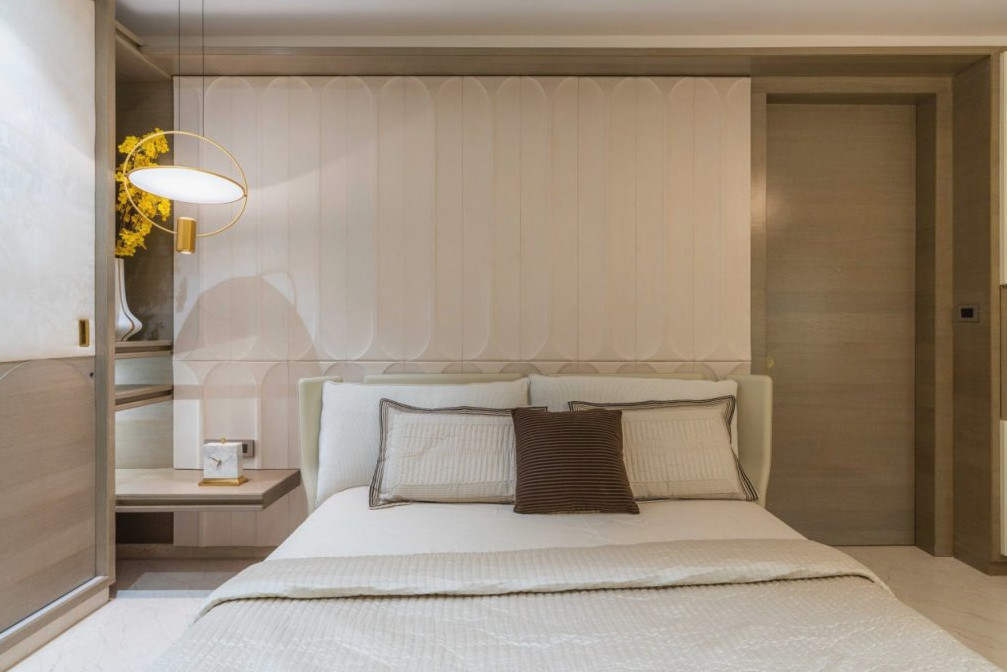
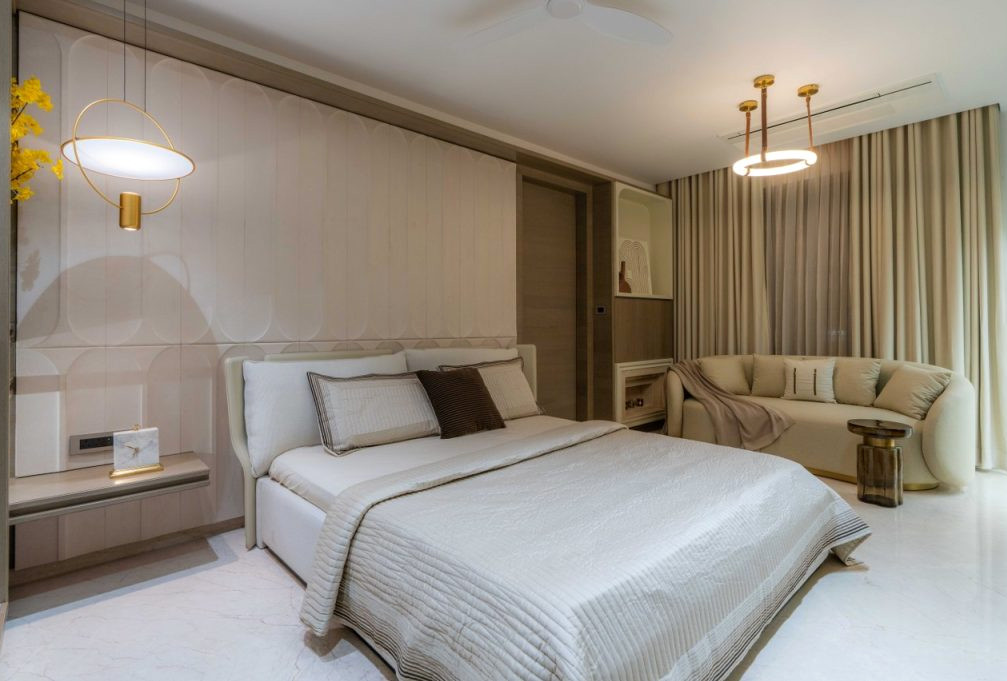
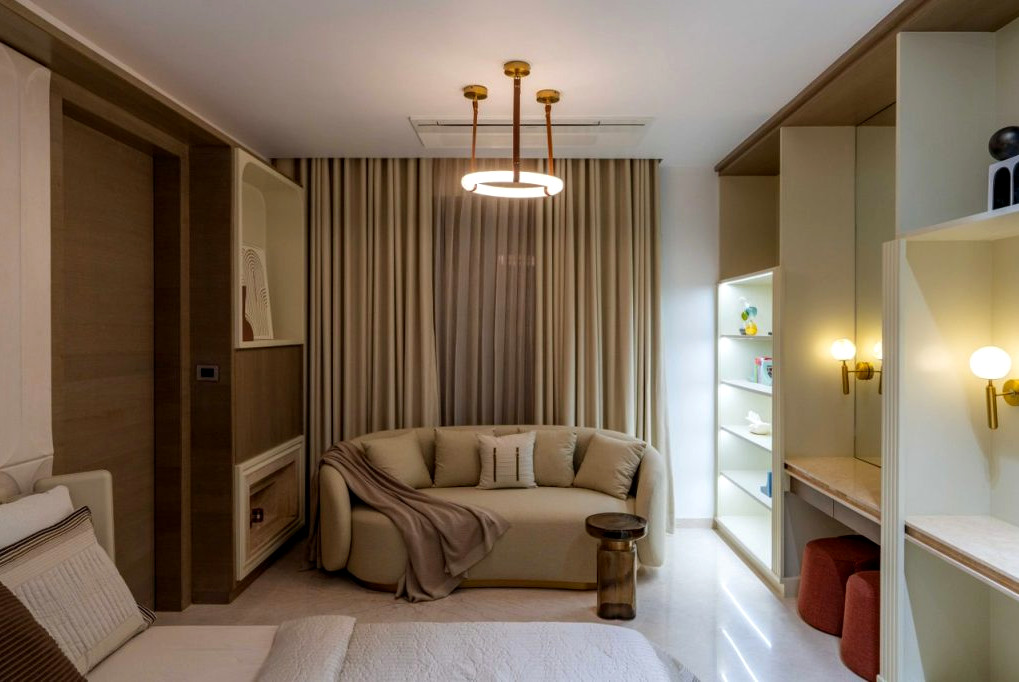
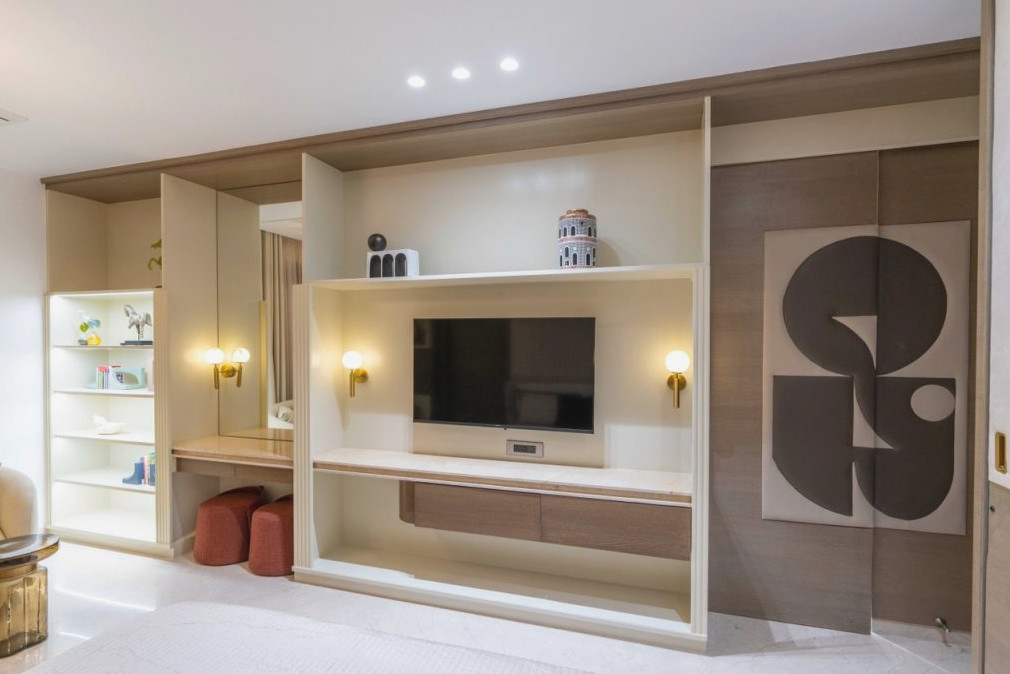
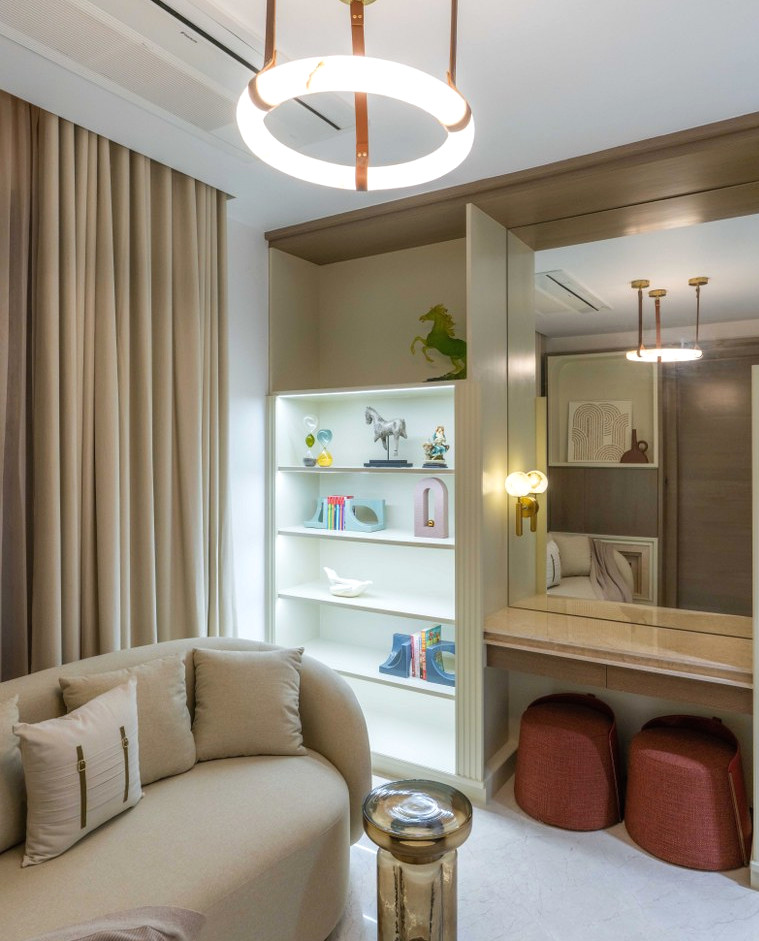

Darshana’s bedroom
Modern contemporary principles, enriched by global references, define the design language, with every detail executed by talented Indian craftspeople. The combination of international perspective and regional skill produces a distinctive visual identity that is at once worldly and firmly connected to its surroundings. Ultimately, the residence communicates through a broadly accessible design vocabulary while honouring traditional local workmanship.
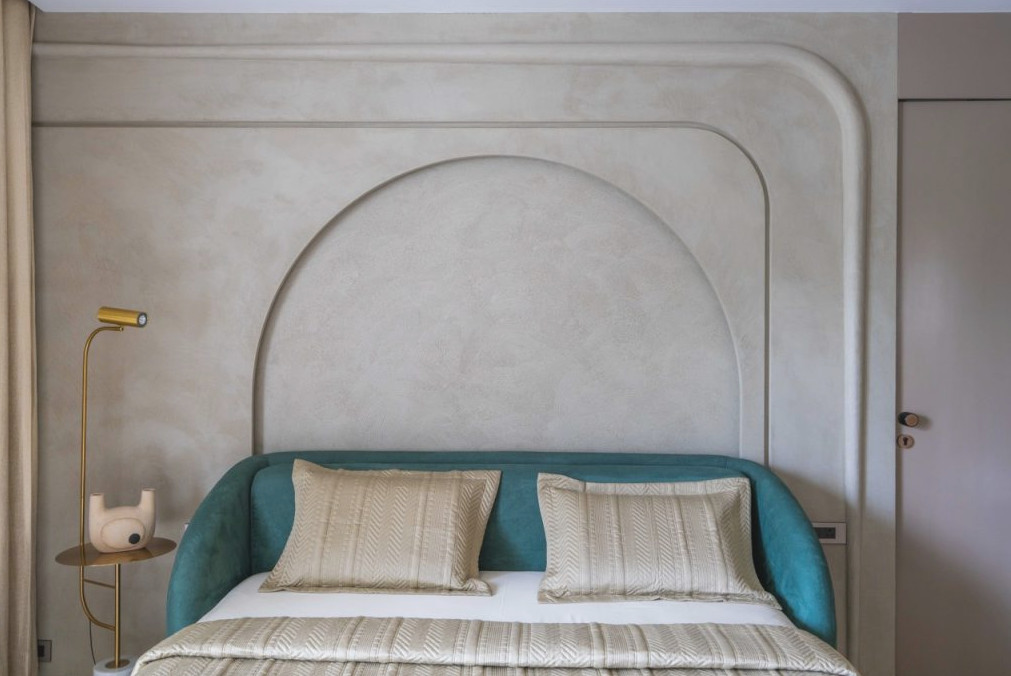
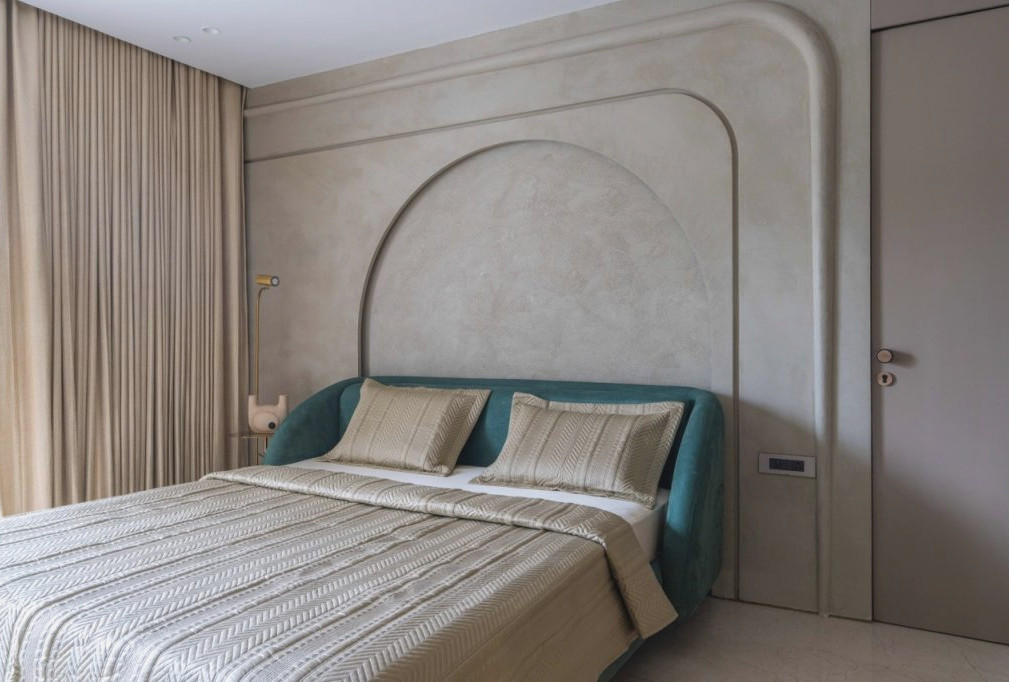


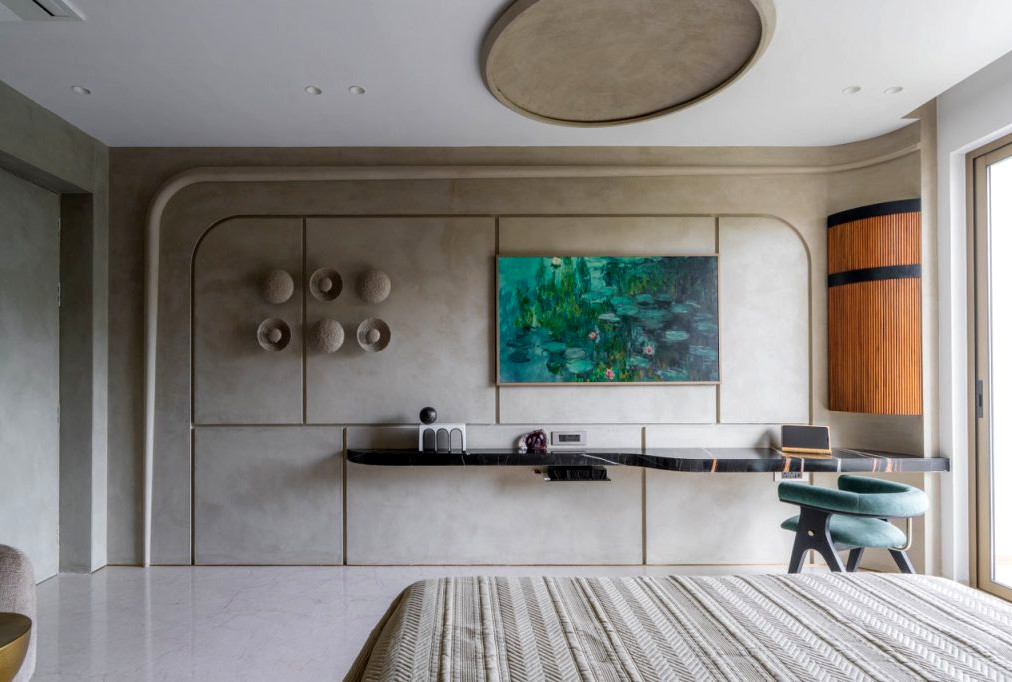
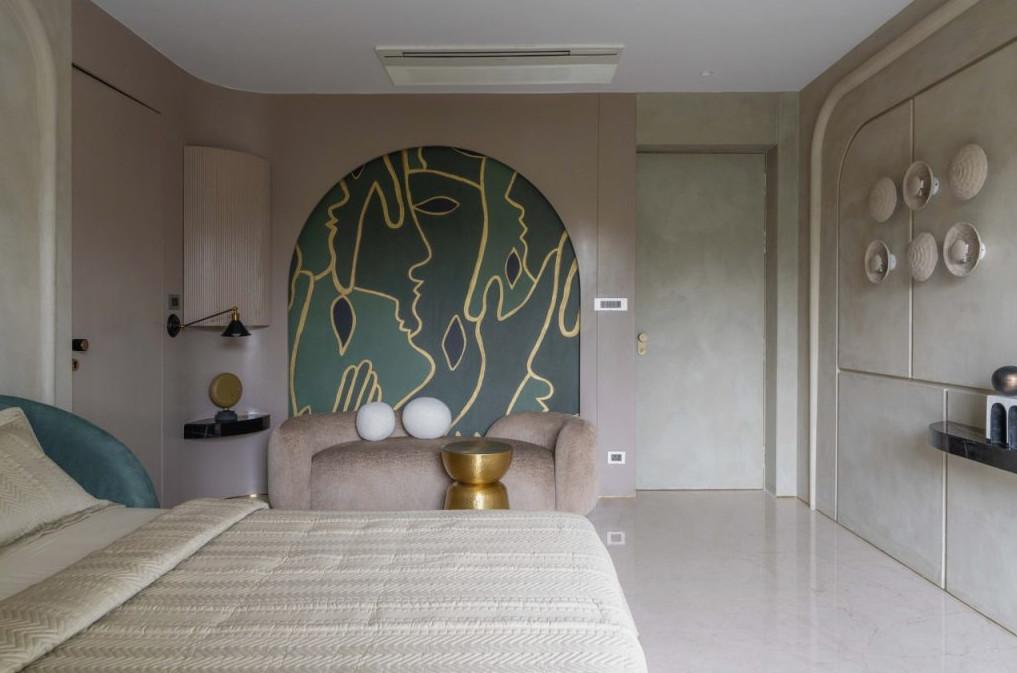
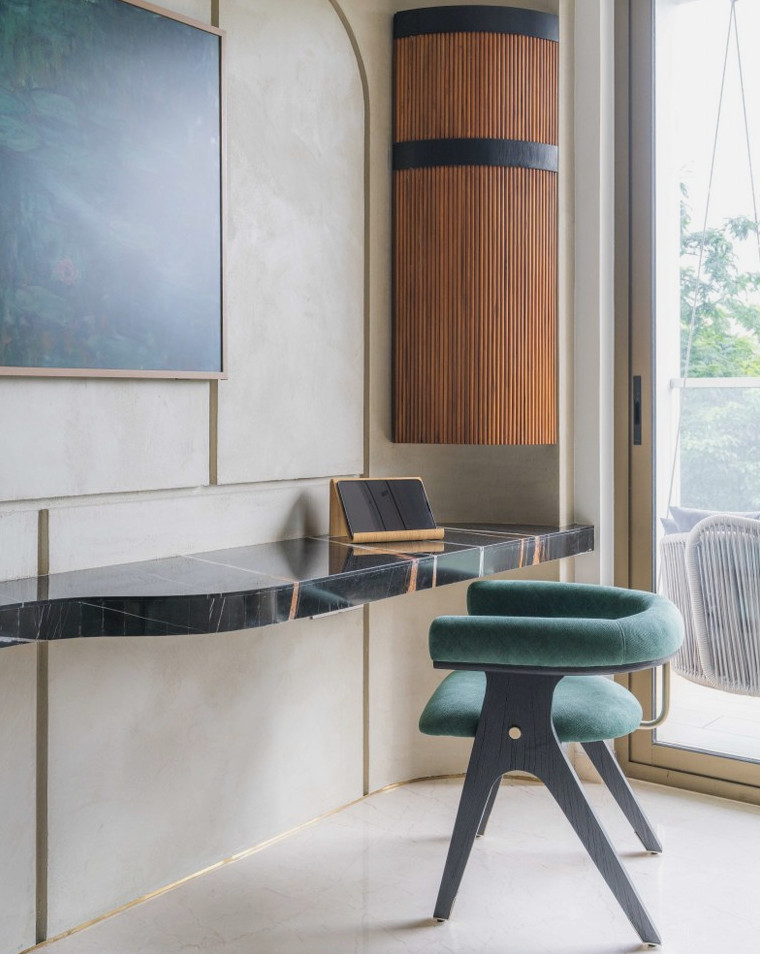

Private Cinema
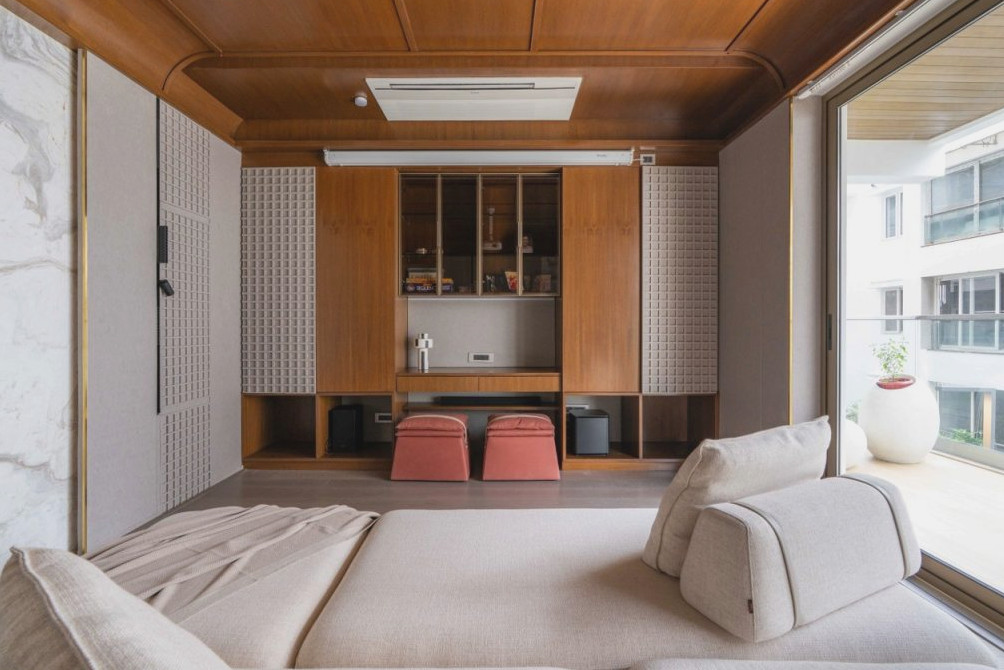
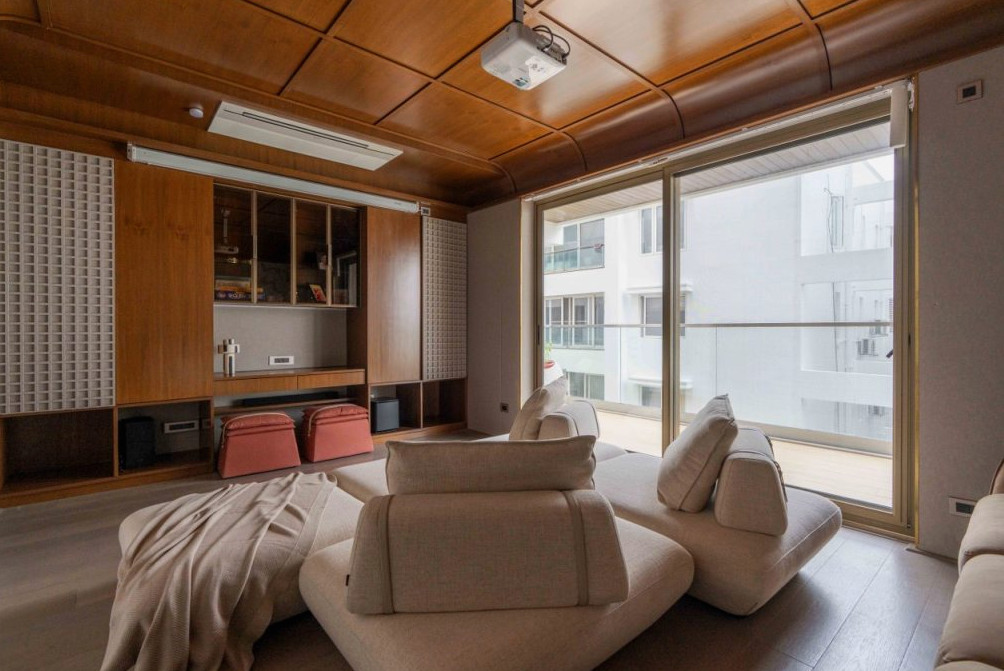
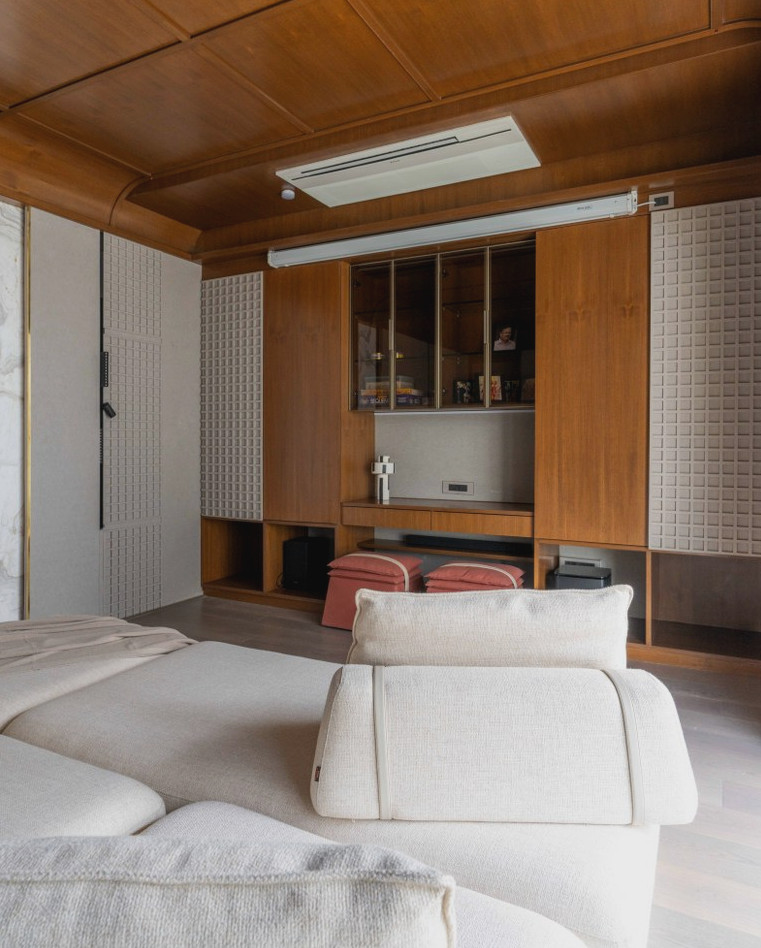
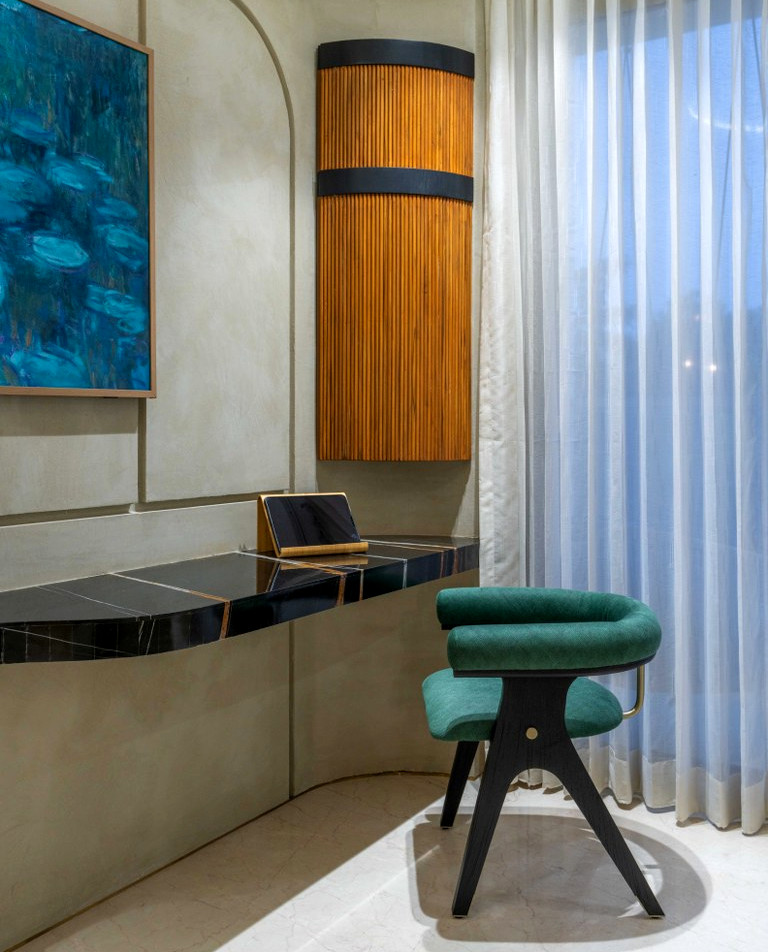

Children’s Room
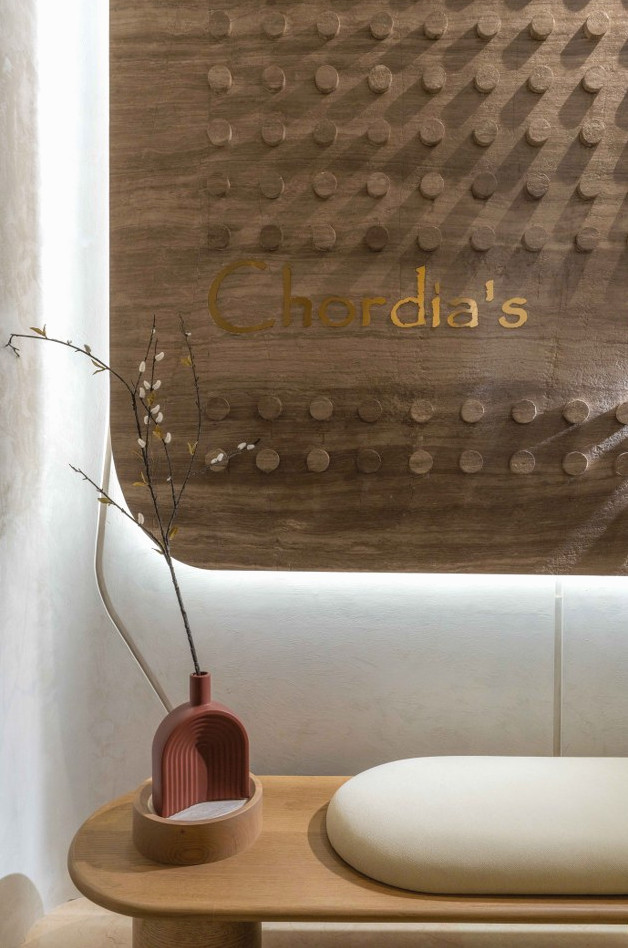
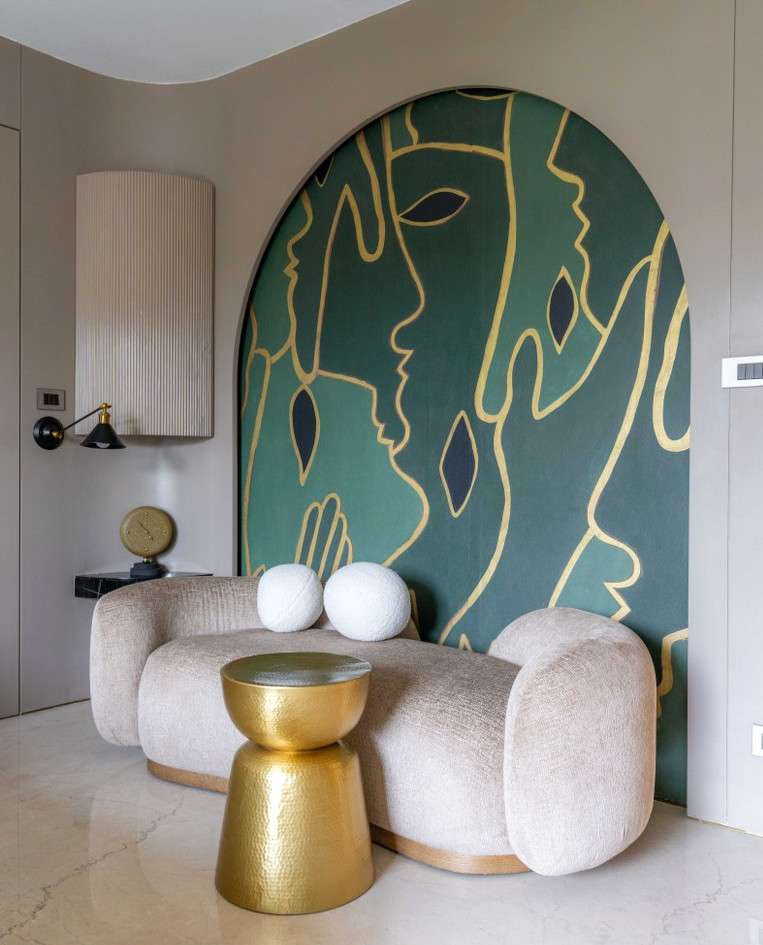
Travertine surfaces establish the mood at the entrance, creating a gentle transition into the residence. In the living spaces, bespoke textured sandstone provides a refined backdrop, while thoughtfully carved grooves reduce its visual heaviness. The most captivating element may be the semi-cylindrical glass sculpture adorned with customised art prints, illuminated from behind by onyx to form a radiant focal point that unites artistic expression with engineering accuracy.
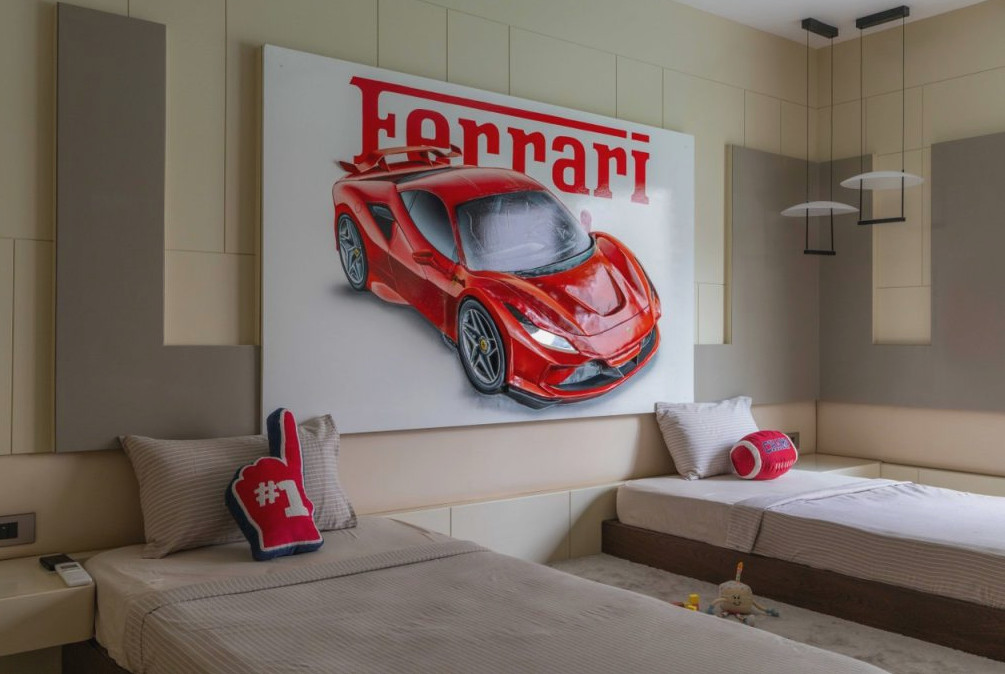
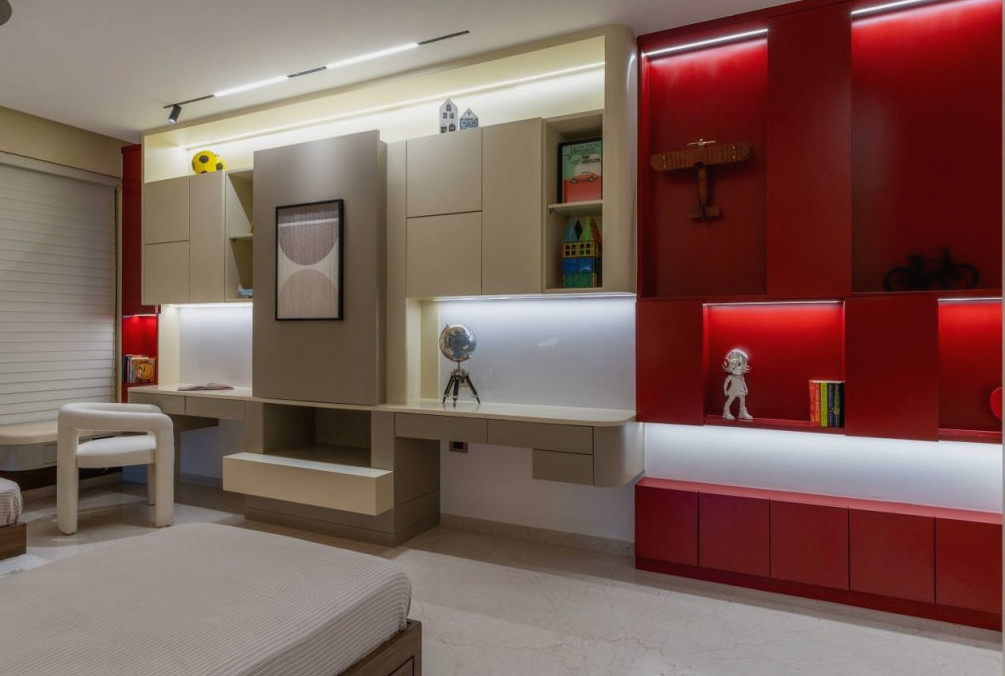
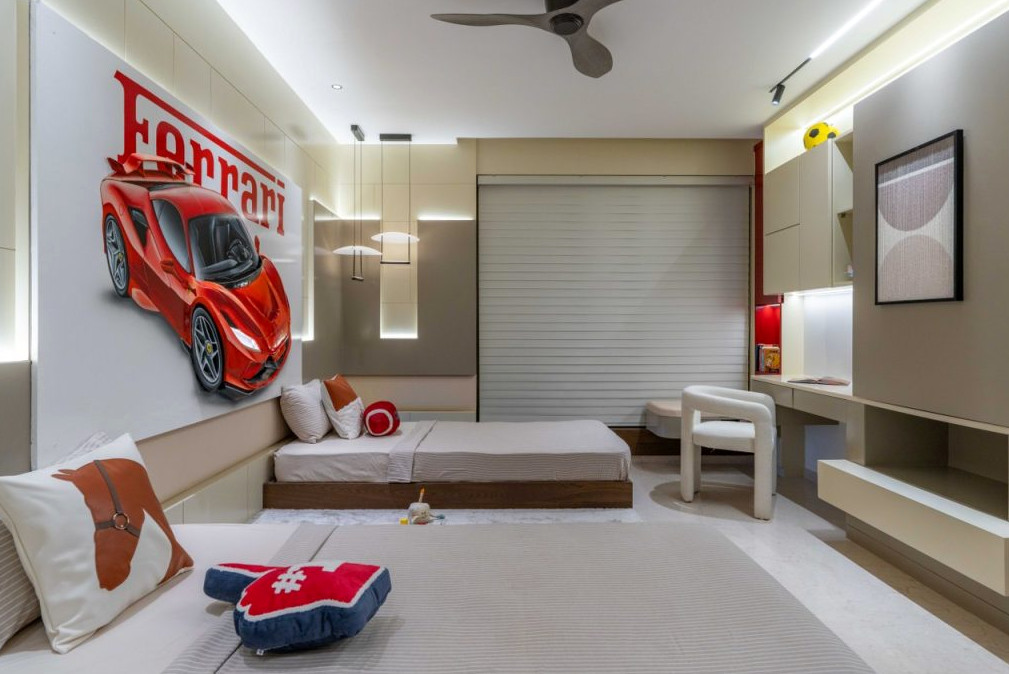
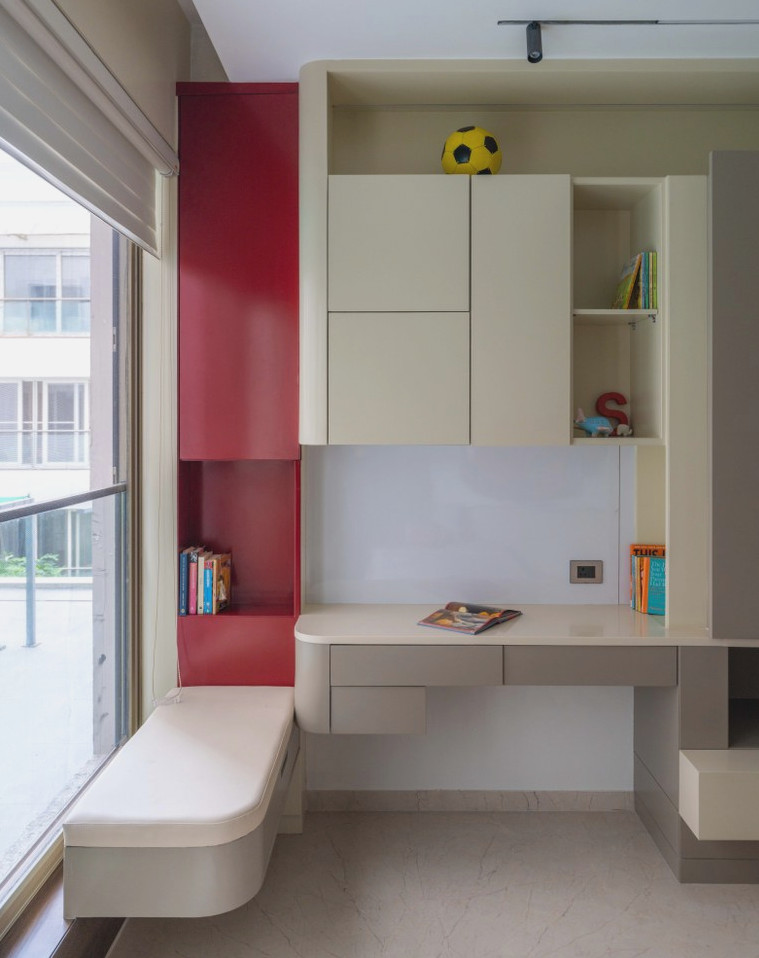
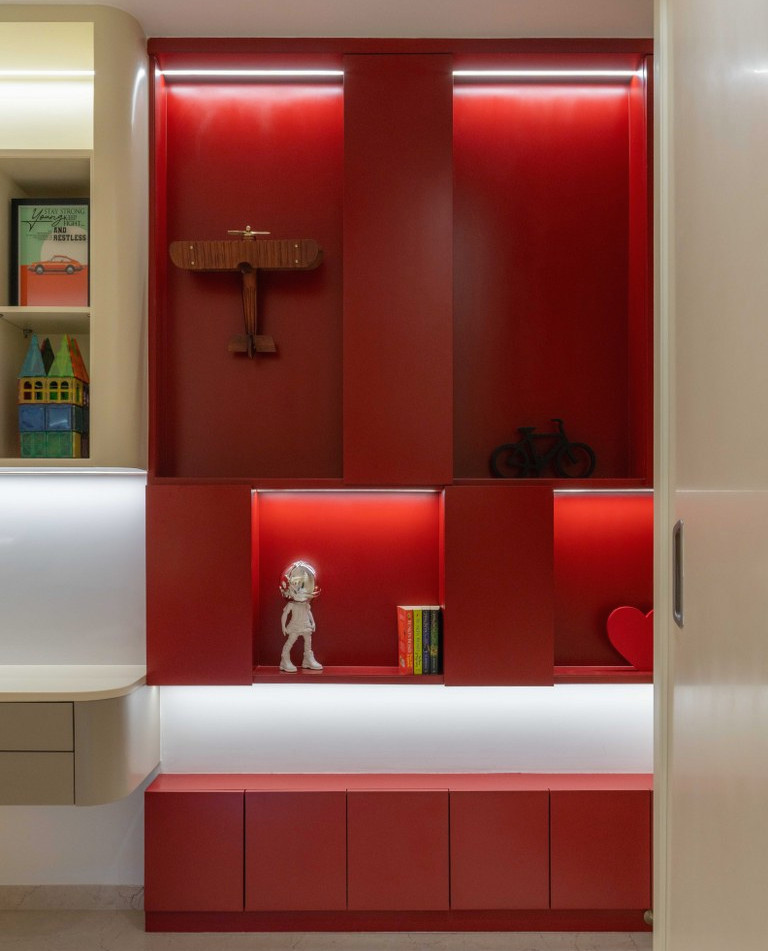
Washroom
Curved forms shape the experience throughout the residence. Made from inflexible materials, these natural contours introduce an intriguing contrast that pushes against traditional construction limits. Timber finishes wrap around rounded geometries, with their inherent warmth heightened by the fluid shapes that direct circulation and visual perspectives across the interior.
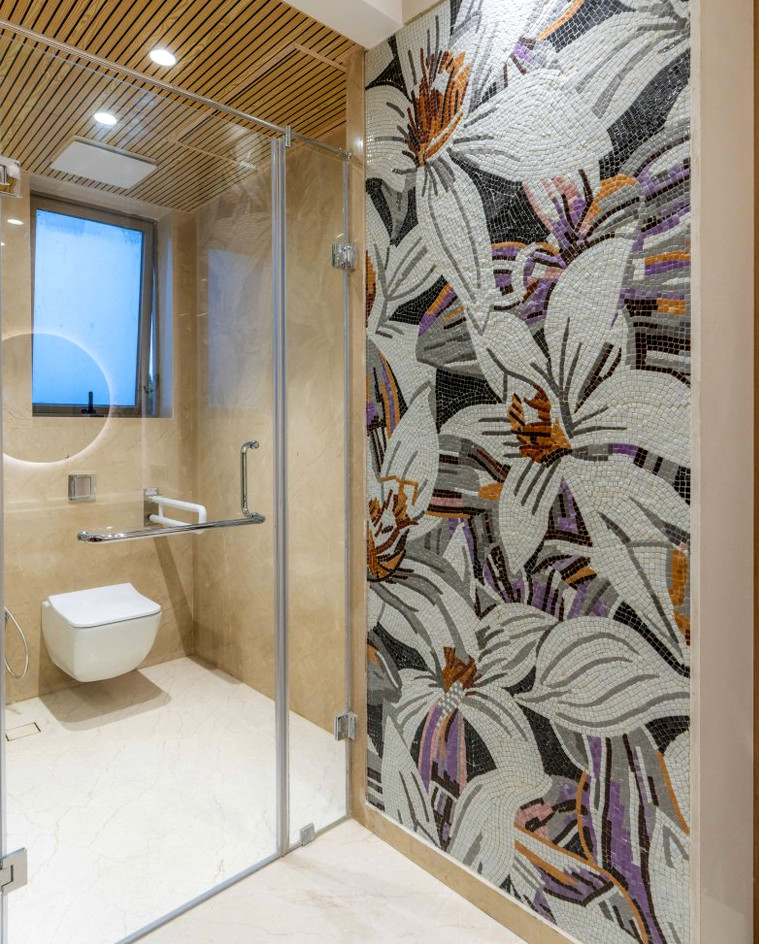
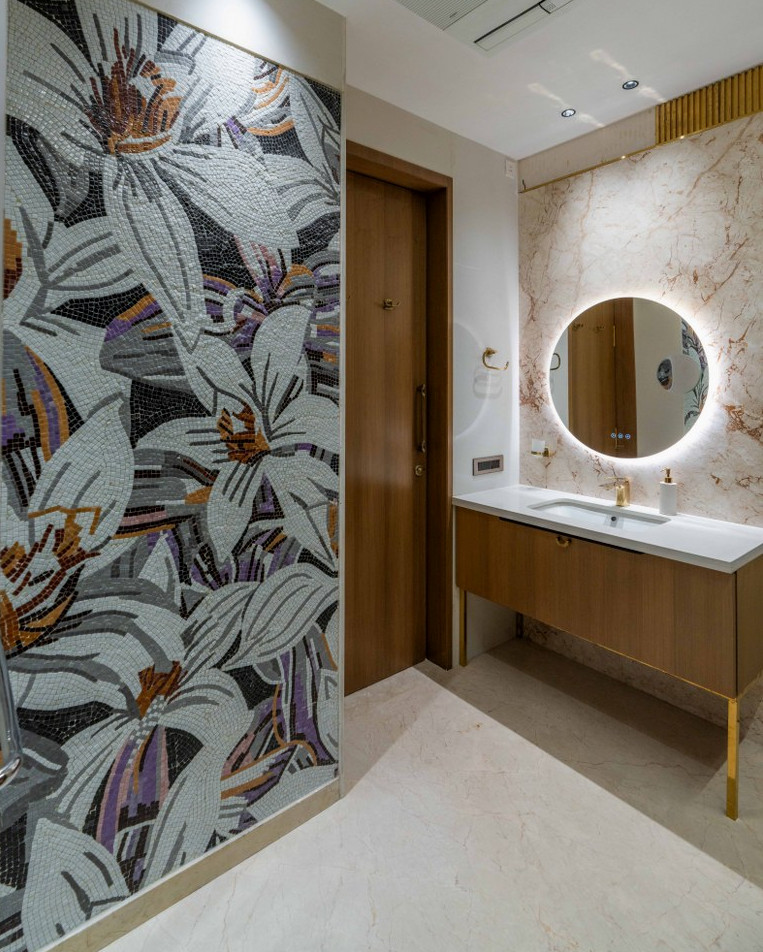
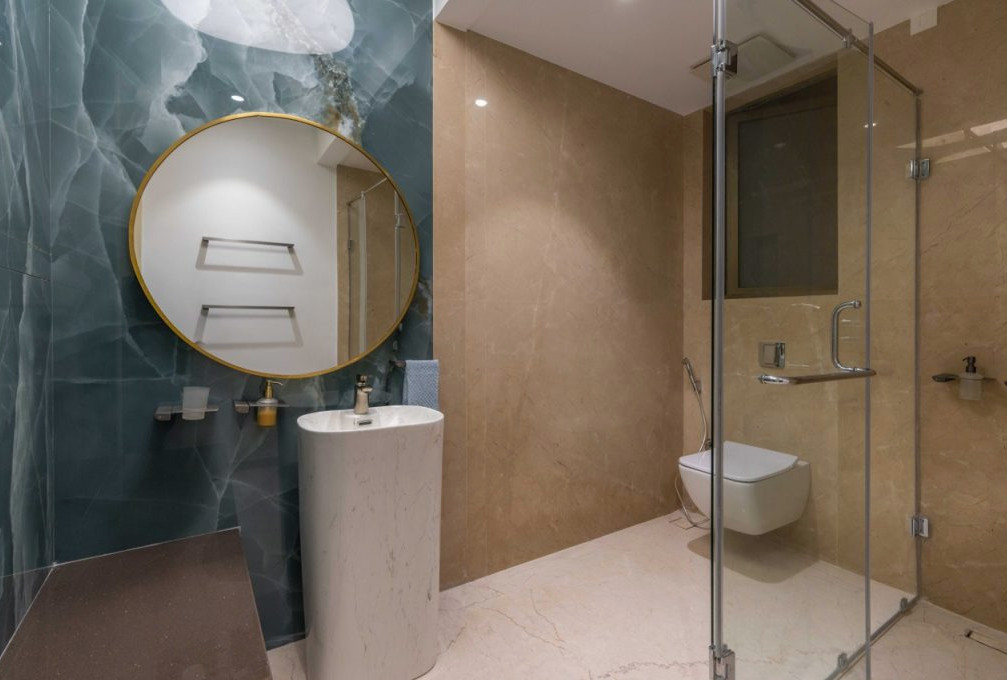
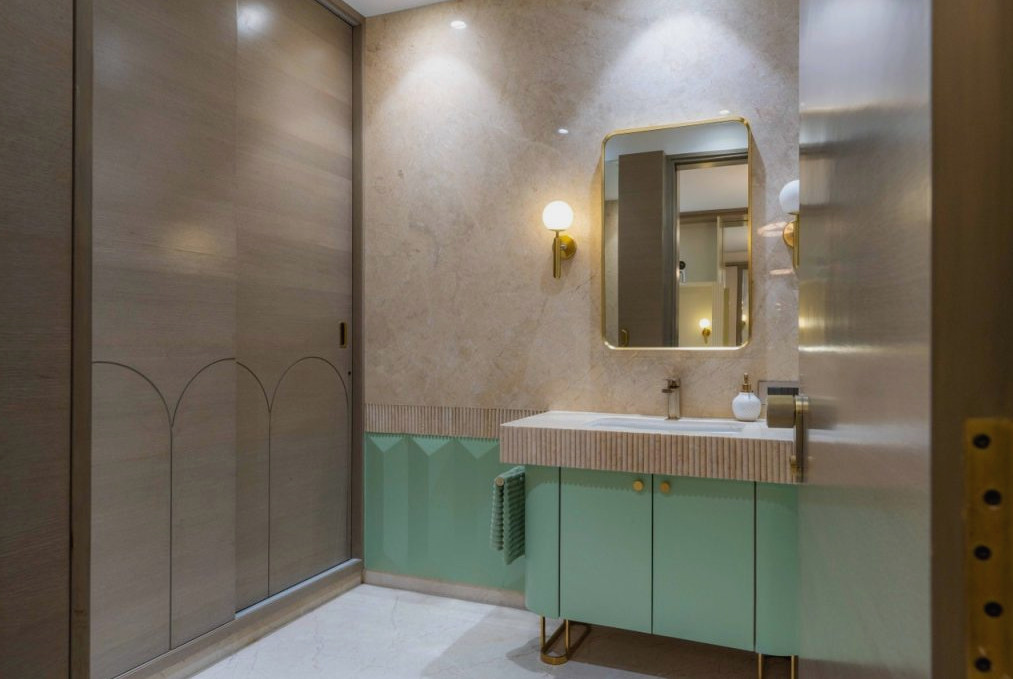
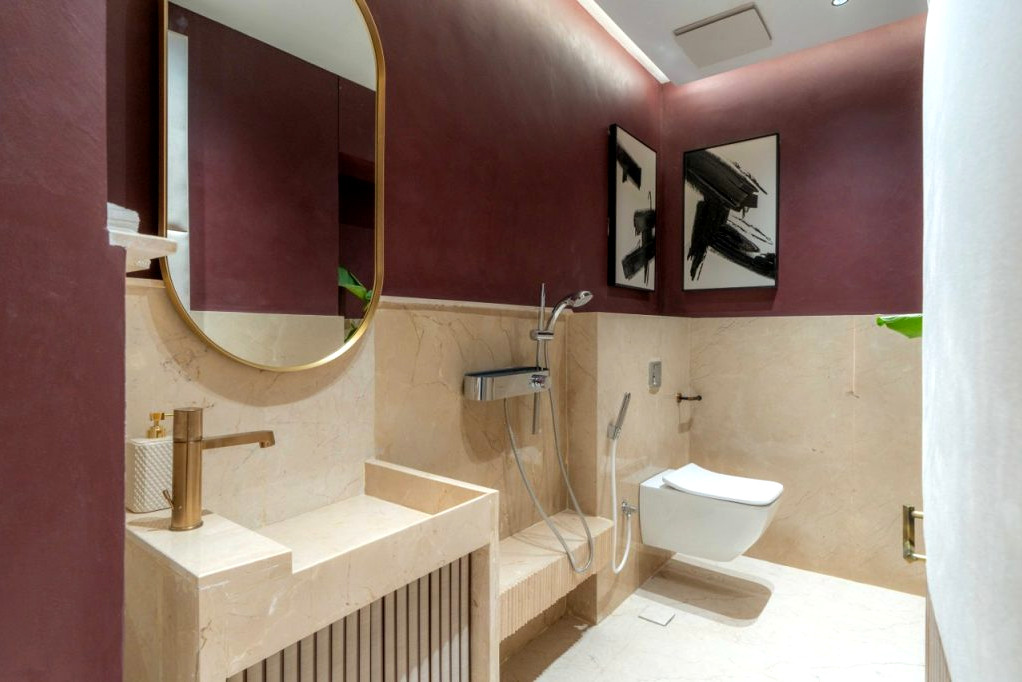

Terrace
At the heart of the project is an unembellished approach to materiality. Instead of hiding veins, imperfections, and organic irregularities, the design embraces them as signs of genuineness. The result is a collection of interiors that appear comfortable, sincere, and welcoming—environments designed to be lived in authentically, without artifice.
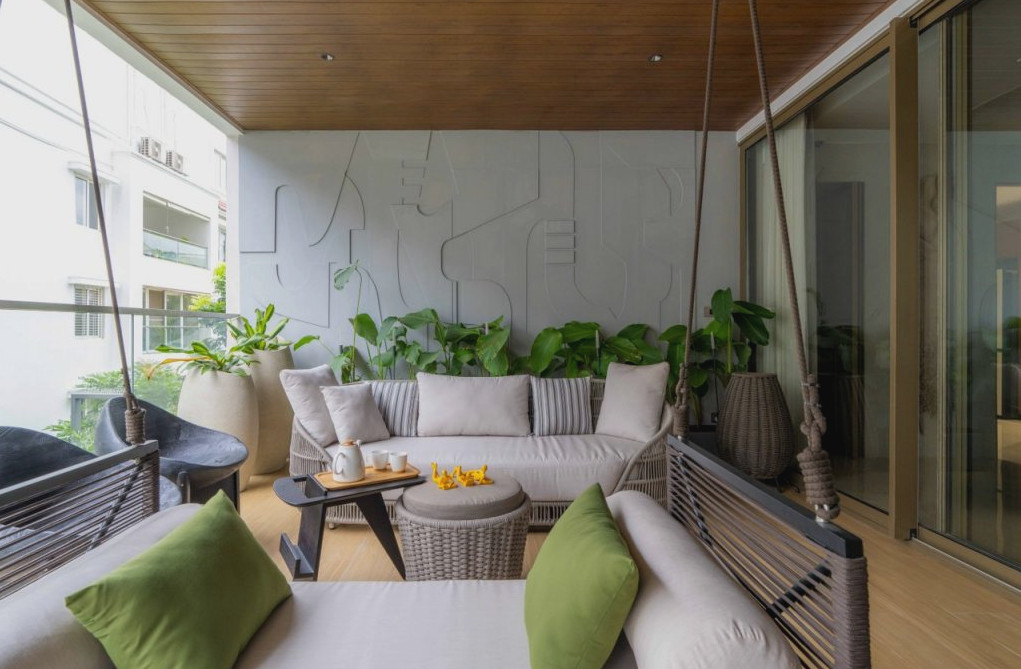

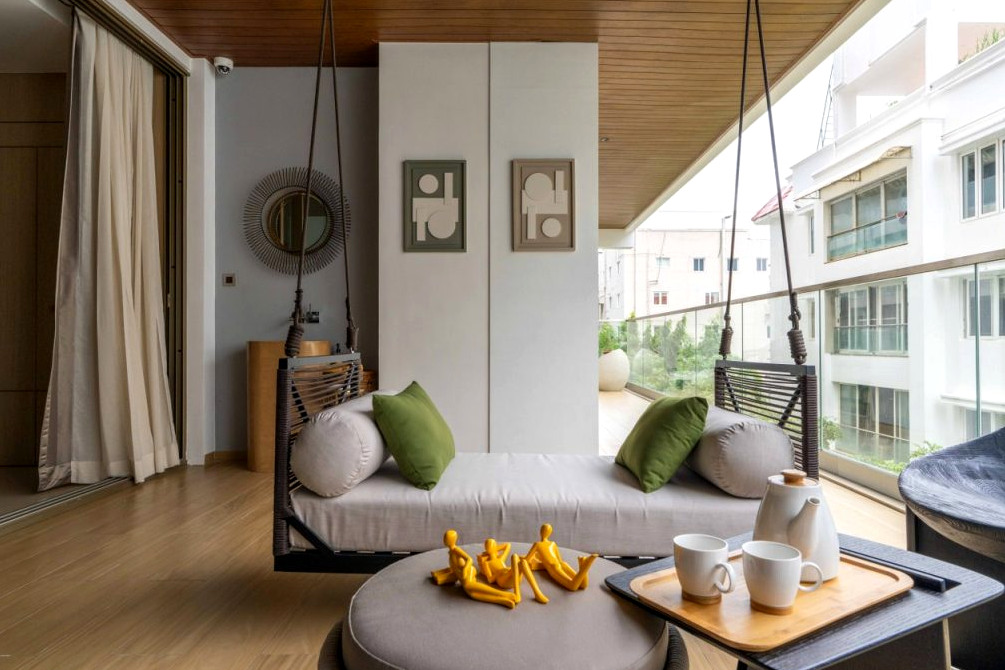
This residence demonstrates how considered design can transform intangible ideas into physical architecture. Through the translation of feminine resilience into spatial and material expression—by balancing hardness with softness, the personal with the communal, and heritage with modernity—it forms an exceptional home that welcomes fresh beginnings.
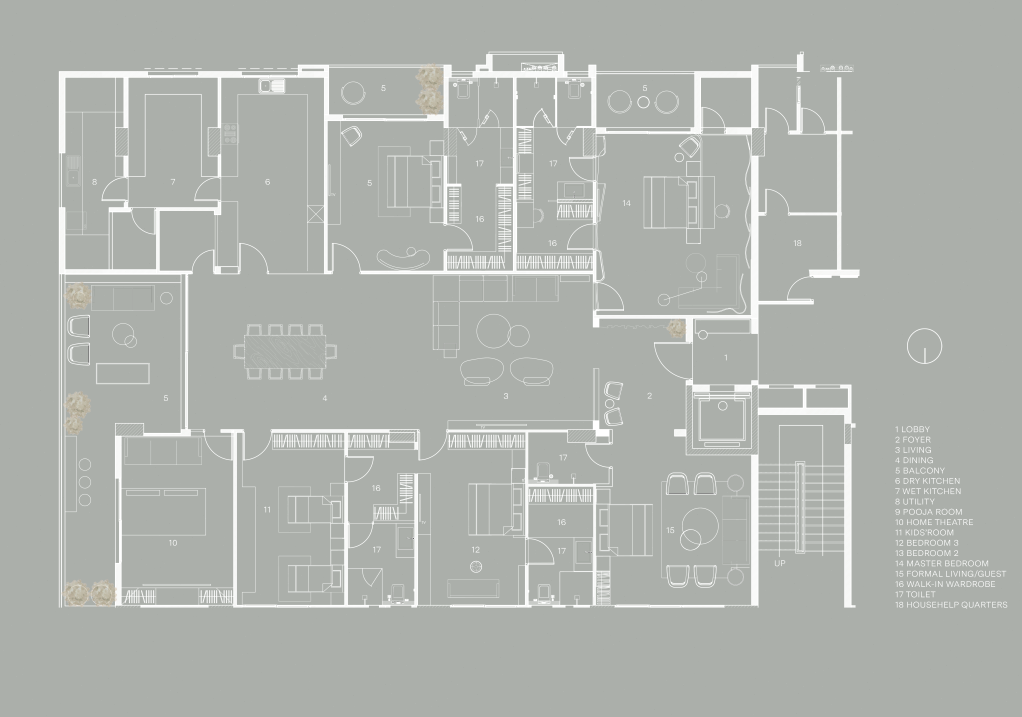
Kevadia House is a seven-bedroom home created for an urban household comprising three generations. Positioned on a compact 33 ft × 45 ft plot and enclosed by neighboring buildings on either side, the residence addresses privacy, natural light, and openness through a planning approach centered inward.
A Compact 33 ft × 45 ft Plot, an Expansive Idea: Exploring This Urban Family Residence | Studio v16


At the heart of the residence, a double-height staircase atrium becomes the principal organizing feature. A broad skylight crowns this central space, drawing daylight into the home’s interior while creating visual links between several floors. More than a circulation route, the atrium acts as a common spatial focus, lending definition and unity to the entire plan. As daylight shifts throughout the day, it brings richness and identity to the interiors while making the limited footprint feel more expansive.
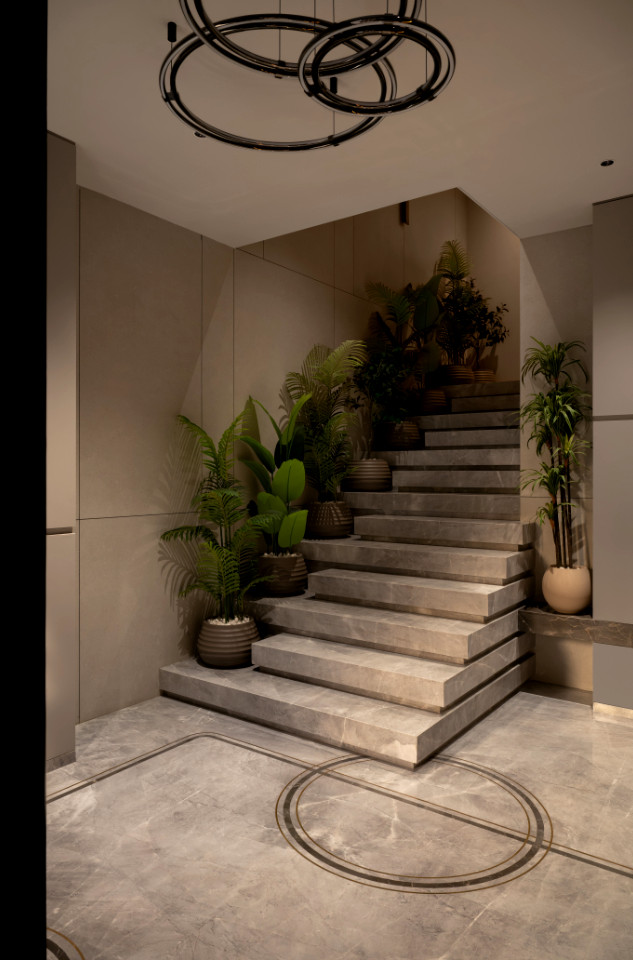
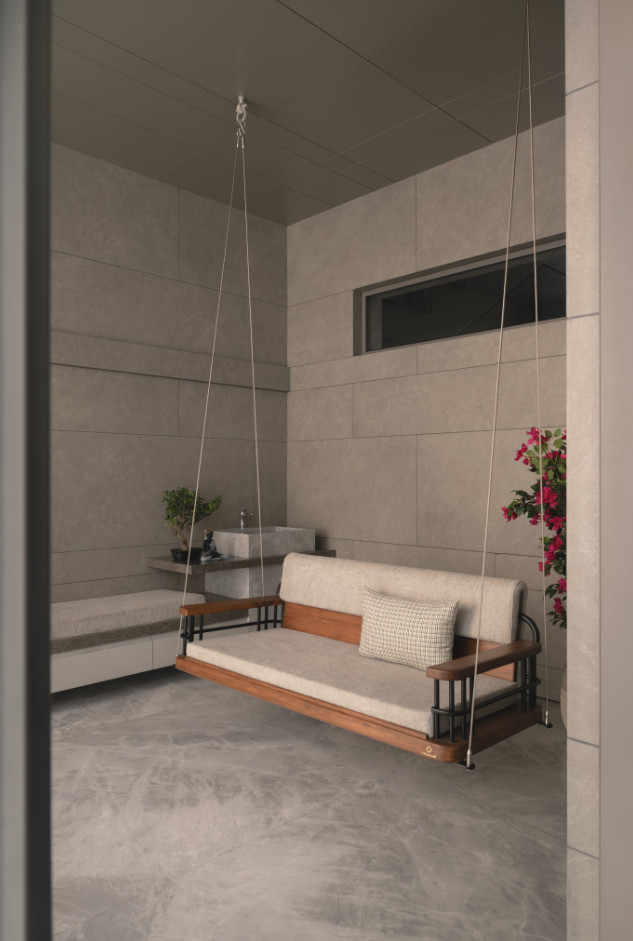
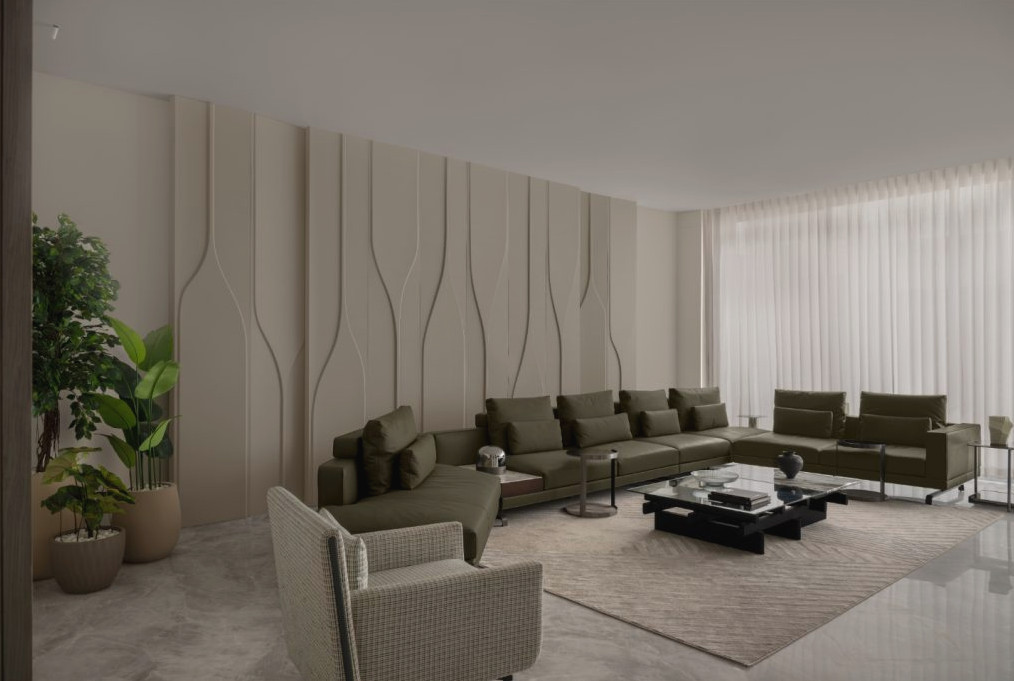
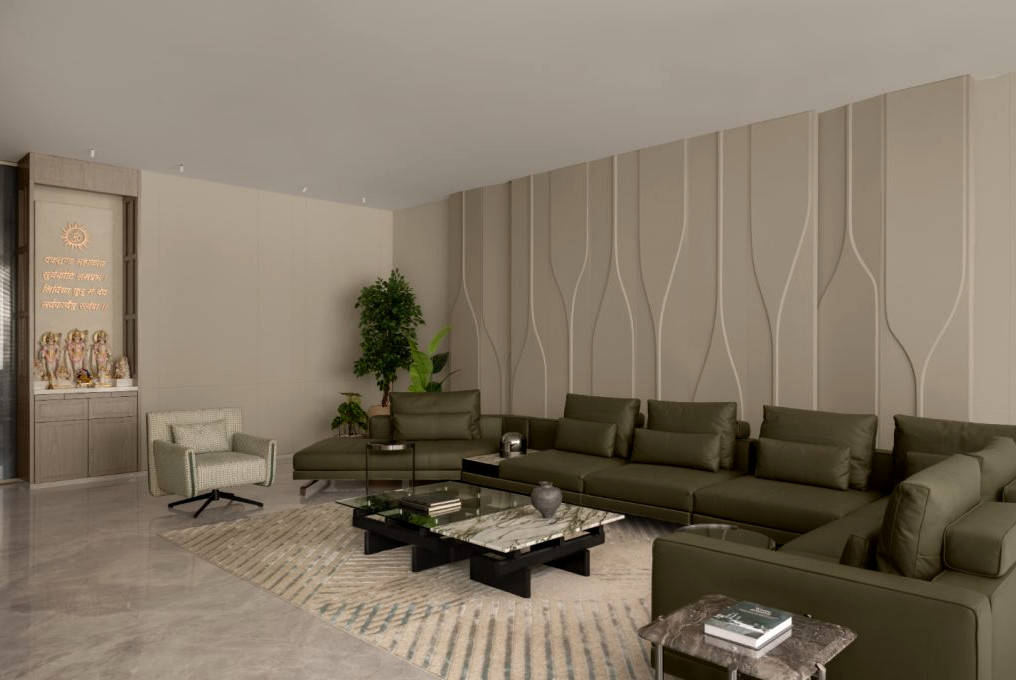
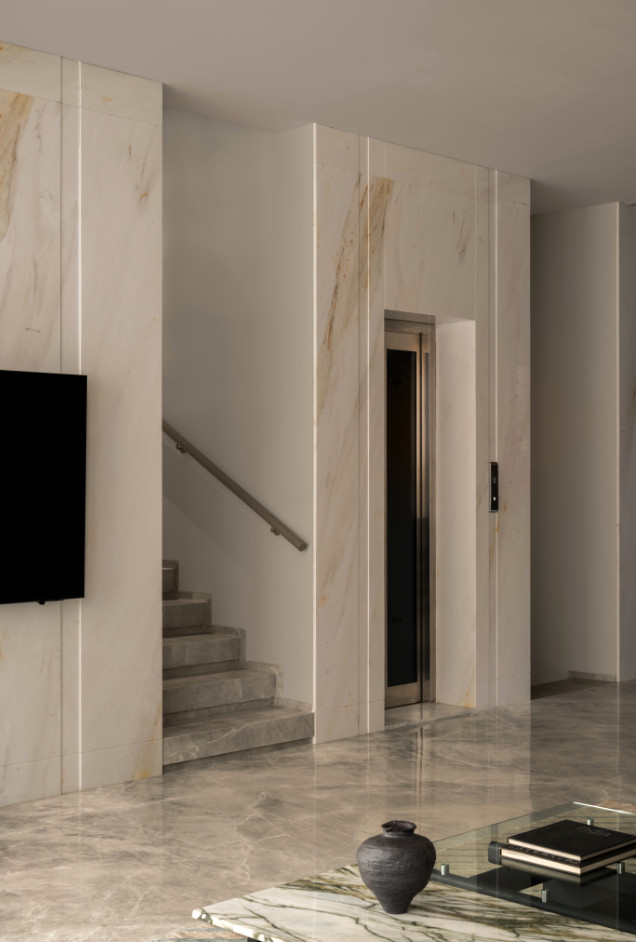
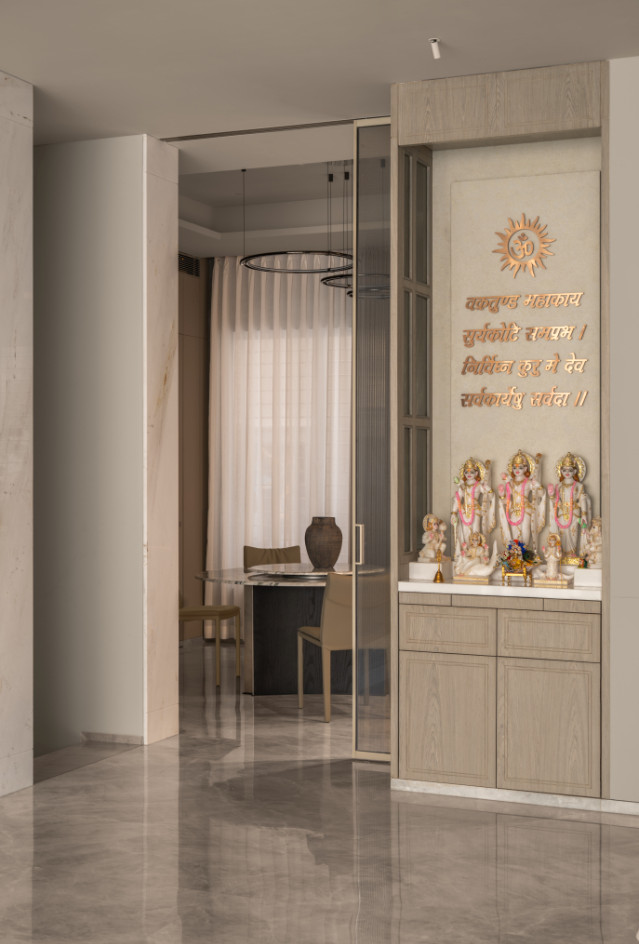
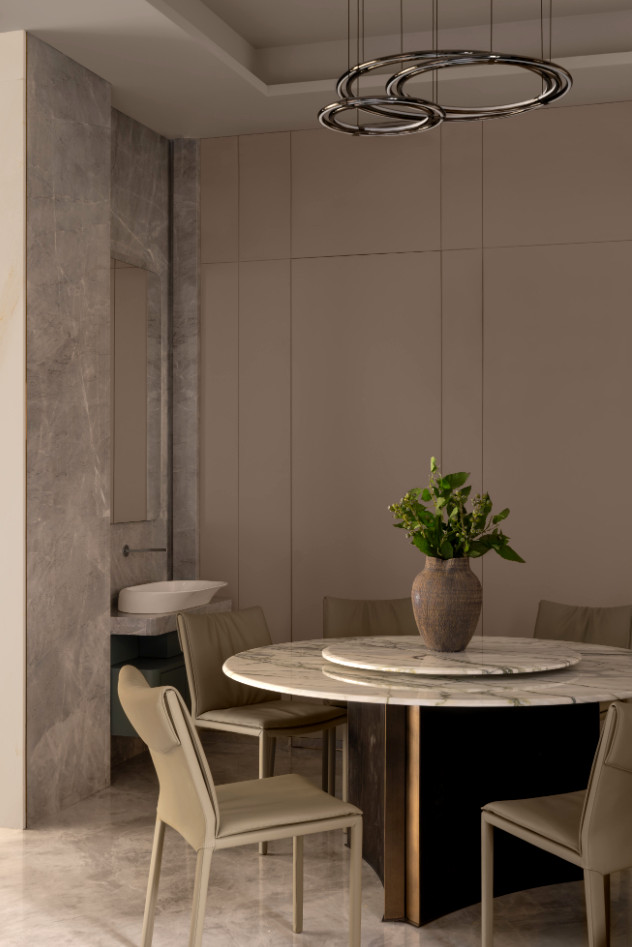
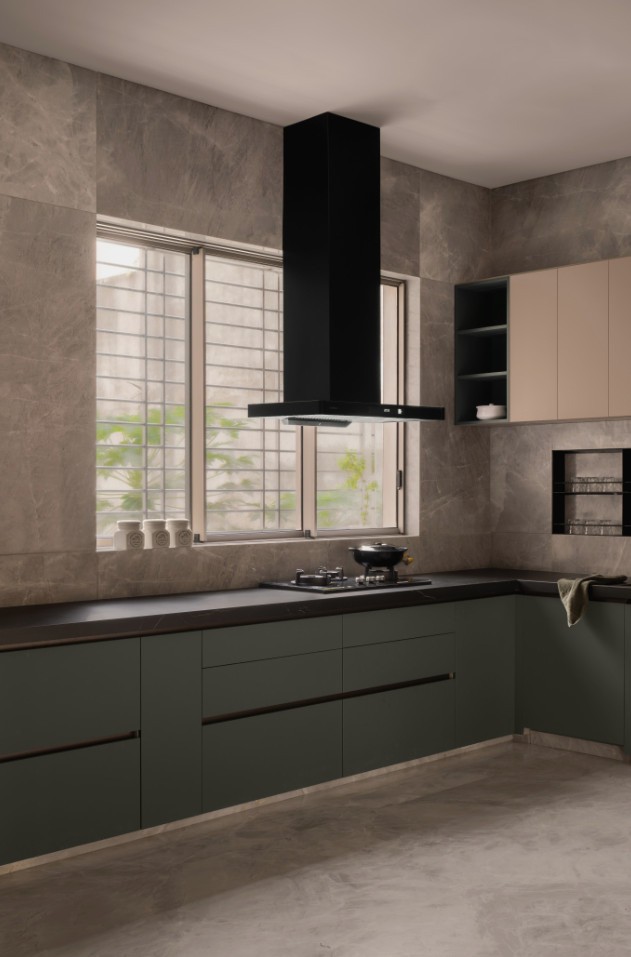
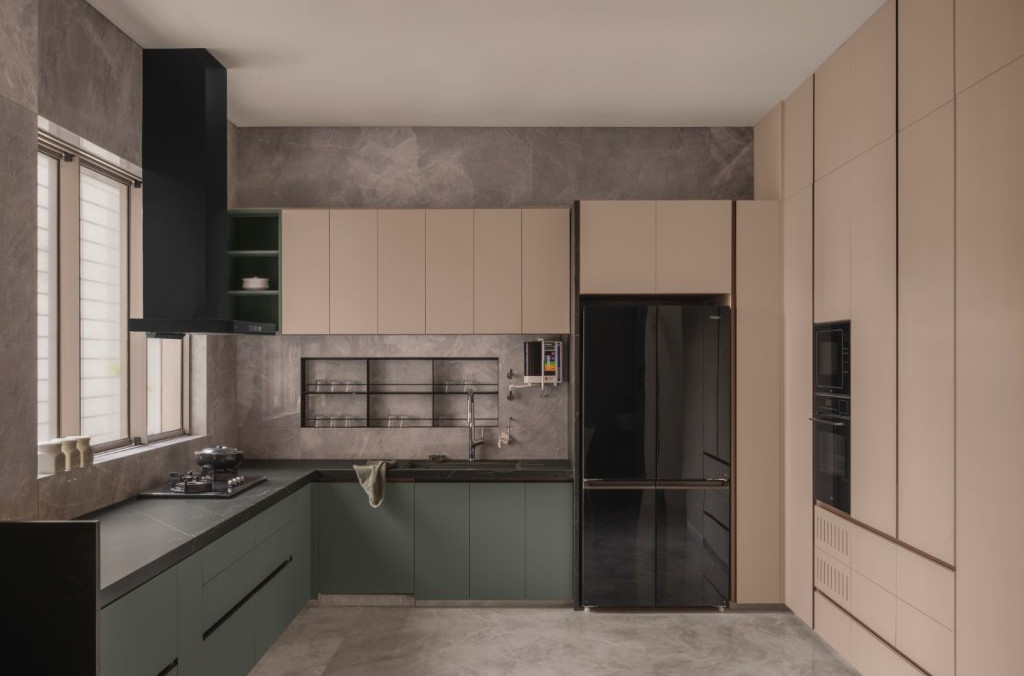
The residence is organized according to a distinct functional hierarchy. Parking, service zones, and staff amenities occupy the ground floor, supporting smooth daily functioning. Shared family life takes place on the first floor, where the living and dining areas encourage conversation and gathering. Six bedrooms are distributed across the second and third floors, offering seclusion while remaining connected to the central atrium. On the highest level, the master suite, a home office, and an open terrace expand the domestic setting beyond the interior.
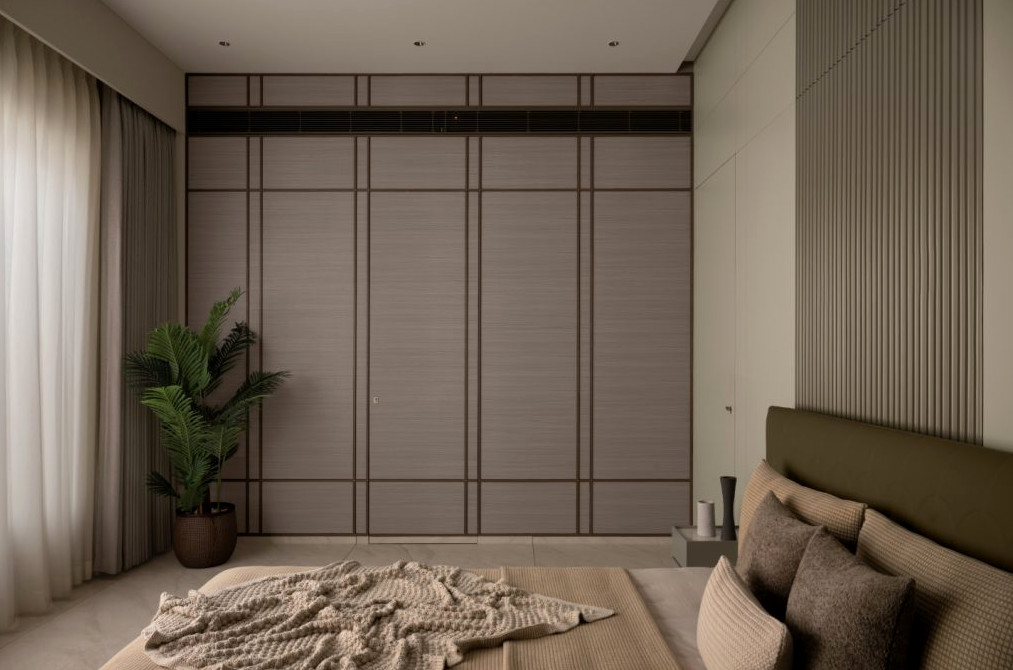
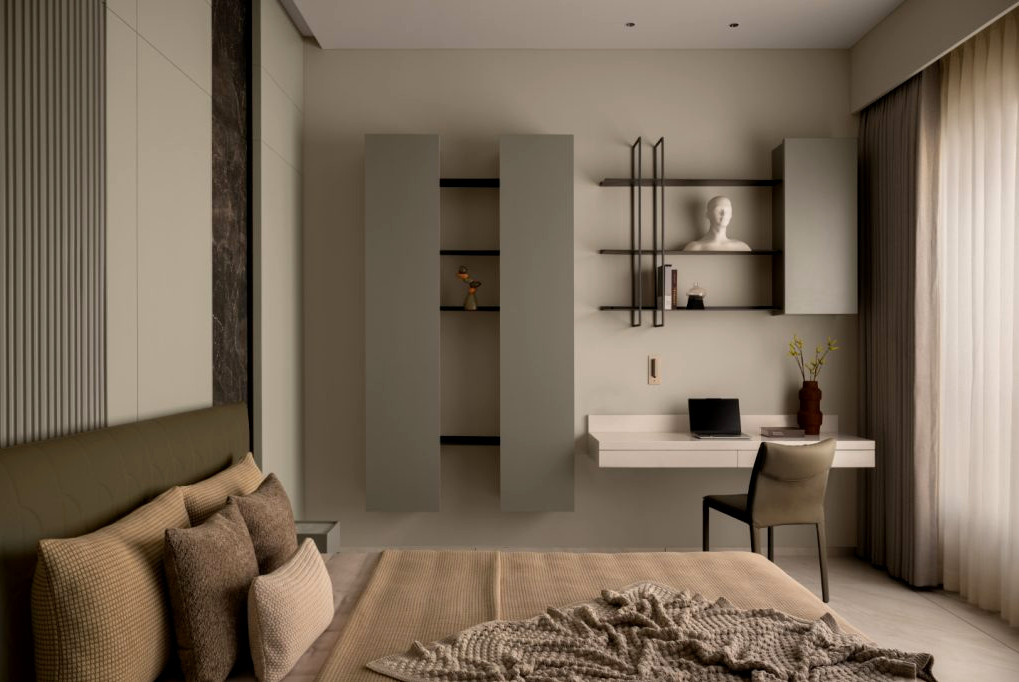
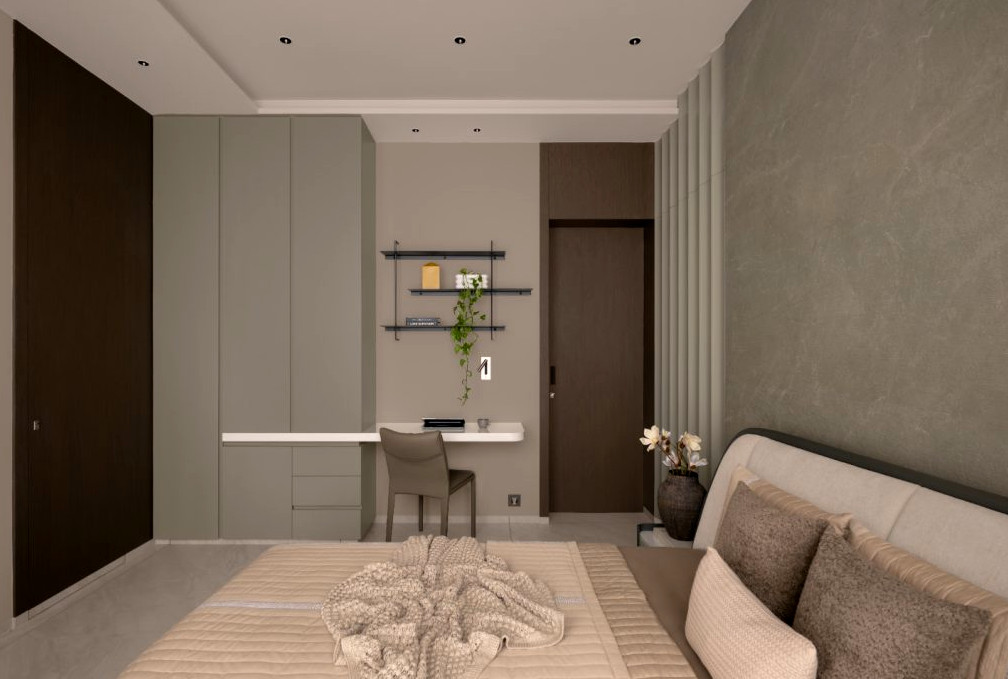
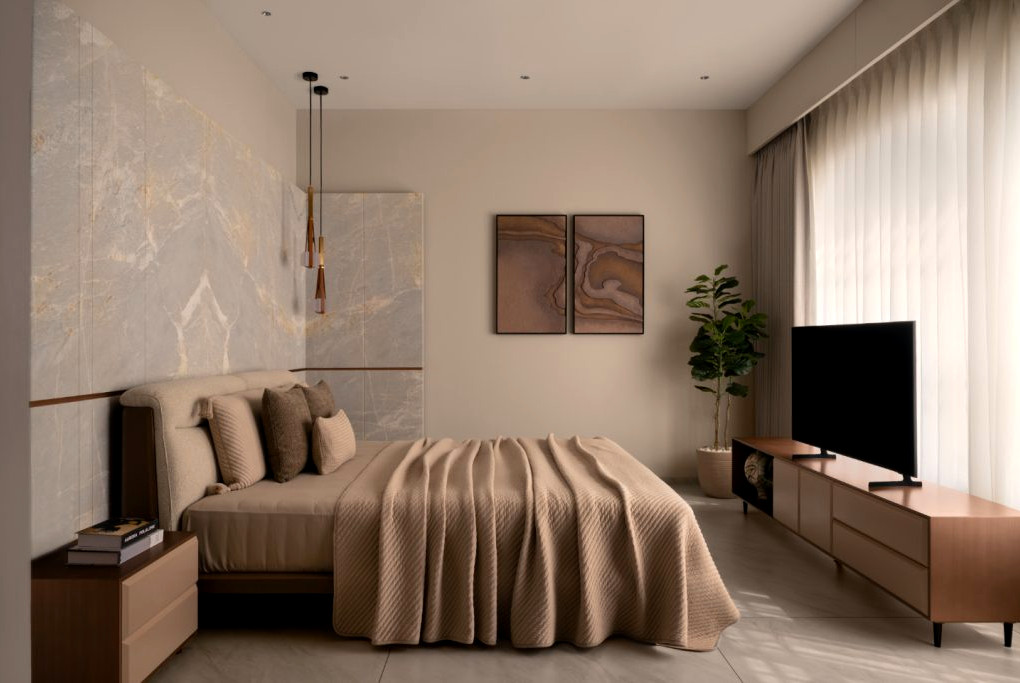
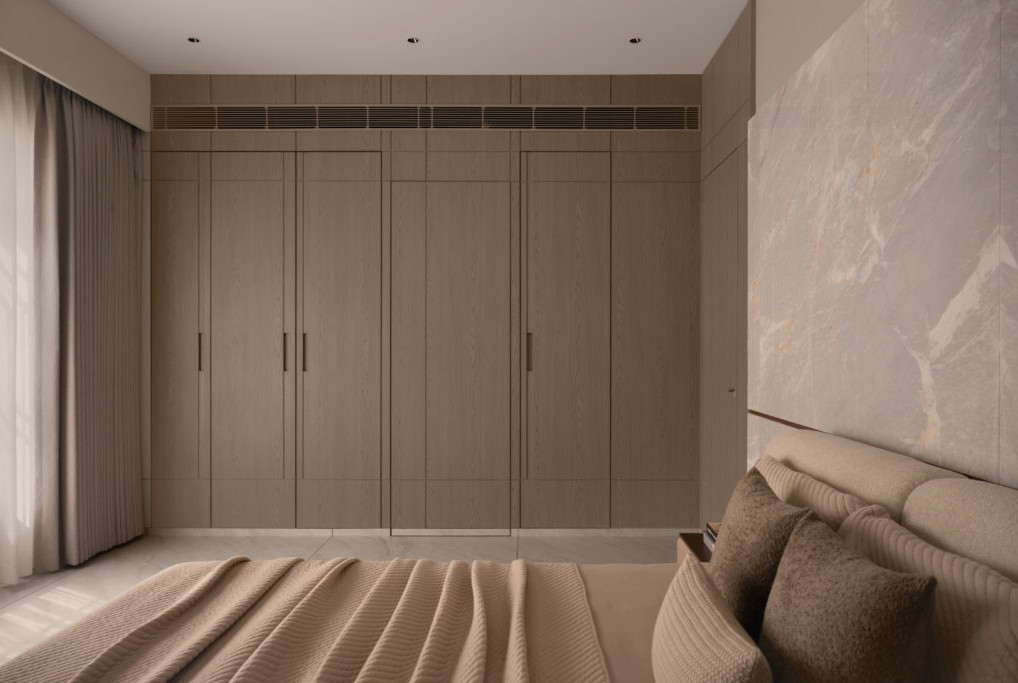
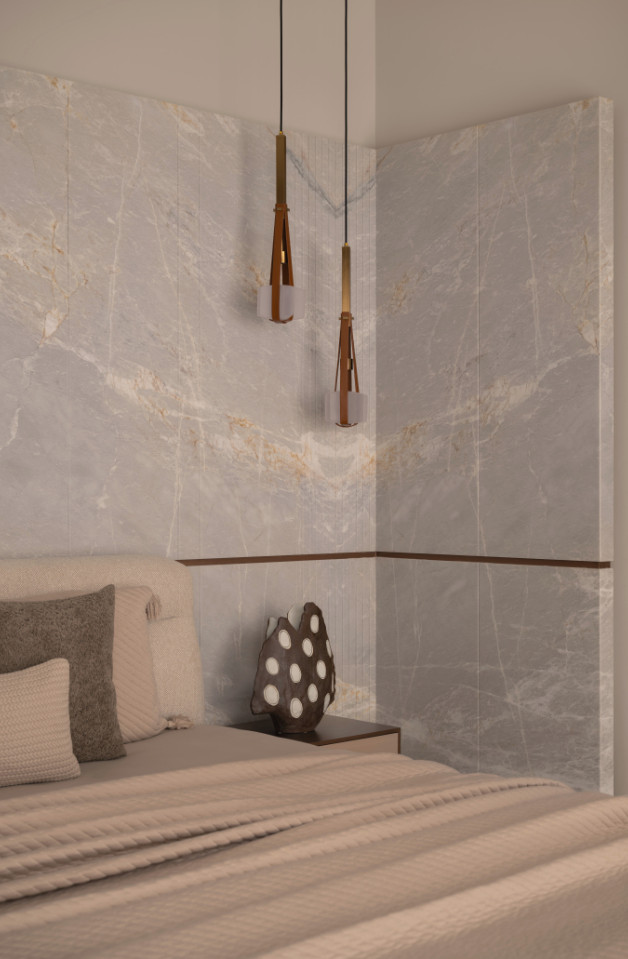
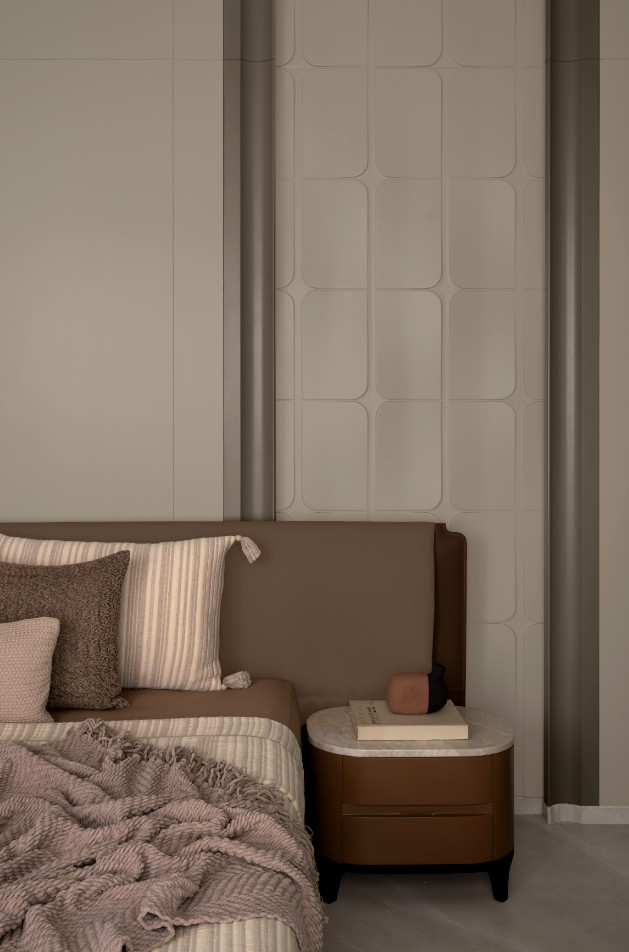
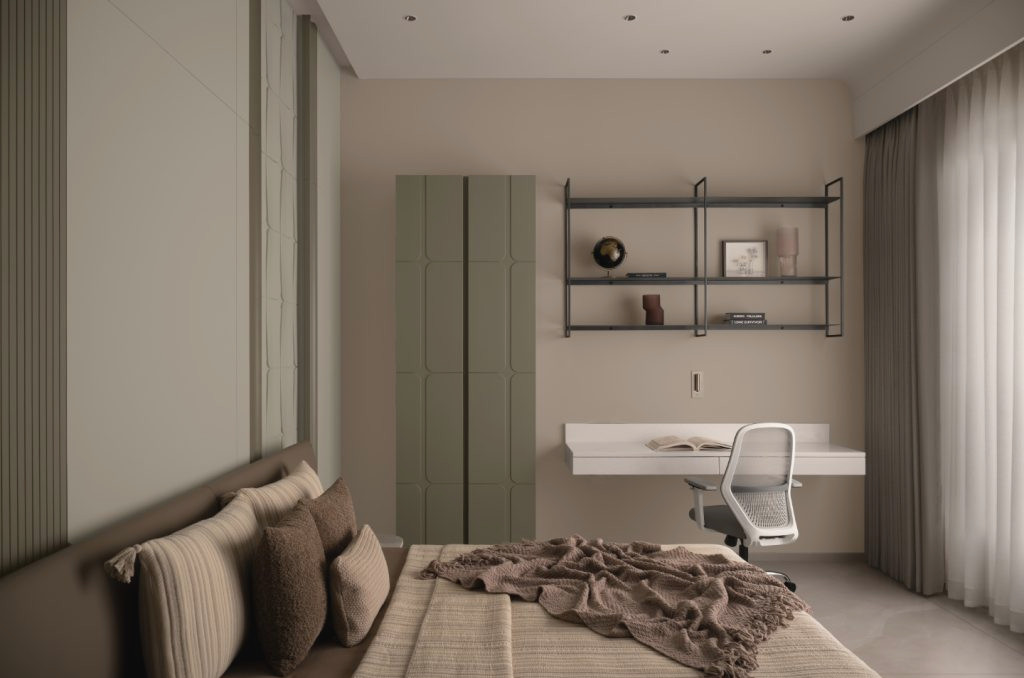
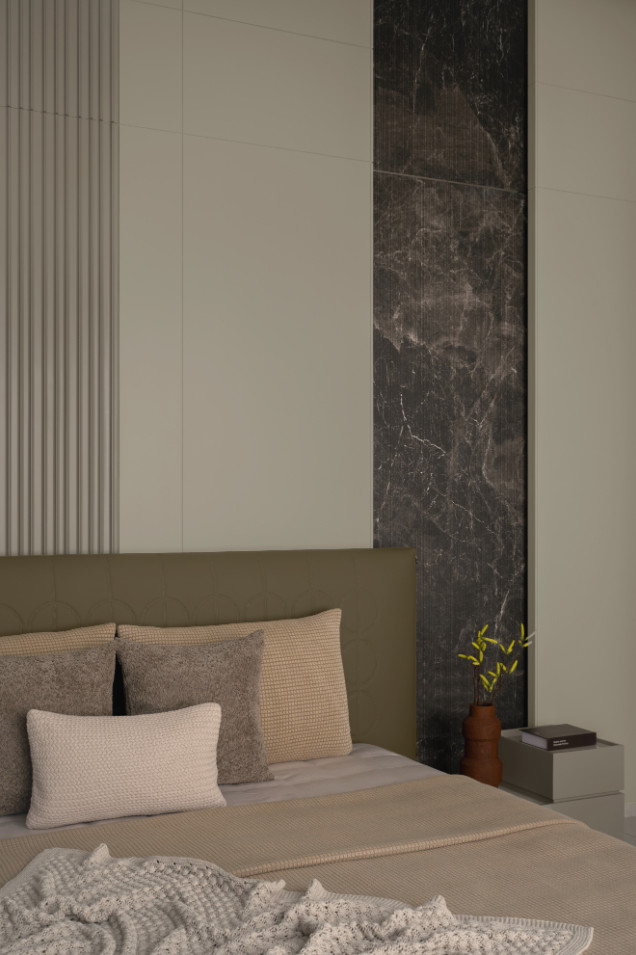
The design vocabulary rests on crisp geometry, understated detailing, and a welcoming material selection. Thoughtfully chosen surfaces and finishes create a serene, unified mood, enabling the residence’s spatial character to remain central. Daylight continues to guide the design, influencing the interior experience and strengthening a sense of continuity across the home.
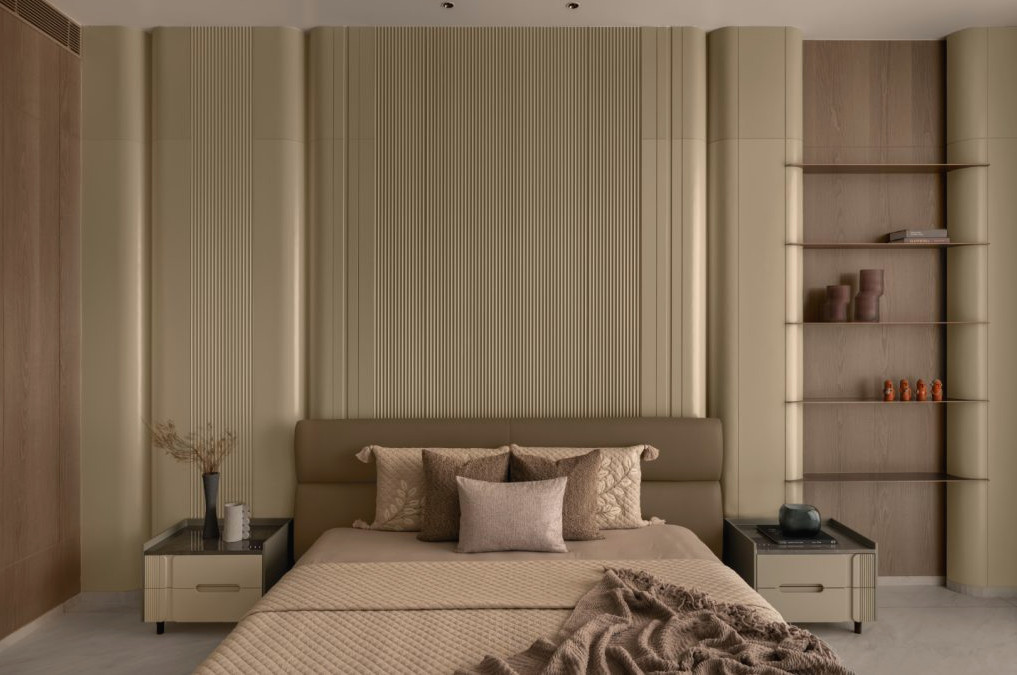

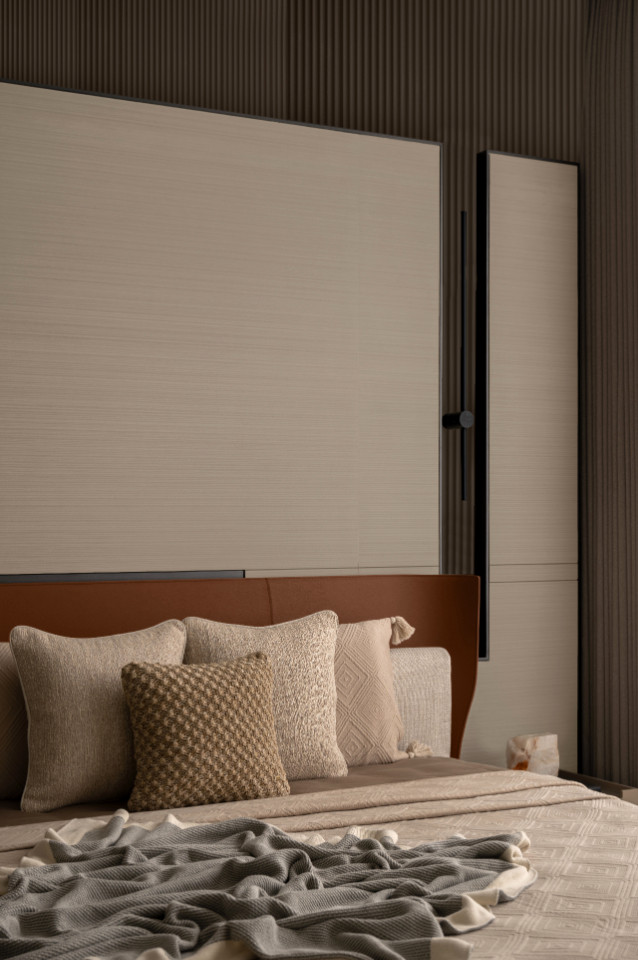
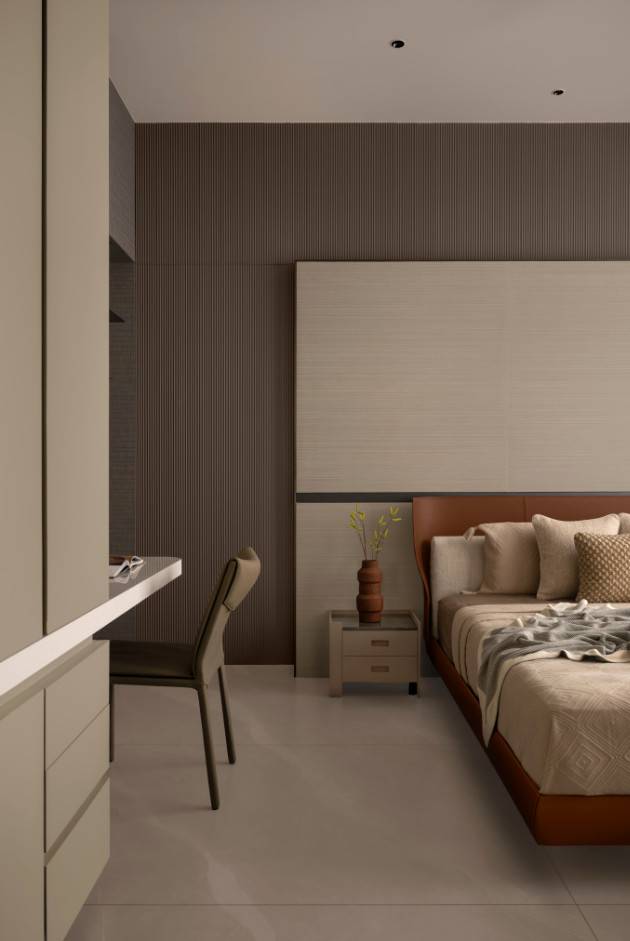
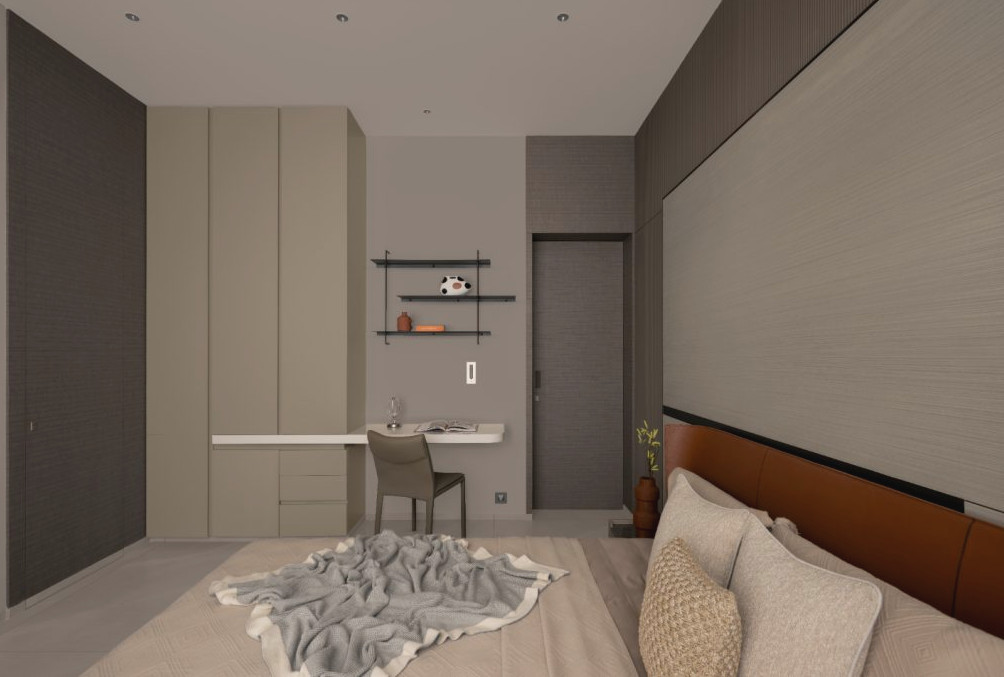
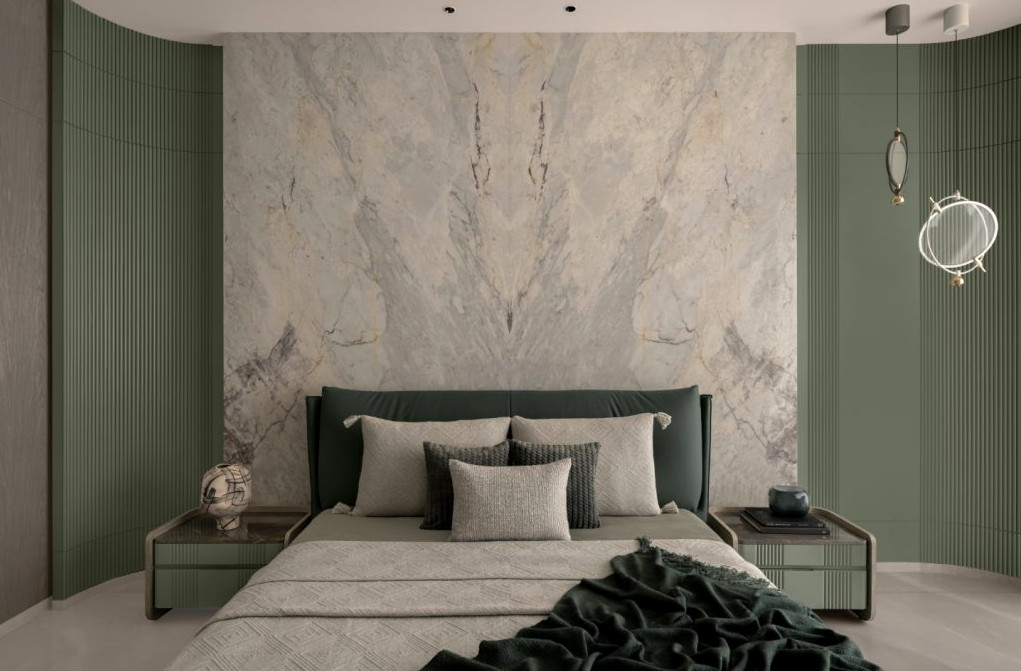
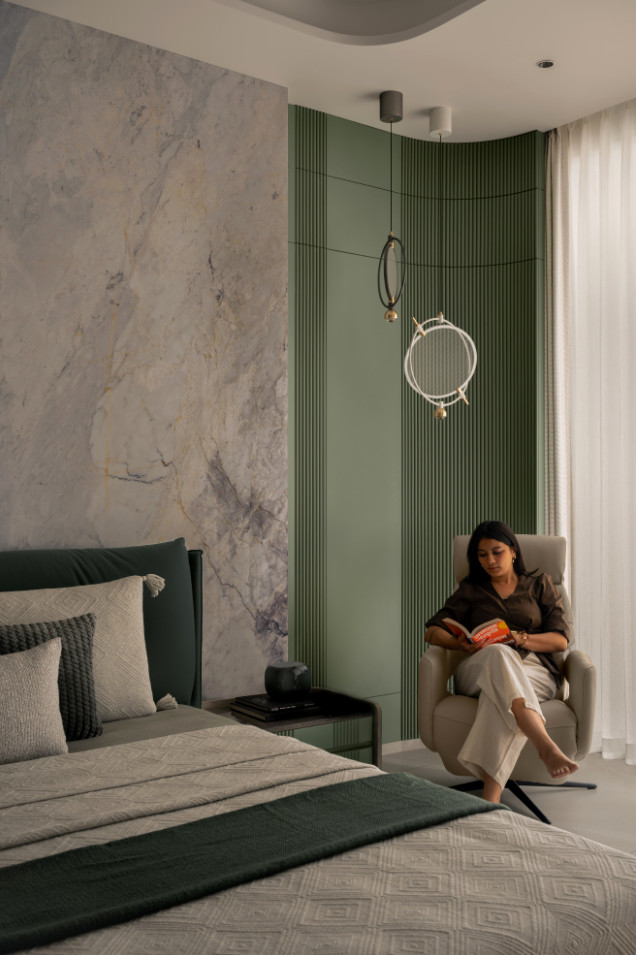
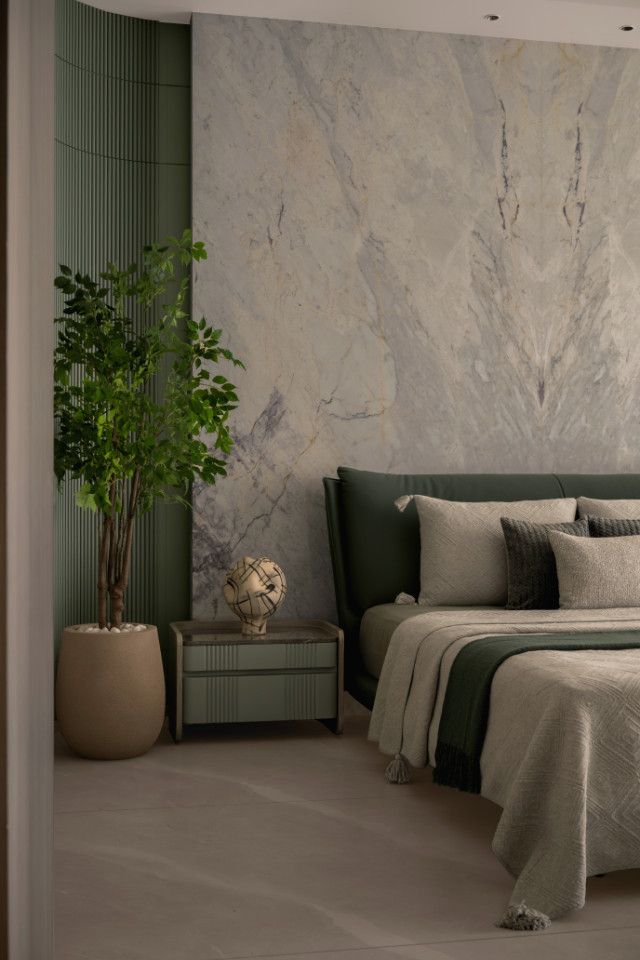
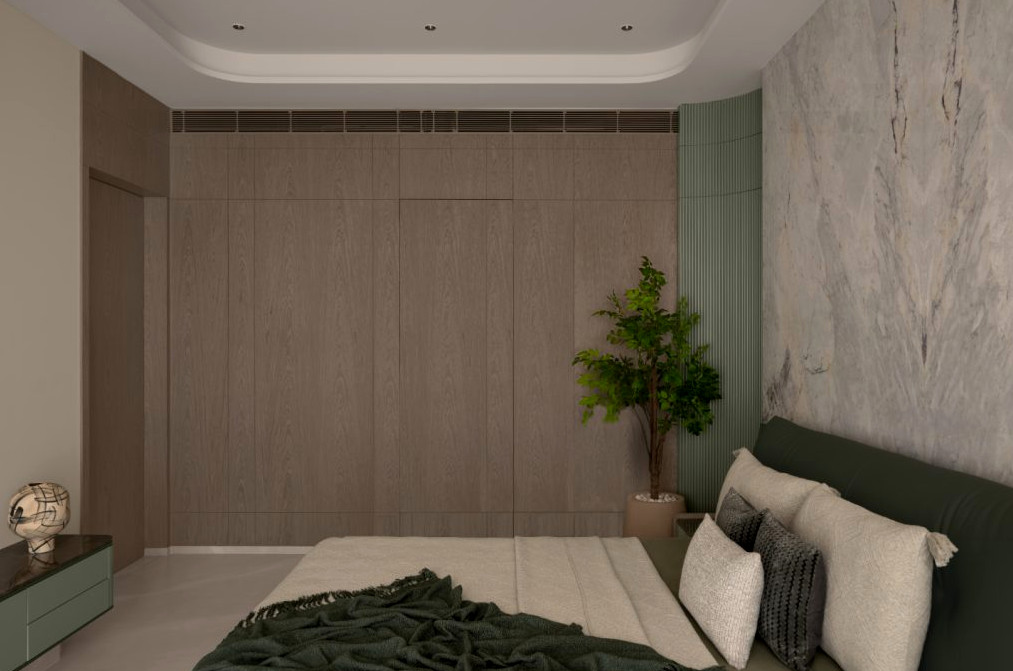
Through a direct response to the limitations of its urban context, Kevadia House illustrates how a modest site can serve a large family while preserving both comfort and seclusion. A considered composition of volumes, sightlines, and communal areas allows the residence to support personal retreat alongside shared family life for three generations living together.
The Workspace is situated in Rajkot, a city celebrated for its rich cultural legacy, historic structures, and lively craft bazaars. Created by MHDA, the project responds to this inventive setting through a considered and modern design approach. It offers a fresh interpretation of the creative studio. As the base for the multidisciplinary practice, it unites architecture, interior, and product design beneath one roof. Carefully crafted to feel thoughtful, refined, and highly personal, the studio allows creativity to move freely. At the same time, it provides a peaceful setting for contemplation, teamwork, and creation.
Step Inside This Creative Studio in Rajkot, Where Design Is Always Evolving | Manali Hirani Design Atelier
Created for Change
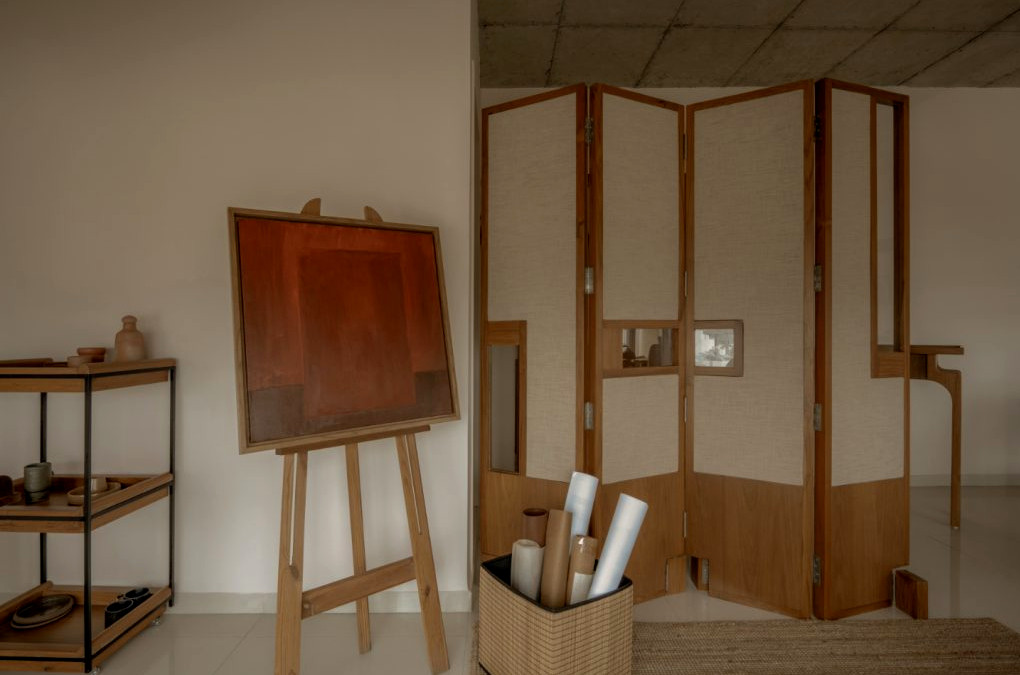
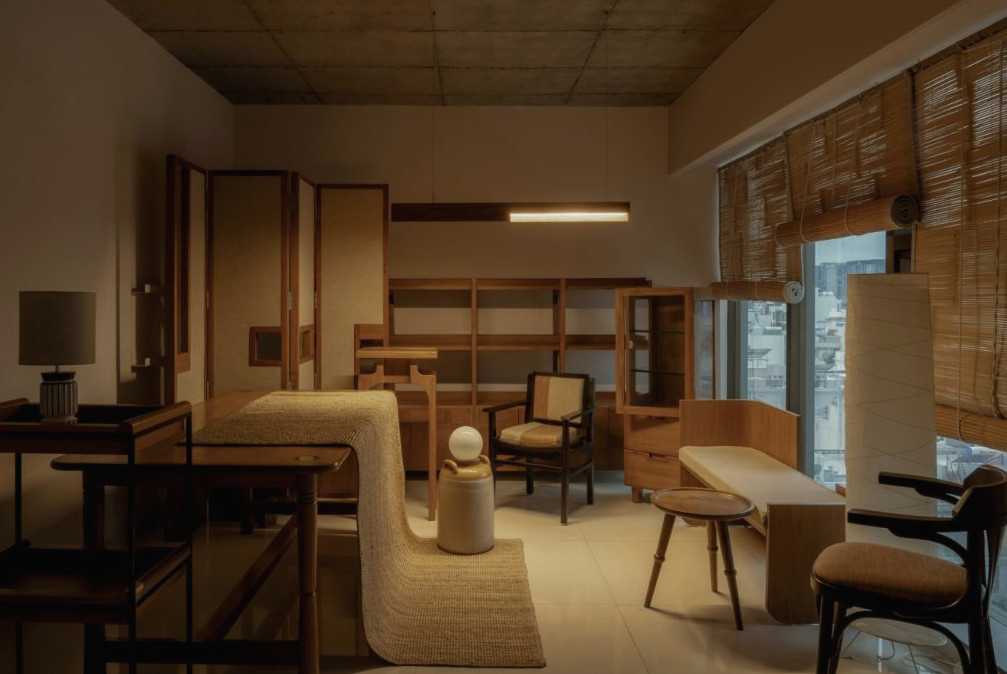
The designers envisioned the workspace as a blank canvas shaped by Zen-inspired calm and the liberty to experiment. Every component supports adjustment and versatility. Like a child shifting Lego blocks into new formations, the studio instinctively changes in response to mood, requirement, or creativity. The custom furniture expresses this principle through its portable and progressive nature. Made with teakwood, organic textures, and earthy surfaces, each object gives familiar elements a renewed identity. Through movement, every piece defines the space’s character, purpose, and ambience.

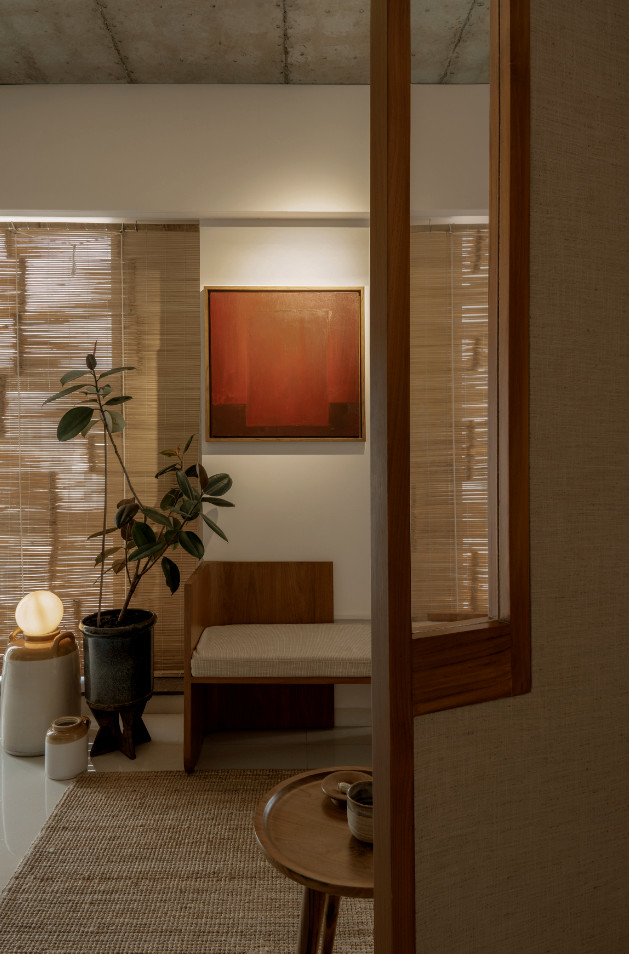
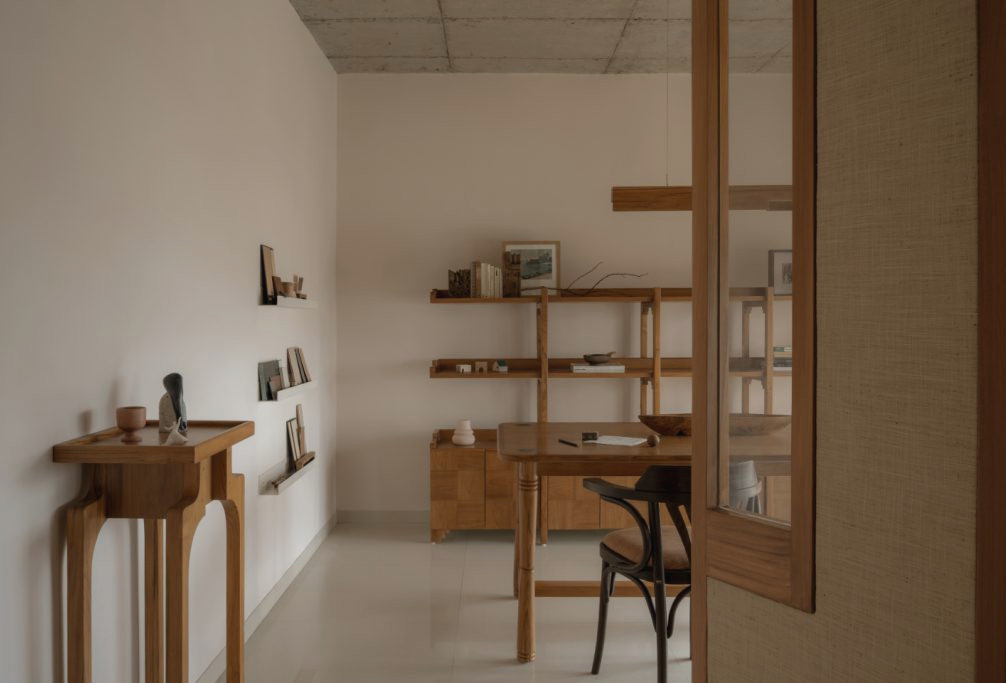
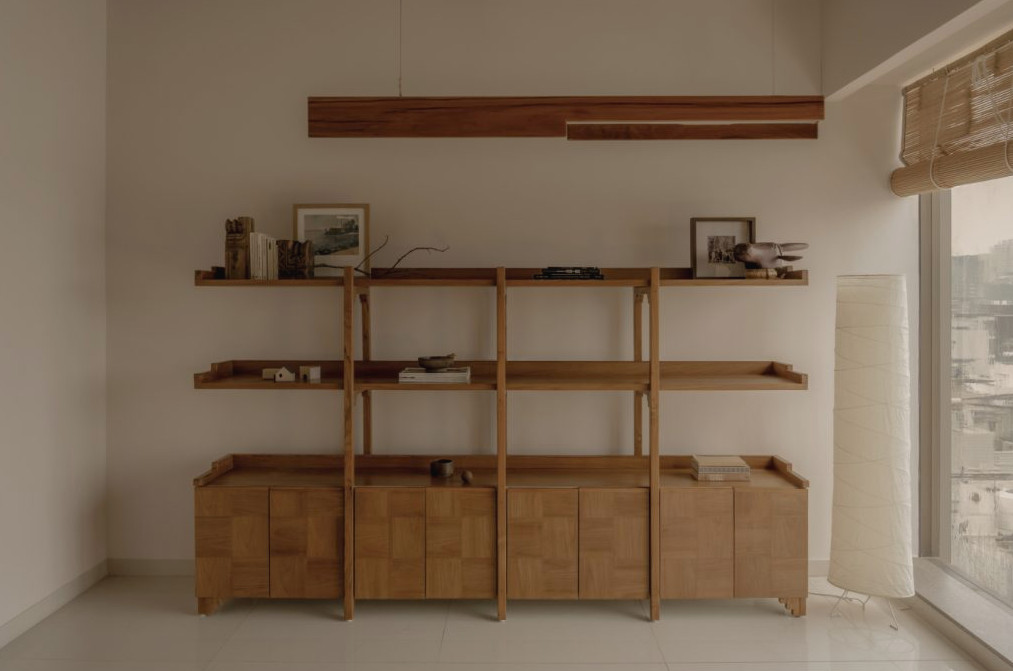
The joy comes from this sense of freedom, as every adjustment and reconfiguration creates an opportunity for discovery. With each change, the studio gains vitality while subtly reshaping daily experience. This furniture and interior philosophy mirrors the developing character of our young practice. The workspace was planned to evolve and expand in step with our future requirements. Sensitive to life’s finer details, the studio conveys our design principles and communicates our vocabulary to every visitor. An enduring commitment to detail informs every object we have carefully made. Collectively, these features help the layout unfold with ease and authenticity, steering clear of a sterile, predictable, or excessively styled composition.
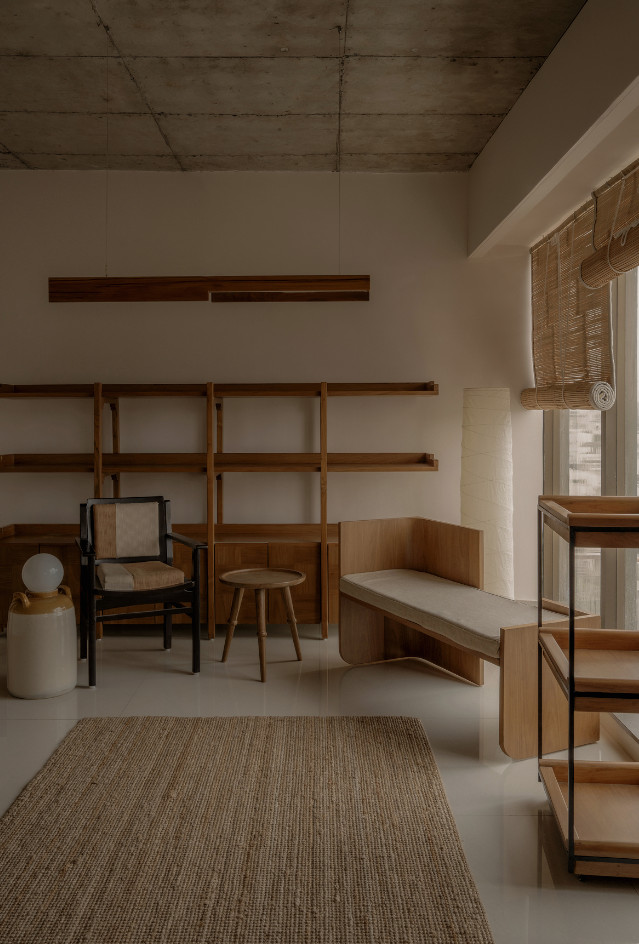
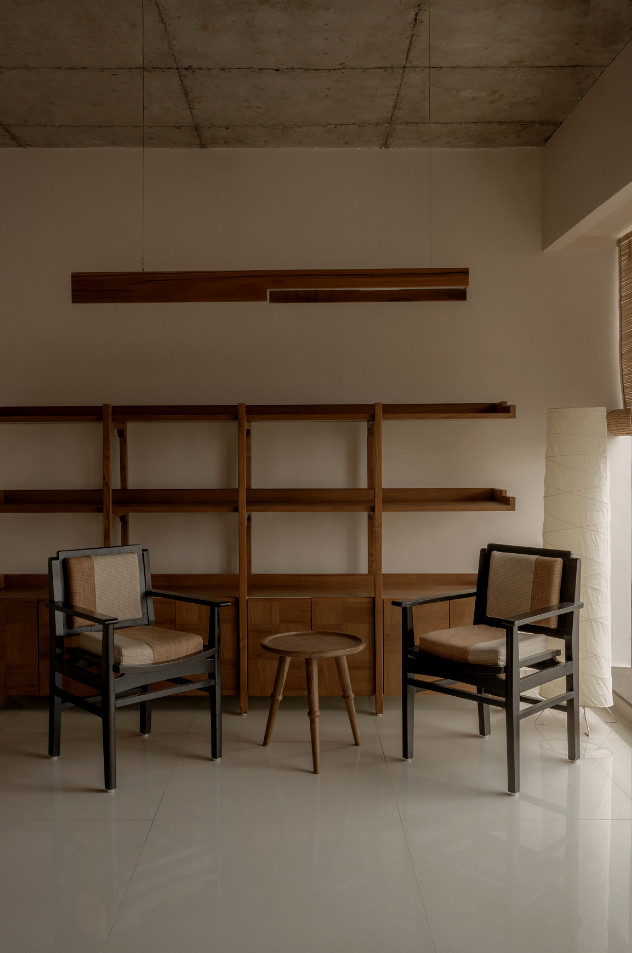
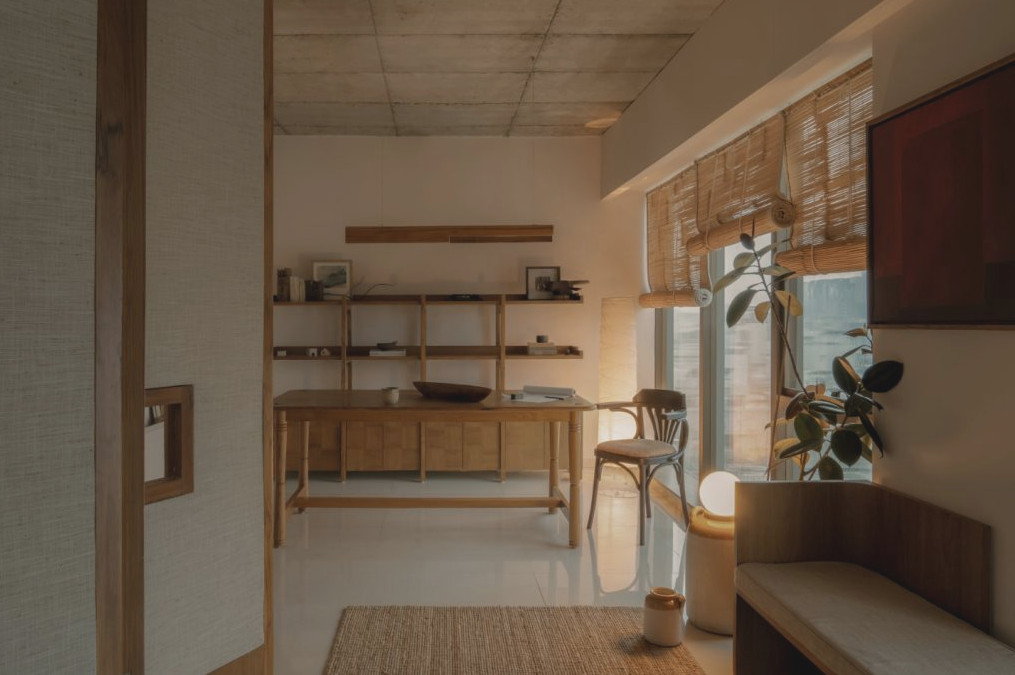
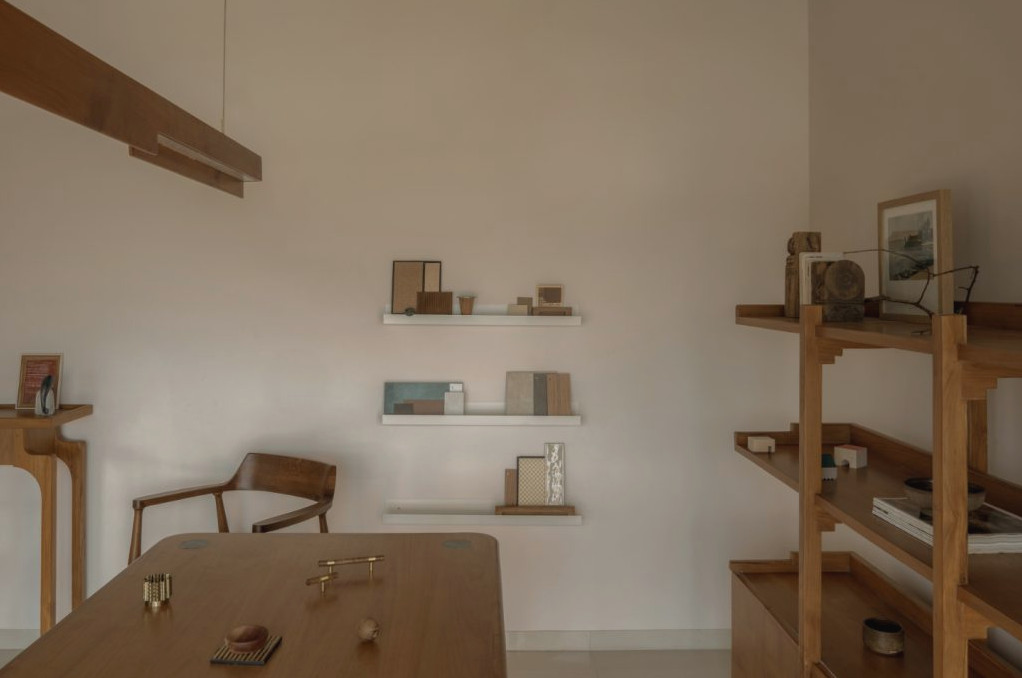
Created with Purpose
Whether fully restoring two black chairs recovered from the scrapyards of Alang or producing the carefully crafted multi-panel folding partition, every choice in the design is intentional. With its varied openings, the partition provides multiple levels of privacy and encourages playful interaction throughout the studio, transforming the setting with every arrangement.
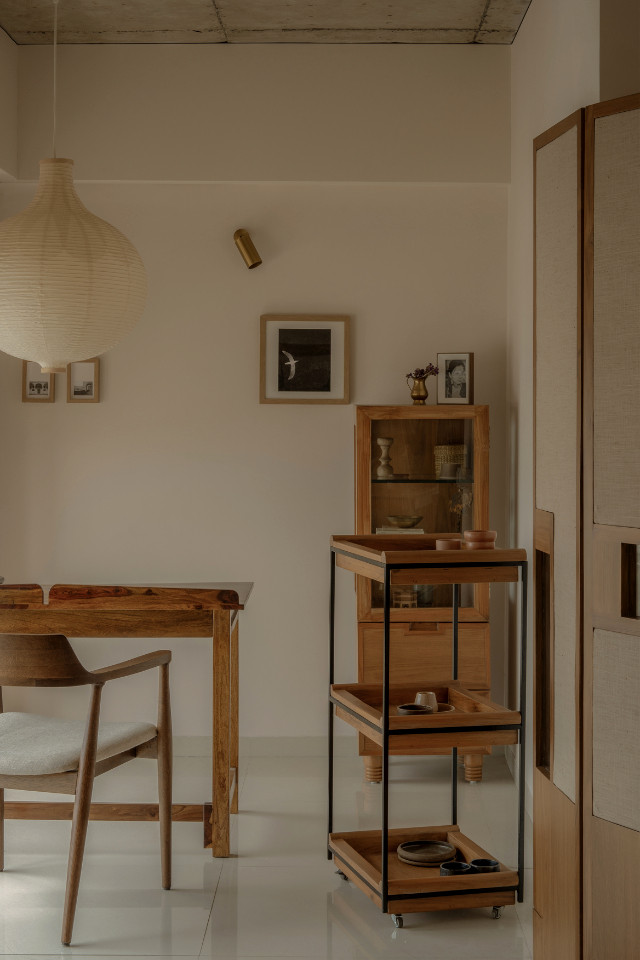
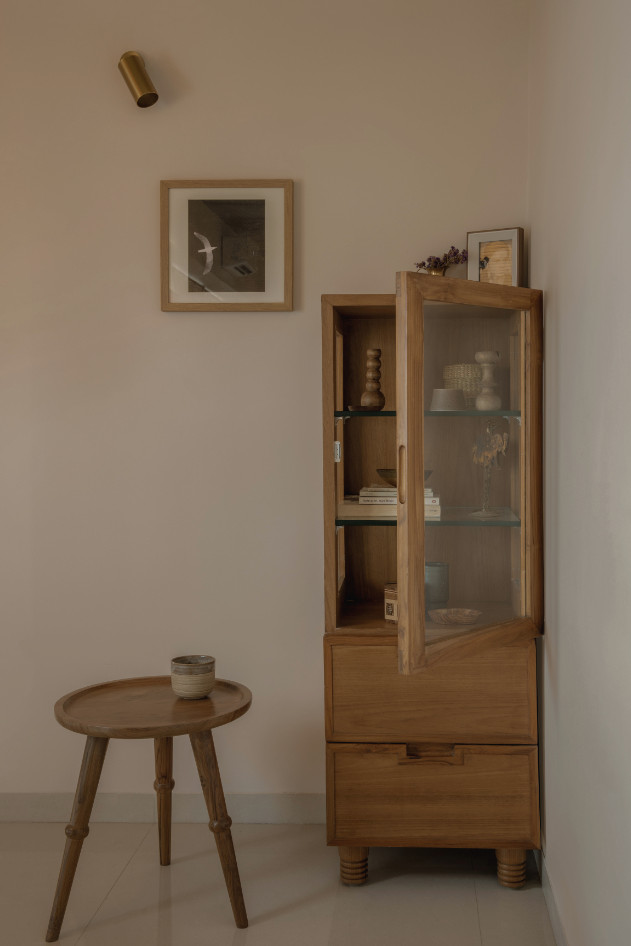
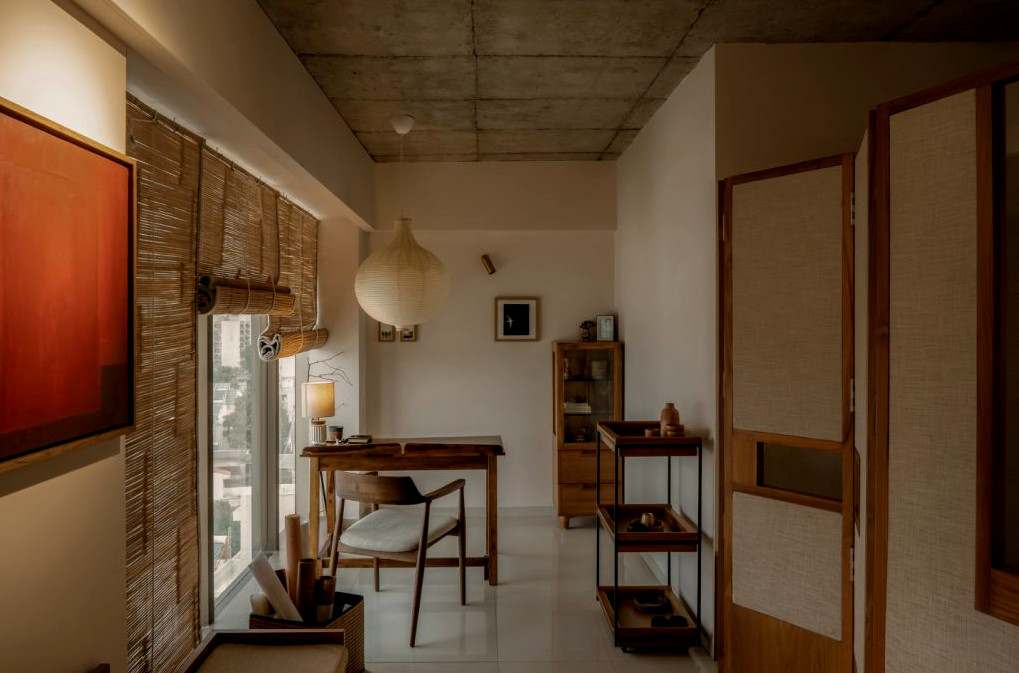
The library unit carries the same level of accuracy, with a stepped pattern repeated across its sides and legs, complemented by a chequered veneer finish on the shutter. Even a minor feature such as the door handle receives careful treatment: a solid wooden block discreetly hides the recess used to open it. The result is never overstated, although every element has been thoughtfully and rigorously examined.
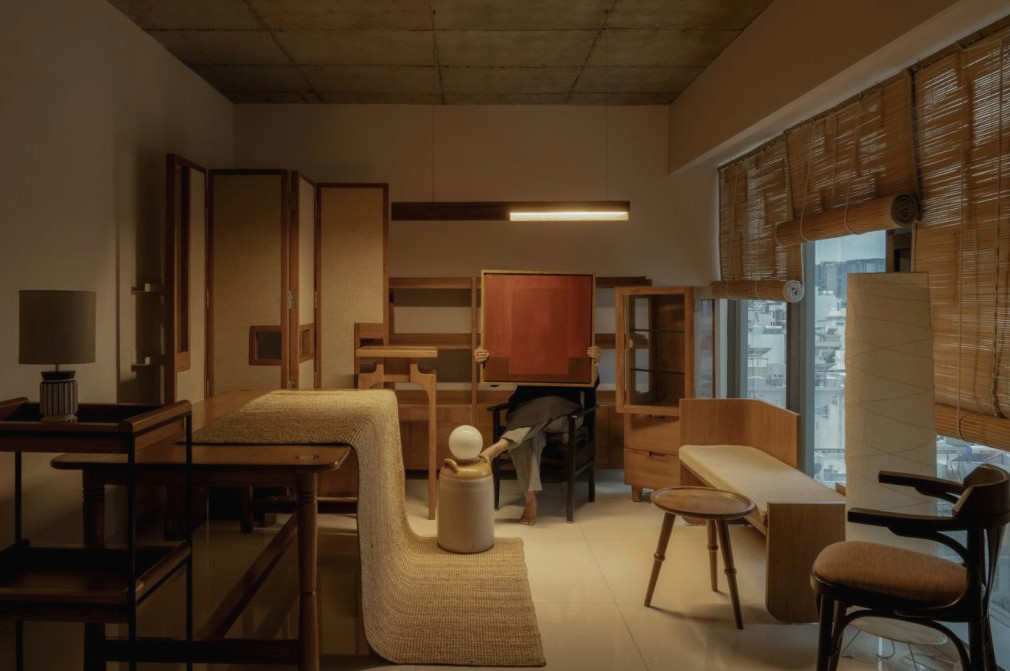
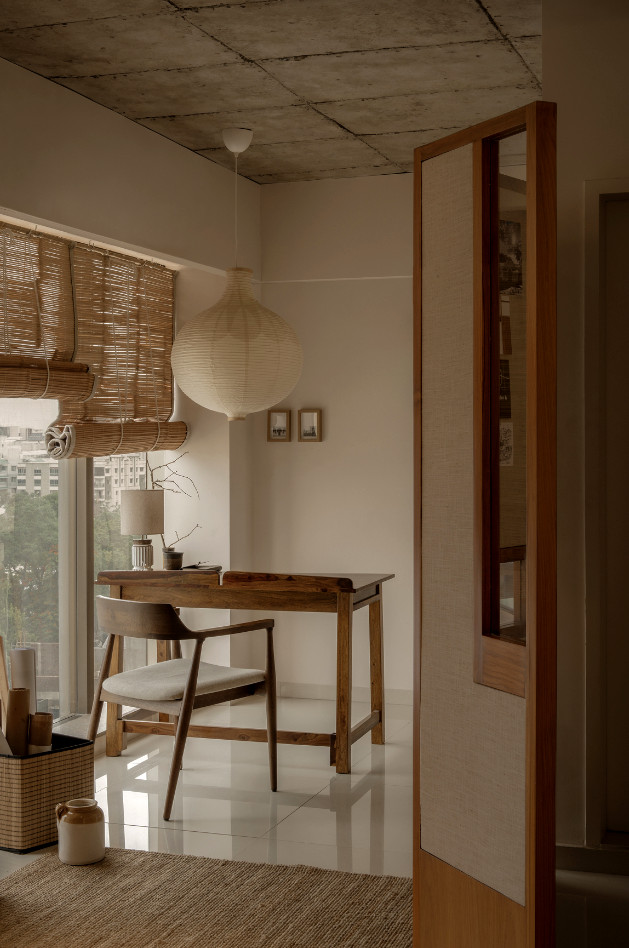
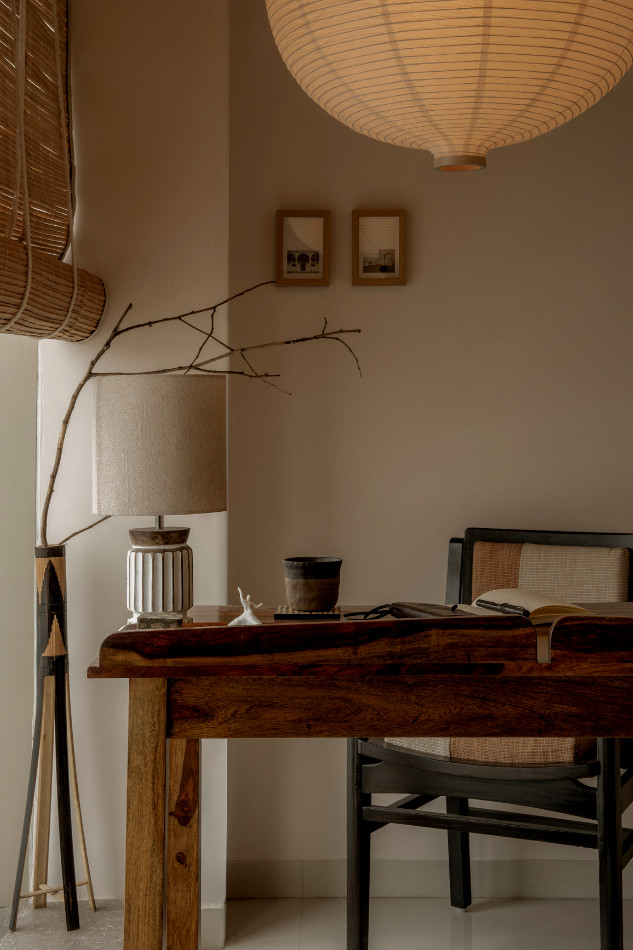
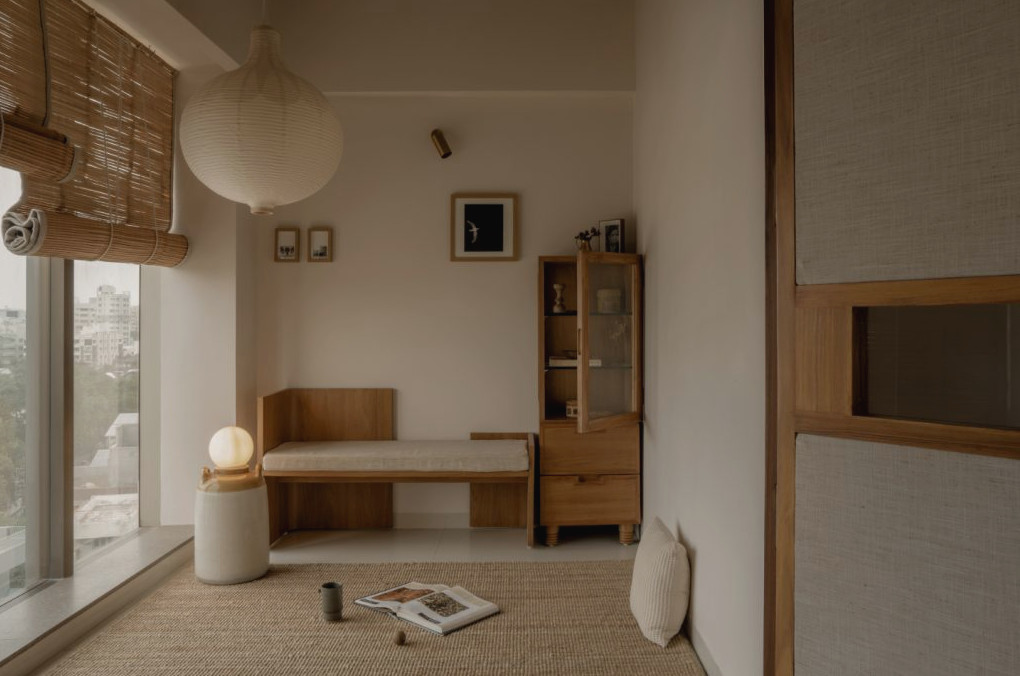
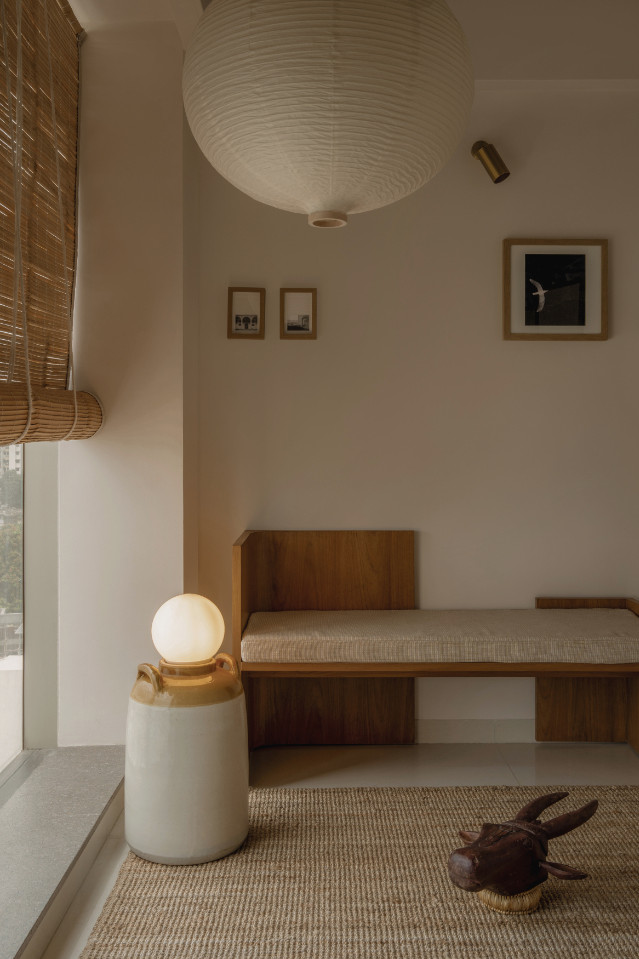
The project is rooted in th7 Smart Bathroom Remodeling Ideas to Maximize Space and Conveniencee understanding that the tiniest and most understated elements can influence an entire setting. Shaped by these delicate considerations, the design pursues understated elegance and dimensionality. Through its continually responsive character, the Workspace becomes a record of the connection between people and their environment—remaining receptive to varied readings and changing viewpoints—so the space can be understood—and experienced—in a new way each time.
Making the most of a typical bathroom rarely requires removing structural walls. Although many homes constructed during the past forty years have limited floor plans, straightforward design adjustments can turn a small room into a comfortable retreat. Bathroom renovations begin daily throughout American suburbs, with typical investments ranging from $10,000 to $20,000, and most projects prioritize more efficient space usage instead of adding square footage.
Turning a tight floor plan into a polished, practical area requires thoughtful preparation rather than fast cosmetic solutions. These seven strategic improvements can reveal meaningful floor space while enhancing daily convenience.

Seamless Tiling and Step-Free Wet Areas
Room divisions make an area appear smaller more quickly than actual walls. Conventional shower curbs immediately break up the floor, causing the space to seem divided and less expansive than it truly is.
Removing that obstruction produces one uninterrupted floor surface. This approach is often known as the wet-area concept, in which the primary flooring flows straight into the shower pan without raised sections or oversized thresholds.
Pairing uninterrupted floor tile with an open floor plan allows light to move freely throughout the room. Because the surface appears connected, the eye interprets it as one larger zone, helping even a five-by-eight-foot bathroom seem considerably more spacious.
Frameless Glass Shower Enclosures
Solid shower curtains and thick aluminum door frames create visual obstacles. Replacing these barriers with frameless glass panels preserves visibility throughout the bathroom.
Transparent glass allows illumination to travel from one wall to another. It also puts attractive tilework on display, transforming the shower into a deliberate design element instead of concealing it as a purely functional space. In narrow bathrooms, a stationary glass panel or sliding bypass door can keep swinging components from striking vanity drawers.
For homeowners preparing major shower replacement work in areas such as Michigan, partnering with professionals for a bathroom remodel in Lansing makes sense when the project involves complex changes. For example, converting a bathtub into a contemporary shower for improved accessibility and convenience can be easier with assistance from local specialists who know how to avoid frequent problems.
Floating Vanities and Wall-Hung Fixtures
The amount of visible floor strongly influences how large a room feels. Solid vanity cabinets sitting directly on the subfloor occupy valuable sightlines and create deep shadows that make the bathroom seem confined.
A wall-hung floating vanity raises the cabinet above the floor, exposing the area beneath it. That open section makes the room appear broader and less crowded. Installing a wall-mounted toilet conceals the substantial tank inside the drywall and can recover as much as ten inches of valuable depth.
Recessed Wall Compartments and Niche Storage
Large wire shelving units and plastic organizers positioned above the toilet overwhelm vertical surfaces and gather soap residue. The spaces inside walls provide concealed storage that frequently remains unused.
Removing drywall between typical wall studs reveals valuable depth for built-in storage. A recessed shower niche holds shampoo containers away from the floor edge, while a cabinet fitted between studs can house towels and linens without consuming additional floor area.
Oversized Tiles with Fewer Grout Lines
Small mosaic tiles might be fashionable, though they call for numerous grout lines in every square foot. Repeated grid patterns add visual distraction, causing already-small walls to appear crowded and disorderly.
Choosing larger tiles limits the number of grout joints across floors and walls. Their wide, smooth surfaces establish crisp lines that can make a compact bathroom feel surprisingly airy.
- Oversized tiles reduce visual distractions by limiting the number of grout joints
- Grout in a shade similar to the tile produces a consistent, uninterrupted surface
When the grout closely matches the tile, the joints recede visually and create the impression of one continuous panel.
Recessed LED Illumination and Mirrored Storage
Ceiling fixtures positioned overhead often create pronounced shadows in narrow corners, making the environment feel darker. Carefully planned lighting softens those areas and makes the room’s edges seem farther apart.
Combining recessed ceiling fixtures with LED strips beneath the vanity removes shadowy areas and delivers extra advantages. For an even brighter result, add a slim medicine cabinet recessed into the wall with a built-in mirrored front. Open-plan primary bathrooms often use illuminated mirrors to increase ambient light and expand storage capacity without projecting farther into the room.
Pocket Doors and Sliding Barn-Style Hardware
Typical interior doors open inward and take up nearly nine square feet of functional floor space. Their movement restricts the placement of towel racks, laundry hampers, and vanity drawers.
Replacing a standard hinged door with a pocket version removes the need for swing clearance. Since the door glides into the wall, all available space around the entry can be used. When the interior framing does not allow for a pocket installation, a sliding barn-style door mounted outside the wall provides an attractive, efficient alternative.
Improving Your Everyday This Ahmedabad Bungalow Embraces Contemporary Indian Interiors Rooted in MemoryBathroom Environment
Effective bathroom remodeling is centered on
On the calmer fringes of Ahmedabad, where the city gradually eases its rhythm and the surroundings unfold into green expanses, this decade-old bungalow reflects a contemporary Indian interior grounded in memory, comfort, and familiarity. Instead of giving the residence an entirely new identity, the renovation carefully brought back its inherent spirit. Created for a middle-aged Maharashtrian couple and their two sons, the home has always represented far more than a dwelling. It is a place where music accompanies the mornings, rituals inform daily routines, and familiarity matters more than display. Their intention was never to build something unfamiliar, but to shape a home that continued to express their identity. The greenery outside tempers the light and atmosphere, while indoors, the same quietness remains, letting the house reveal itself gradually instead of all at once.
This Ahmedabad Bungalow Reflects Contemporary Indian Interiors Shaped by Memory | UrbanNest Design Studio
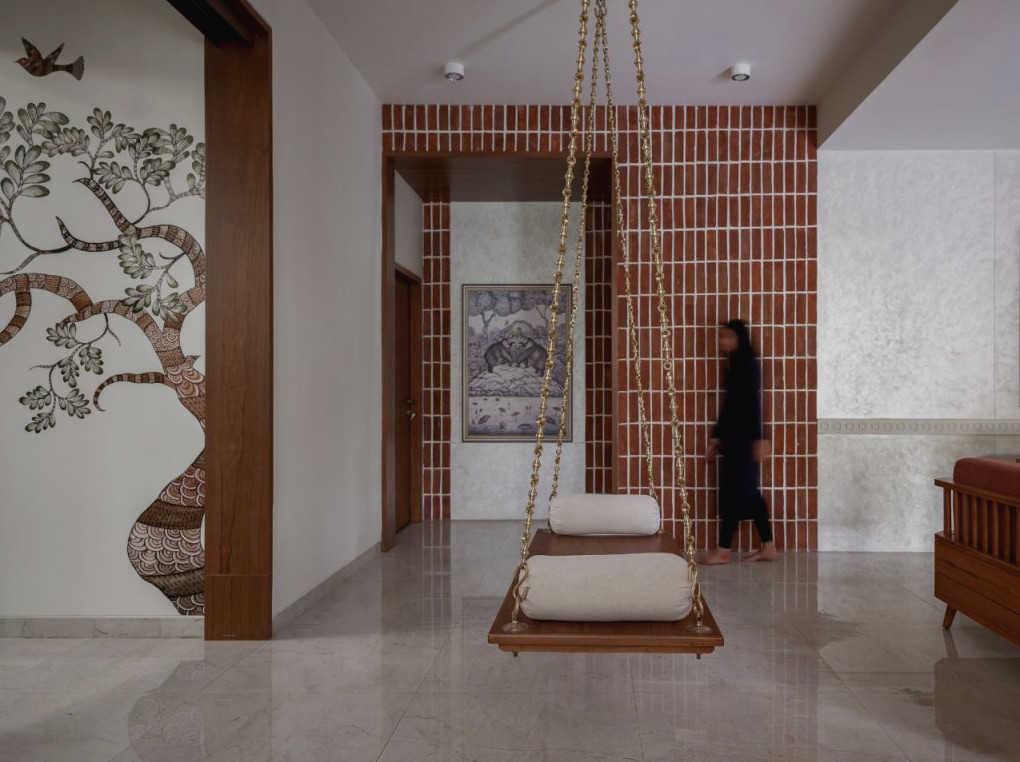

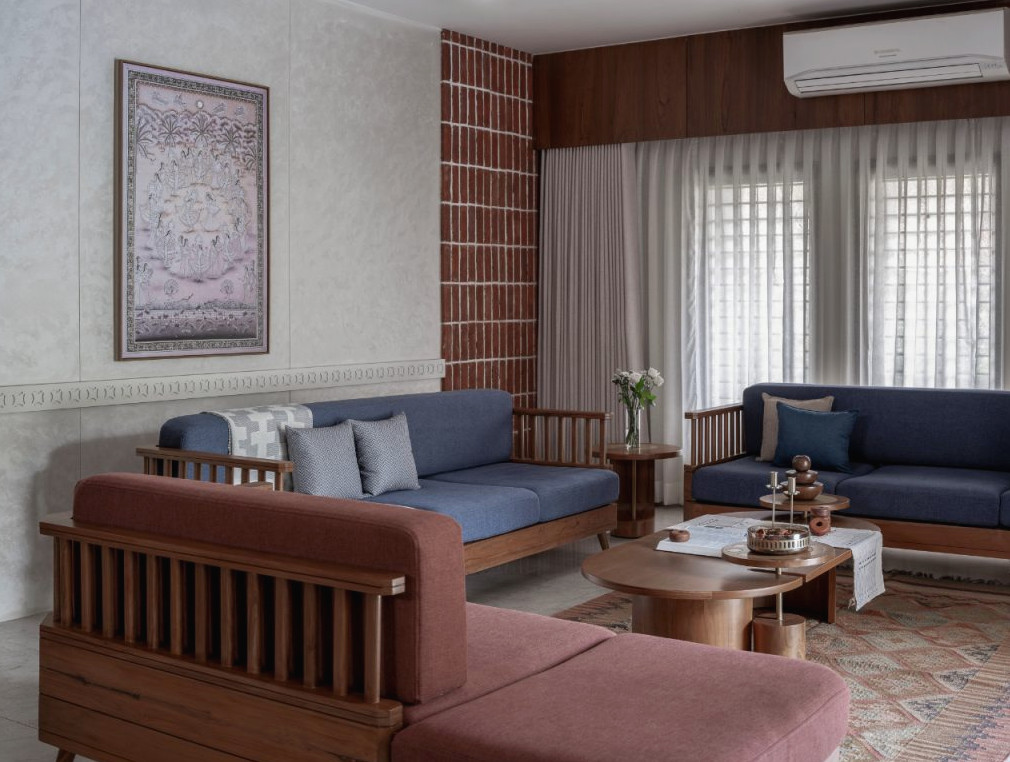
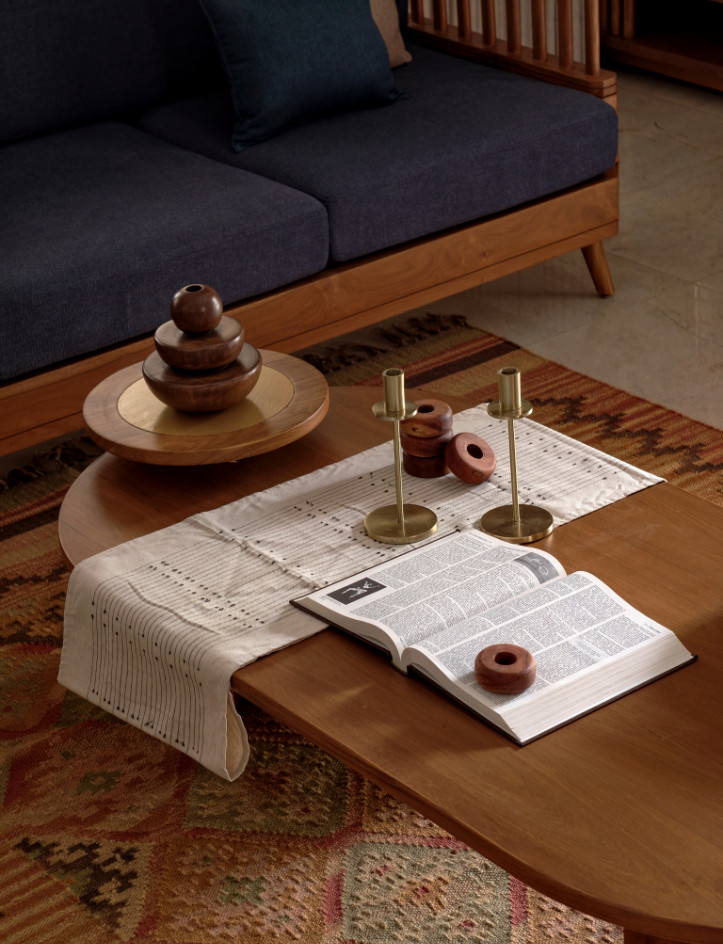
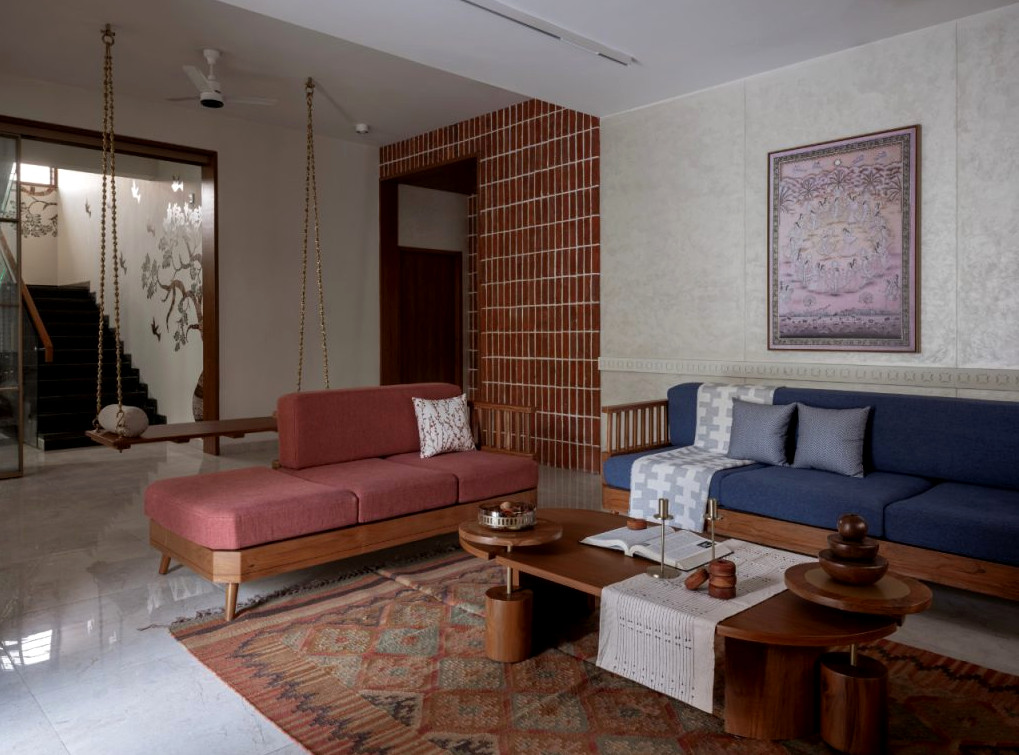
The living area appears to have belonged there forever, formed through everyday living rather than deliberate styling. Rich teak finishes lend the room a sense of character, with their grain reflecting the light in a way that feels known, almost nostalgic. The furnishings make no attempt to dominate; they settle naturally into the setting, their silhouettes recalling handmade artistry, turned timber, and objects shaped by years instead of freshly produced. This sense of recognition brings a quiet reassurance.
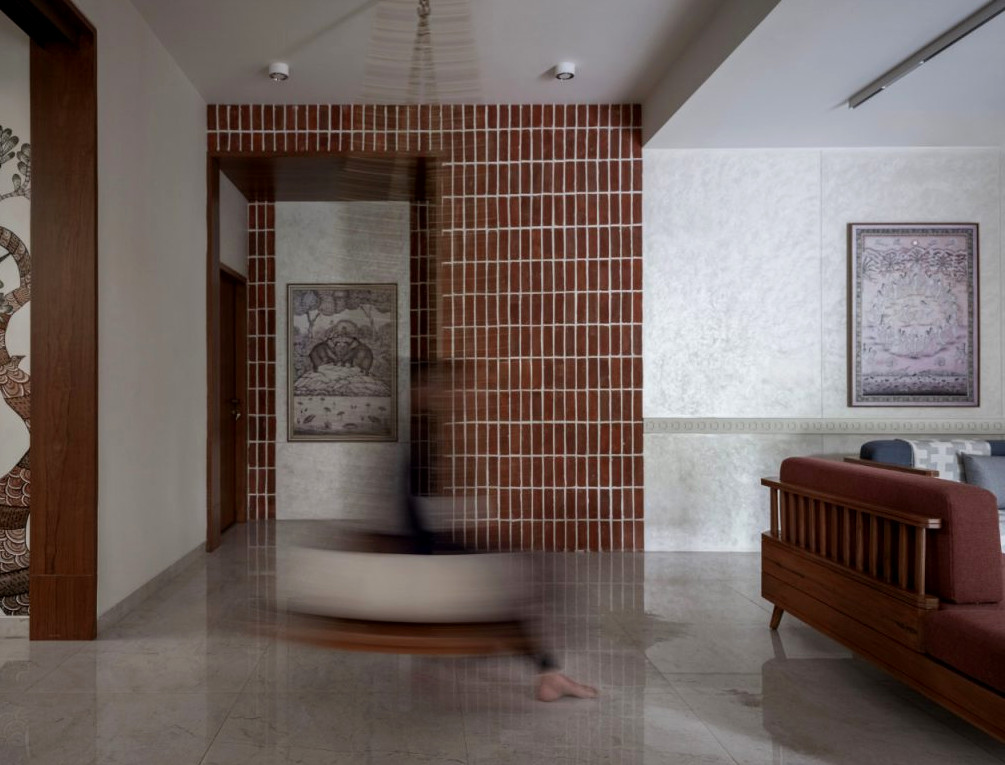
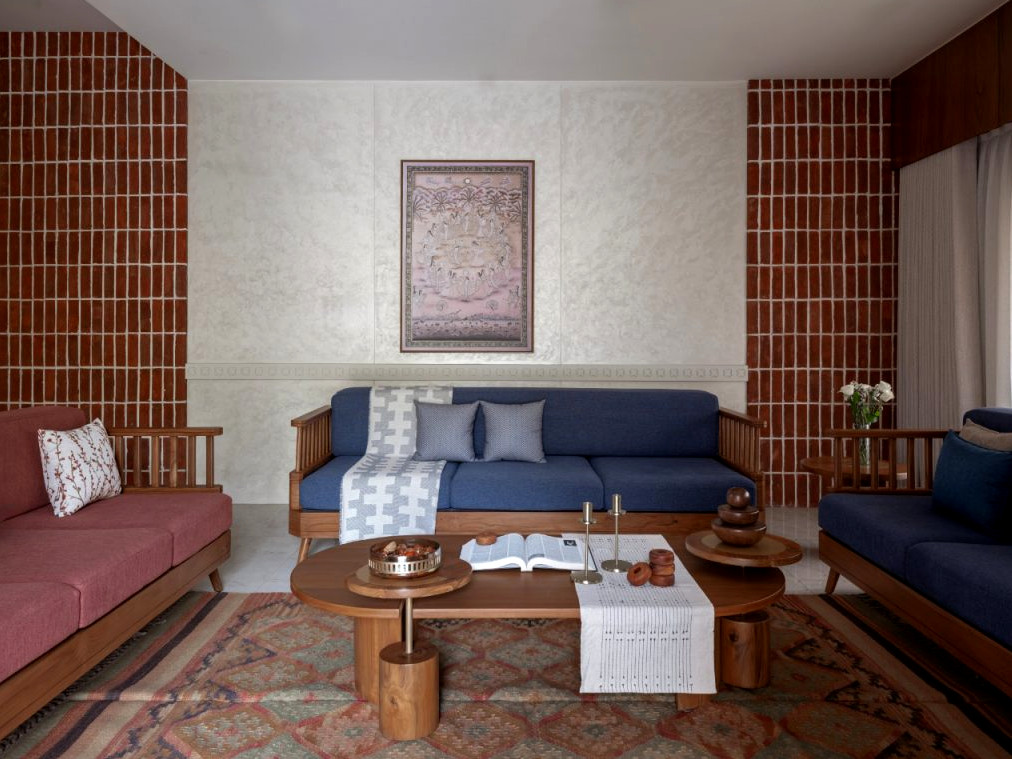
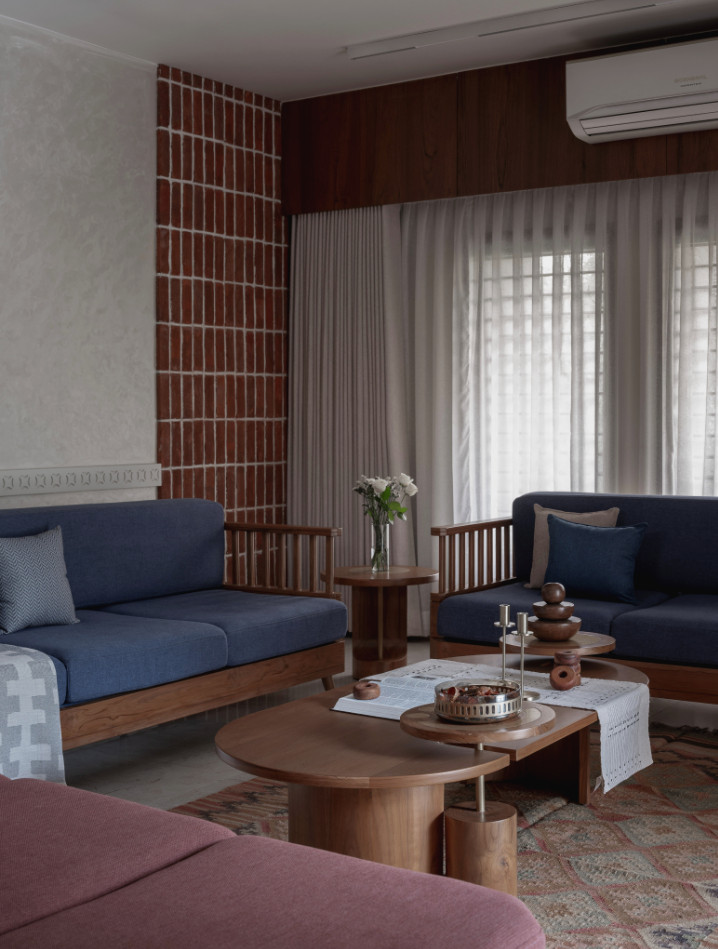
A rich indigo tone rests quietly across the room, taking in the light and lending the setting a composed sense of depth. Rather than demanding notice, it gently gathers attention. Paired with timber’s warmth and terracotta’s subdued character, it establishes a harmony that seems natural instead of deliberately arranged.
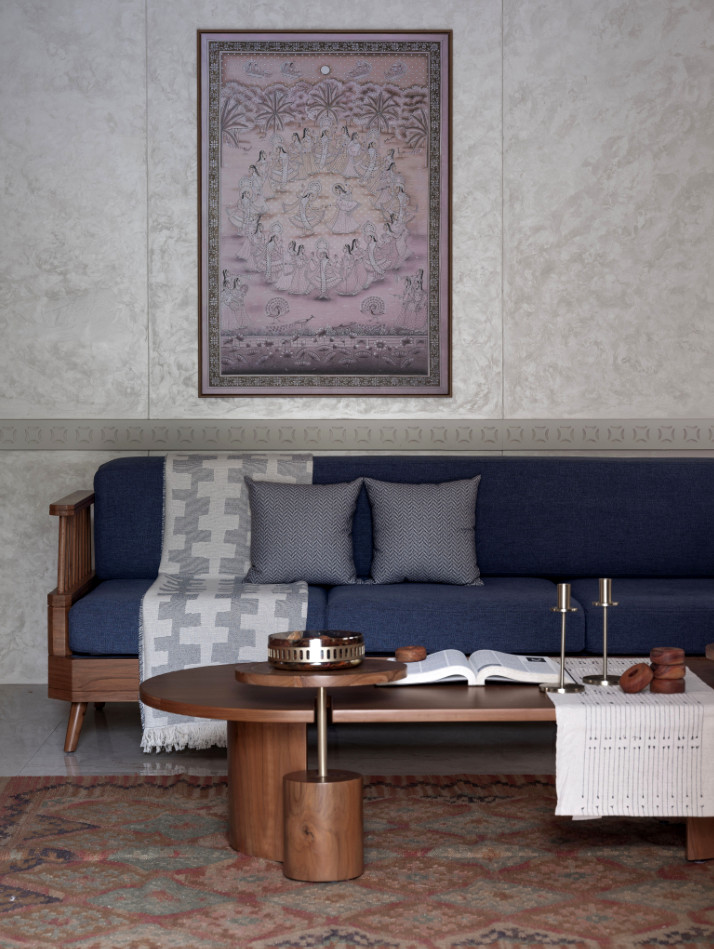
An artwork depicting Krishna’s Raas Leela brings a soft sense of motion to the otherwise tranquil setting. The figures appear suspended between movement and stillness, expressing a rhythm that is at once devotional and profoundly human. Its presence may not be immediately apparent, yet it gradually captures attention. Close by, a second piece portrays Krishna alongside elephants, subtly continuing the story, as if these narratives had always belonged within the home.
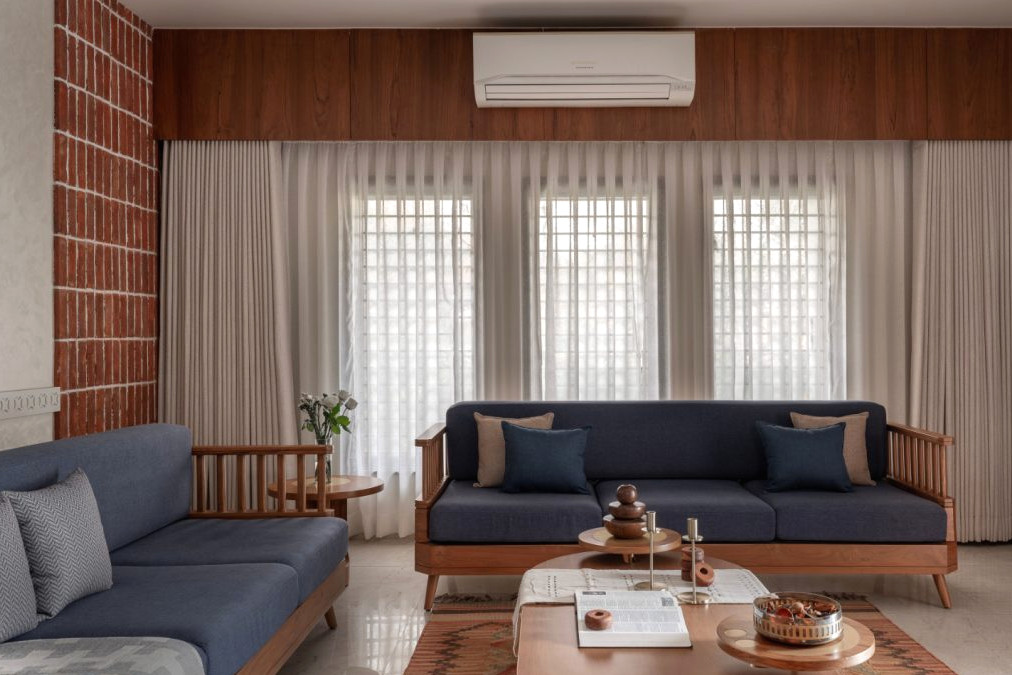
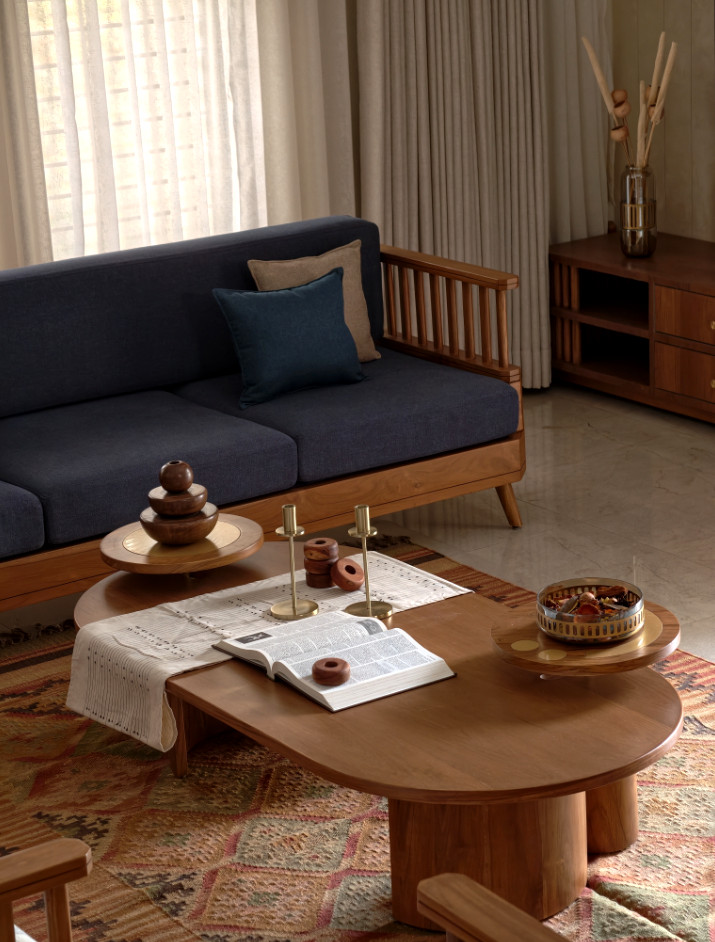
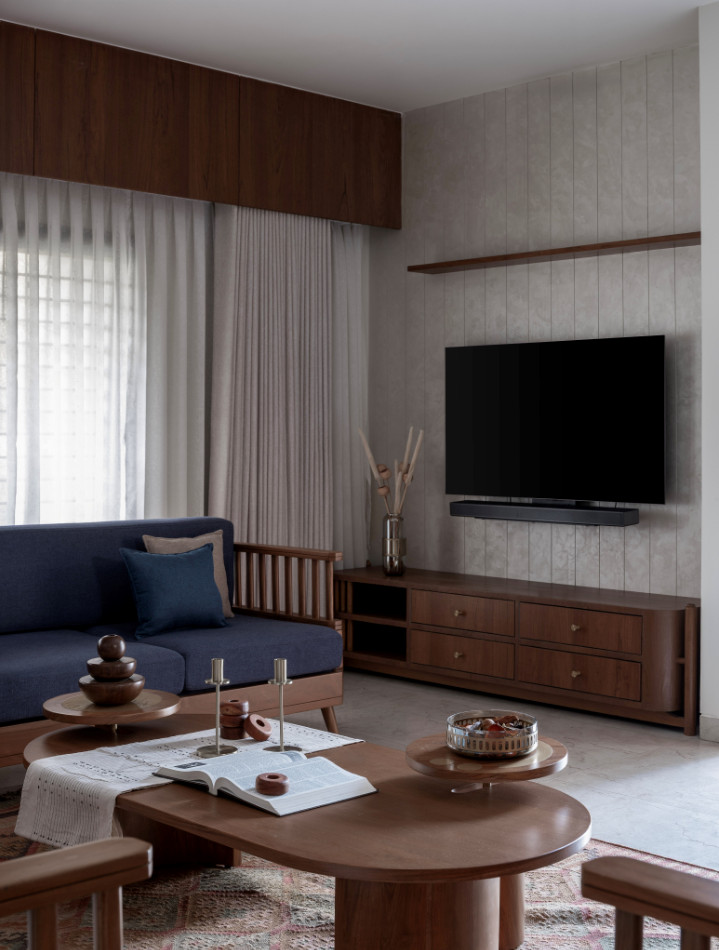
A swing rests nearby, held by brass-toned chains and creating a recognisable moment of pause within the room. It makes no claim for attention; instead, it quietly welcomes it. Its presence evokes homes where life moved at an unhurried pace, where taking a seat meant lingering, and where rooms were designed for living in rather than simply moving through.
From this point, the residence appears to come to a standstill; The temple extends upward into a double height volume, but its scale never becomes imposing. Instead, it remains serene. Positioned at the far end, the carved wooden shrine feels almost secluded, giving the surrounding area room to breathe. Images of cows and trees cover the walls, motifs deeply rooted in cultural recollection; not merely symbols, but elements that feel experienced and familiar.
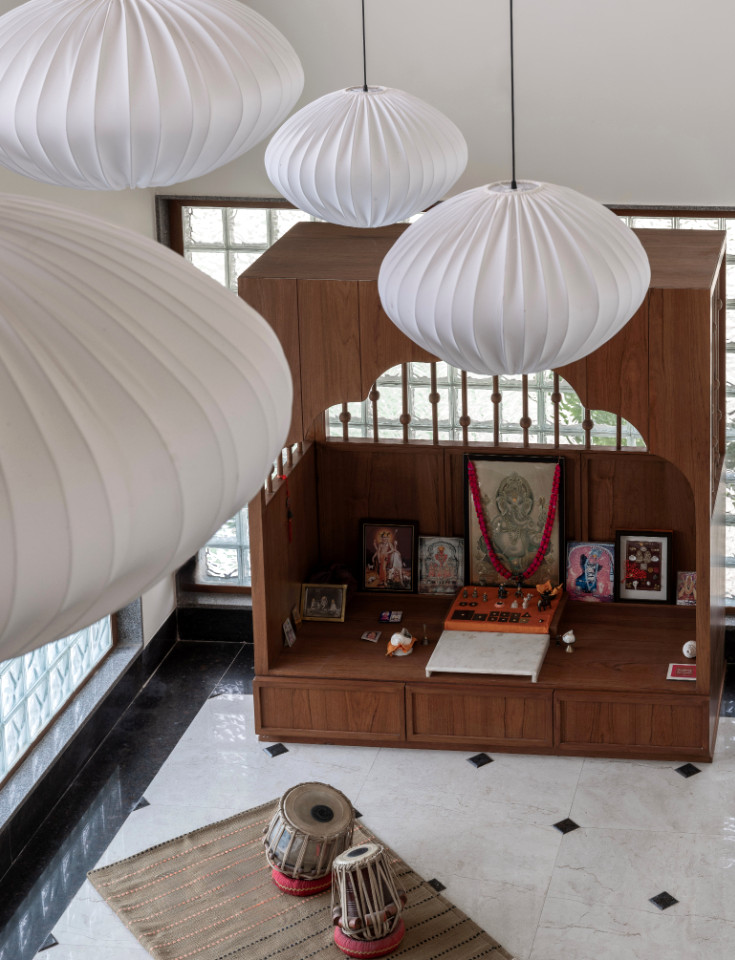
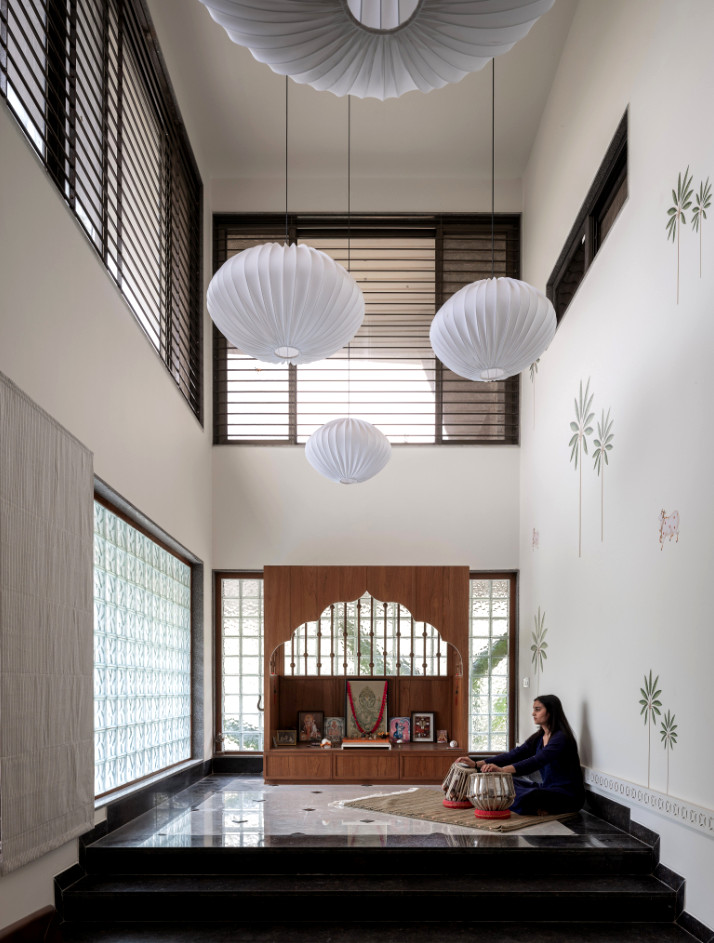
Through the glass blocks, daylight enters in a softened, scattered form, as though its intensity has been eased before reaching the interior. Nothing feels severe here; instead, a mild glow shifts gently as the hours pass. Lanterns hang above within the tall volume, appearing nearly weightless. After dusk, they emit a delicate radiance, turning the room inward and almost contemplative. In this setting, the home feels most attuned to cycles, ritual, and something that reaches beyond the boundaries of design.
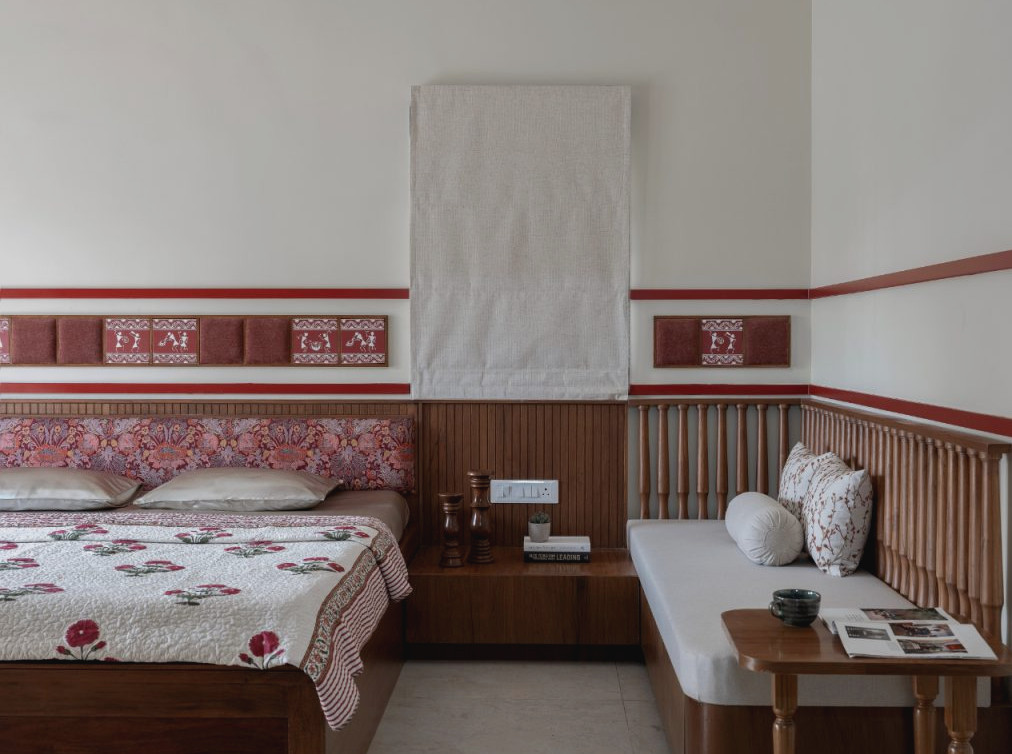

Deeper inside, the residence takes on a more intimate character. The primary bedroom carries an even quieter mood. Terracotta and maroon shades envelop the space, functioning not simply as colour but as an expression of warmth. The room feels
sheltered, secure, as if it has folded inward. Layers of surfaces overlap softly, textiles blur the edges, and the light stays muted.

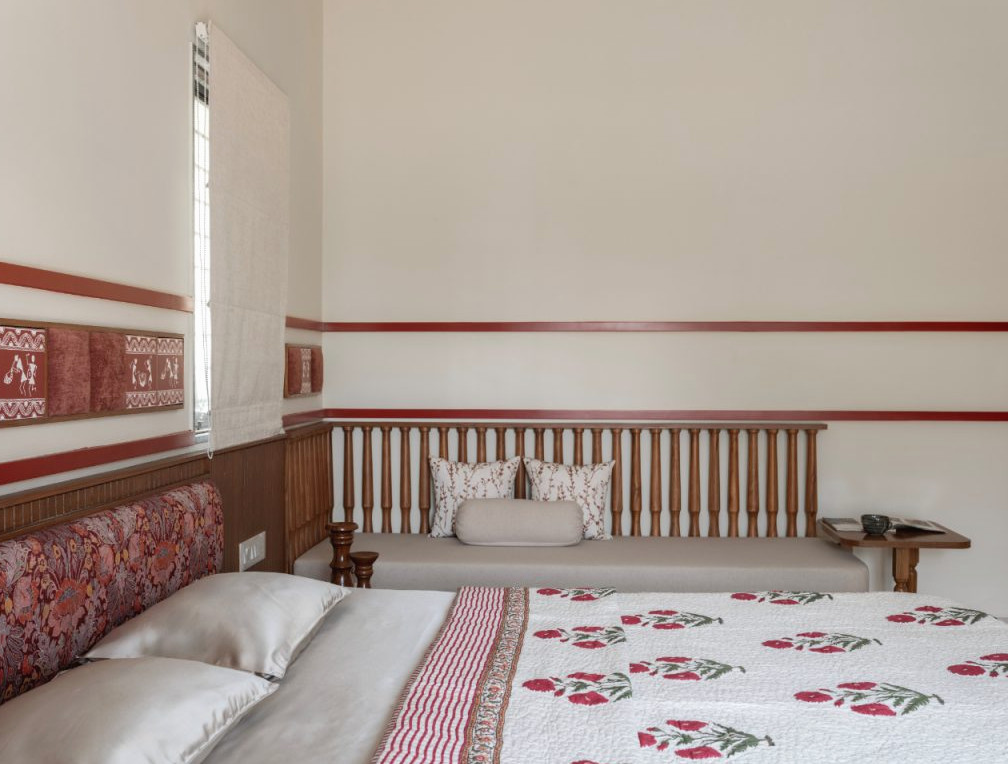
A Worli art composition stretches across fabric and canvas above the bed. Rather than simply hanging on the wall, it merges with the room’s textured, tactile surface, almost woven into the space itself. A quiet sense of intimacy settles here, making the outside world feel remote while turning the room into somewhere to withdraw.
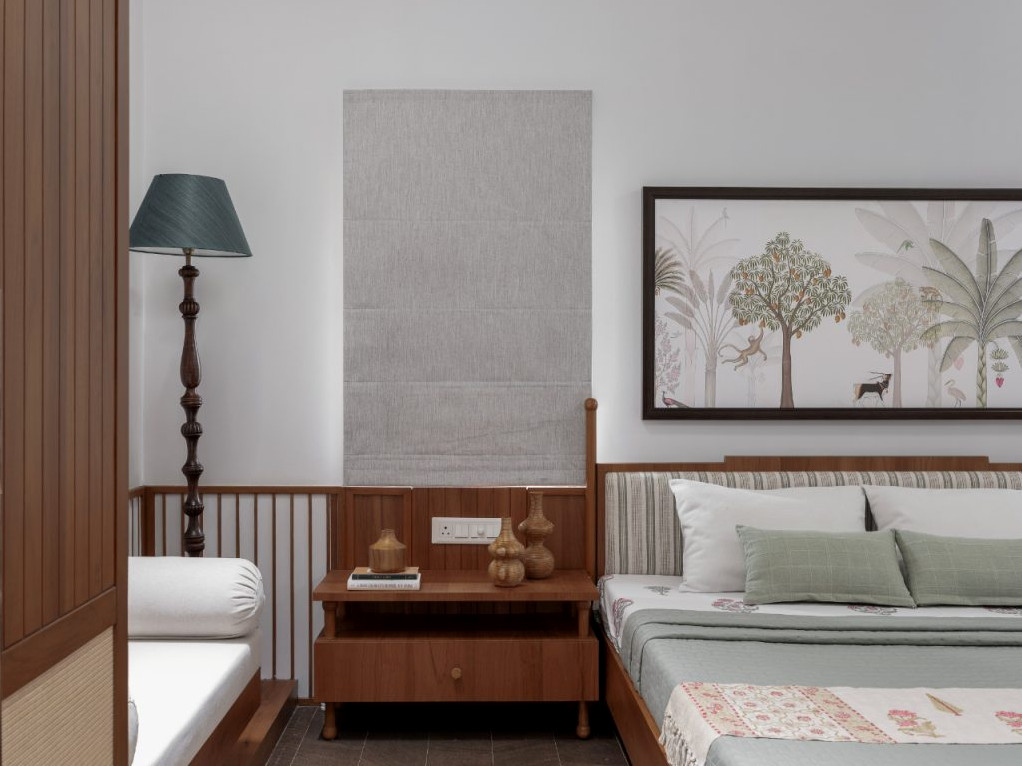
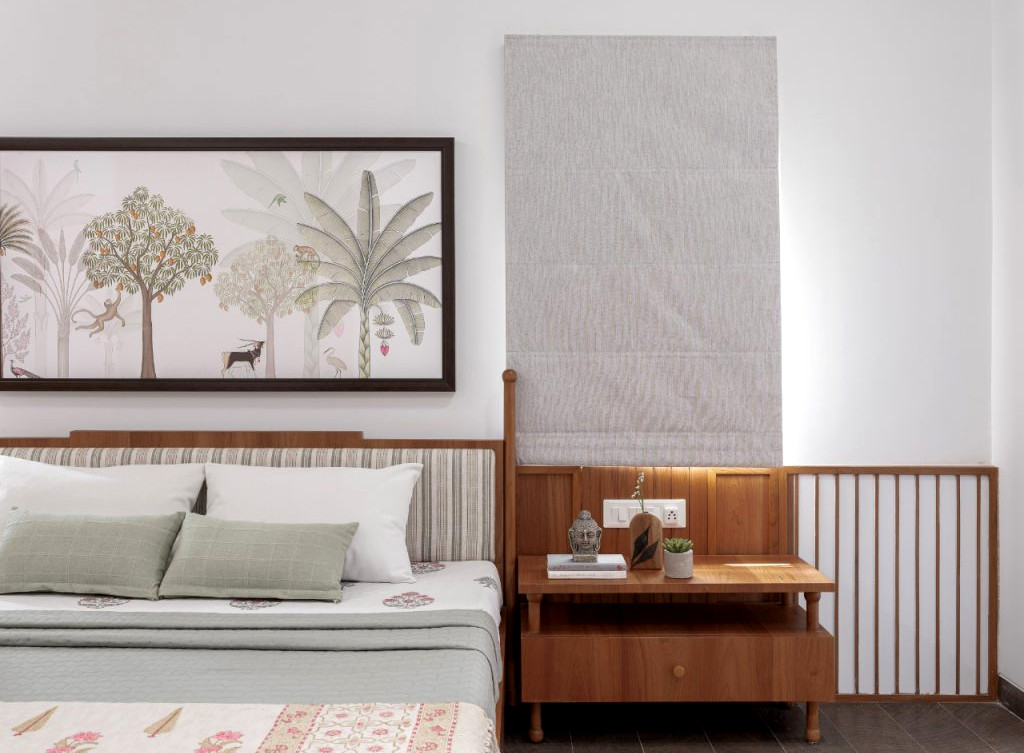
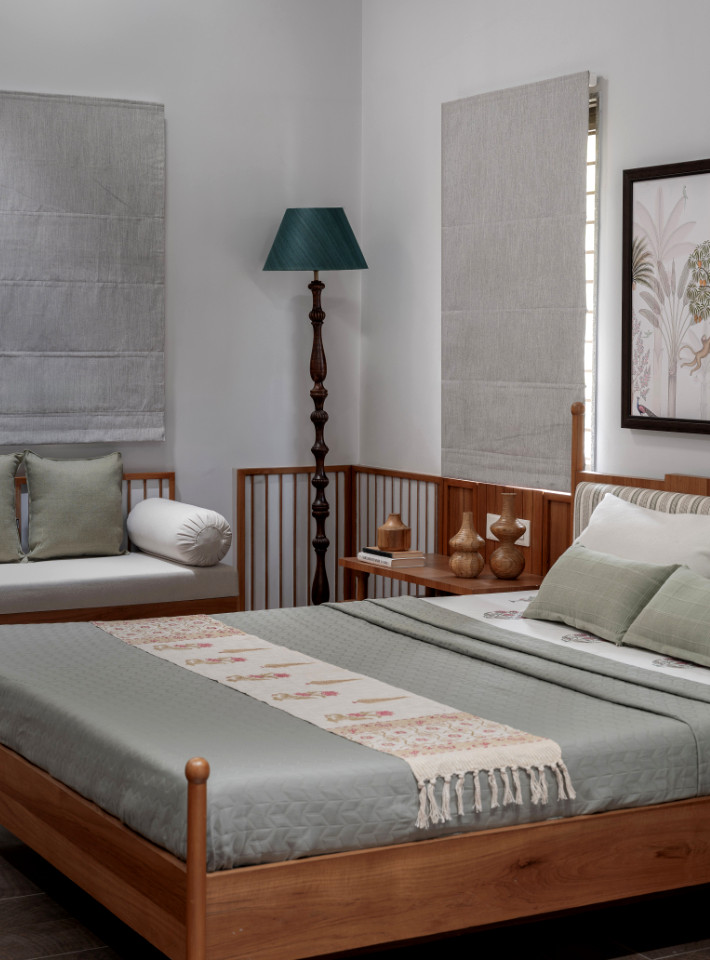
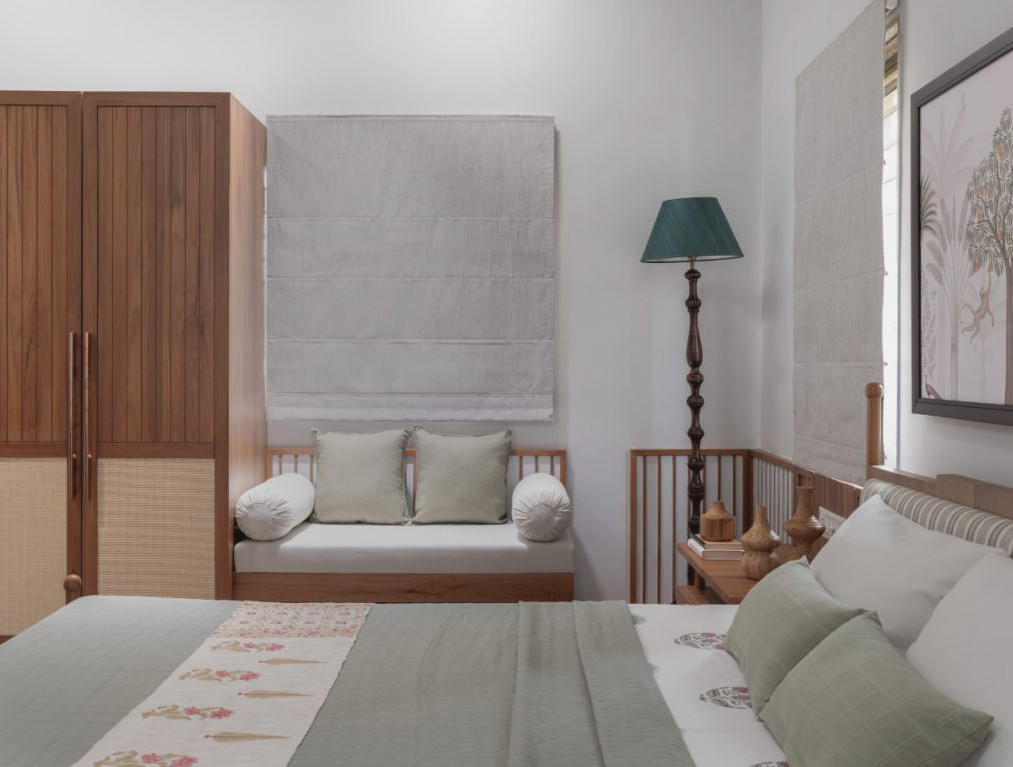
The sons’ bedrooms gently alter the mood while preserving the home’s overall flow. In one, indigo appears again, richer and more encompassing. It brings a calm, grounded feeling that still retains a youthful character. Books, belongings, and pieces of everyday life fill the shelves; nothing seems arranged for display, and everything feels used and loved. Light drifts across the surfaces with a gentle touch, never harsh, always diffused, as if it belongs there too. In the other room, the mood becomes a little more relaxed. Images of grazing cows cover the walls, resembling memories more than straightforward illustrations. They bring a sense of quiet familiarity, like an outdoor landscape drawn inside. Open & flexible, the room accommodates both repose and activity without being limited by either.
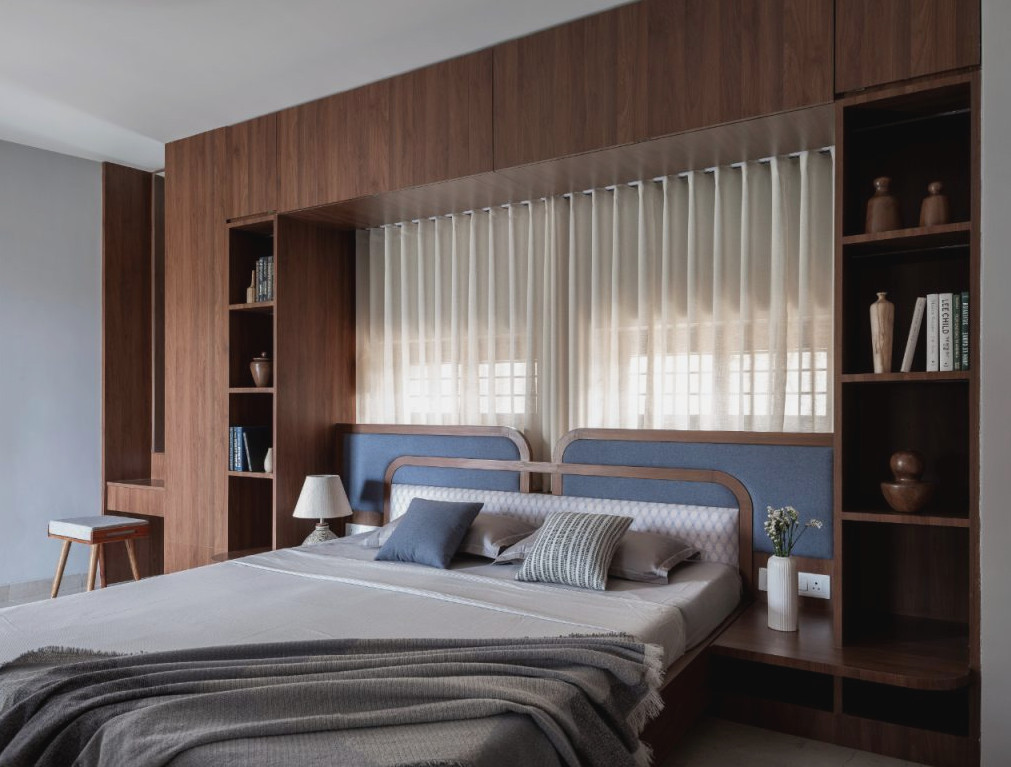
Nothing throughout the house appears forced. Materials make no declaration; they simply settle into place.Wood lends warmth, textiles soften the surroundings, and details emerge gradually for those who notice them. The experience of the house carries no sense of haste. Perhaps that is what lingers with you longest.
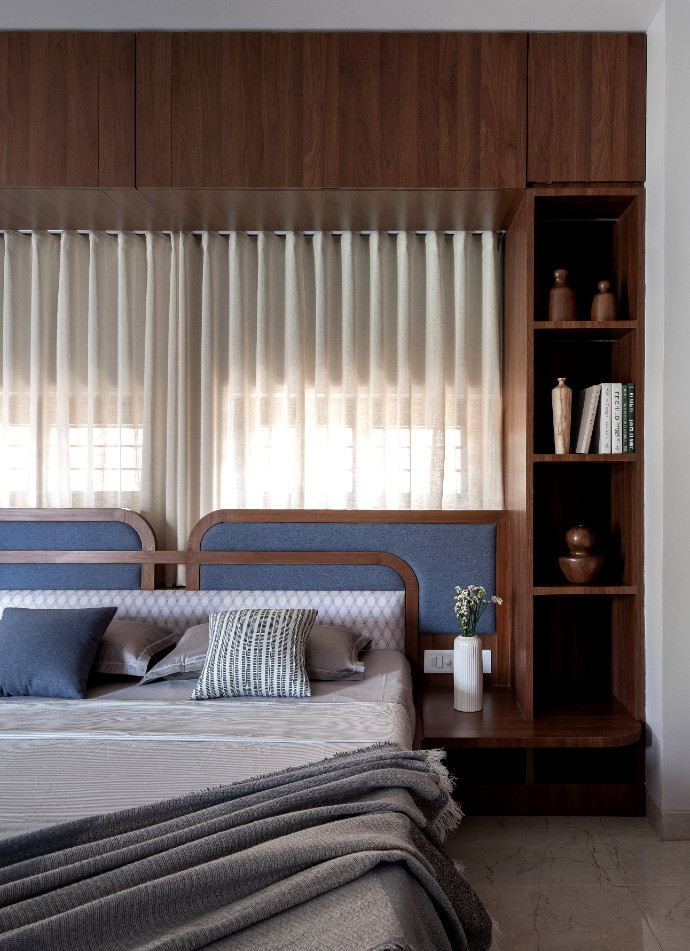
This home does not seek attention. Instead, it invites you to remain. Each room holds its moments with care, never attempting to present them in a frame. The house does not reproduce memory; it carries memory onward with understated honesty. In that way, it becomes something uncommon—a place that feels less designed than profoundly understood. In Ahmedabad, as the city keeps spreading outward, this home chooses an inward direction. Not in rejection of the world, but in a movement closer to itself.
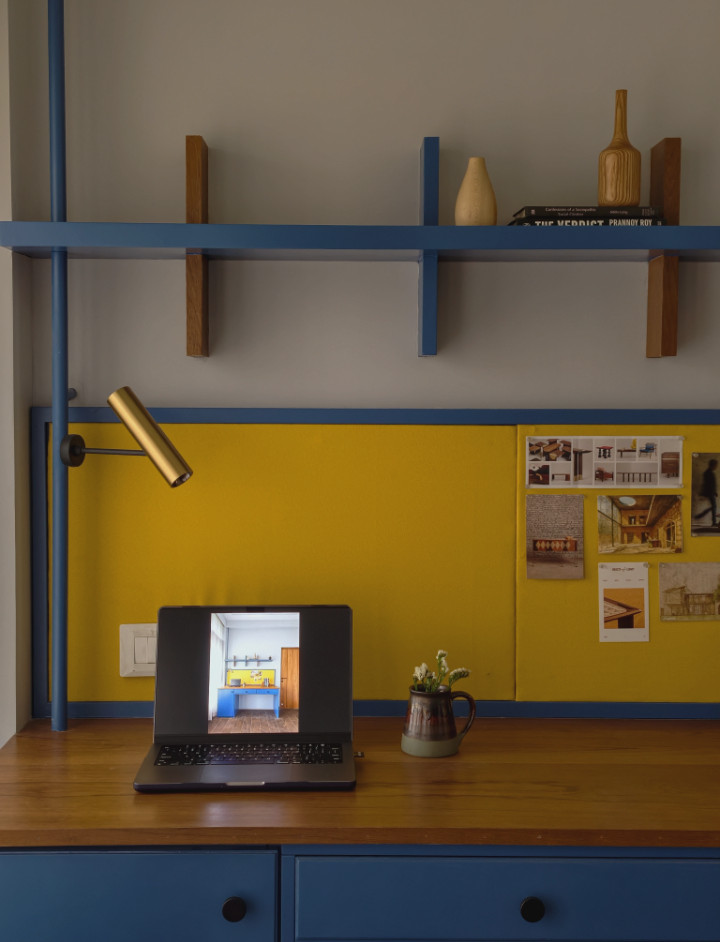
refining proportions, illumination, and floor-p
Discover more than 30 Hello Kitty craft ideas! This collection includes a range of simple and original Sanrio-inspired projects for children and grown-ups alike.
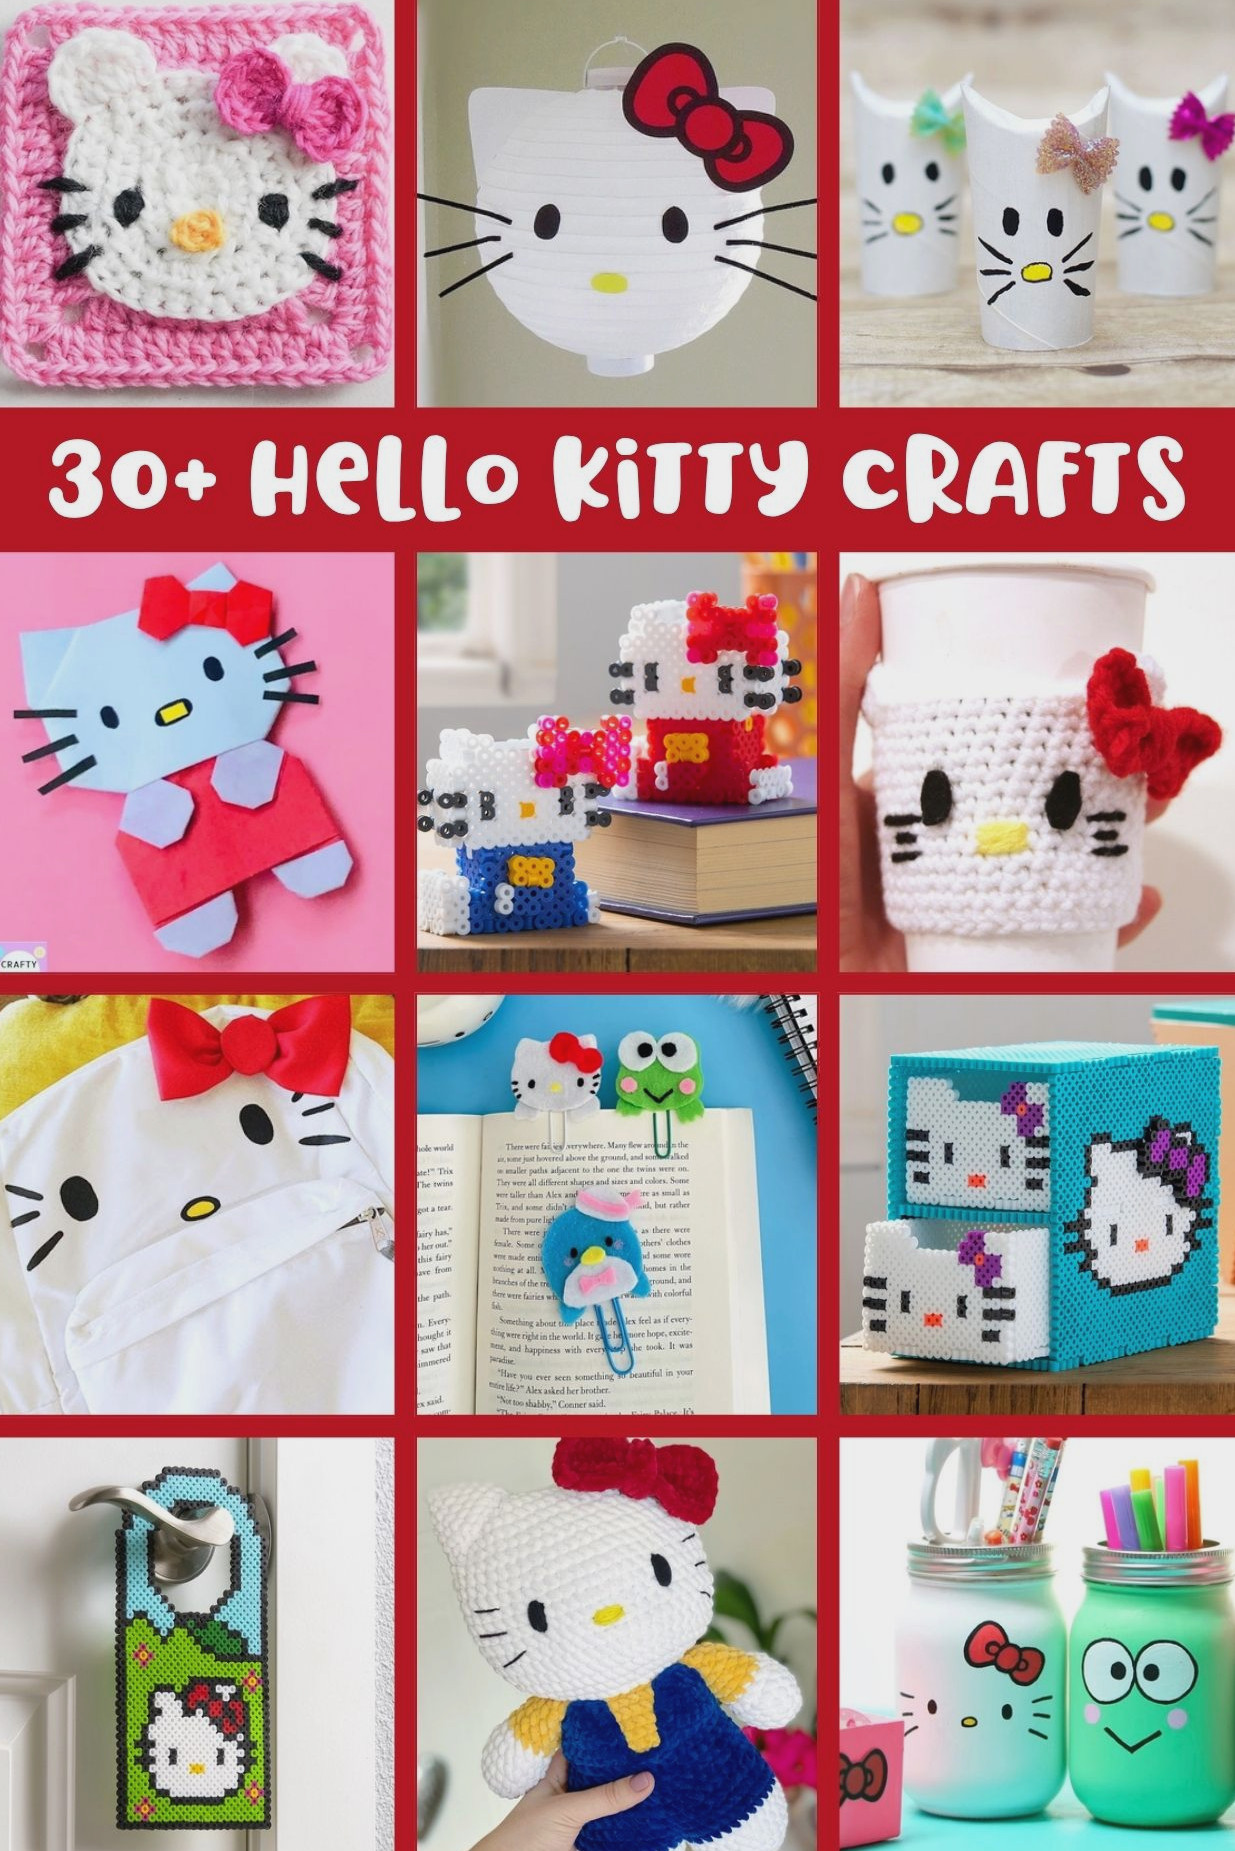
Did you know that a vinyl coin purse was the very first Hello Kitty product ever created? I may have owned one myself. I was born in the late 70s, while the first Miss Kitty product appeared in 1975.
From that point on, Hello Kitty, along with all her Sanrio companions, has taken over the world—and I certainly don’t mind! I adored Hello Kitty when I was younger, and I continue to love her today.
My nieces adore her as well. It’s always wonderful watching the childhood favorites you enjoyed get embraced by the next generation.
Because we enjoy creating things together, we decided to include plenty of Hello Kitty crafts in our activities!
Finding craft projects centered around our adorable kitty is more difficult than you may expect. I searched high and low and discovered some fantastic ideas that I’m sure you’ll enjoy! You’ll find options suitable for both children and adults.
And really, don’t all Hello Kitty fans still carry a little bit of childhood inside them?
Below are more than 30 tutorials, so have fun exploring them. If you know of an excellent Sanrio craft project you’d like included, share it in the comments. We have lots of crafting planned and would be happy to try it. Enjoy creating!
DIY Hello Kitty Crafts
1
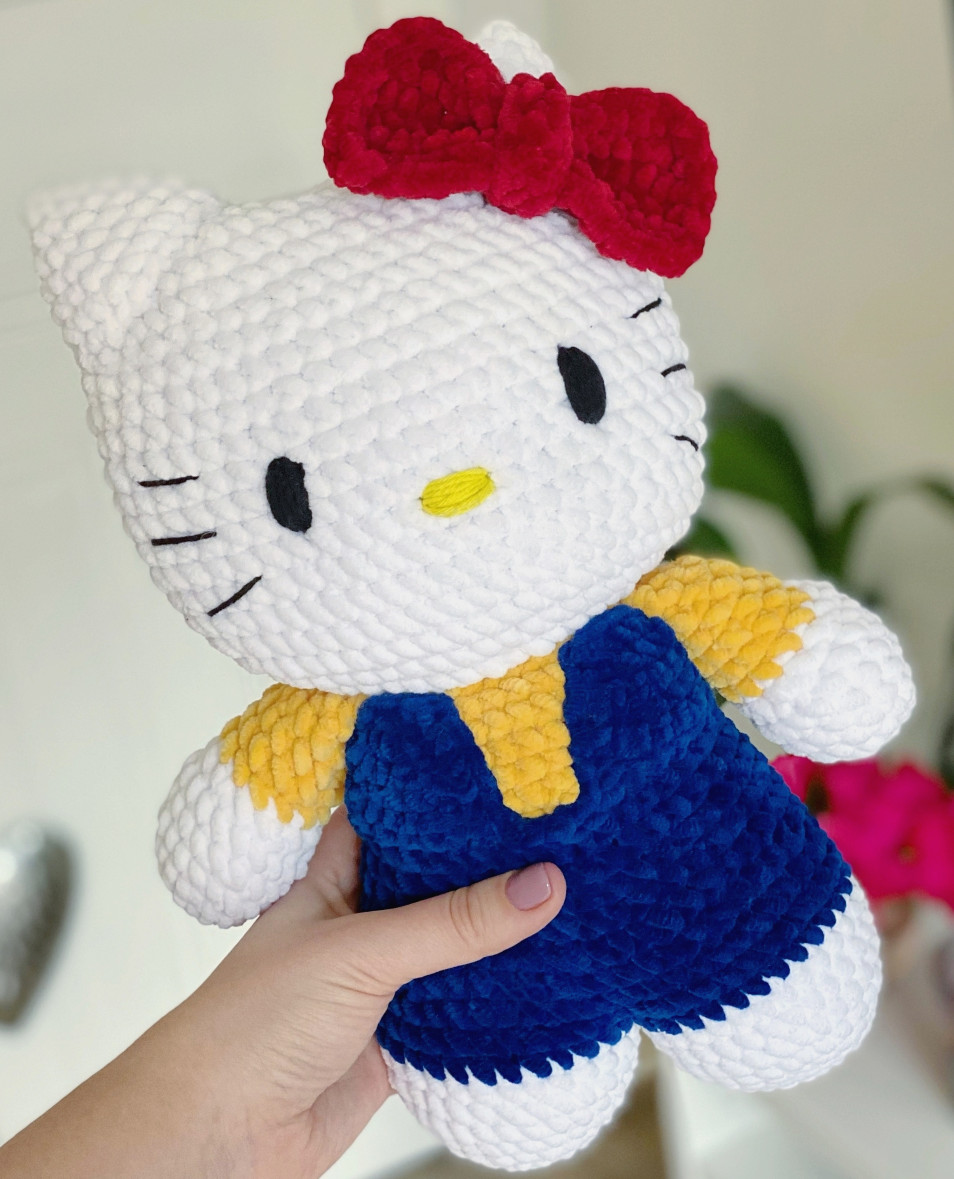
Hello Kitty Doll
If you know how to crochet, you’ll adore making this charming doll! Created with chenille yarn, it’s wonderfully soft and makes a delightful project for children or adults.
Find the Pattern
2
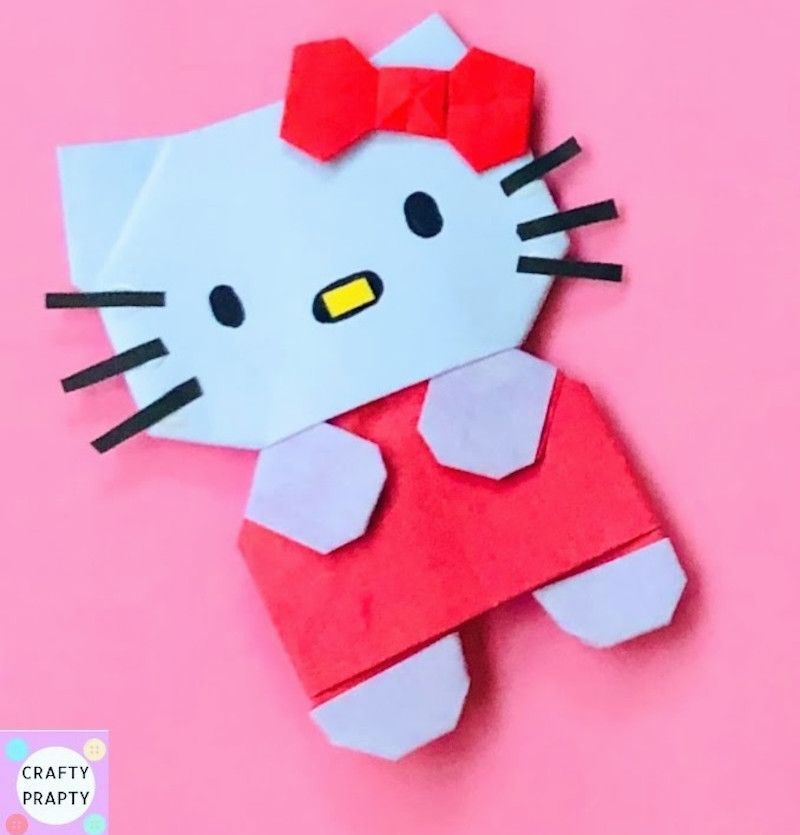
Origami Hello Kitty
View the Tutorial
3
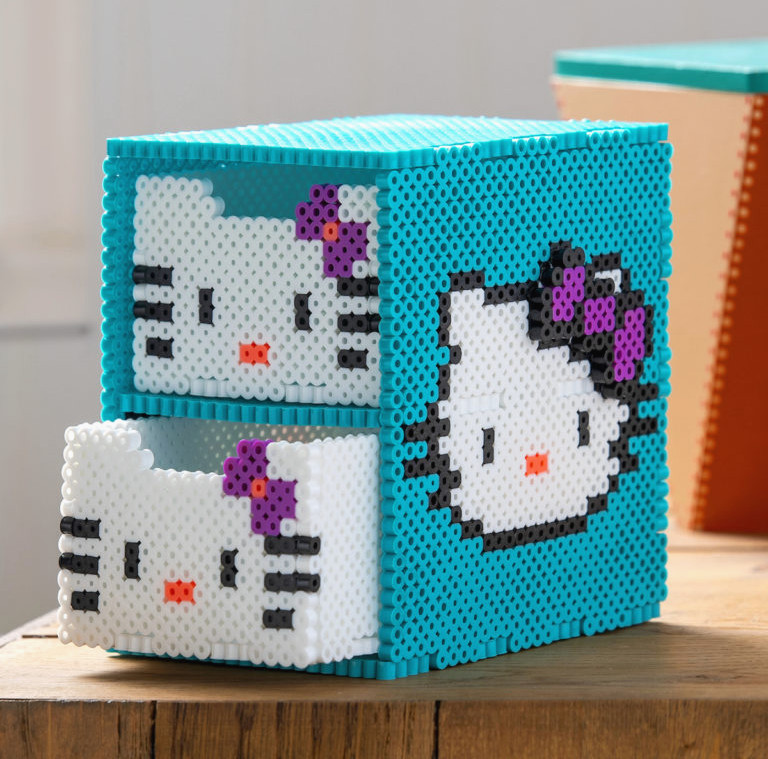
Hello Kitty Organizer (Made with Perler Beads!)
View the Tutorial
4
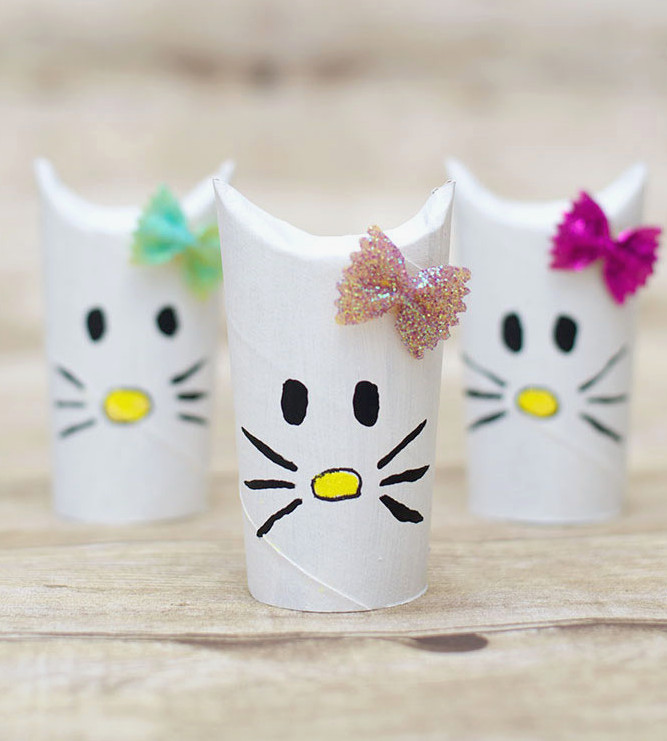
Adorable Kitty Made from Toilet Paper Rolls
View the Tutorial
5
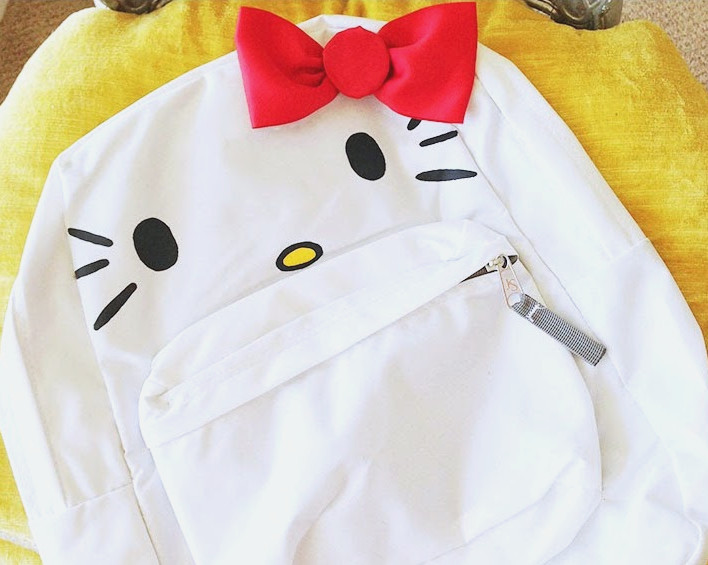
DIY Hello Kitty Backpack
Transform a basic backpack into something adorable with fabric markers and ribbon! This project is fast and simple to complete.
View the Tutorial
6
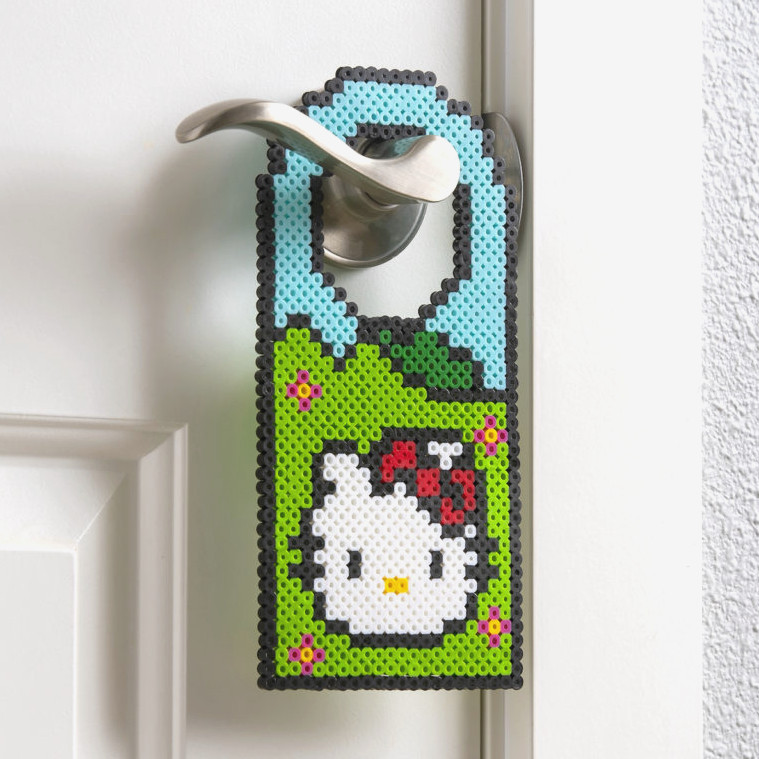
Hello Kitty Door Hanger
Discover how to make a Hello
Kitty door sign made with basic materials! Children will adore this simple Perler bead craft that can be displayed on their bedroom door.
Get the Guide
7
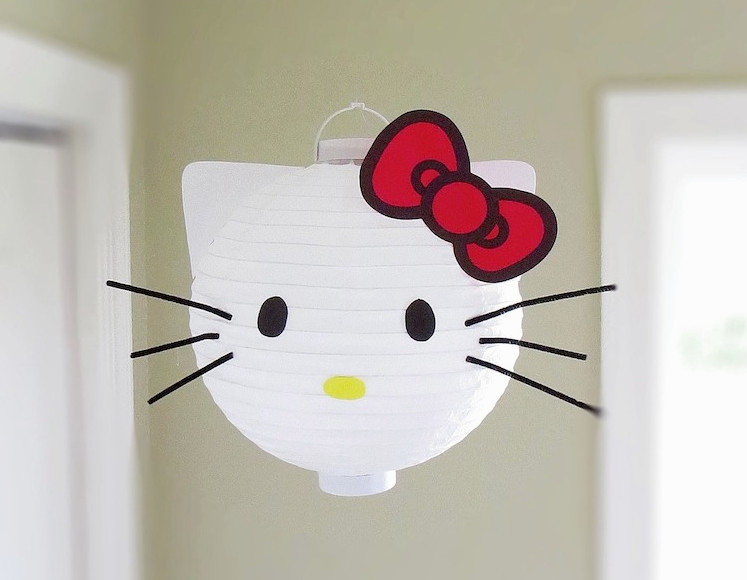
Hello Kitty Lantern
You’ll find this Hello Kitty lantern among the simplest crafts to create. Prepare one for a celebration or use it as charming room decoration!
View the Guide
8
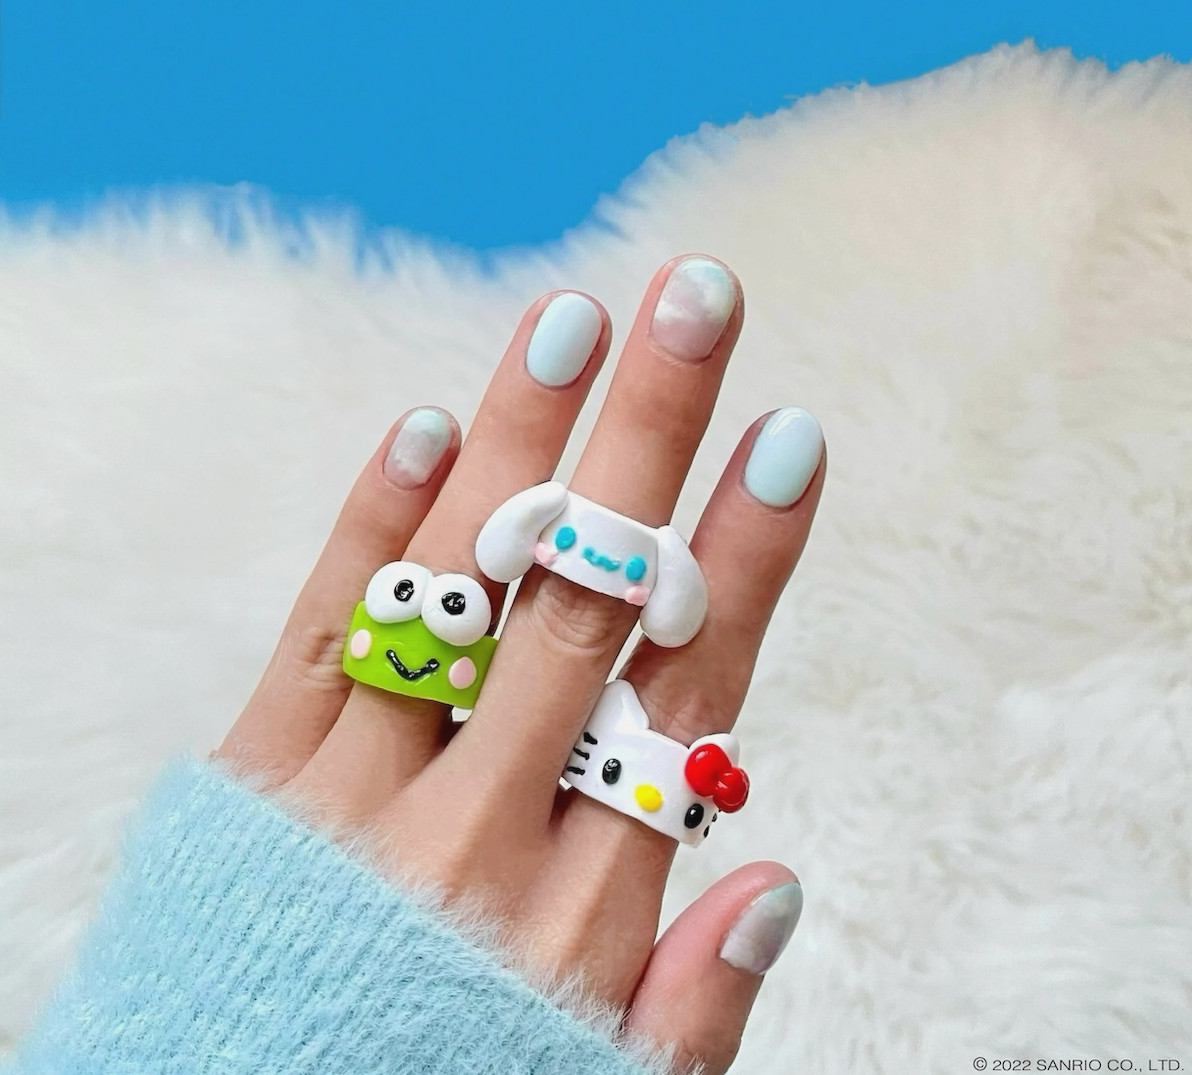
Hello Kitty & Friends Clay Rings
Create miniature pieces of wearable art with these charming clay rings. Personalize them with your preferred Sanrio characters, or give them as adorable handmade presents.
View the Guide
9
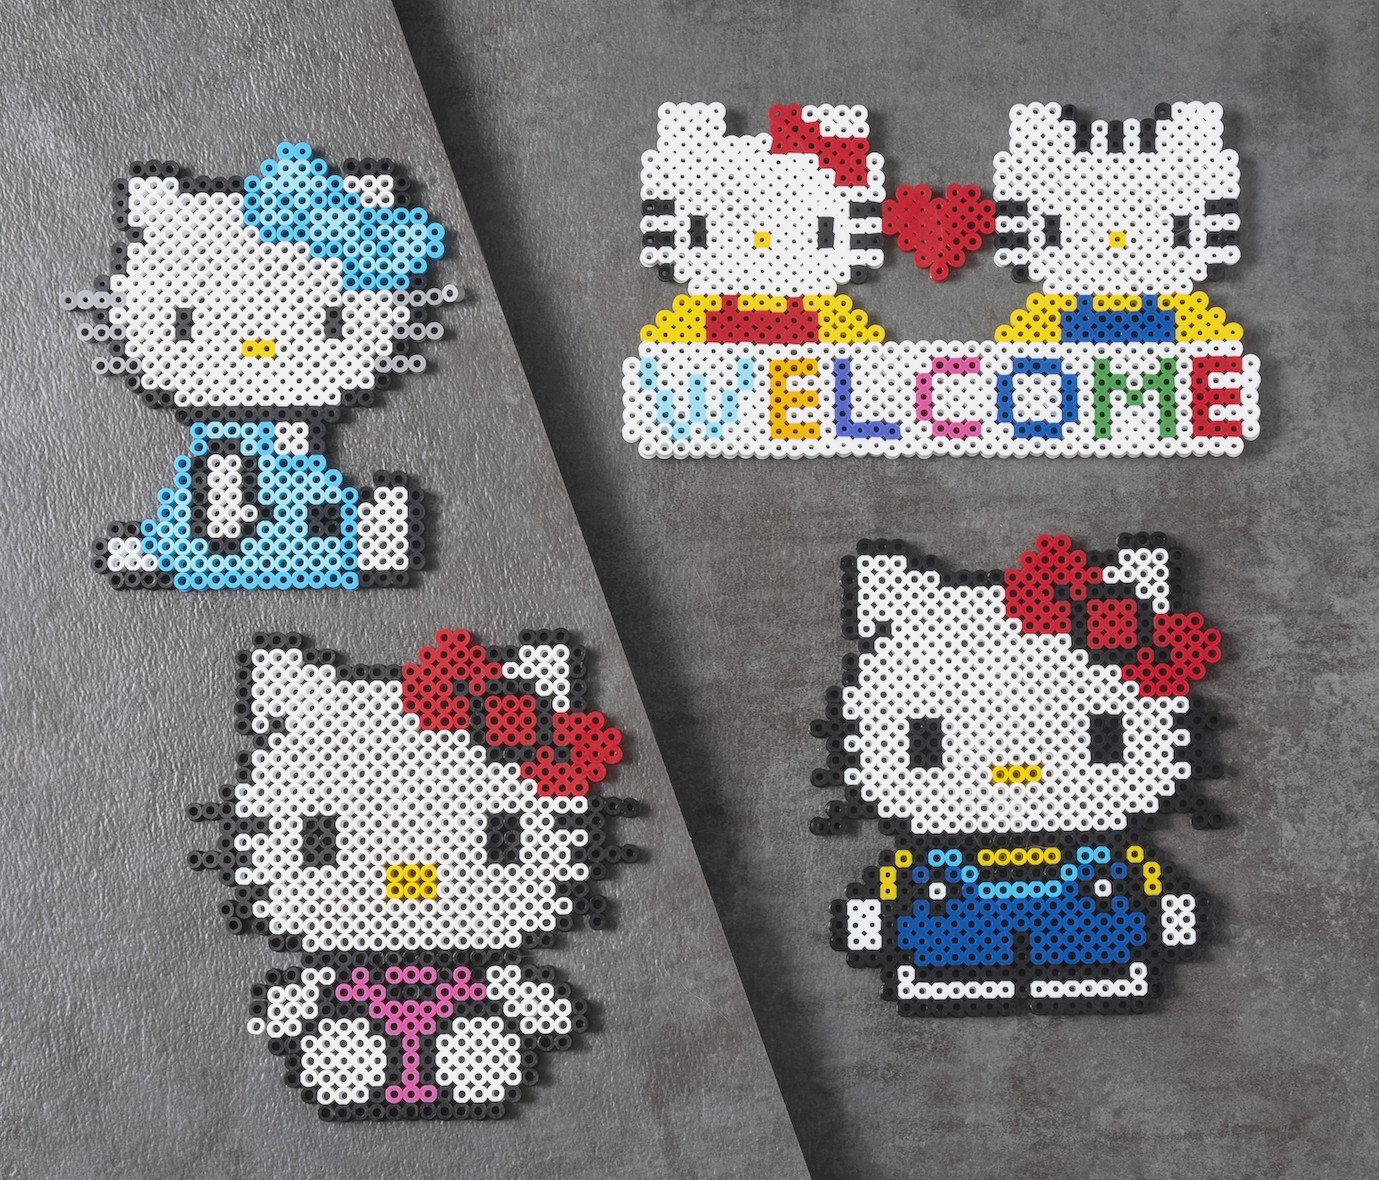
Hello Kitty Perler Beads (15+ Free Patterns!)
View the Guide
10
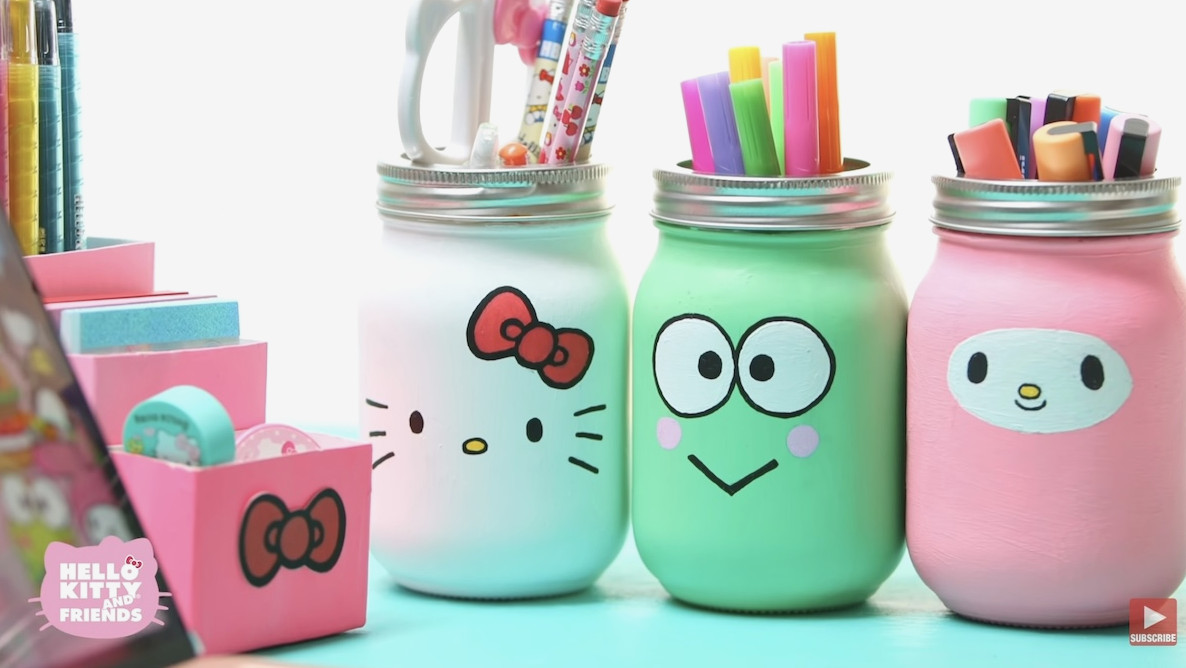
Painted Desk Jars
Give plain glass jars a colorful Sanrio-style makeover and use them as desk organizers. They can store pens, paintbrushes, craft materials, or other little objects while bringing character to your workspace.
View the Guide
11
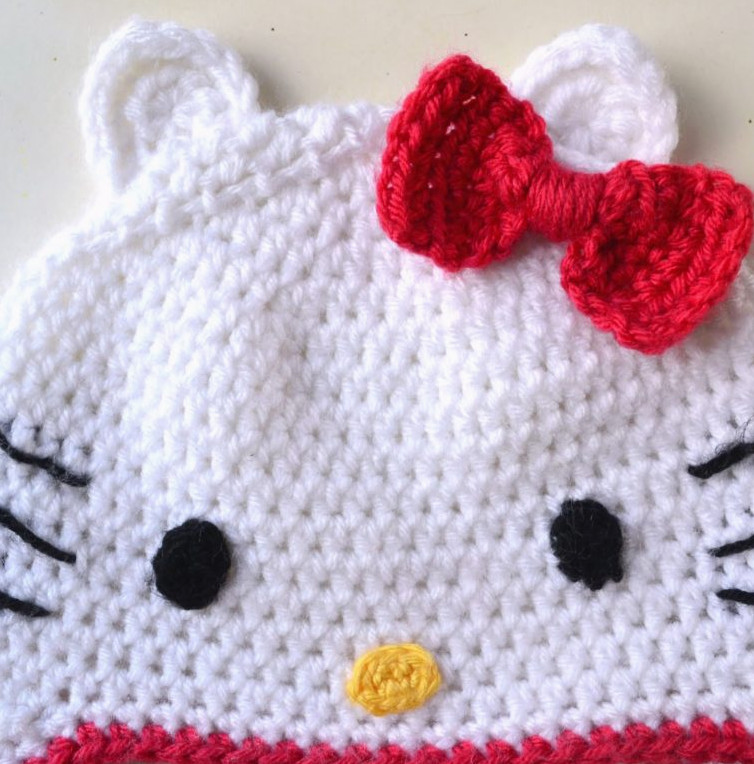
Hello Kitty Hat Pattern
Crocheters will enjoy trying this wonderful pattern, similar to the doll mentioned above. This version creates a hat instead, and it is incredibly cute for both children and grown-ups.
Get the Pattern
12
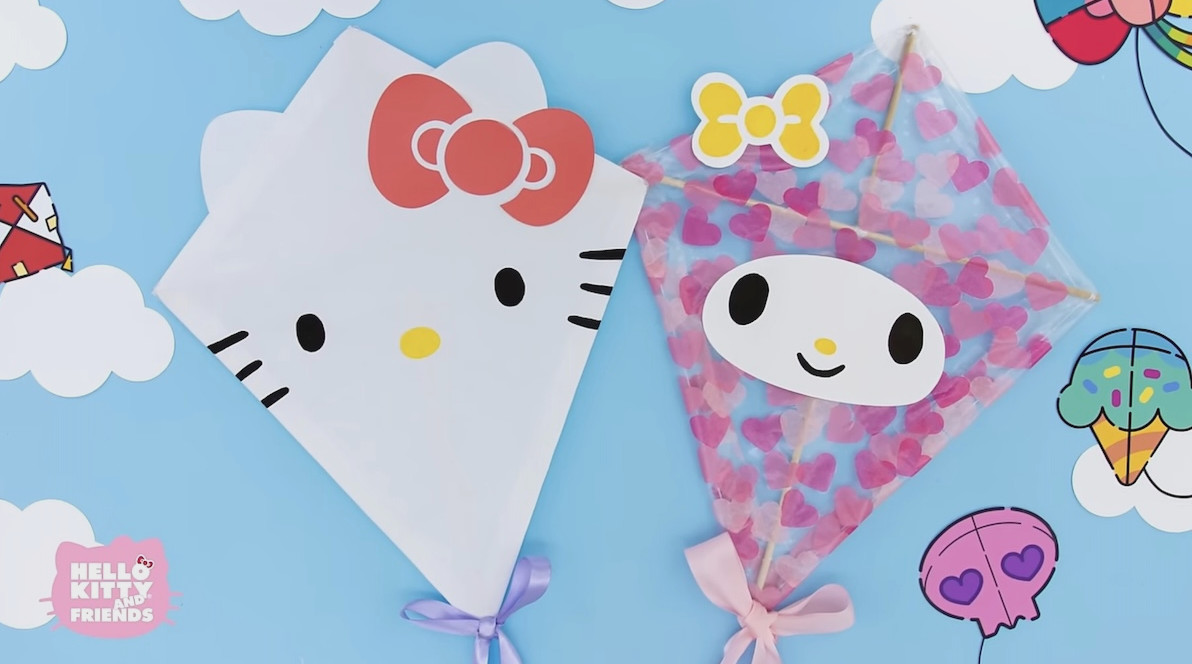
Paper Kites
Bring your crafting outside by creating vibrant Hello Kitty and My Melody paper kites. Decorate them in any style you prefer, then take your handmade kite out on a breezy afternoon.
View the Guide
13
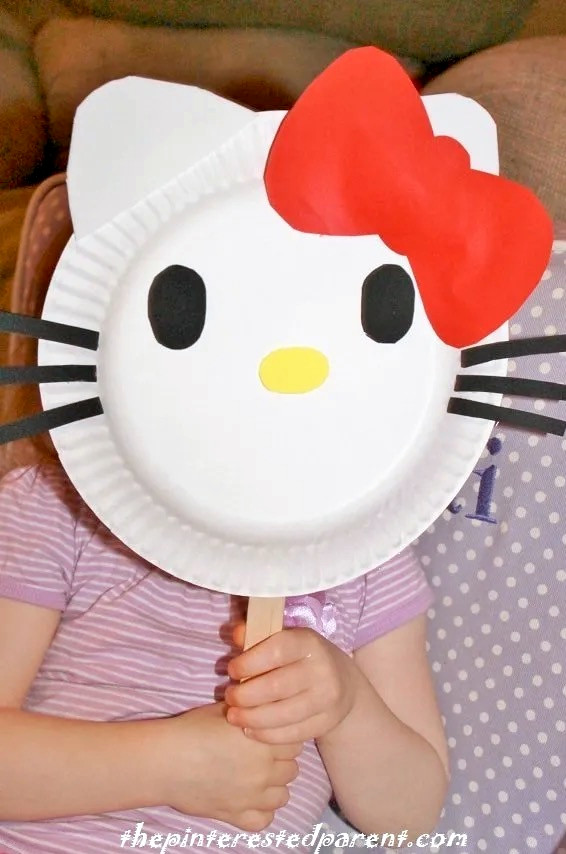
14
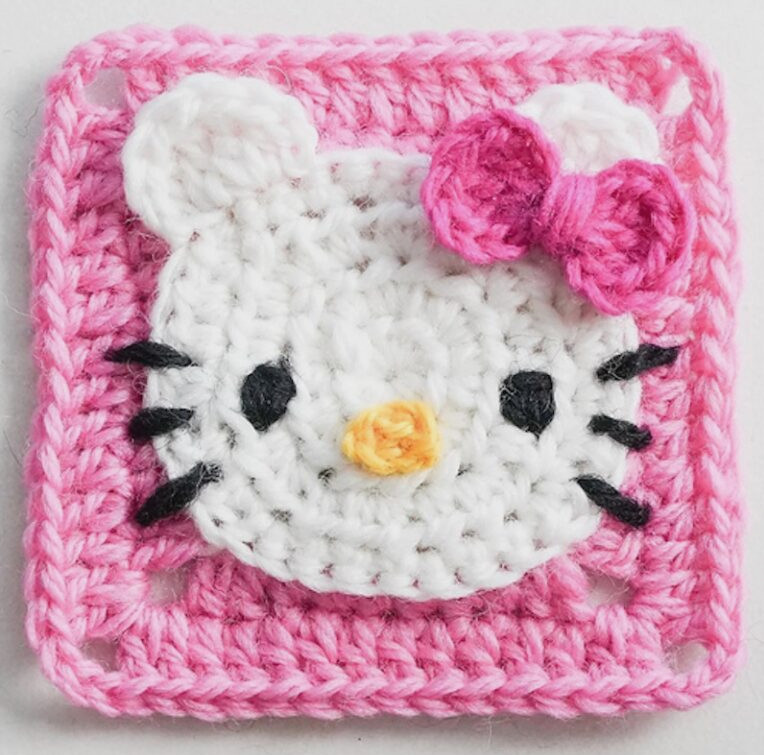
Granny Square
Create a lovely Hello Kitty granny square with her recognizable bow and face through crochet. It works beautifully for blankets, cushions, purses, or any bright crochet project that could use a touch of Sanrio charm.
appeal.
View the Guide
15
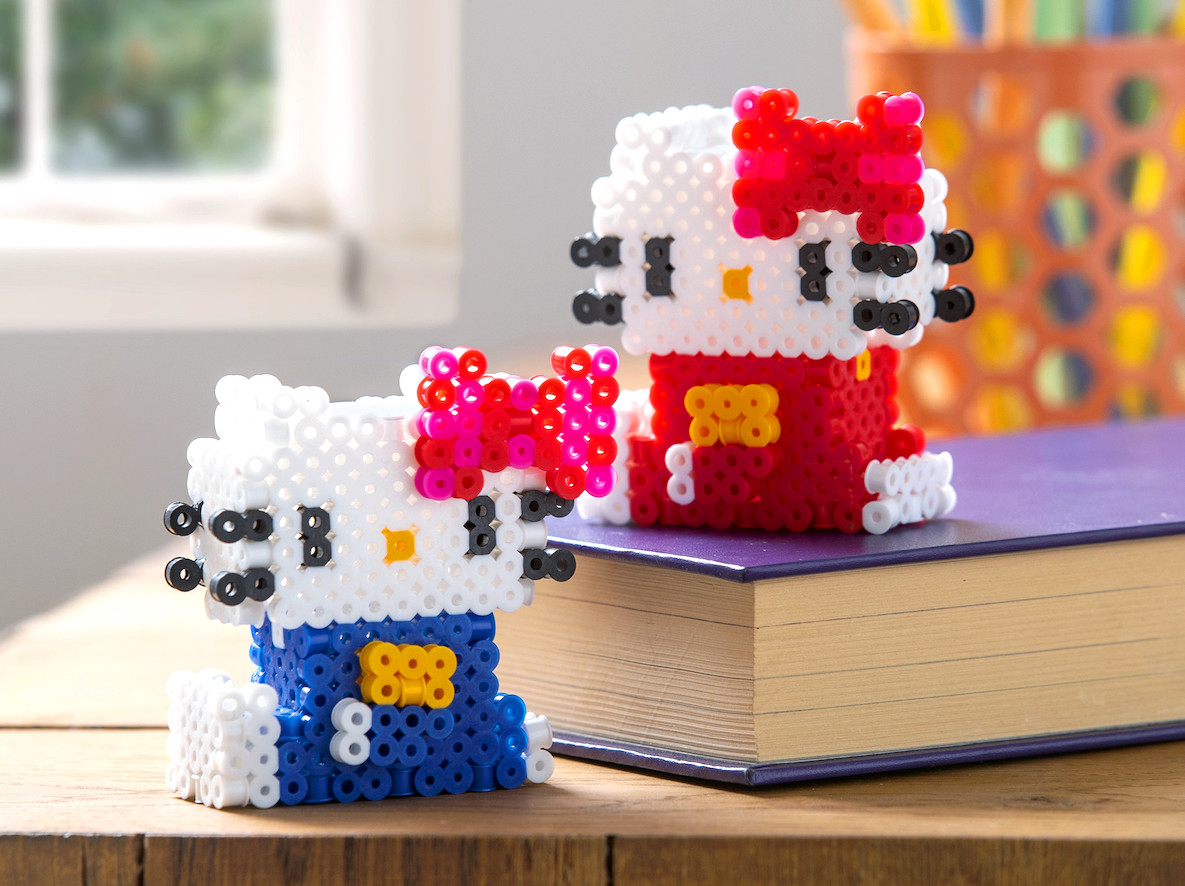
3D Figures (Perler Beads!)
These charming kitties are simple to put together and look adorable on a shelf.
View the Guide
16
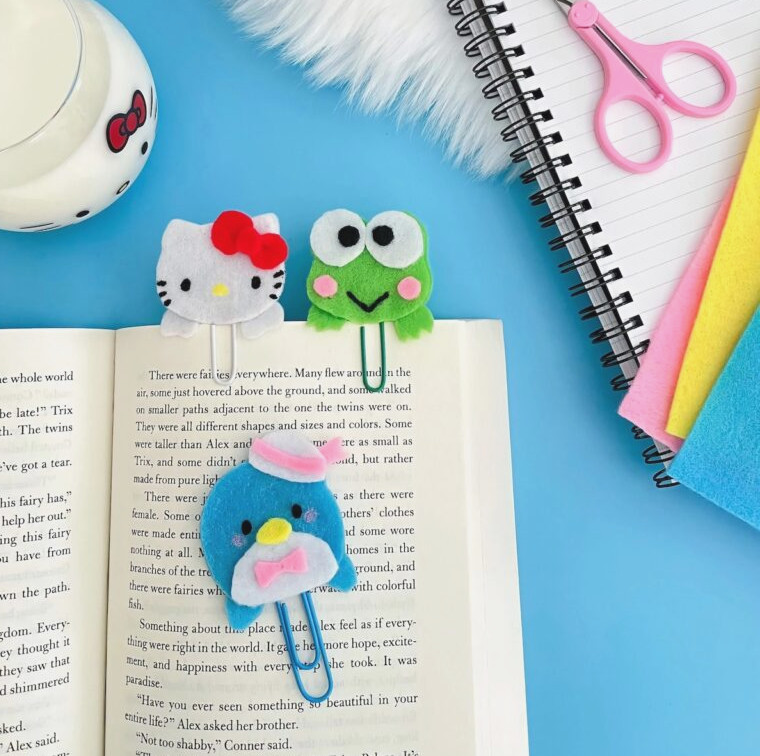
Felt Bookmarks
Mark your reading spot stylishly with these cute felt Hello Kitty book clips. They’re fast to sew, useful for daily reading, and considerate presents for book enthusiasts.
View the Guide
17
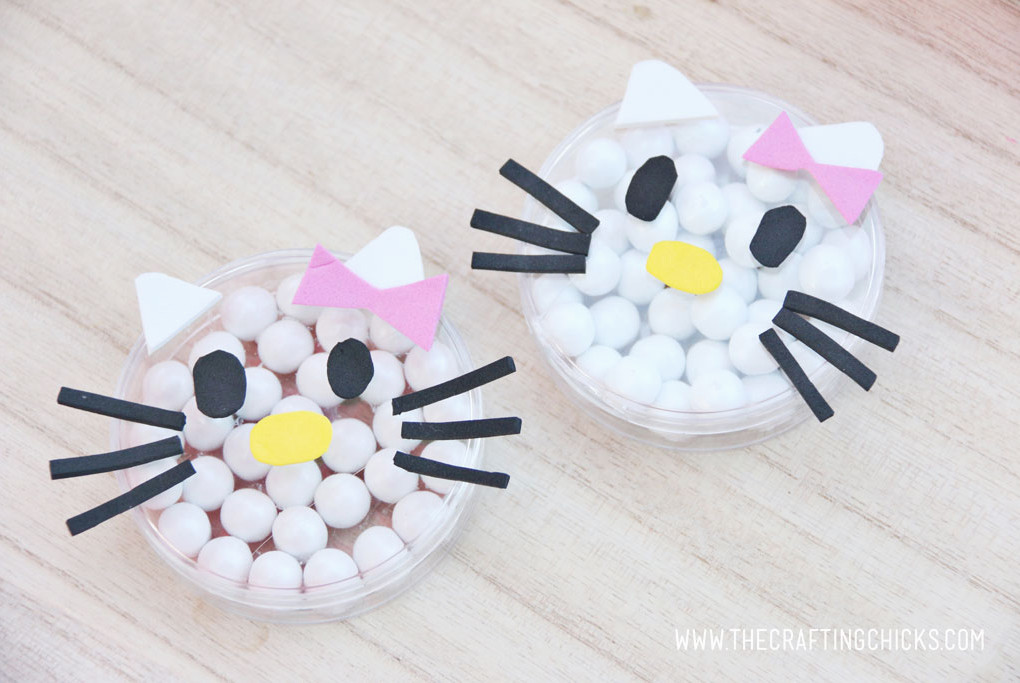
Homemade Candy Dish
Brighten up any treat with this playful kitty candy dish! It’s ideal as a party favor and is a simple craft for children.
View the Guide
18
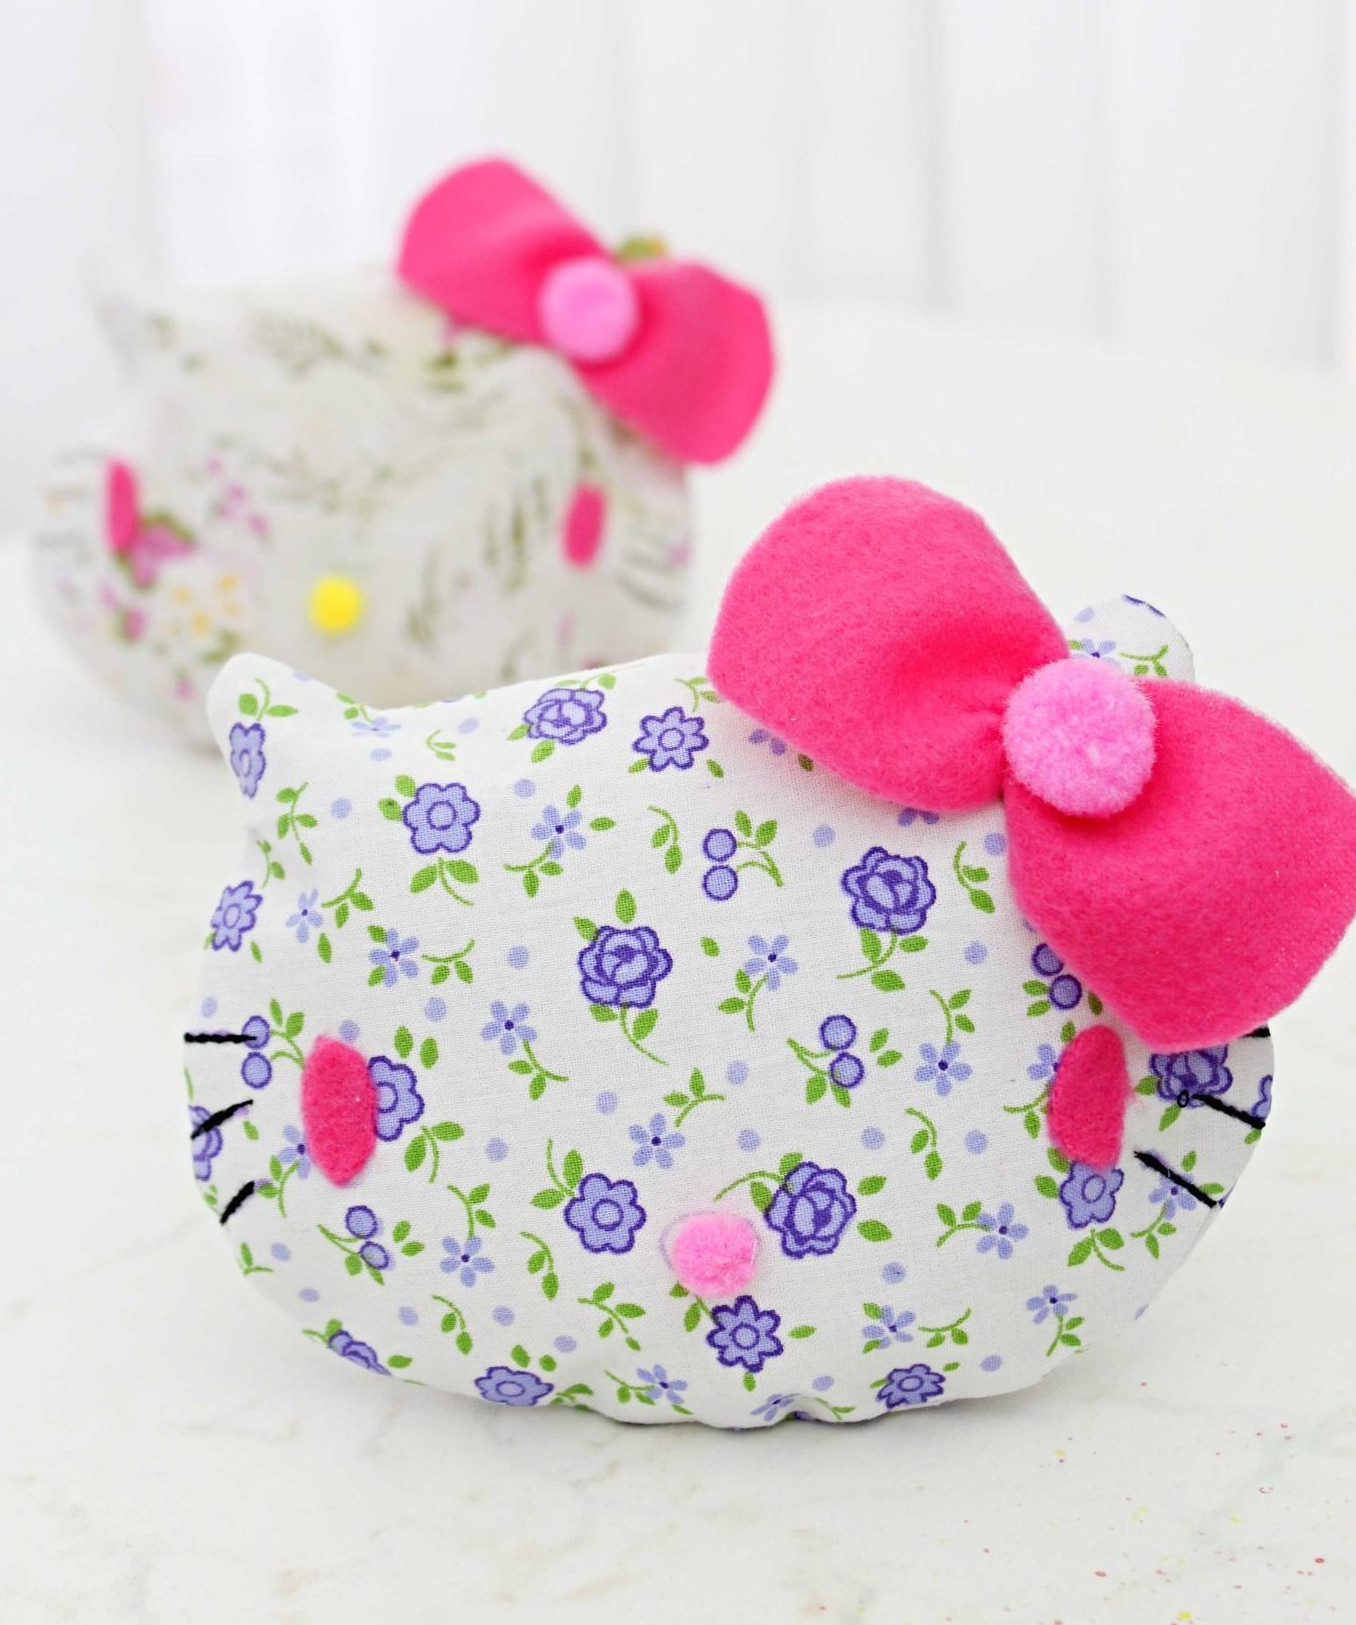
Sewing Pattern for a Cat Coin Purse
View the Guide
19
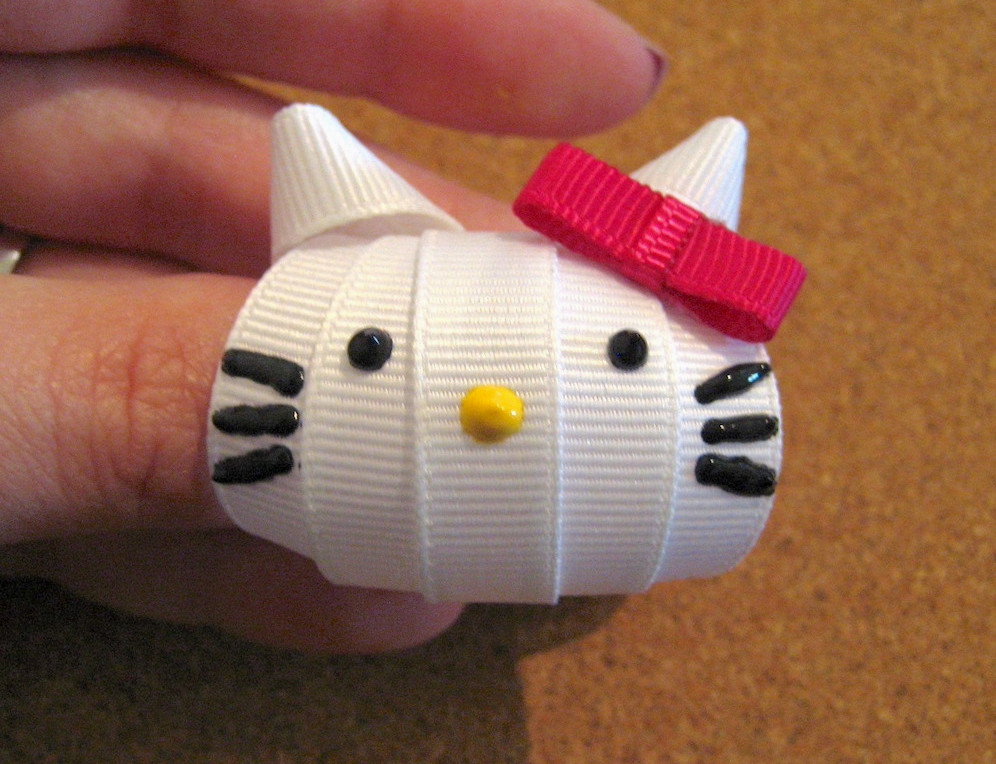
Hello Kitty Sculpted Ribbon Bows
It’s been years since I last used puff paint! This adorable kitty ribbon gives me the perfect excuse to use it once more. Enjoyable for girls both young and old.
View the Guide
20
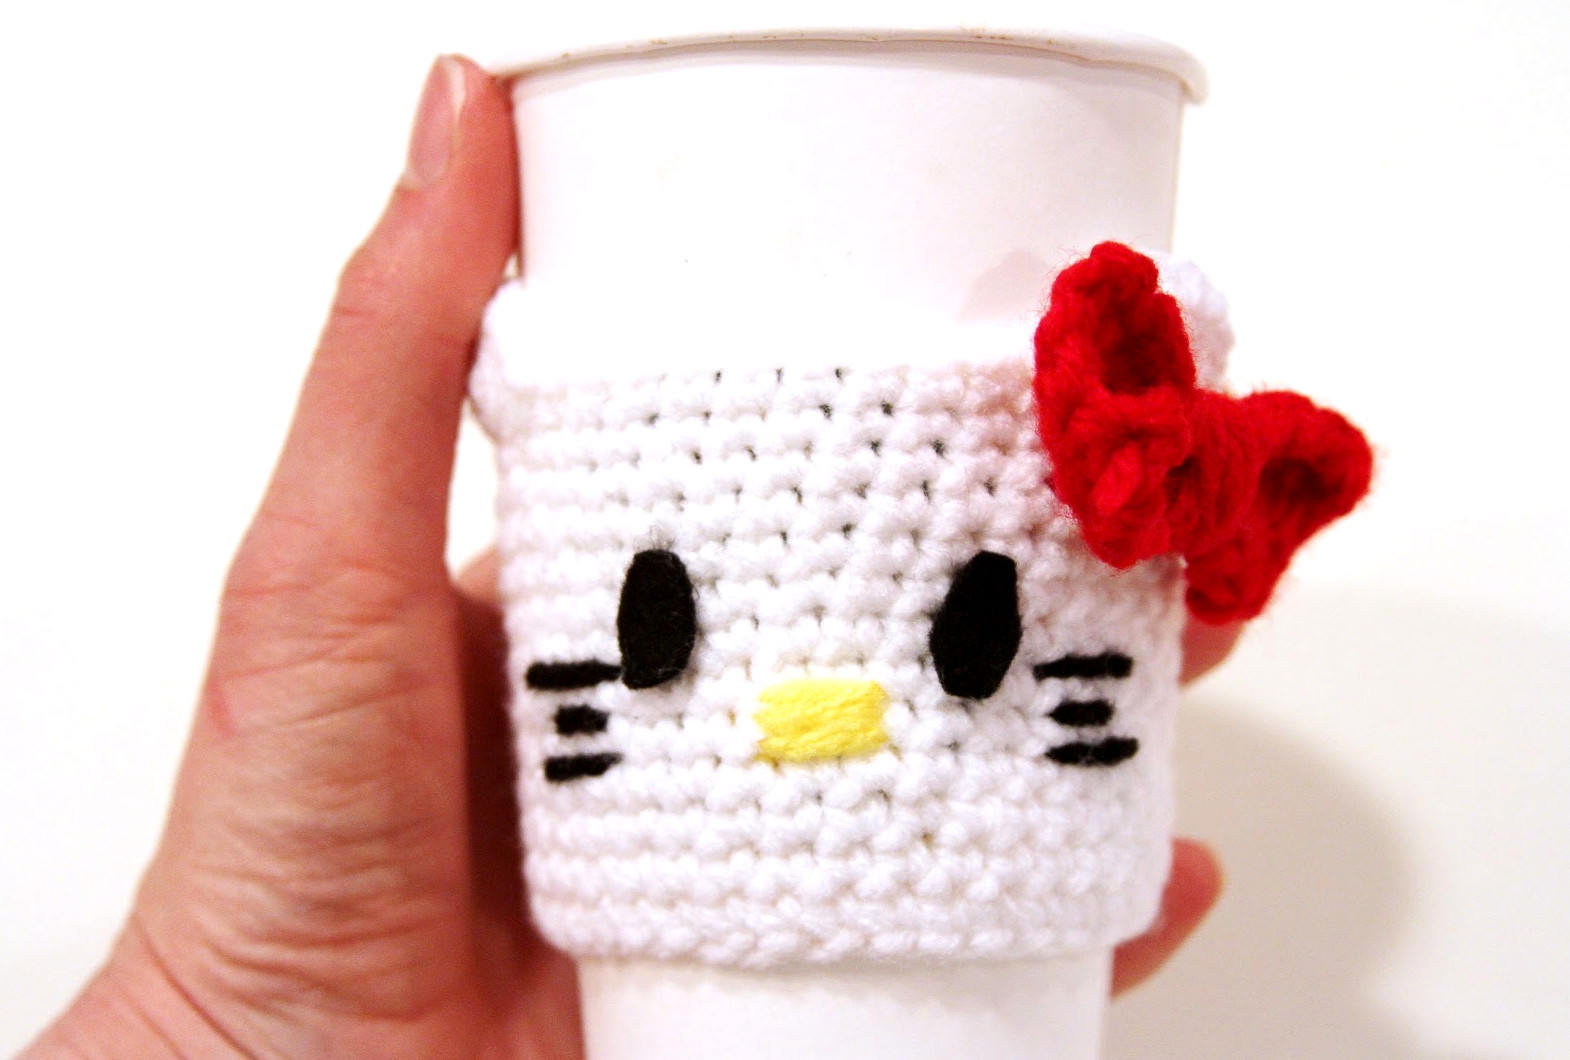
Hello Kitty Mug Cozy
View the Pattern
21
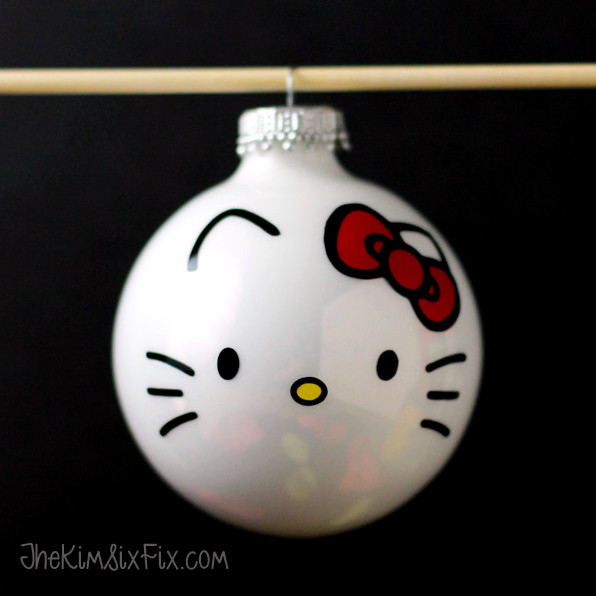
Homemade Hello Kitty Ornaments
View the Guide
22
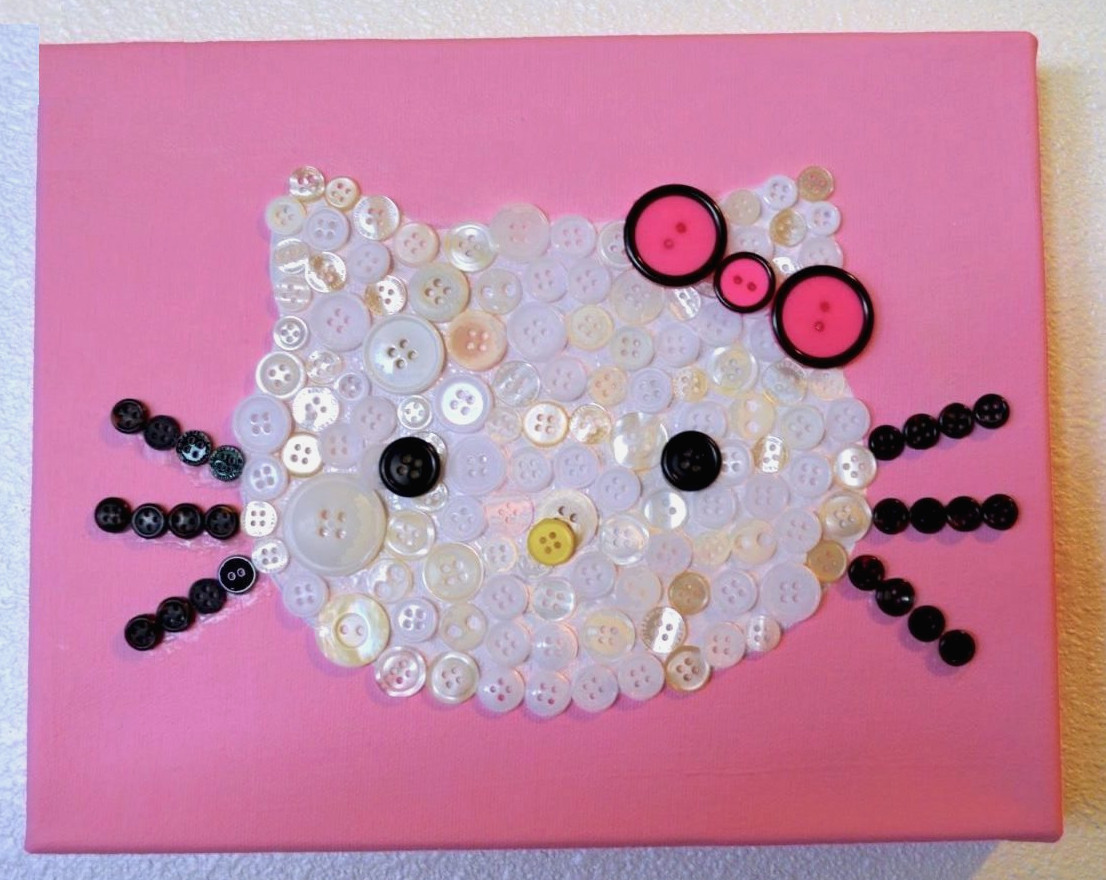
Hello Kitty Button Artwork
I’m especially fond of button art!This adorable kitty is no different, and her charming button bow makes me squeal.
Discover the Tutorial
23
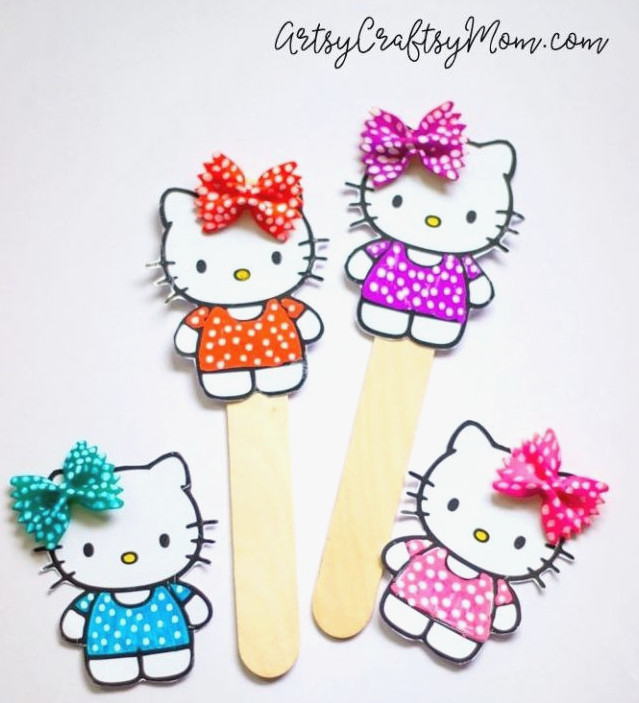
Hello Kitty Pasta Bookmark Craft
View the Tutorial
24
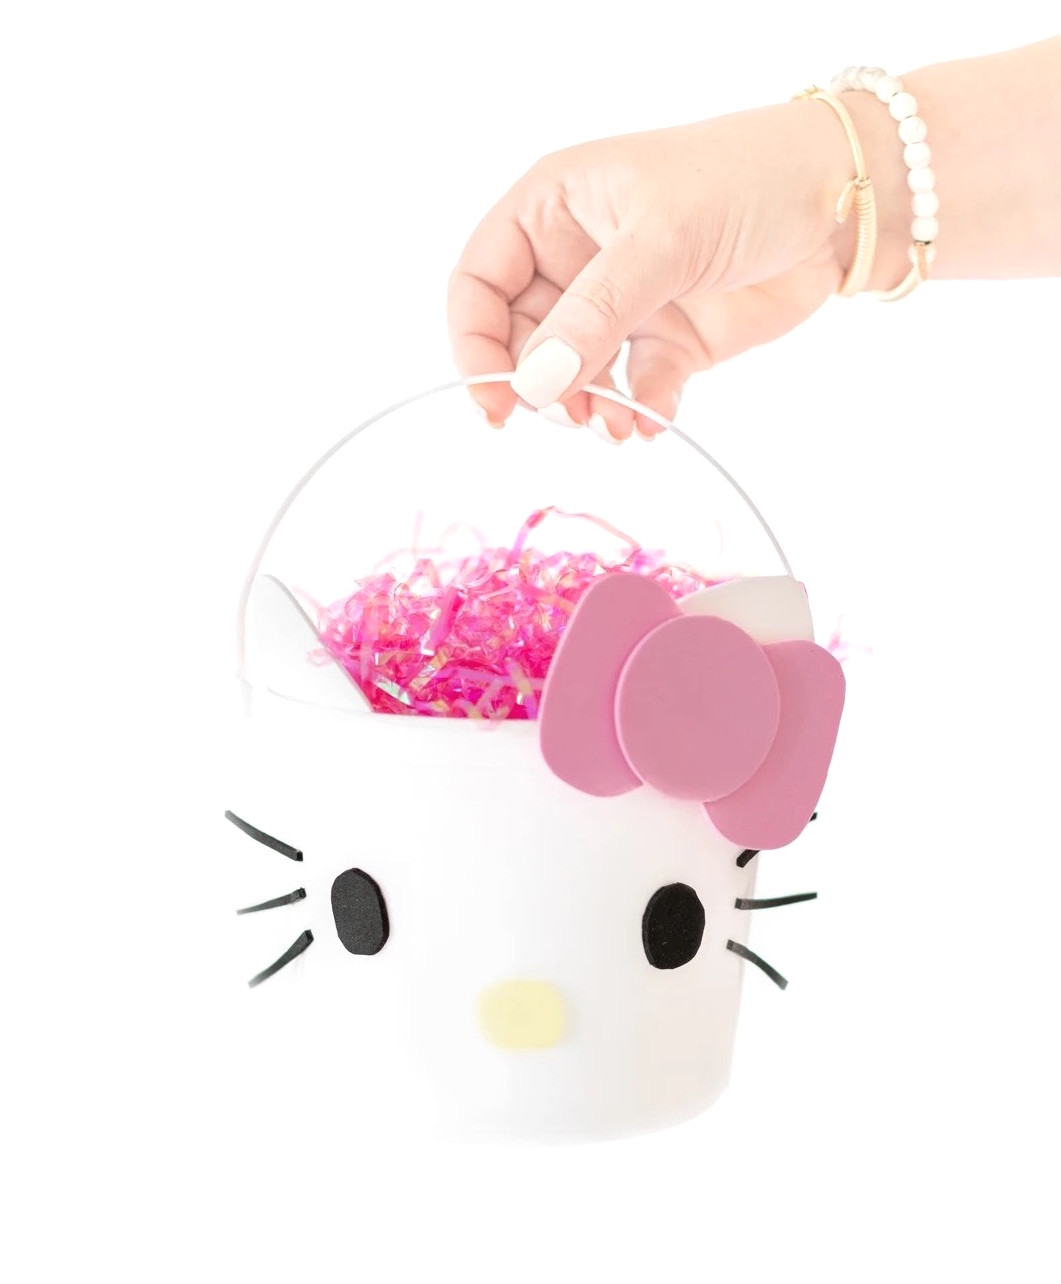
DIY Hello Kitty Easter Basket
Sketching Hello Kitty’s facial details and bow is quite simple, so foam sheets are ideal for recreating them! You’ll use them to create this adorable Easter basket.
View the Tutorial
25
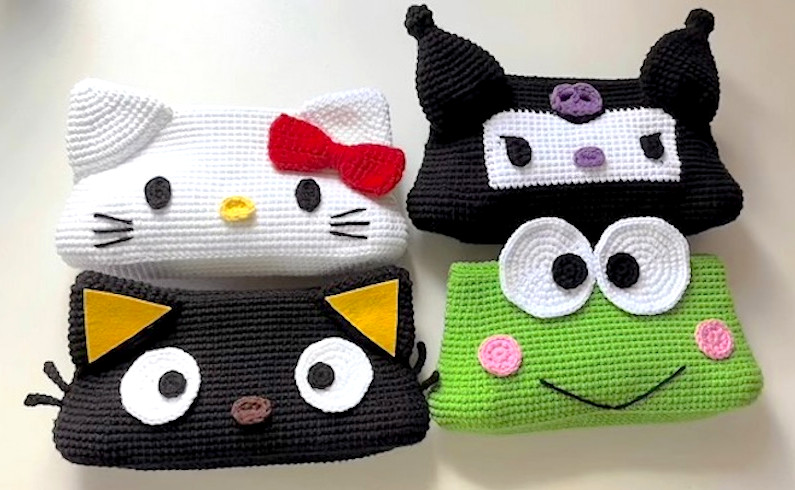
Pencil Pouches
Discover how to crochet charming pencil cases inspired by Hello Kitty and her Sanrio companions. These beginner-friendly pouches are practical and irresistibly adorable for school or the workplace.
View the Tutorial
26
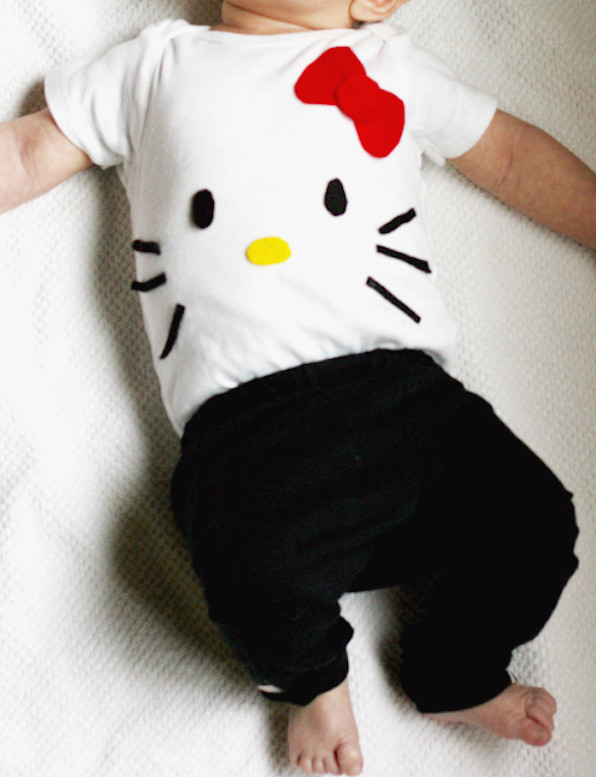
Hello Kitty Infant Onesie
View the Tutorial
27
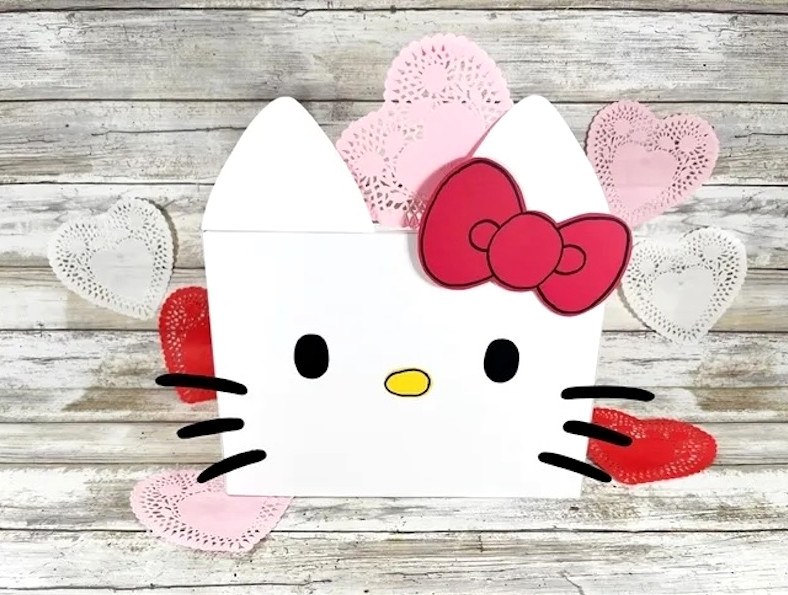
28
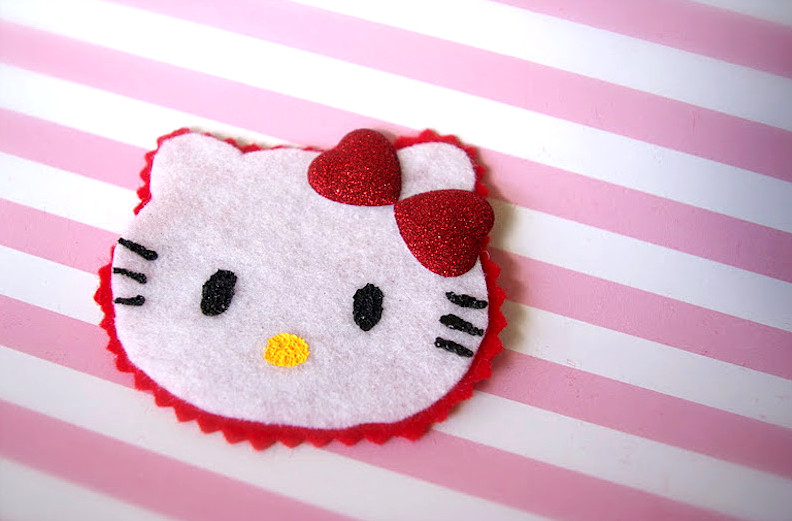
Felt Hello Kitty Shape
This adorable small felt patch is a favorite of mine since it works for tags, present bags, headband embellishments, and plenty more!
View the Tutorial
29
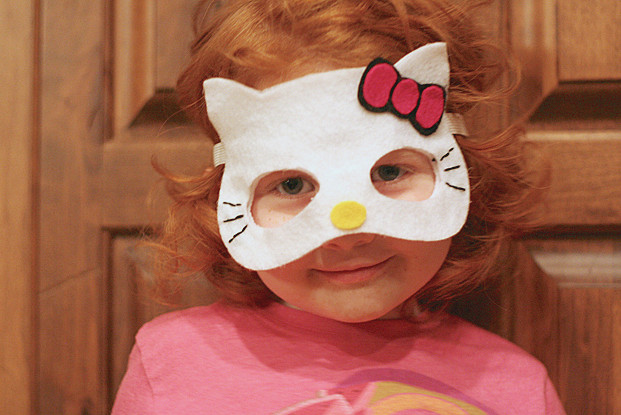
Hello Kitty Face Mask
This straightforward mask requires only felt pieces and fabric glue! Cut two white pieces, then place the elastic between them like a sandwich.
View the Tutorial
30
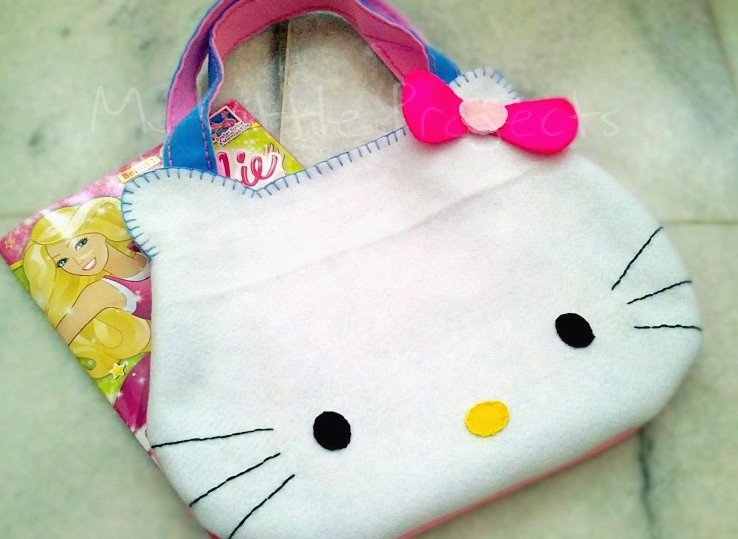
Hello Kitty Felt Face Bag
This would make a wonderful addition to a birthday present bag, a trick-or-treat tote, or even a dress-up collection. It also makes a fantastic gift!
View the Tutorial
31
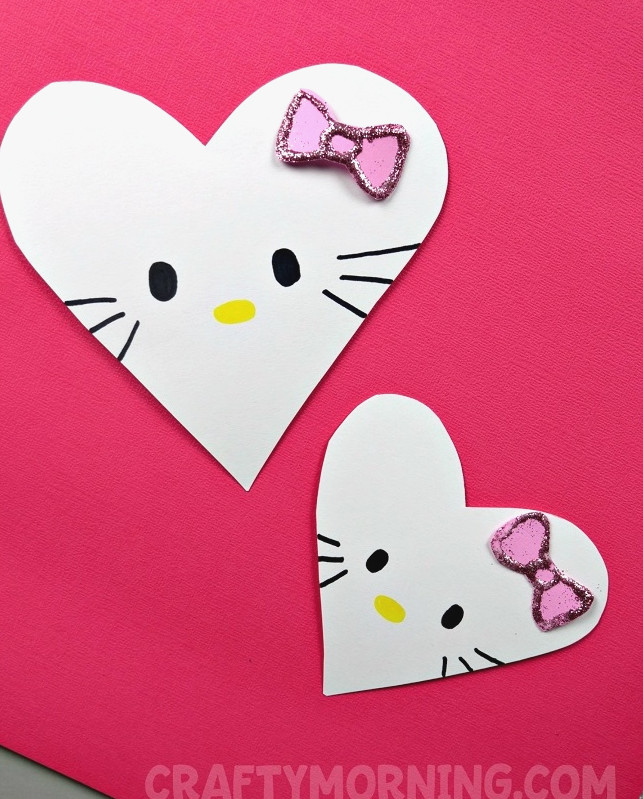
Hello Kitty Heart Valentine Craft
Create adorable little Hello Kitty heart valentines together with the kids! This project is incredibly simple and charming.
View the Tutorial
32
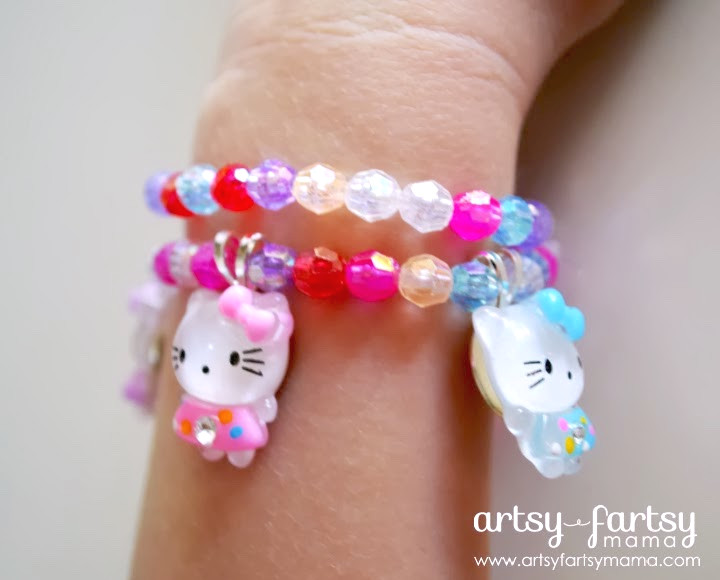
DIY Hello Kitty Bracelet
Find some kitty bead4th of July Deco Mesh Wreath with Sparkly Starss online or at a nearby craft shop, then discover how to create this adorable bracelet! Personalize it with whichever faceted beads you prefer.
View the Tutorial
If these Hello Kitty crafts caught your attention, share your thoughts in the comments! I’d be delighted for you to explore these additional themed project posts:
Doctor Who•Frozen•Harry Potter•Hocus
Discover how to create a 4th of July deco mesh wreath modeled after the American flag! It’s ideal for beginners and makes a wonderful holiday decoration. The glittering stars are my favorite!
Required Skills: Beginner. You’ll cut the mesh, roll it, and secure it to a wire form. Assembling this Fourth of July wreath is simple because the main focus is arranging the colors. You’ll also do a bit of painting for the stars!
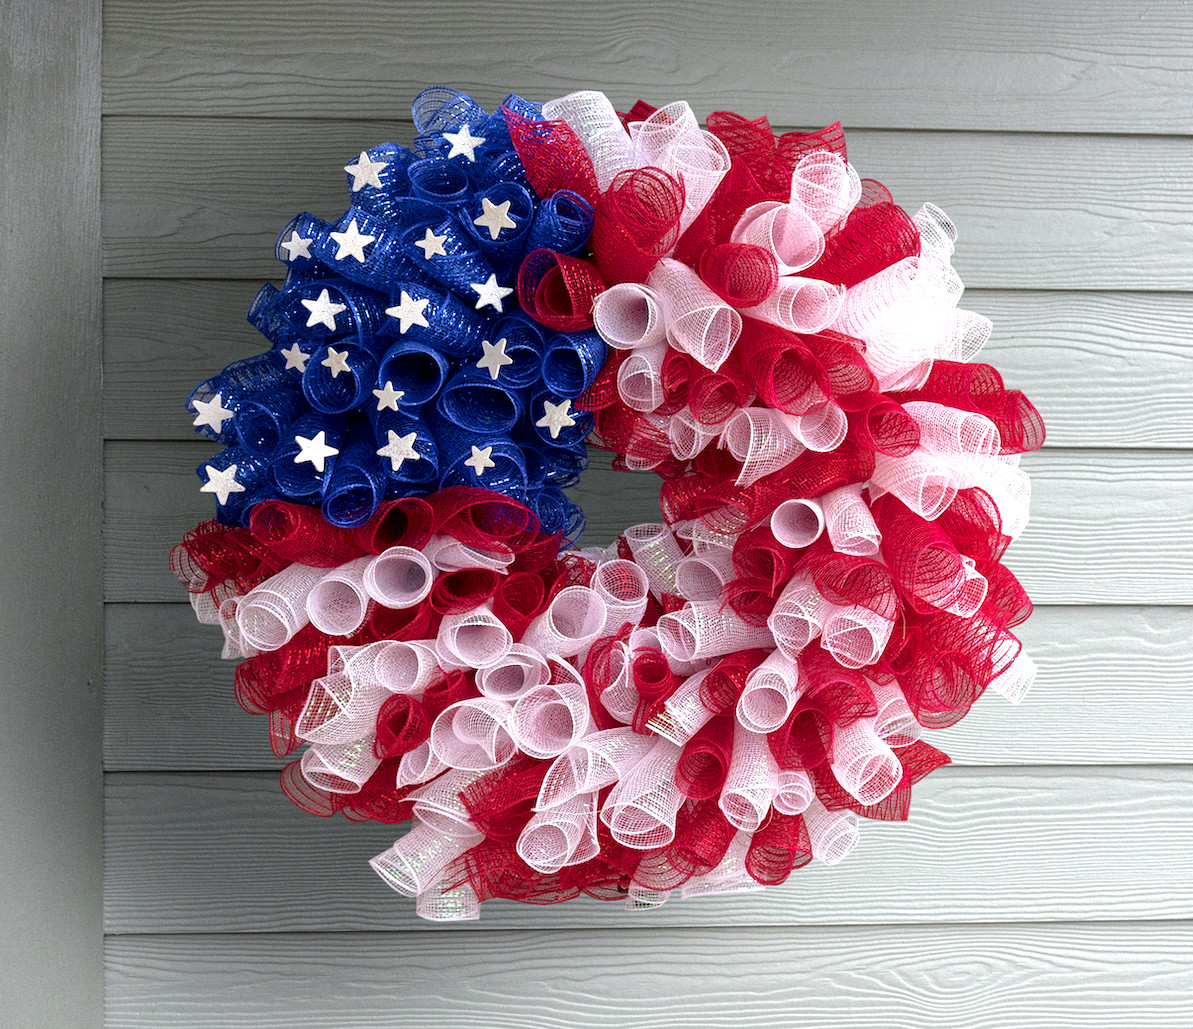
Have you ever crafted a Fourth of July wreath? I made a firecracker wreath in 15 minutes, along with a very easy Duck Tape wreath featuring solid shades and a flag design.
They were both enjoyable and simple to create, but I decided it was time to take things up a level, so to speak . . . it was time to try making a 4th of July deco mesh wreath.
This concept came from my mom, who also showed me how to make it. To be entirely truthful, I’m thrilled with how it turned out!
The stripes make the wreath feel wonderfully festive, while the stars provide the ideal “flag inspired” accent against the blue deco mesh background.
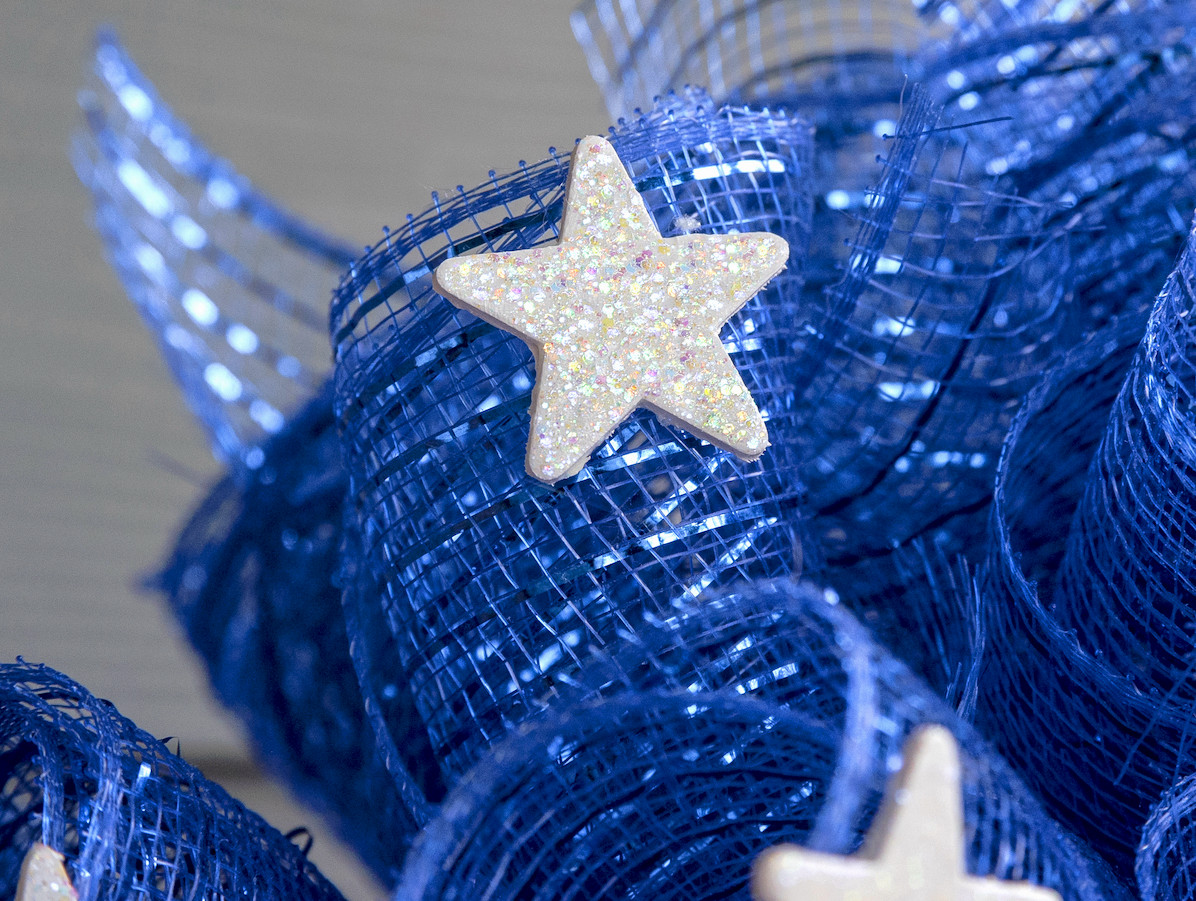
I even had the chance to use some Mod Podge, which was quite enjoyable.
If you’re prepared to craft a wreath, I’ll walk you through the process. After you become familiar with the method, you’ll be eager to customize it for many different holidays! Find the instructions below.
Fourth of July Deco Mesh Wreath
Supplies to Collect
- 24″ wire wreath form
- 10” X 30 ft rolls of decorative mesh
- Blue (navy) – 2
- Red – 2
- White – 2
- Chenille pipe cleaners, 12″ – approximately 100, cut in half
- Sturdy scissors or wire snips
- Extreme Glitter Mod Podge
- Wooden stars – I used 19
- White acrylic paint
- Paintbrush
- Spouncer brush
- Measuring ruler
- Hot glue gun with glue sticks
Note: the number of chenille stems required may vary according to your wreath form’s size and how closely you arrange the mesh. Regarding the colors, you may coordinate them with the mesh, although it isn’t necessary. The stems should remain hidden.
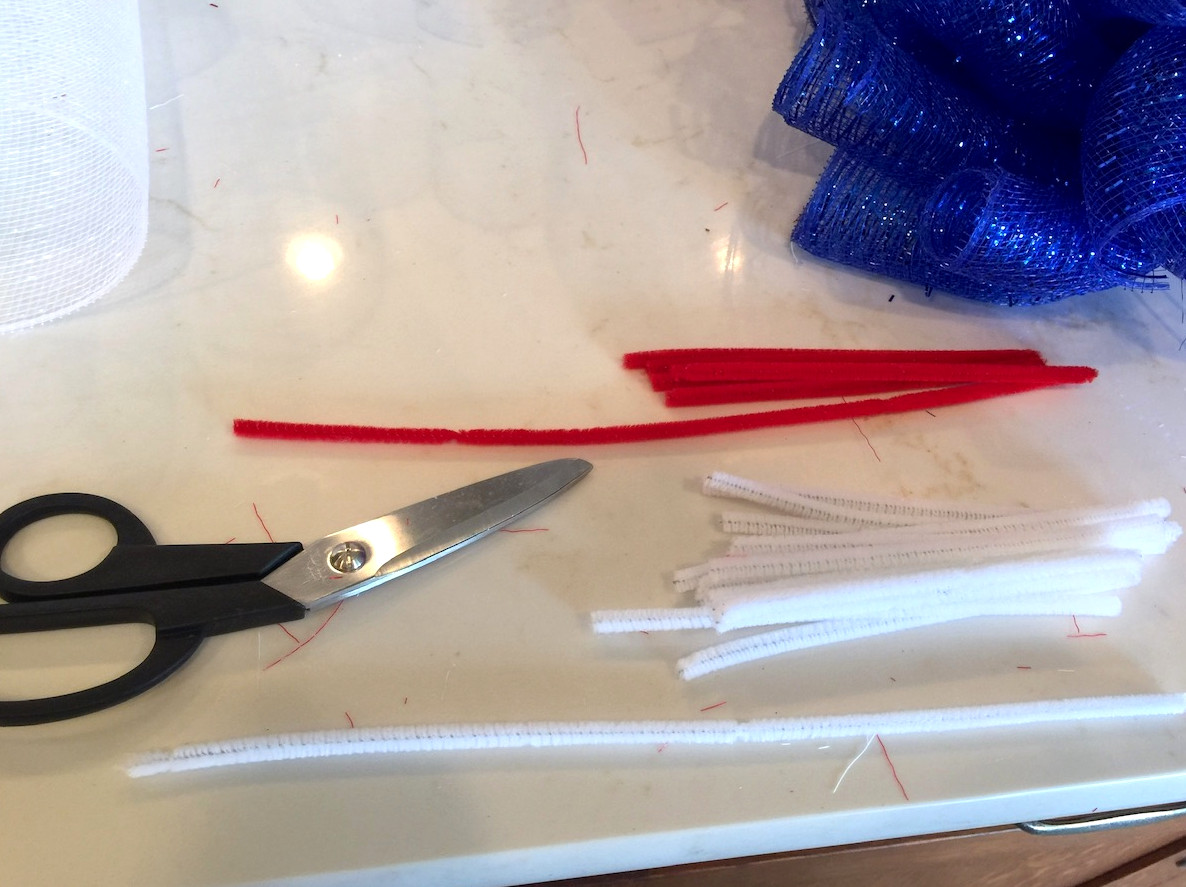
Prepare the Pipe Cleaners
If you haven’t done so already, begin by slicing all the pipe cleaners in half. You can also trim them while working, but I prefer preparing them beforehand.
Standard scissors will do the job, but cutting pipe cleaners with them can tire your hand and damage the blades. Larger kitchen shears would be better, though wire cutters are the best choice.
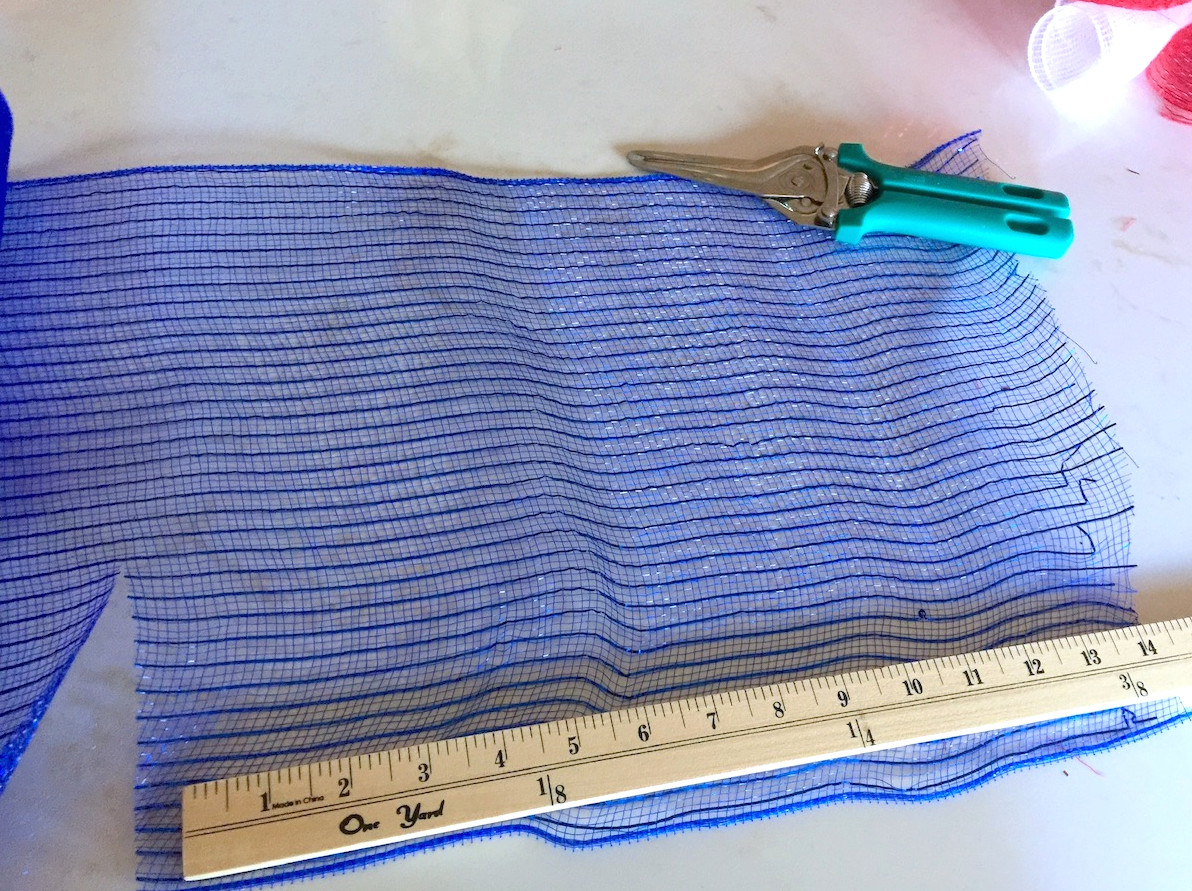
Slice the deco mesh into pieces measuring roughly 14 to 18 inches. Try to keep them as near to 14” as possible. Longer pieces become harder to attach as you approach the wreath’s end. Avoid cutting them shorter than 14 inches, or the mesh wreath won’t achieve enough volume and visual effect.
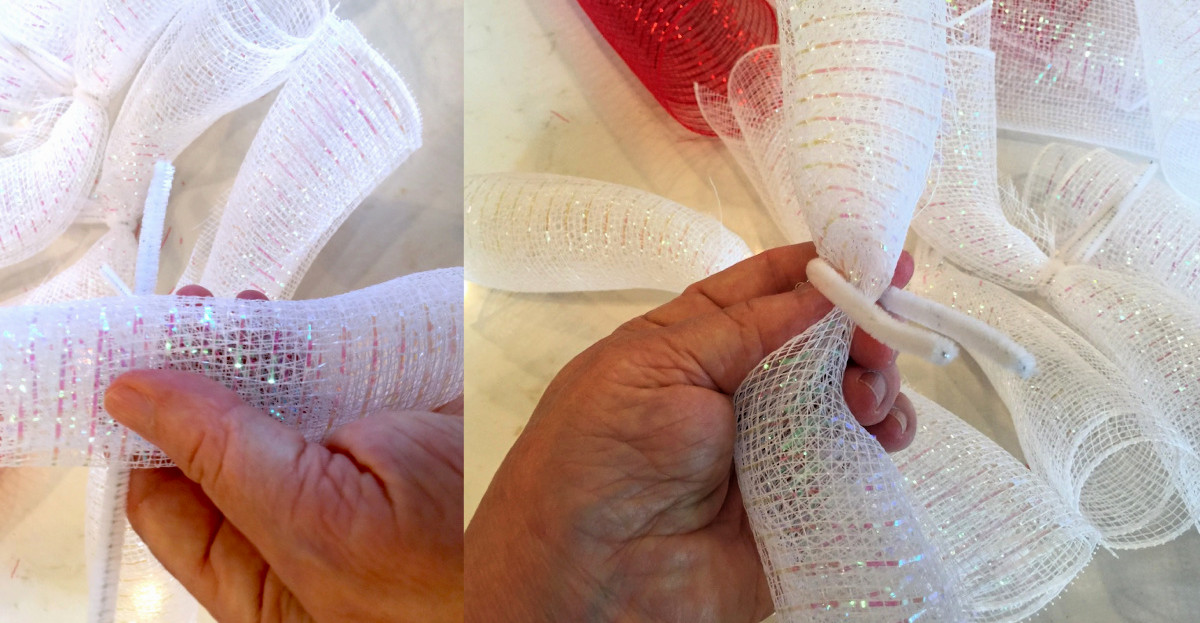
Form the Mesh Rolls
Roll each piece from one trimmed end to the other, creating a noodle. Squeeze the noodle at its midpoint, position a 6-inch pipe cleaner around it, and twist it securely.
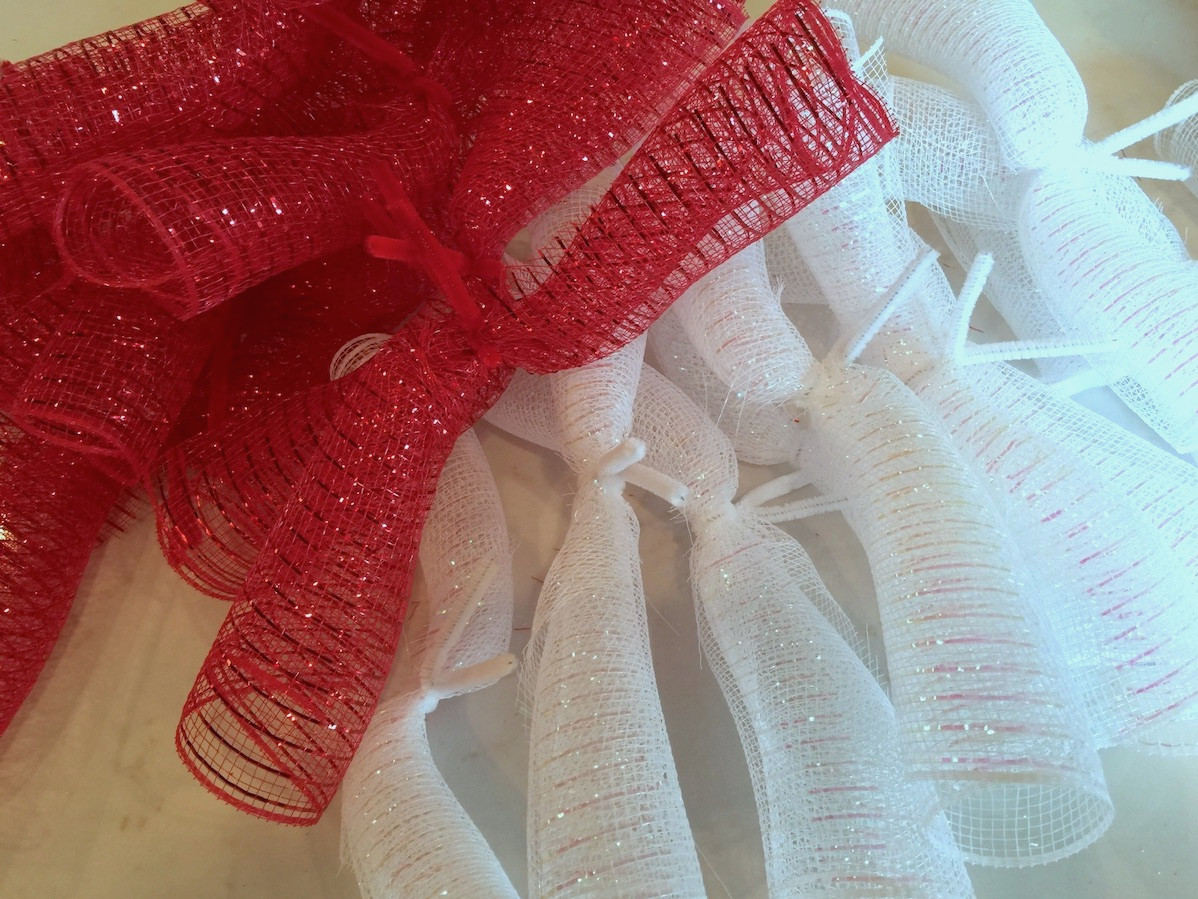
Note: I typically prepare around ten at once so I don’t trim an excessive number of pieces and waste supplies. Throughout the instructions, I’ll refer to these tubes secured with wrapped pipe cleaners as “noodles” for simplicity.
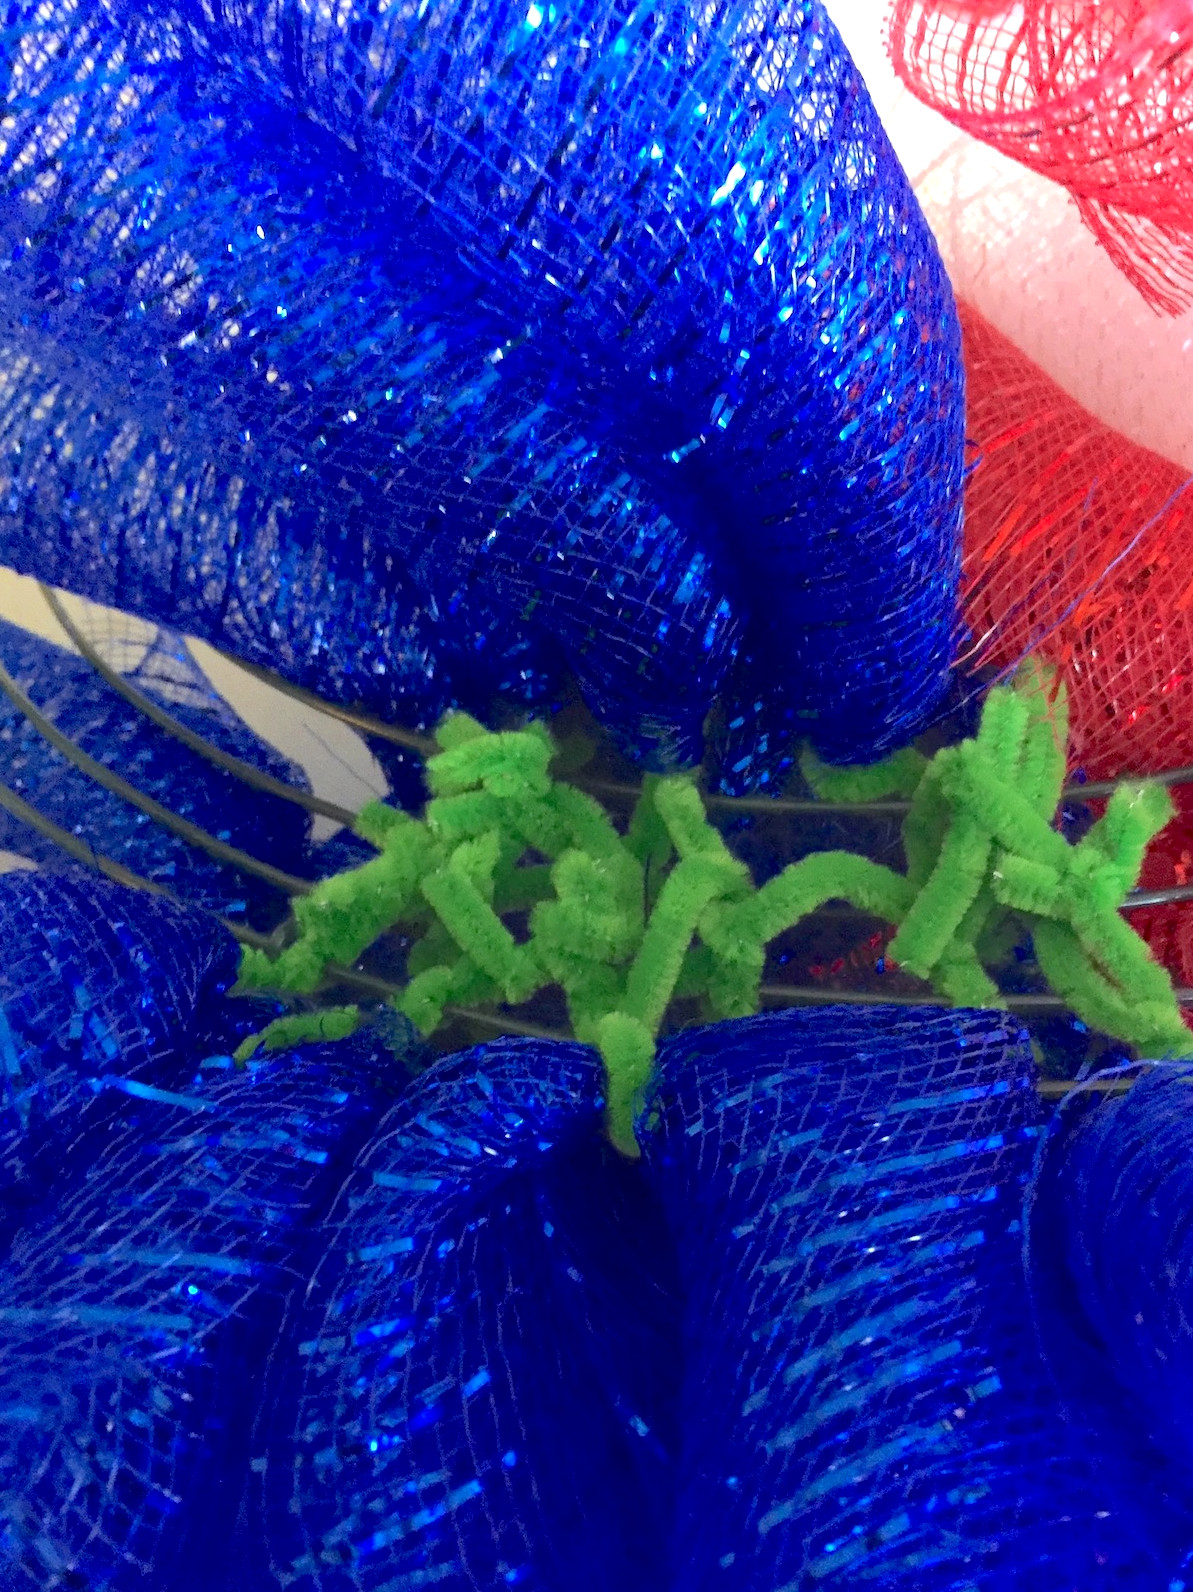
Secure the Noodles
Start at what will become the upper-left “corner,” the flag’s blue field. Fold one blue noodle in half at the pipe cleaner, then wind the pipe cleaner around two wire bars. From the back, twist it firmly 2 to 3 times. You’ll arrange the noodles in groups of three rows. Here’s an illustration.
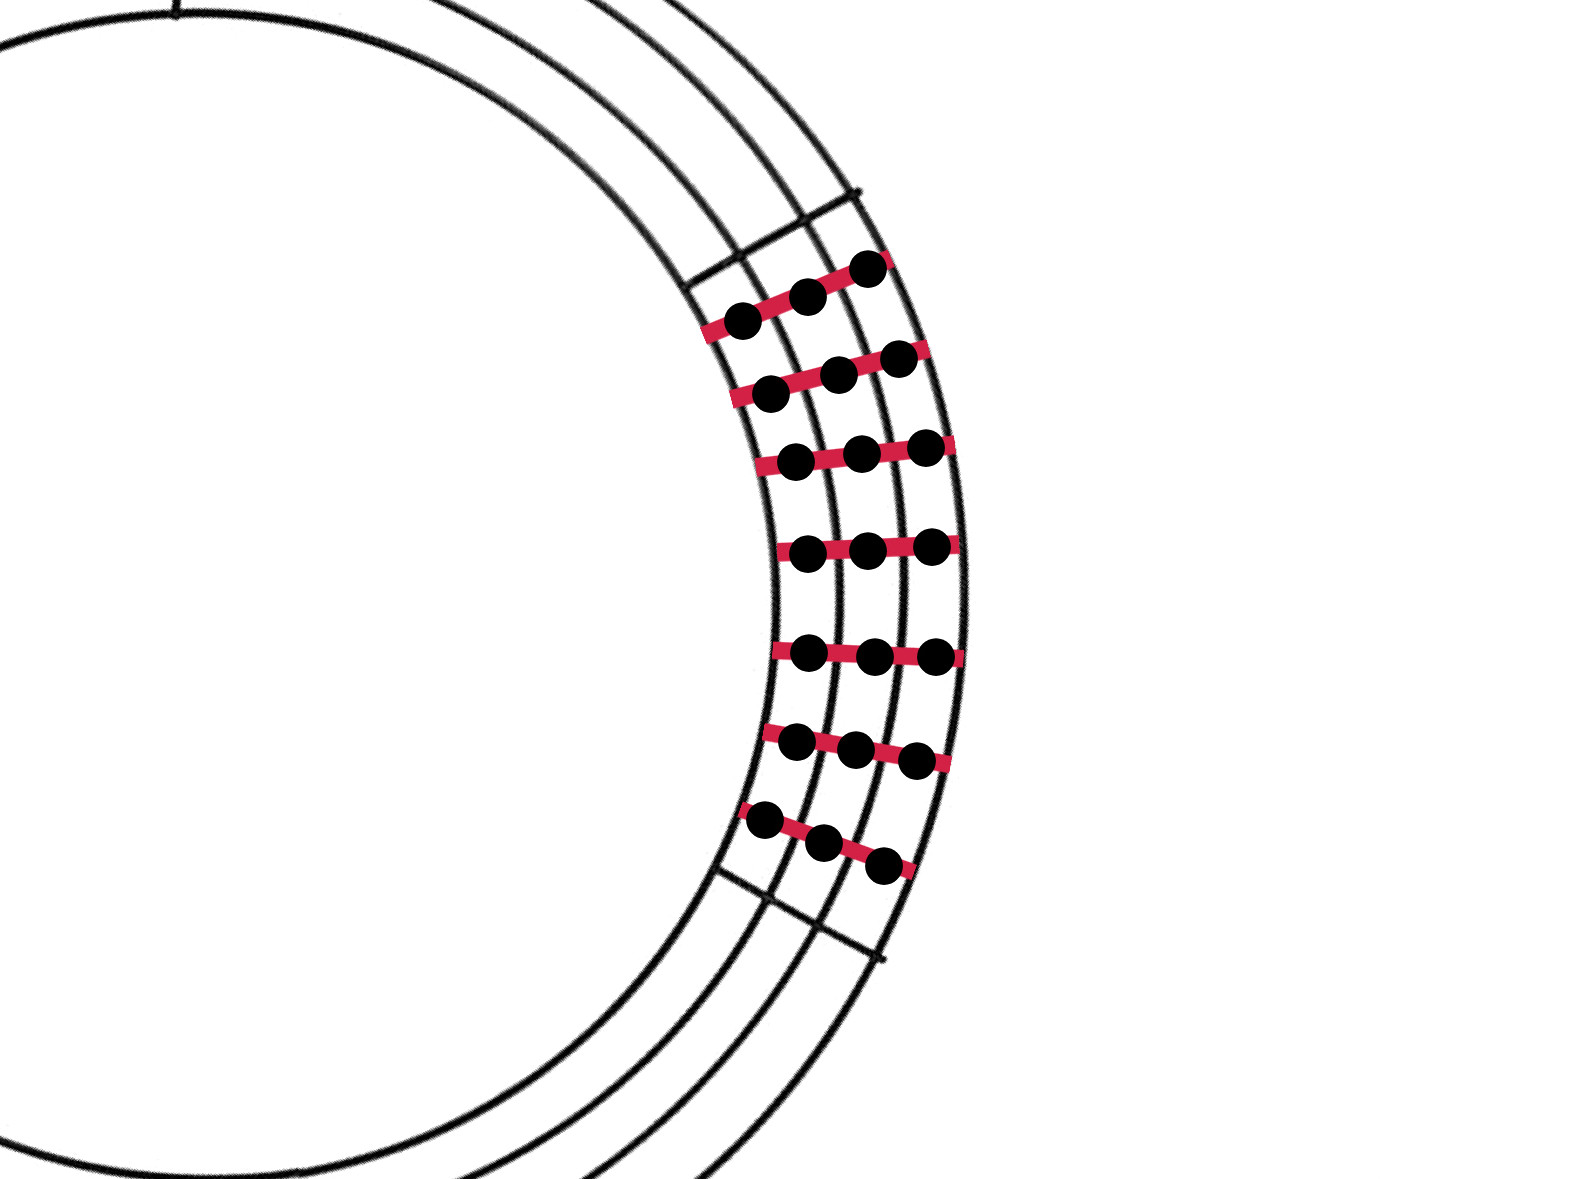
Every red stripe represents a row containing three mesh noodles in one color, while the black dots indicate where the pipe cleaners should be twisted. Therefore, the section shown in the diagram would require 21 noodles. If this part is unclear, tell me in the comments!
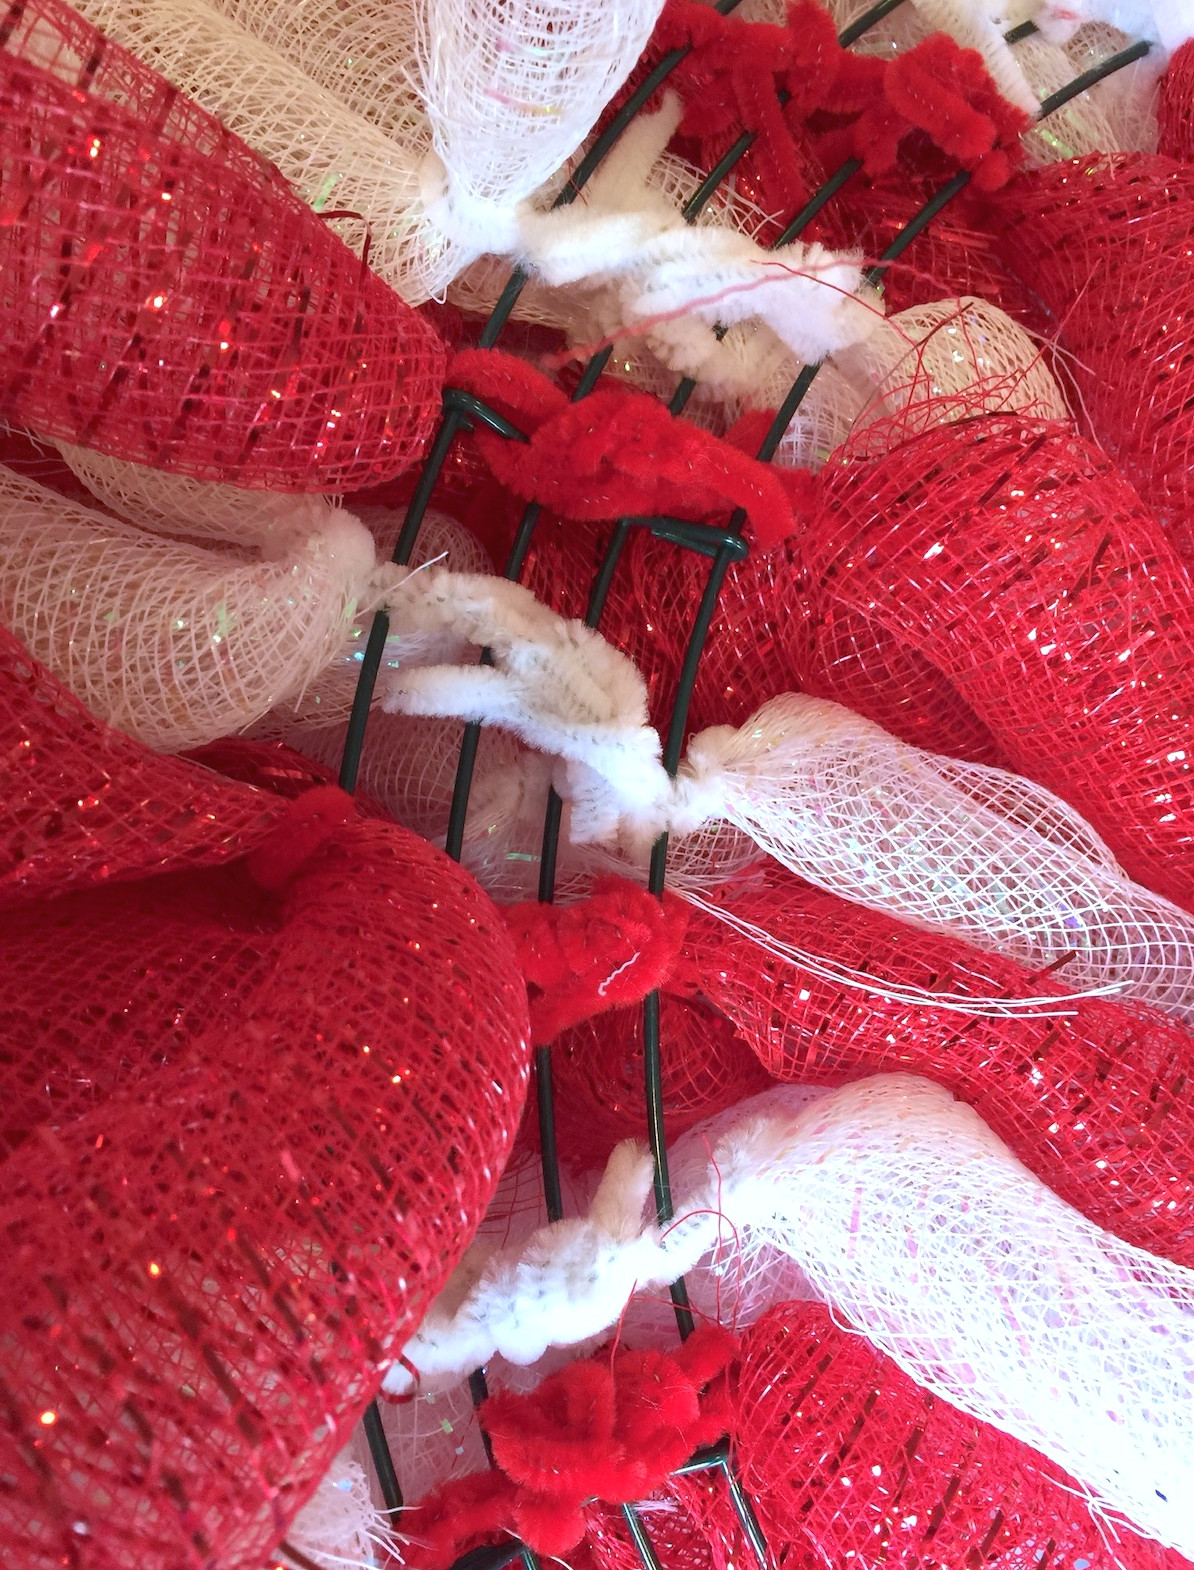
While attaching the noodles, flatten their ends by twisting them together with the ends of the other pipe cleaners used to secure the noodles.
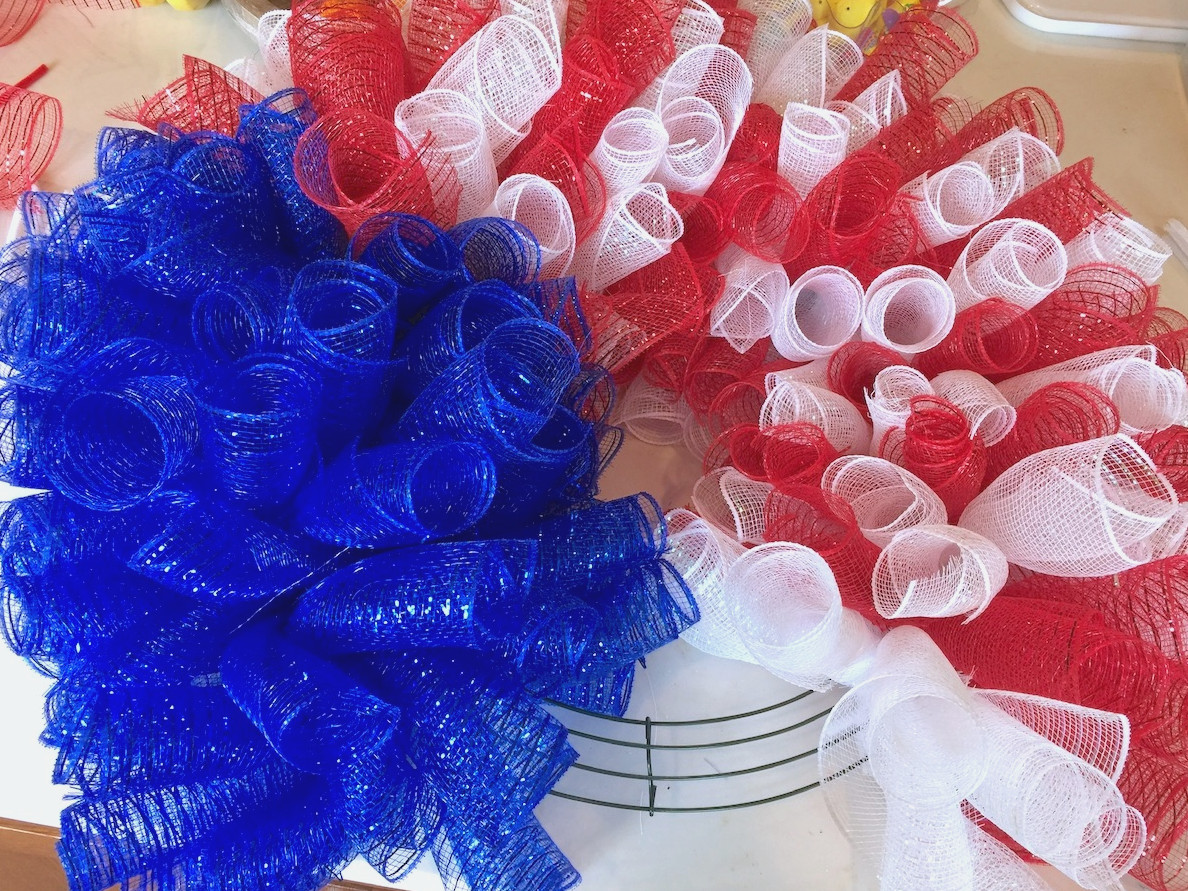
Add enough pieces to eliminate any open spaces. As the section becomes fuller, fold the noodle ends forward to make room.
Create the Stripes
After the blue covers about 20% to 25% of the wreath ring, start incorporating red and white stripes. Keep placing red and white rows around the wreath until you reconnect with the blue section.
After placing all the noodles, check for any empty areas and fill them in as needed. Pull everything toward the front, keeping the back and pipe cleaners as smooth and flat as you can.
Add the Stars
Before attaching the stars, this is how your 4th of July deco mesh wreath should appear. Now comes the fun part!
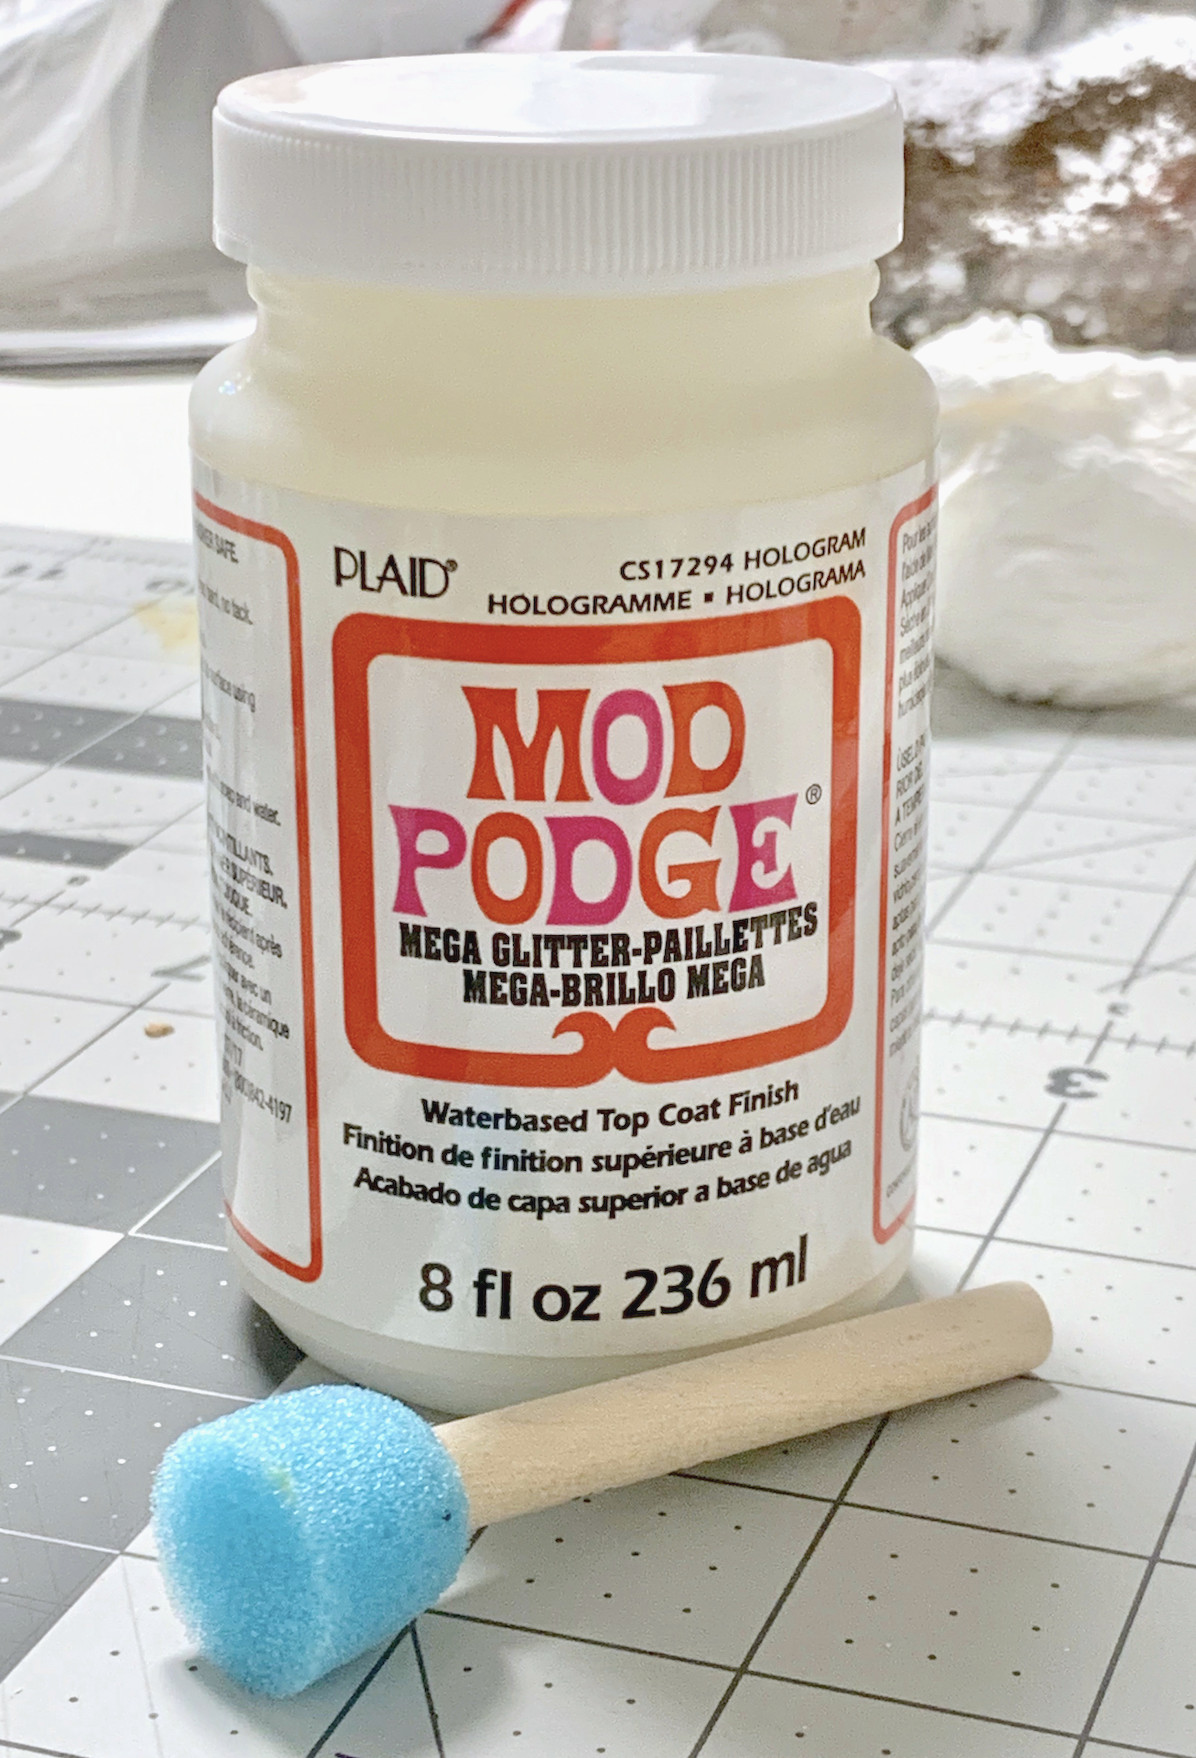
For this step, you’ll need a little favorite of mine: Mod Podge Mega Glitter! I selected the Hologram shade. This product is meant for SERIOUS glitter lovers only.
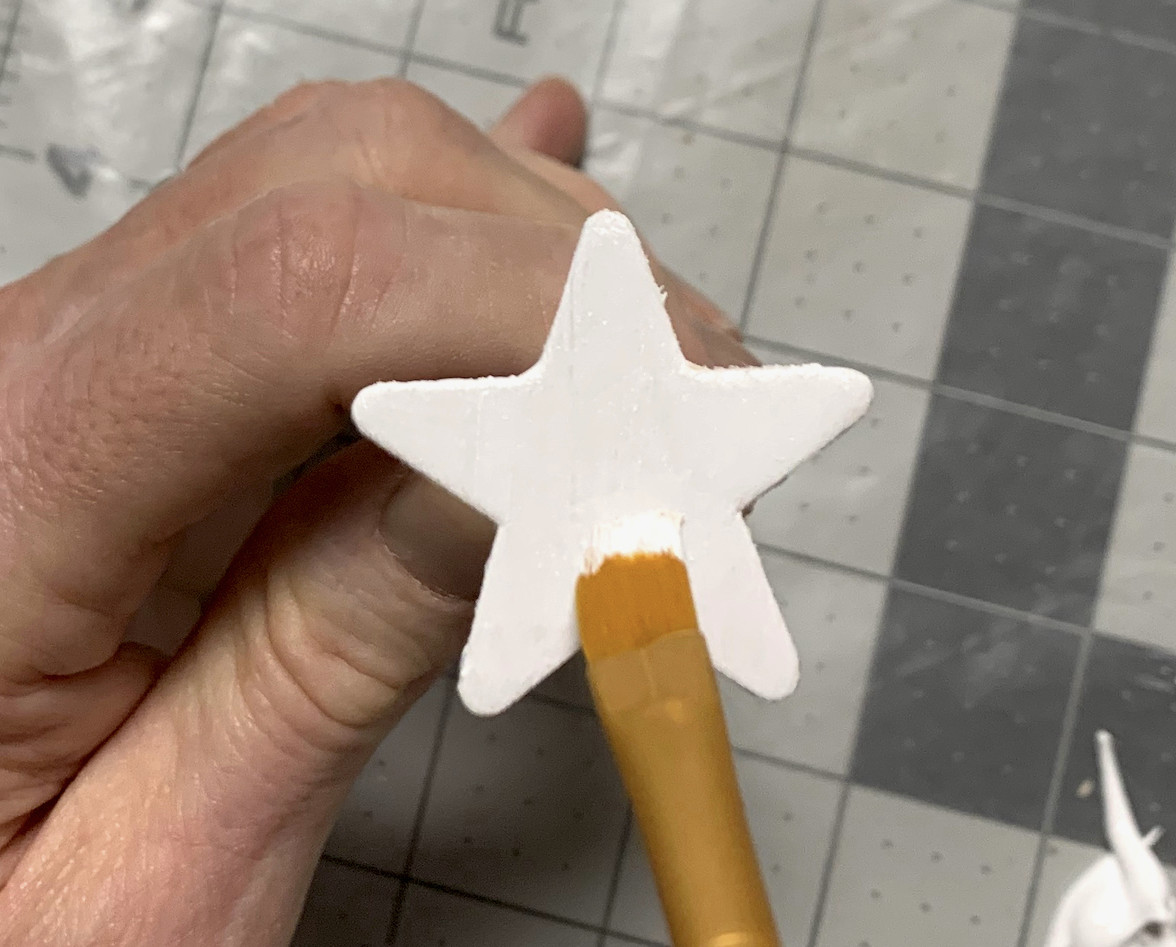
Cover the wooden stars with white acrylic paint, applying several coats and allowing each one to dry before adding the next. A pushpin inserted into the back makes small wooden pieces easier to paint and hold. Since the back of the shape won’t be visible, a small indentation is perfectly fine!
When the paint has dried, use a spouncer to brush on Mega Glitter Mod Podge. Allow the initial coat to dry, then decide whether another layer is needed. Continue adding coats until you reach your preferred amount of sparkle.
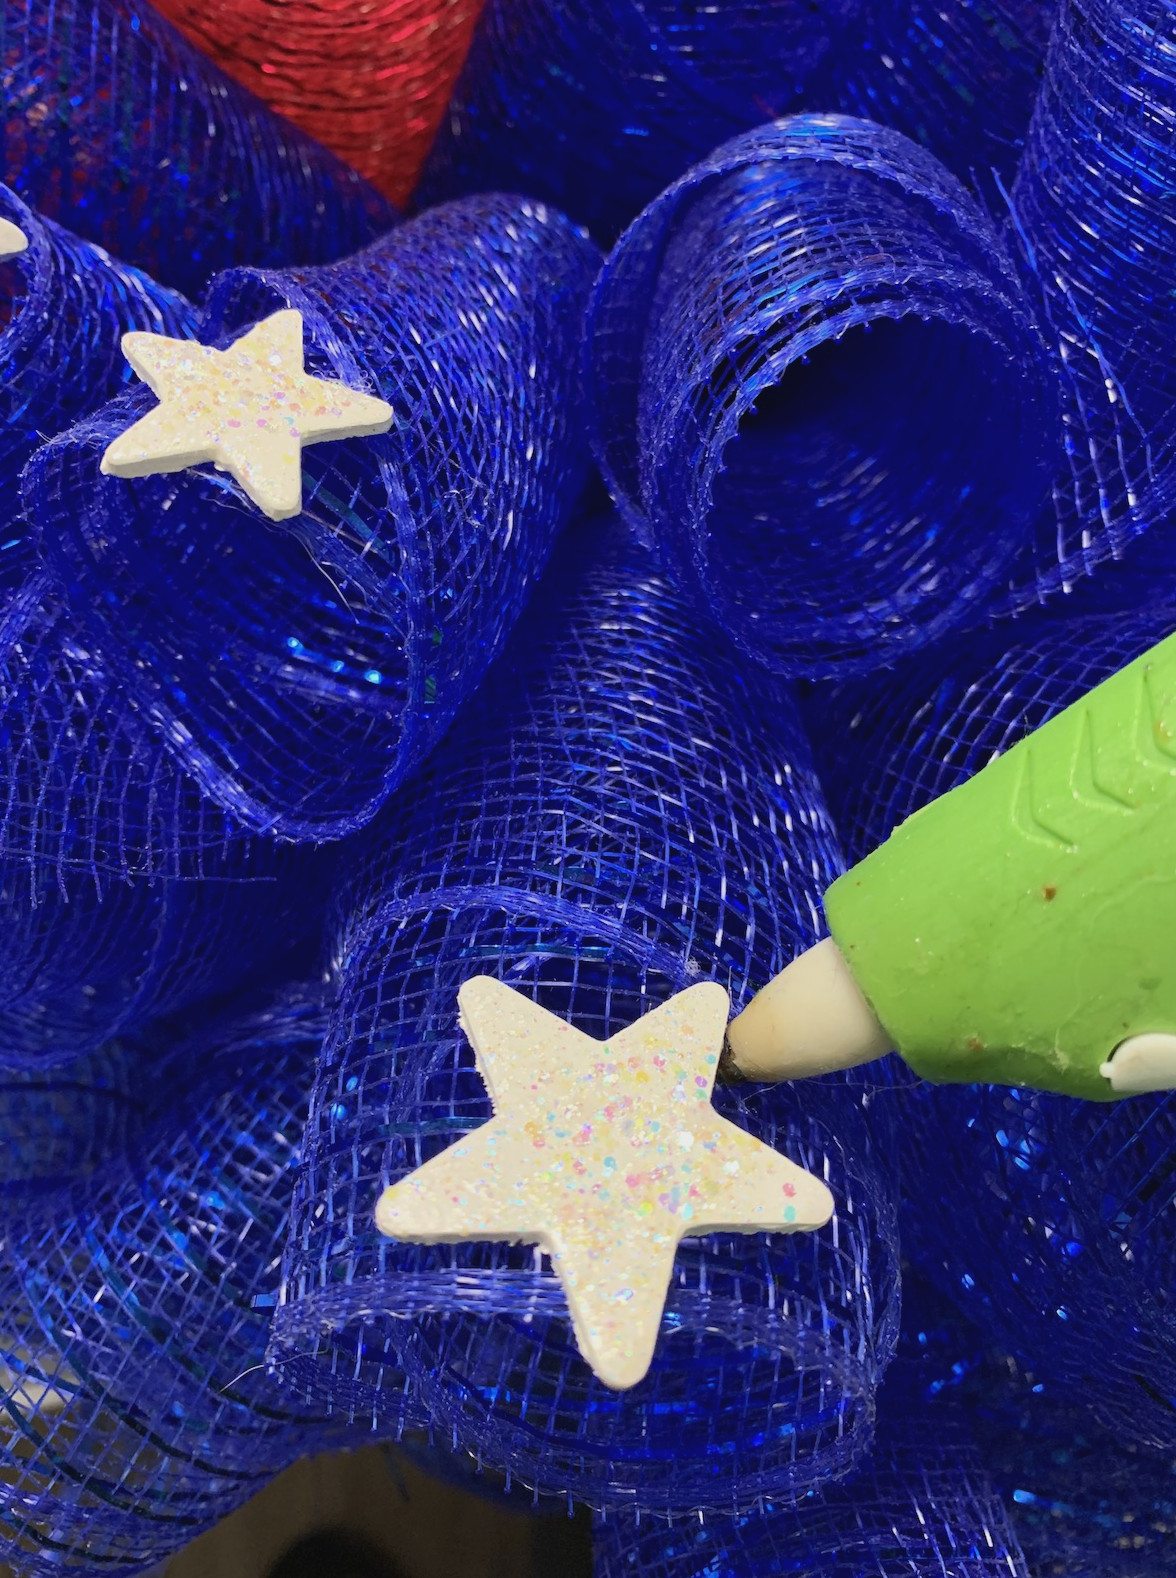
Complete the deco mesh wreath by hot-gluing the glittery wooden stars onto the blue section.
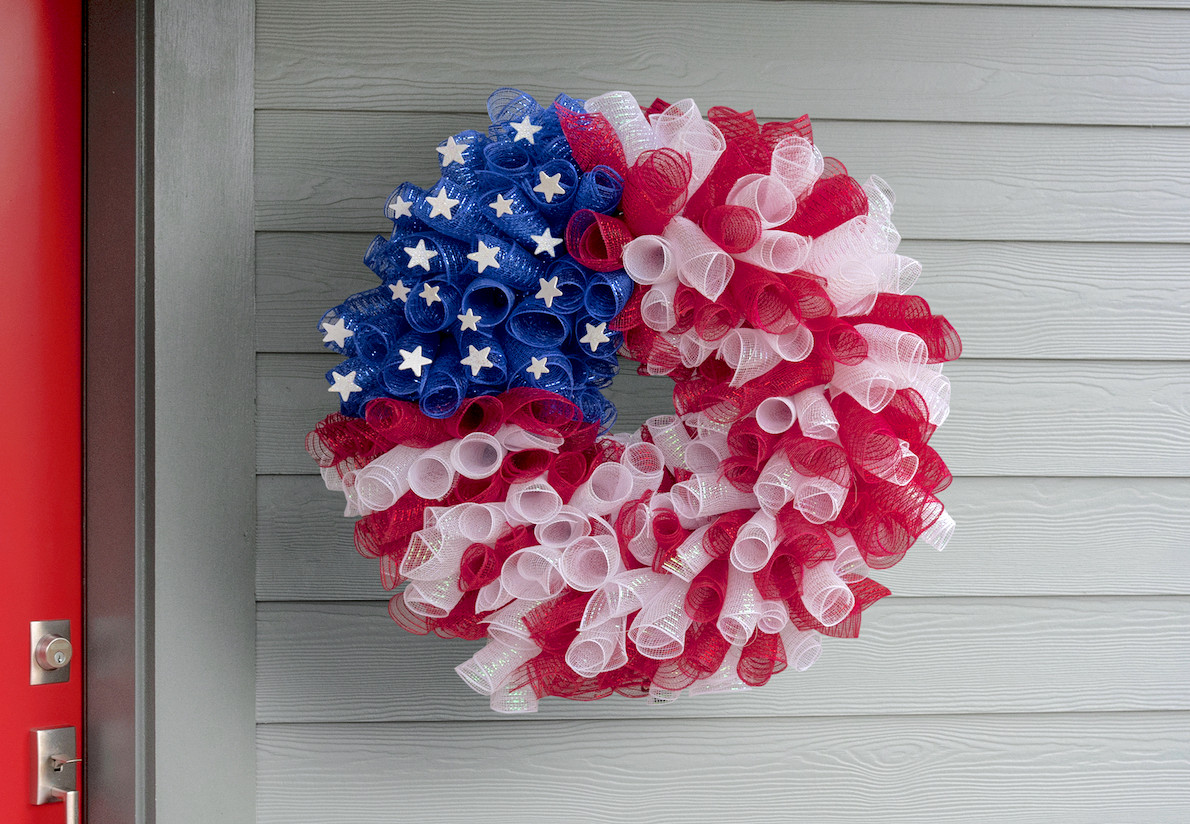
I honestly can’t get over how much I adore this 4th of July mesh wreath. It looks wonderful on my covered front porch!
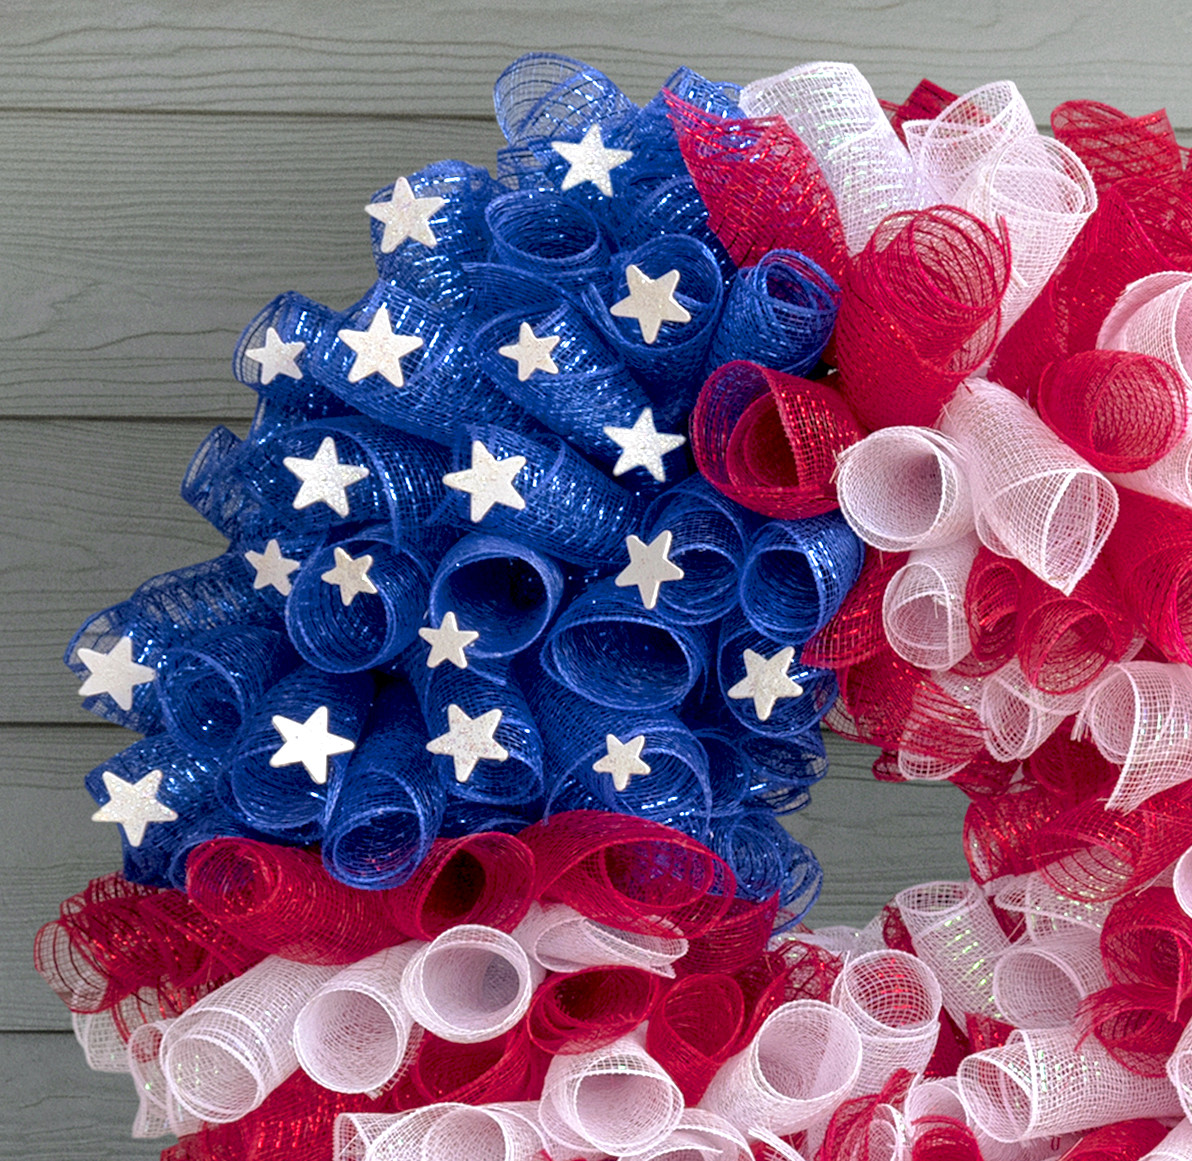
The small touches make all the difference, friends. Happy IndependencEasy Kids Thanksgiving Crafts That Are Lots of Fune Day, America’s birthday, Fourth of July – enjoy the celebration!
I hope this 4th of July deco mesh wreath tutorial was enjoyable and that you’ll explore these additional wreaths for different holidays and themes:
Candy Cane Mesh • Christmas • Christmas Mesh • Christmas Pom Pom • Coffee Filter • Easter Mesh • Fall • Felt • Halloween Mesh • Halloween Ornament • Pinecone • Mini Pumpkins • Pool
Searching for simple and incredibly enjoyable Thanksgiving crafts for kids? Then this roundup of more than 40 ideas is definitely worth exploring!
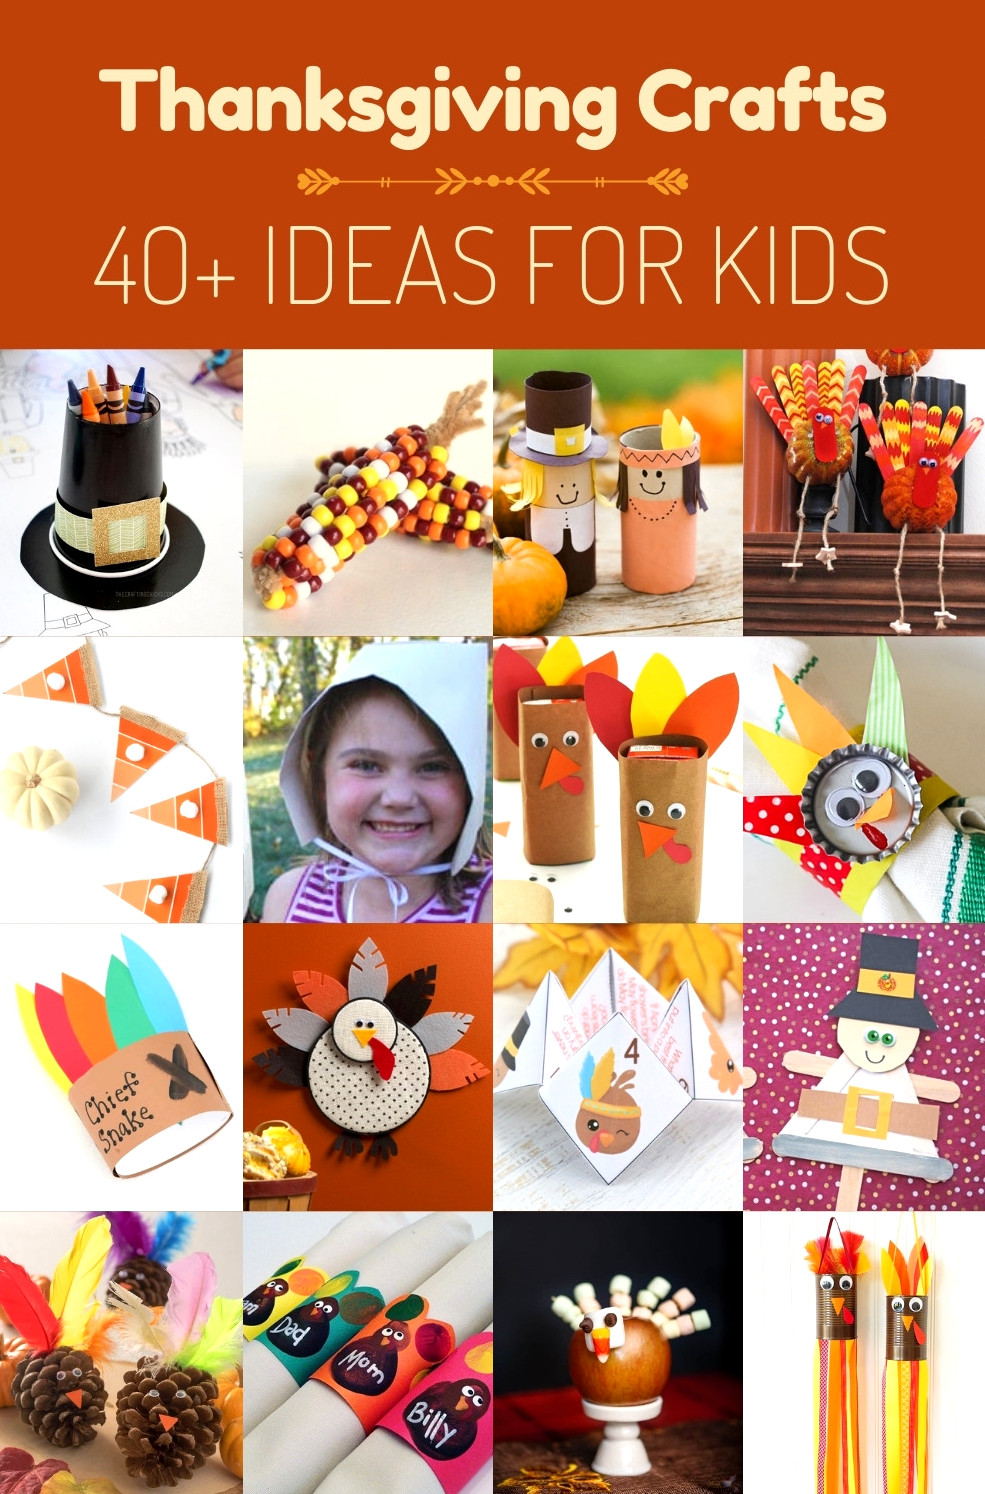
Thanksgiving is filled with coziness and beloved family customs, but it can sometimes be overshadowed by its more attention-grabbing neighbors, Halloween and Christmas.
When I was growing up, Thanksgiving was centered more around enjoying the meal than making crafts. These days, however, I recognize this comfortable holiday as a wonderful opportunity to inspire children’s creativity.
There is something truly enchanting about seeing small hands transform ordinary supplies into something meaningful. Thanksgiving provides the perfect opportunity to direct that enthusiasm toward creative projects.
From turning a cereal box into a cheerful turkey to brushing paint into a handprint fall tree, these activities produce more than artwork—they build lasting memories.
In this article, I’m delighted to present a cornucopia (couldn’t resist!) of more than 40 Thanksgiving crafts for children. You’ll find ideas ranging from fun pumpkin pies to colorful turkeys, along with imaginative Indian corn creations.
This collection is packed with projects suitable for different ages and abilities. Whether you’re crafting with an inquisitive toddler, an artistic preschooler, or a creative elementary school child, there’s an idea ready to capture their attention.
It’s a lovely way for you and your children to step away from the holiday rush and enjoy the simple pleasure of making something side by side.
Gather your glue sticks, scissors, and a dash of creativity. Explore this celebratory roundup and begin your Thanksgiving crafting adventure.
Tell us about your creations in the comments! Let’s help Thanksgiving receive the recognition it deserves while making wonderful craft-filled memories together.
Thanksgiving Craft Projects for Children
1
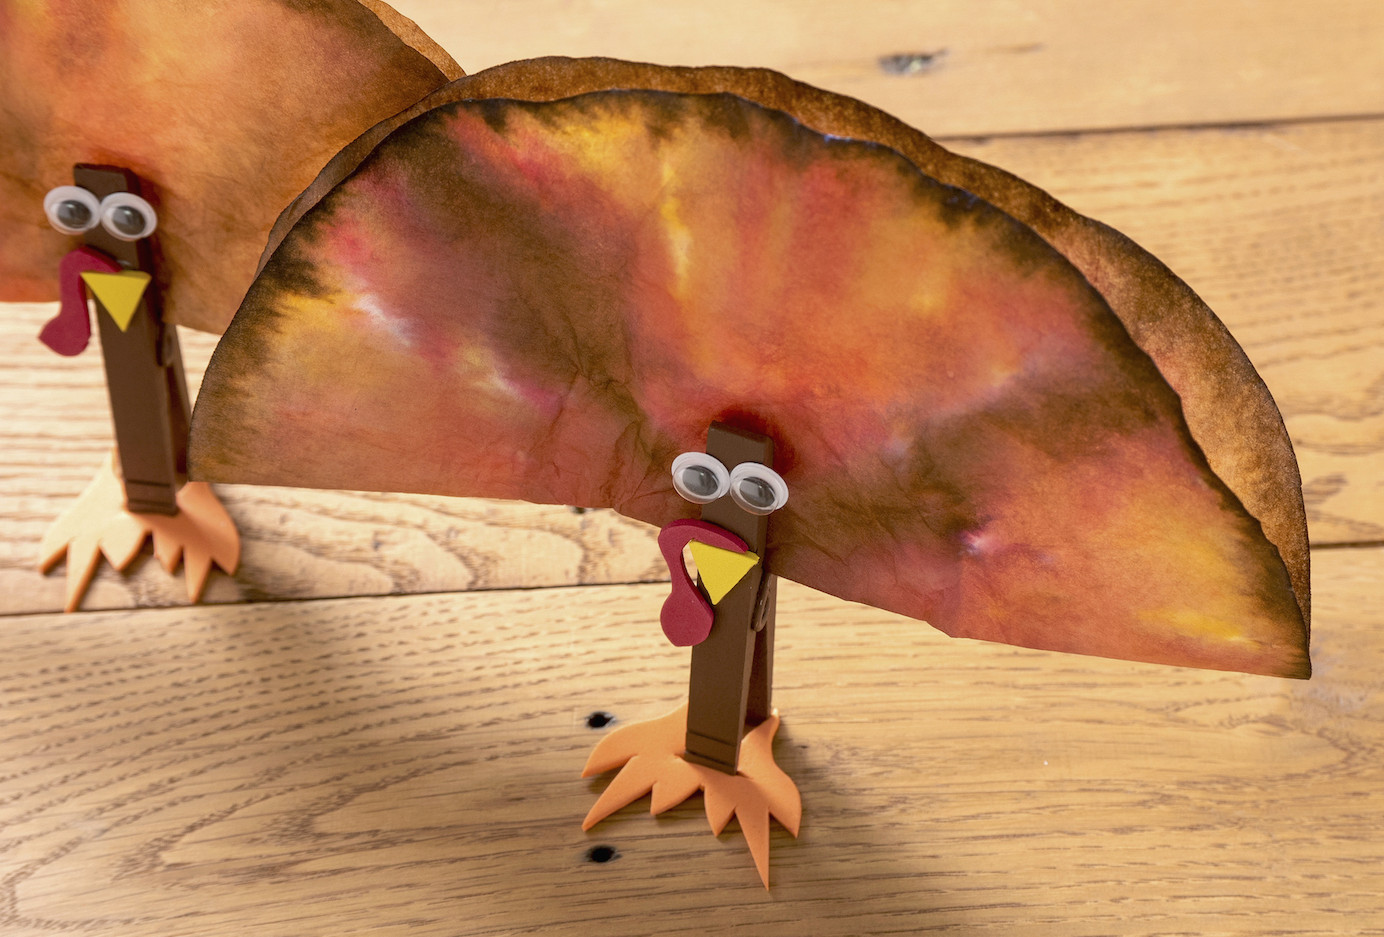
2
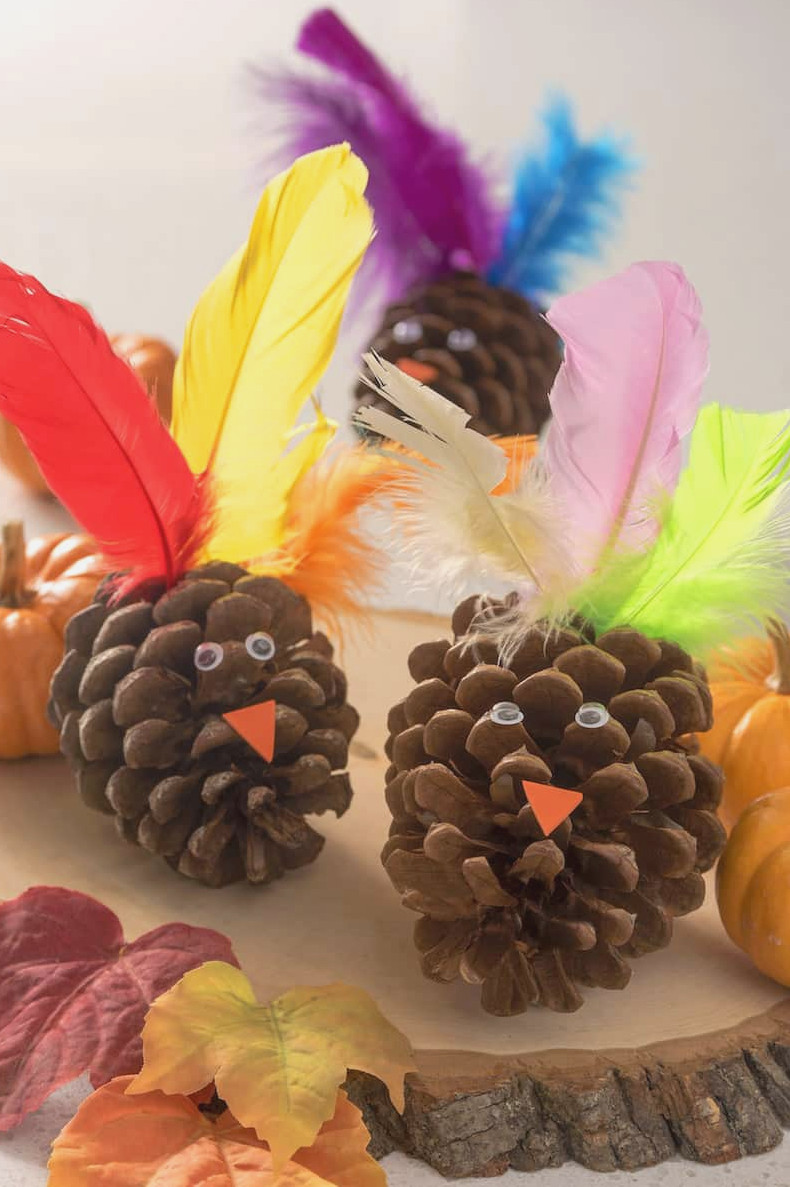
Pinecone Turkey
View the Tutorial
3
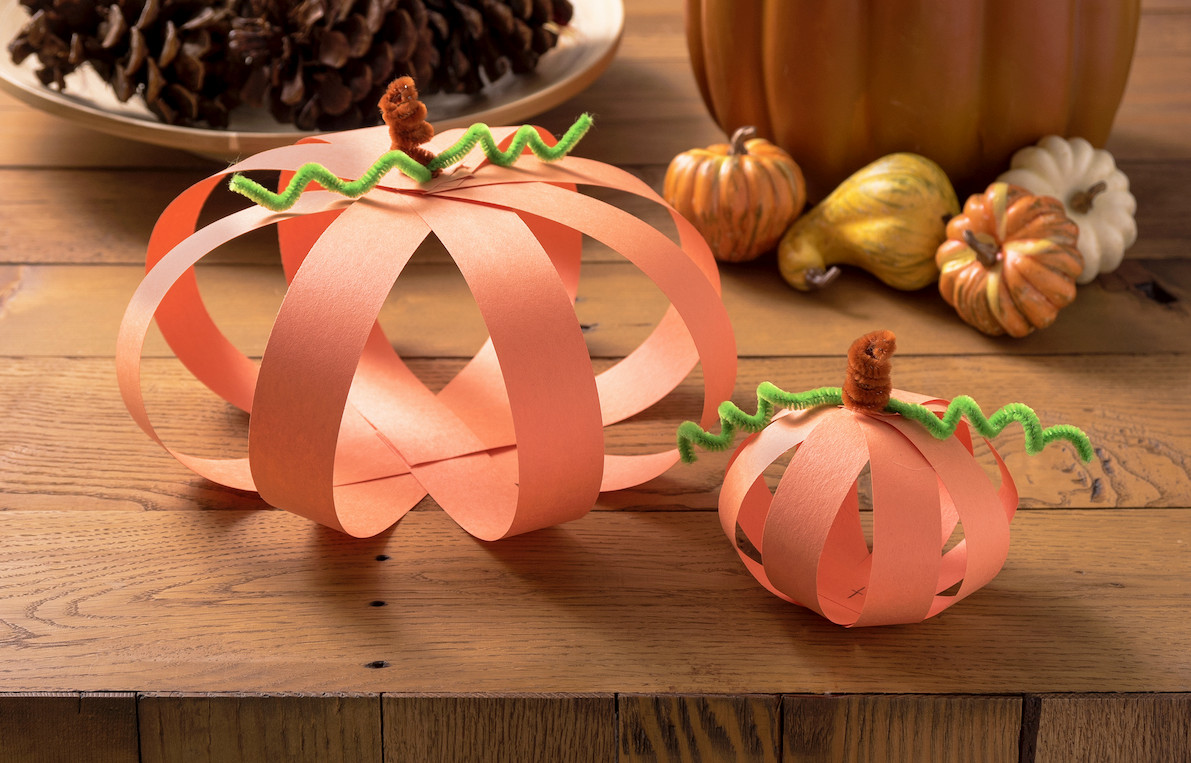
Paper Pumpkins
View the Tutorial
4
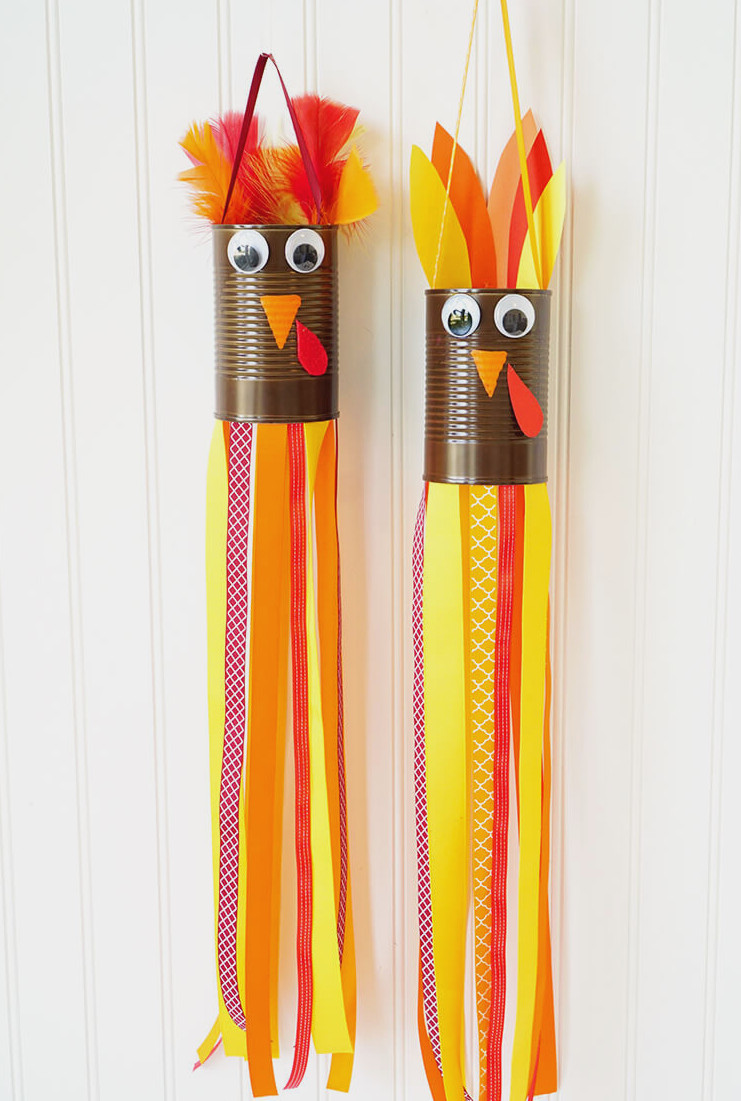
Turkey Windsocks
View the Tutorial
5
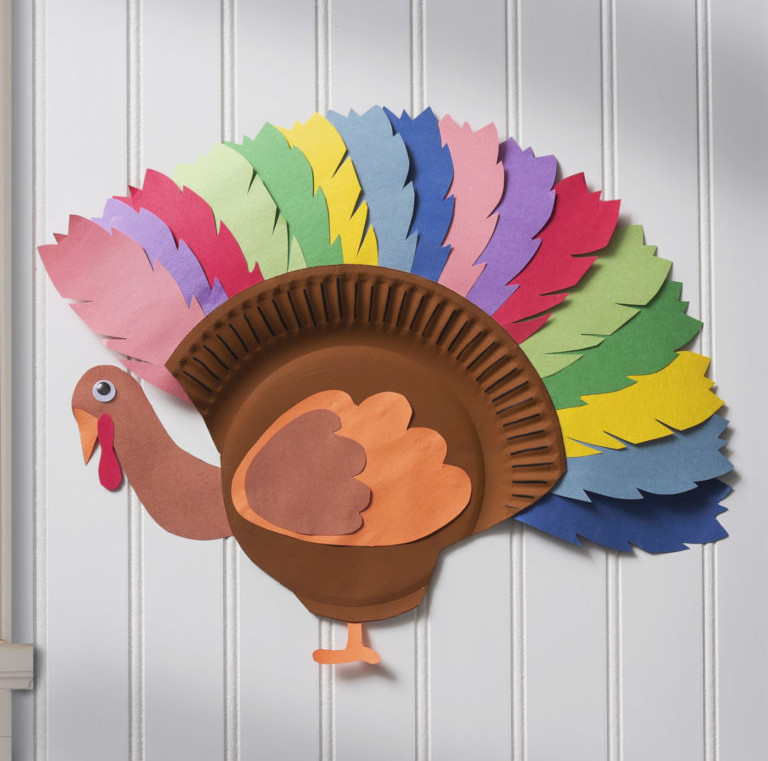
Paper Plate Turkey
Discover how to create the sweetest turkey plate craft! Children enjoy making this Thanksgiving project, and you likely already have all the necessary supplies.
View the Tutorial
6
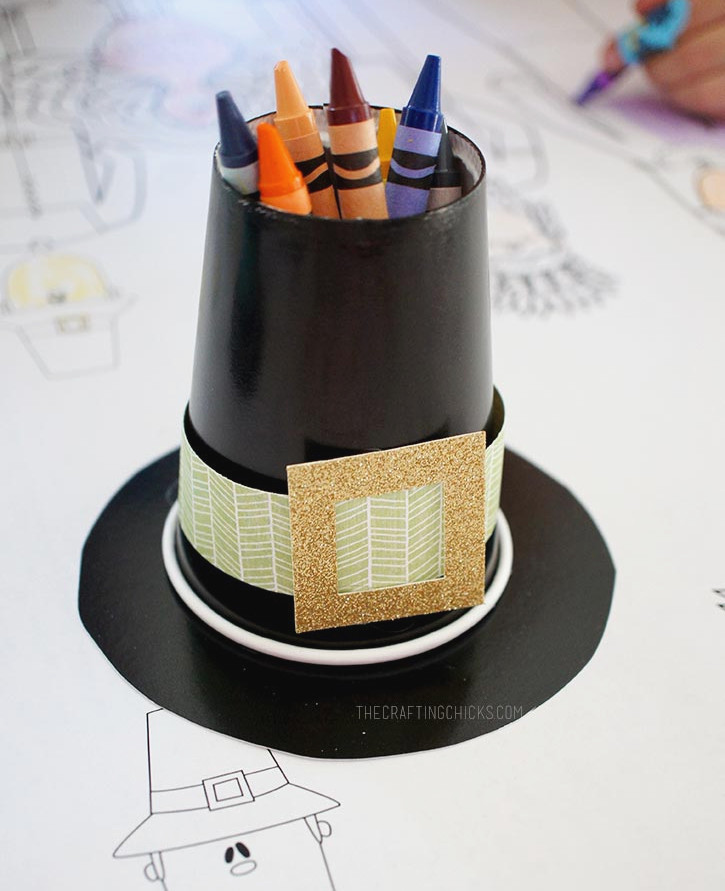
Pilgrim Hat Crayon Organizers
These containers made from black cups are simple to create with paper and decorations, and they are perfect for keeping crayons.
View the Instructions
7
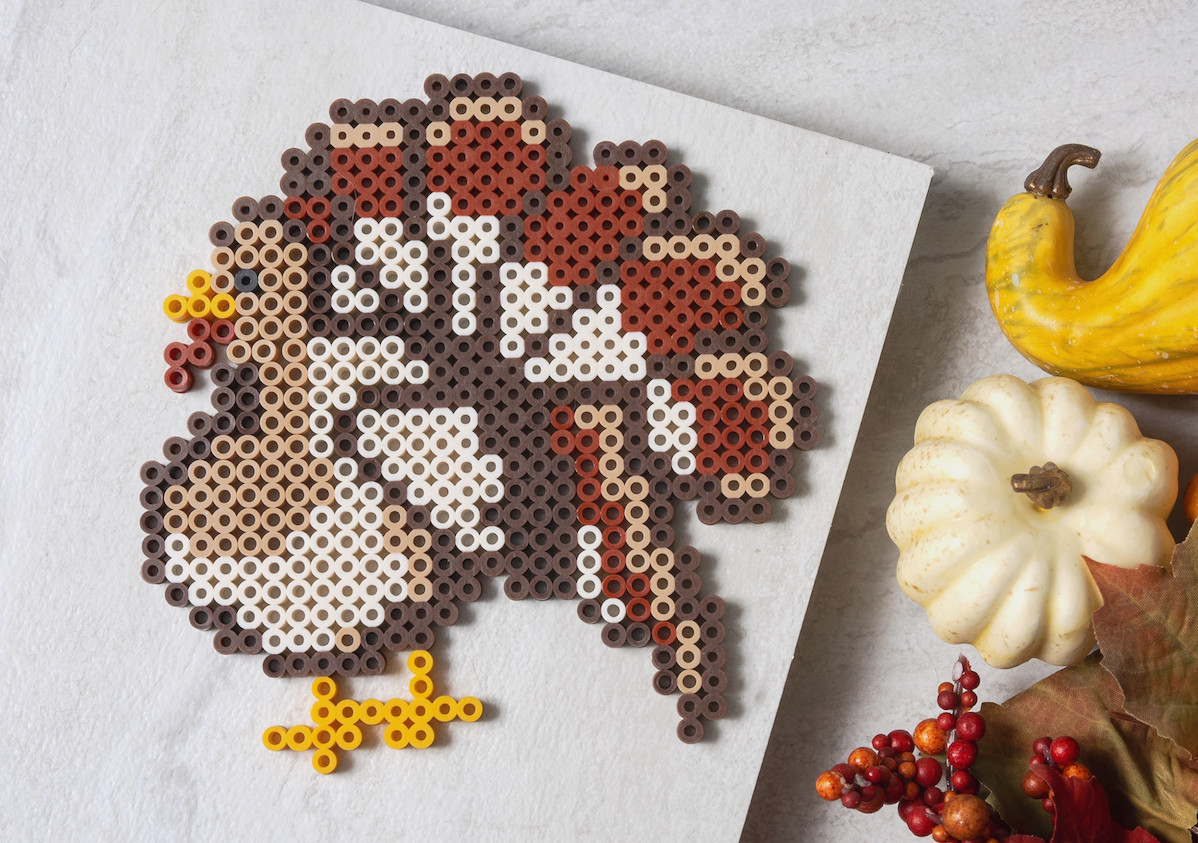
Thanksgiving Fuse Beads (40+ Designs!)
See the Designs
8
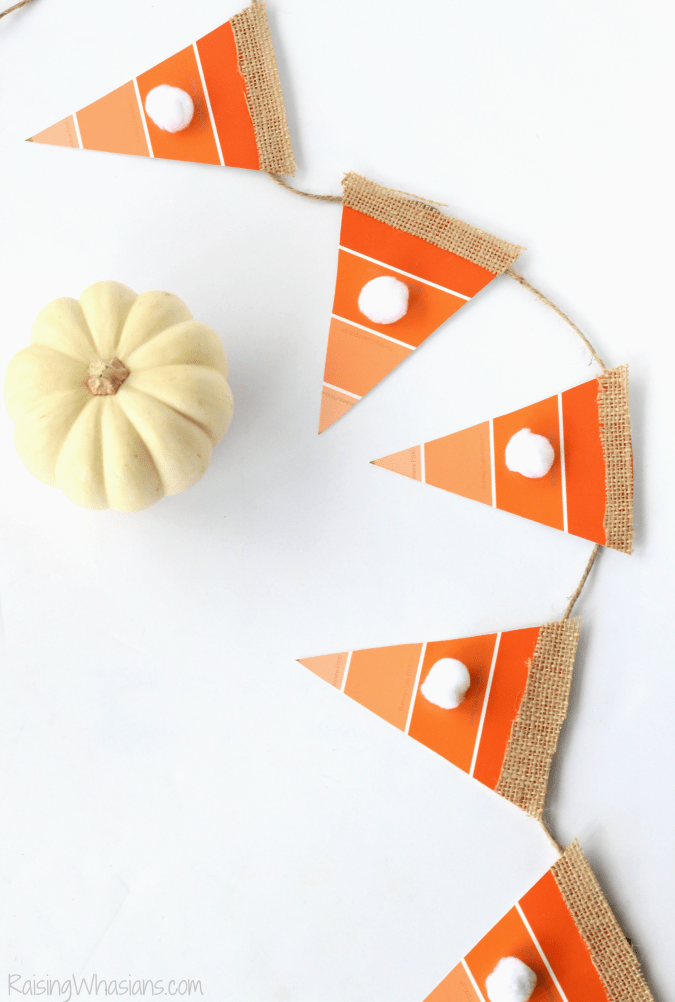
Pumpkin Pie Garland
View the Instructions
9
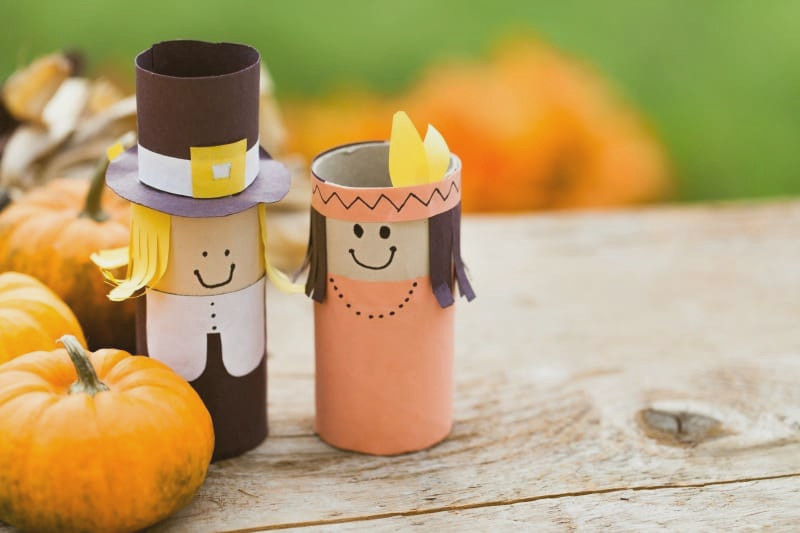
Pilgrim Figures
View the Instructions
10
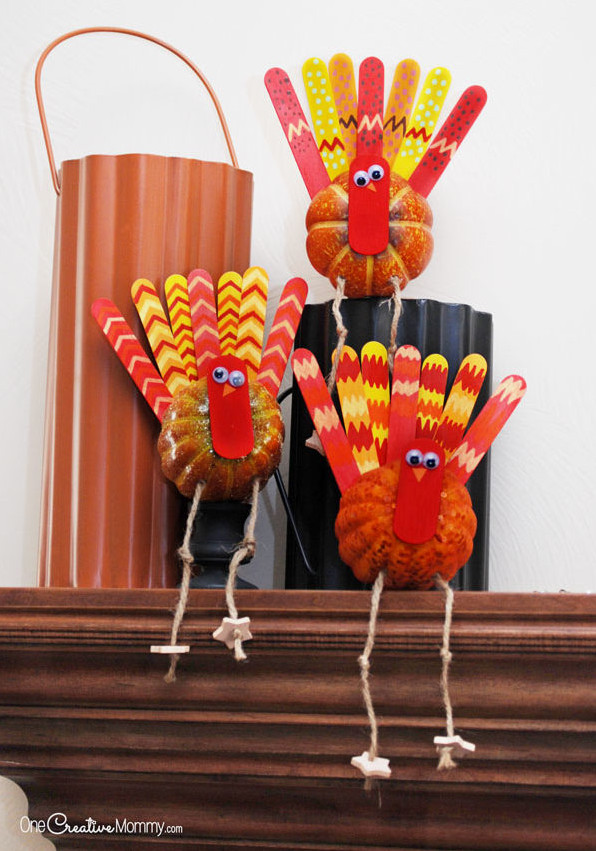
Pumpkin Turkeys
These turkeys are absolutely charming! With their uneven googly eyes and twine legs featuring tiny knee knots, these delightful birds are a wonderful project for older children.
View the Instructions
11
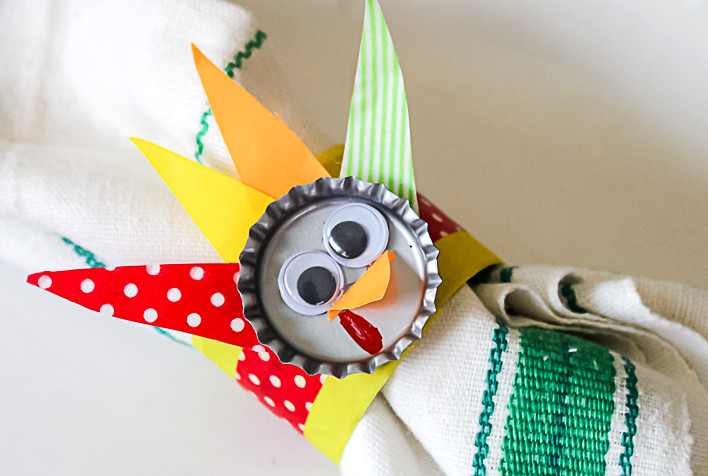
Cheerful Turkey Napkin Rings
These turkey figures made from bottle caps are wonderfully goofy and adorable! They are a fantastic craft for children to create for the kids’ table during Thanksgiving.
View the Instructions
12
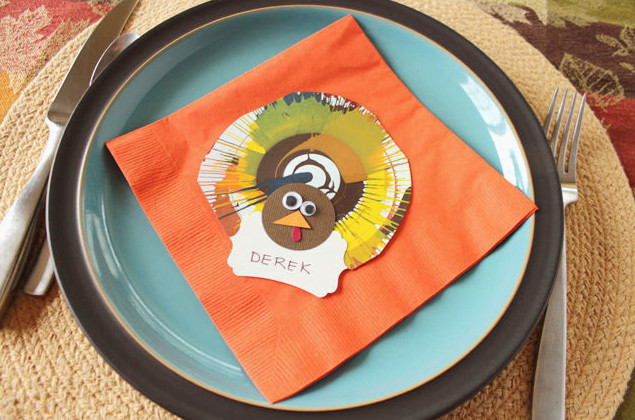
Spin Art Table Cards
View the Instructions
13
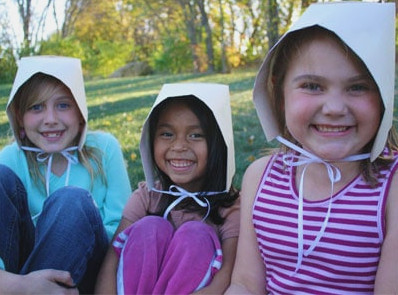
14
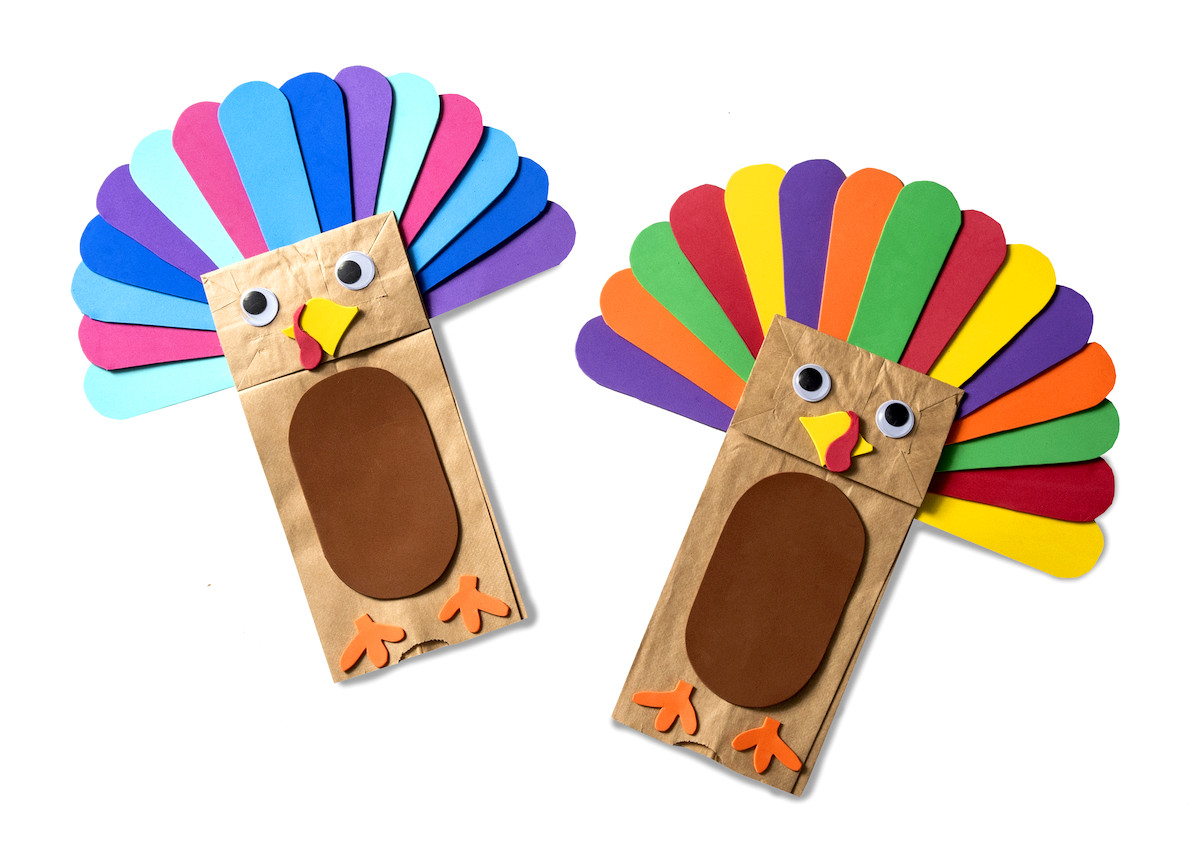
Turkey Made from a Paper Bag
View the Tutorial
15
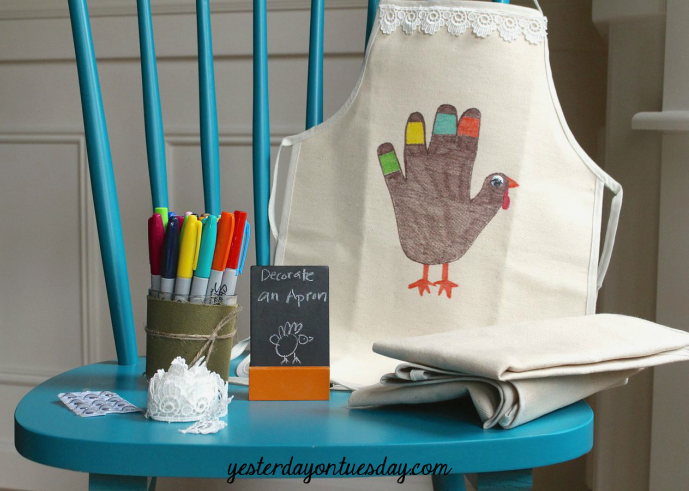
Kids’ Thanksgiving Apron
View the Tutorial
16
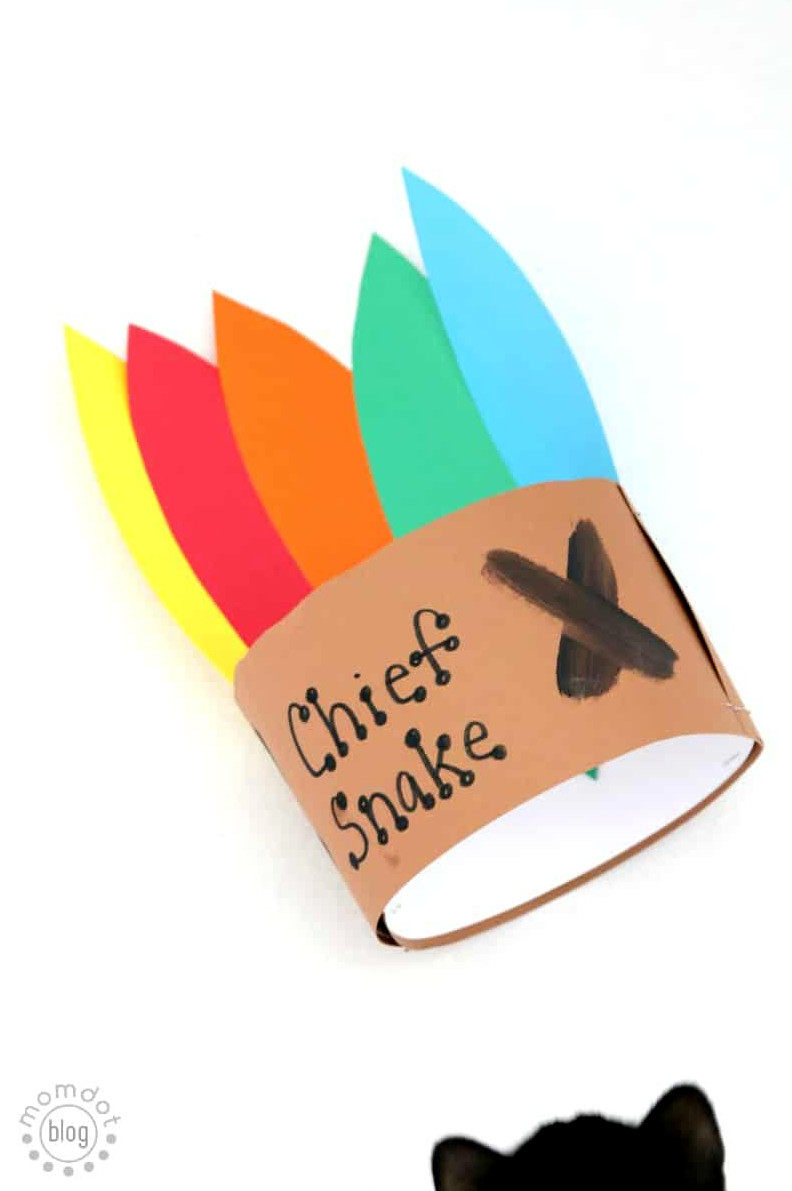
Feathered Headdress
Children can easily snip out feathers and choose whichever paper colors they prefer! This makes a wonderful last-minute Thanksgiving craft to keep little ones away from the kitchen.
View the Tutorial
17
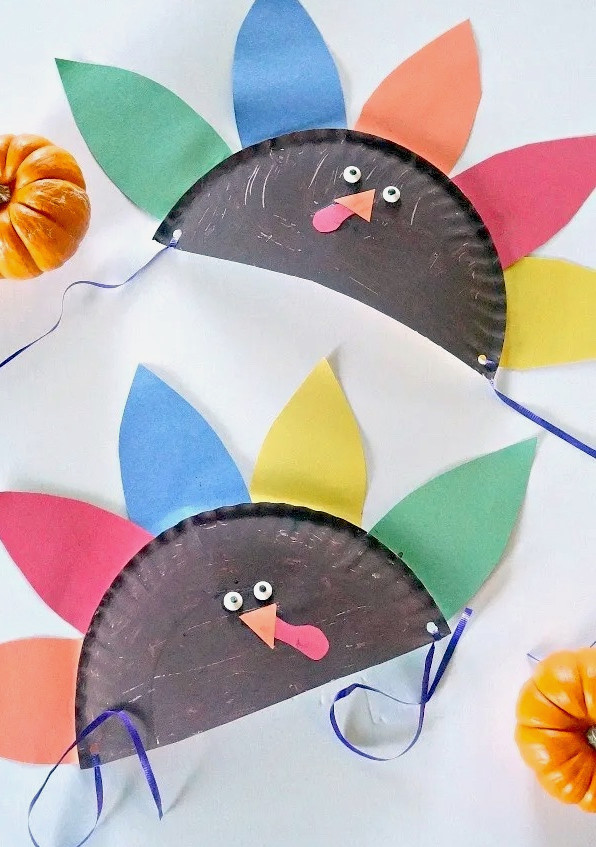
Turkey Paper Plate Hats
Celebrate Thanksgiving by creating these playful turkey hats from paper plates! Everyone will enjoy wearing this adorable project at the holiday table for a fun photo session.
View the Tutorial
18
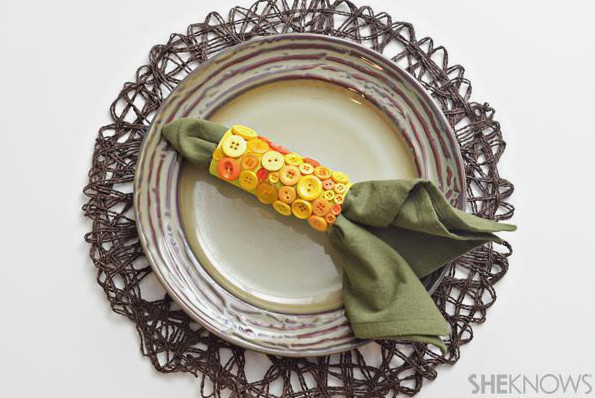
Corn-Themed Napkin Ring
View the Tutorial
19
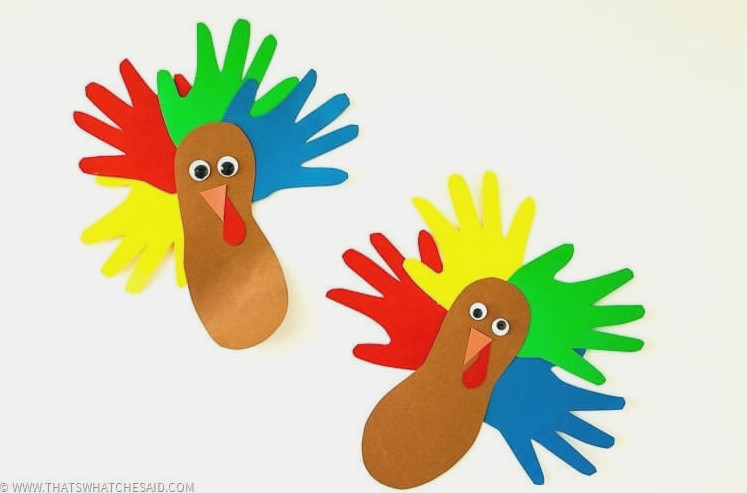
Hand & Footprint Turkey Crafts
Kids create this cheerful turkey by tracing their hands and feet onto colorful paper. It couldn’t be simpler!
View the Tutorial
20
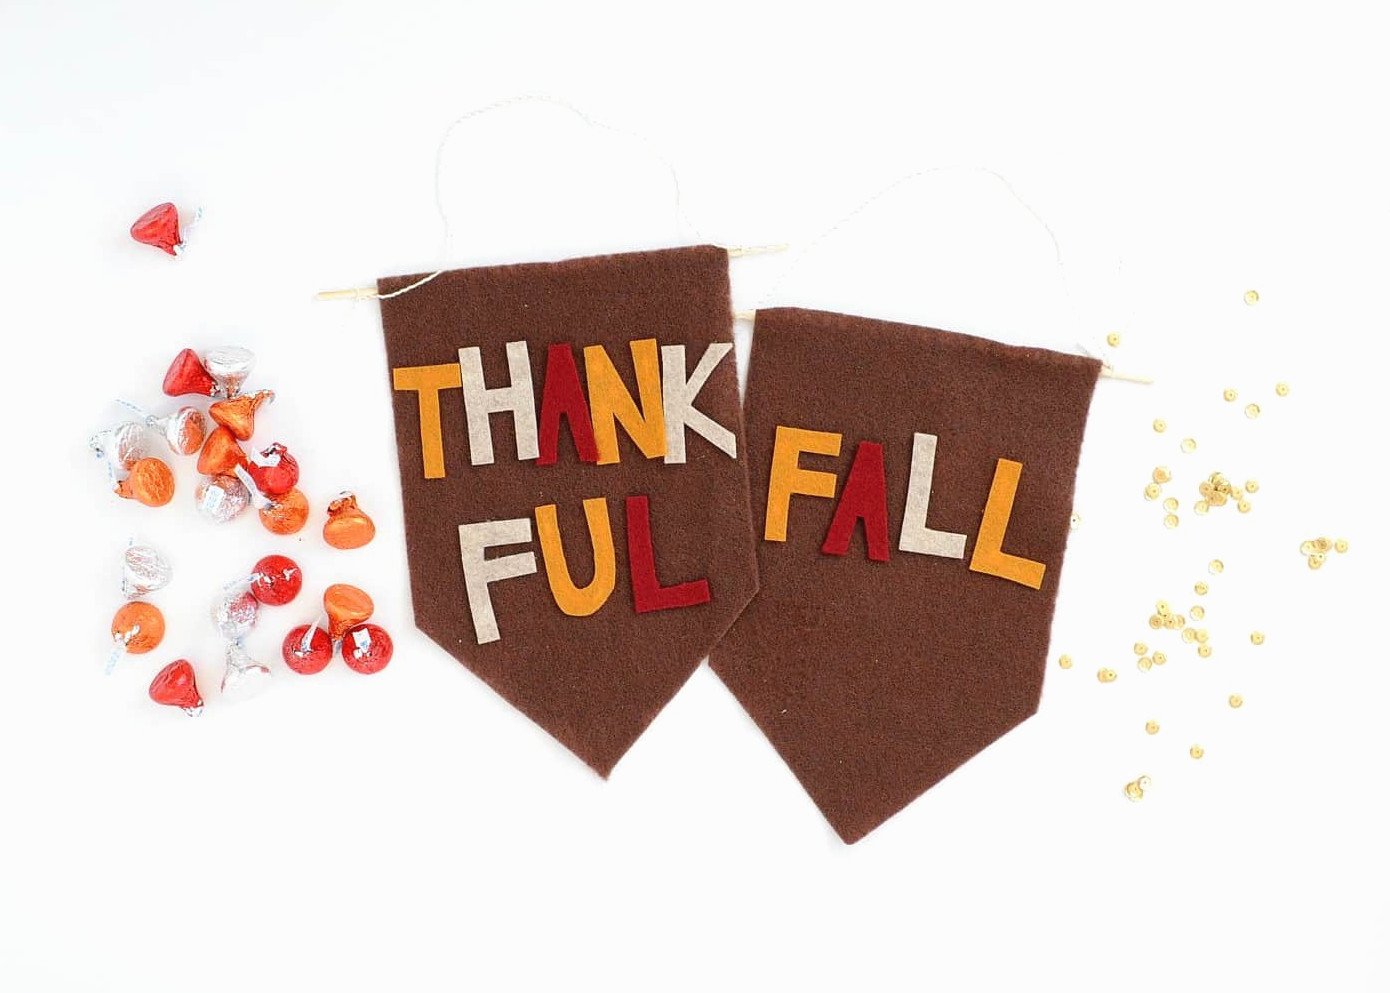
Felt Fall Banners
Creating fall banners from felt is simple, and they are ideal for welcoming the season! Find out how to make this small version, which is suitable for children of every age.
View the Tutorial
21
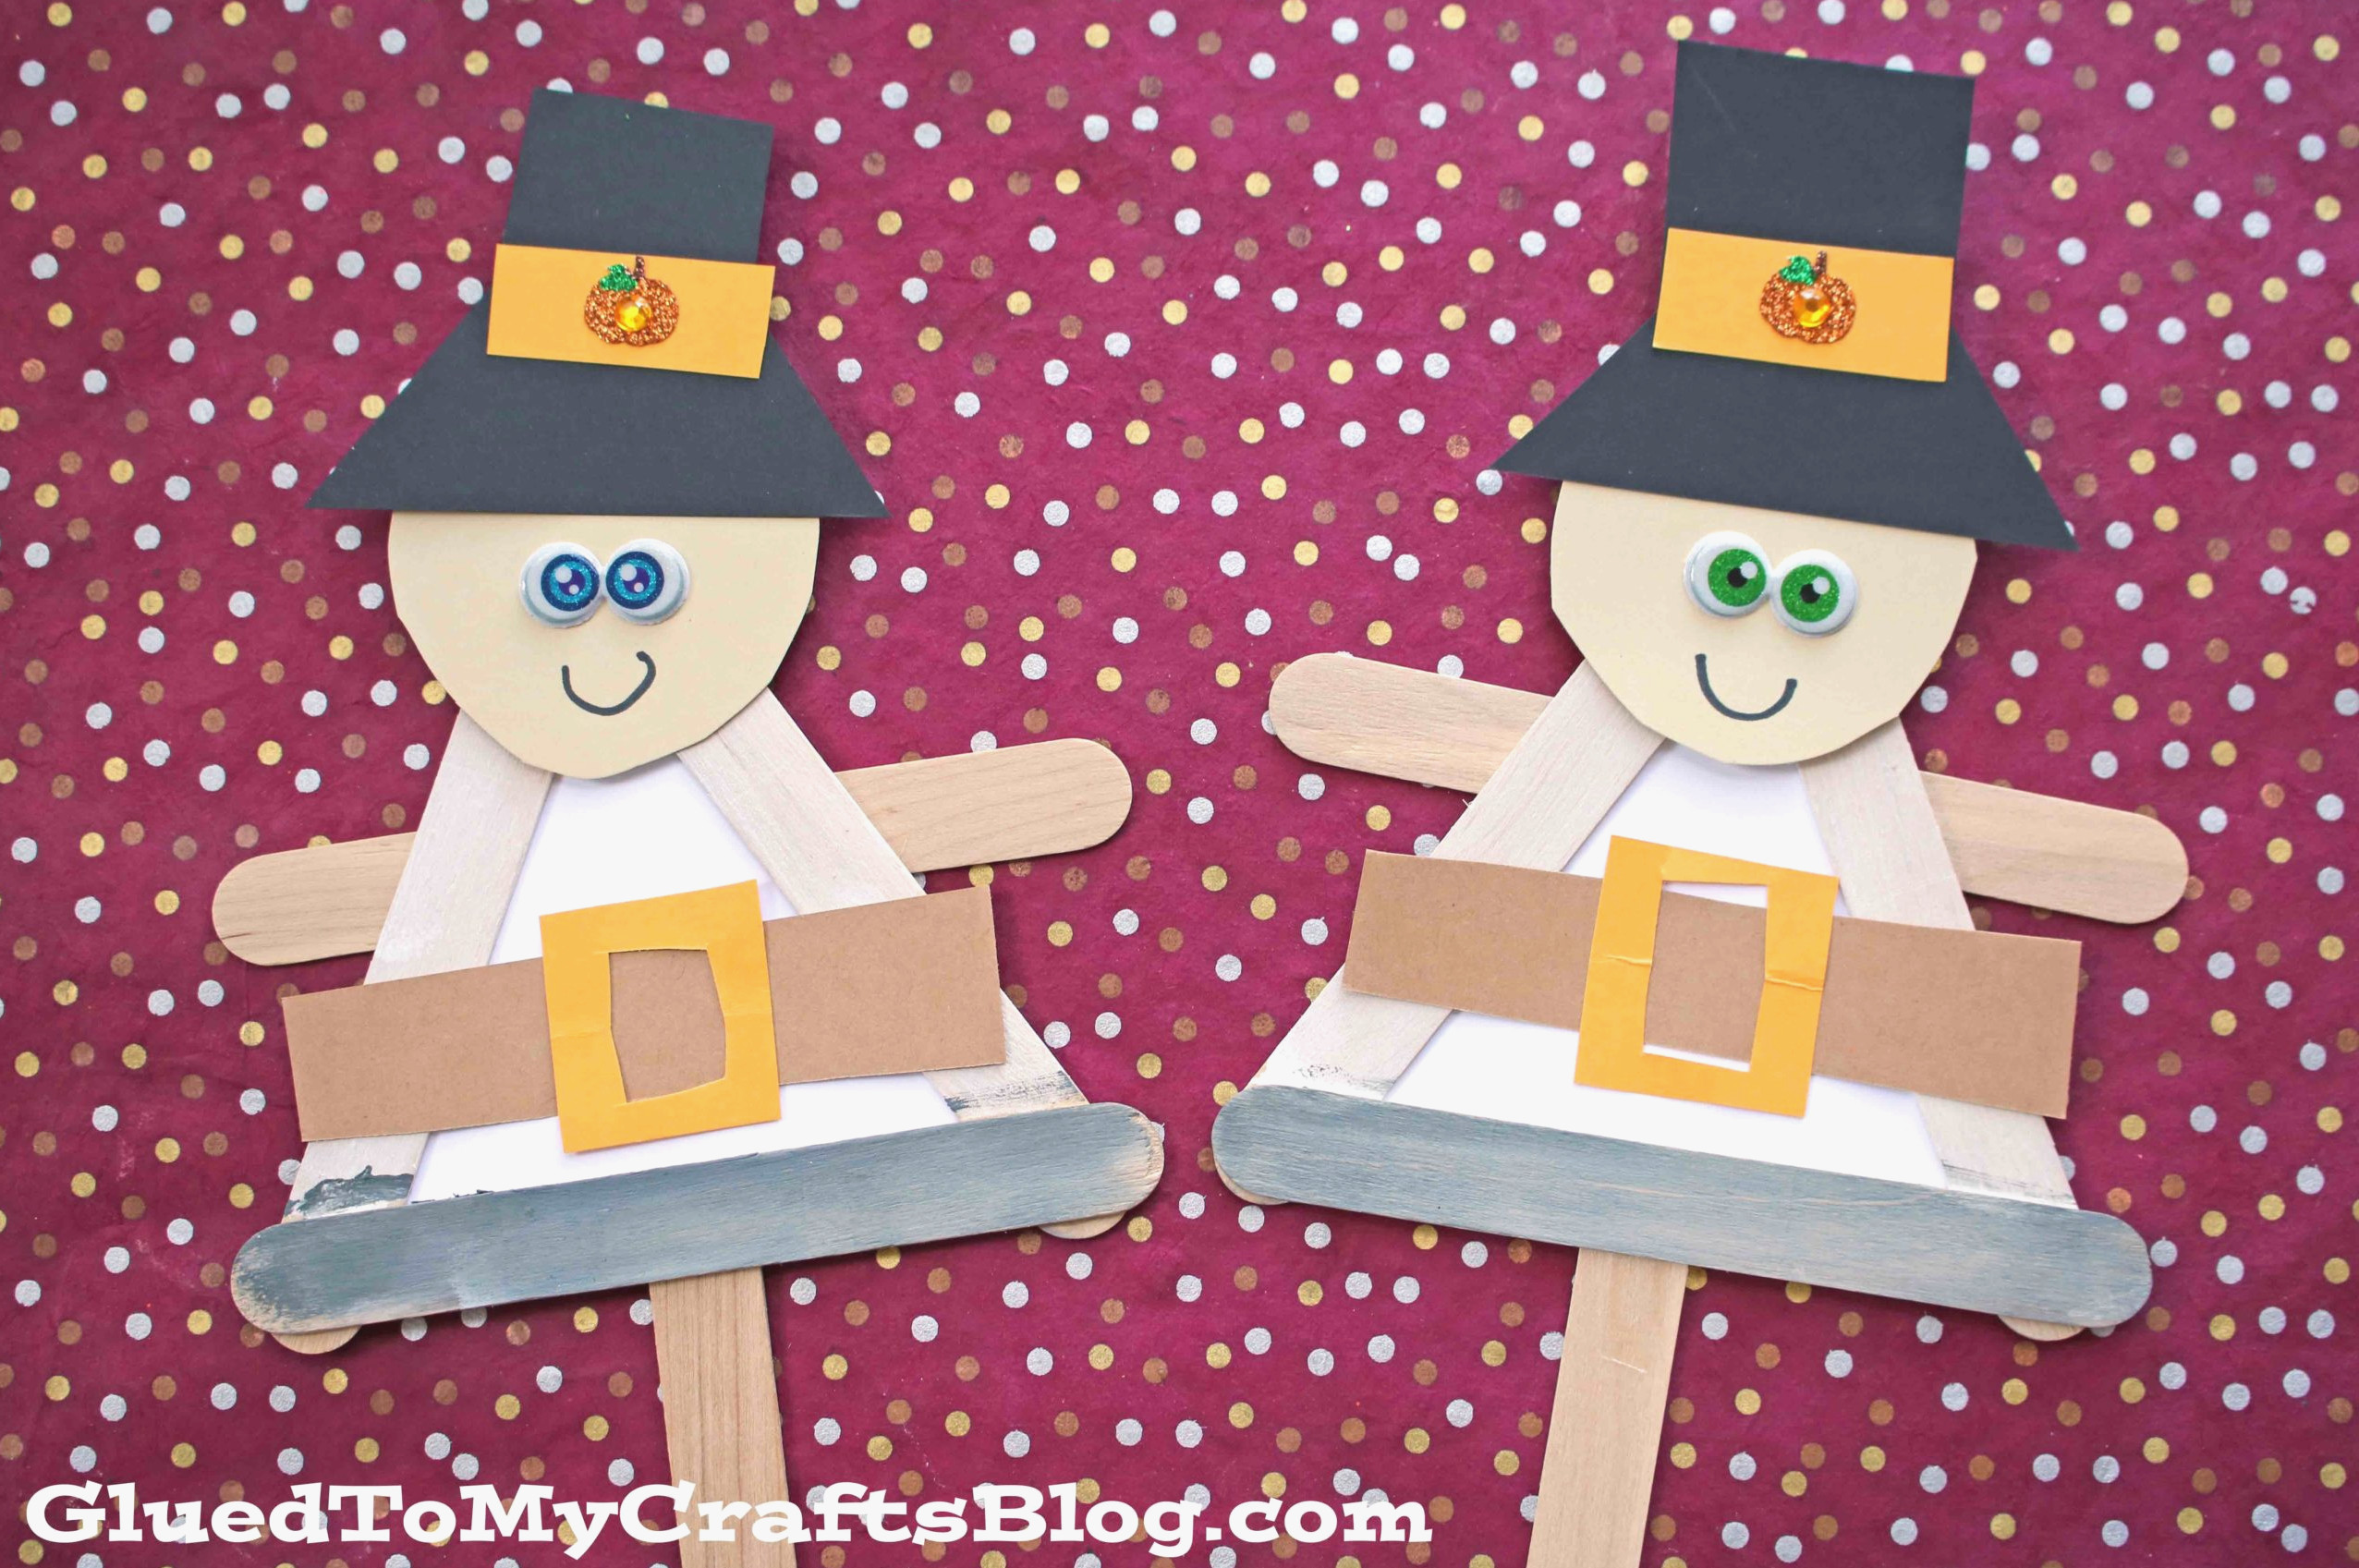
Pilgrim Character Puppets
Once finished, put on a puppet show featuring these pilgrims. Alternatively, add names to the hats and use the puppets as Thanksgiving place cards.
View the Tutorial
22
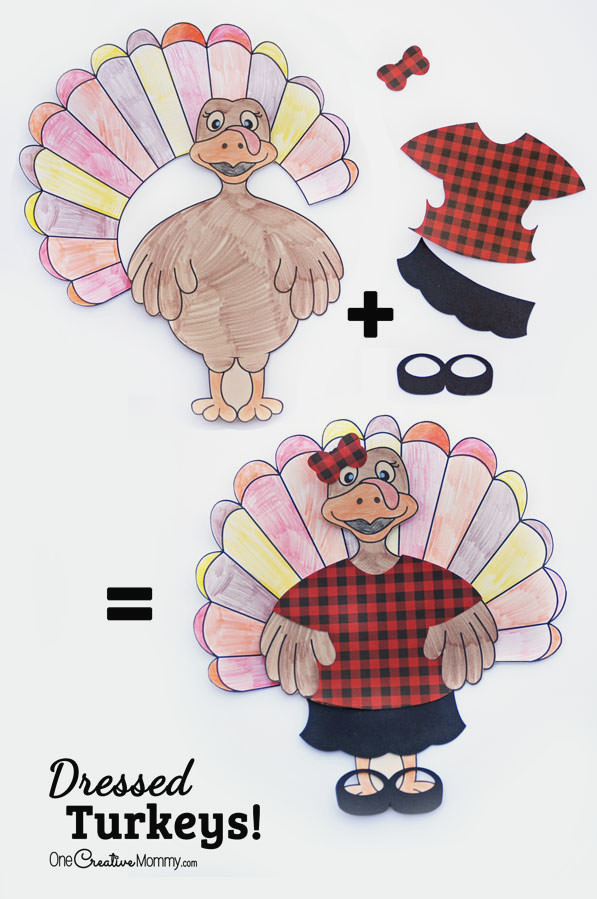
Turkey Dress-Up
Think of this as a Thanksgiving paper doll! Children can create outfits and dress their turkey. They can also print the free templates and cut out a few outfits!
View the Tutorial
23
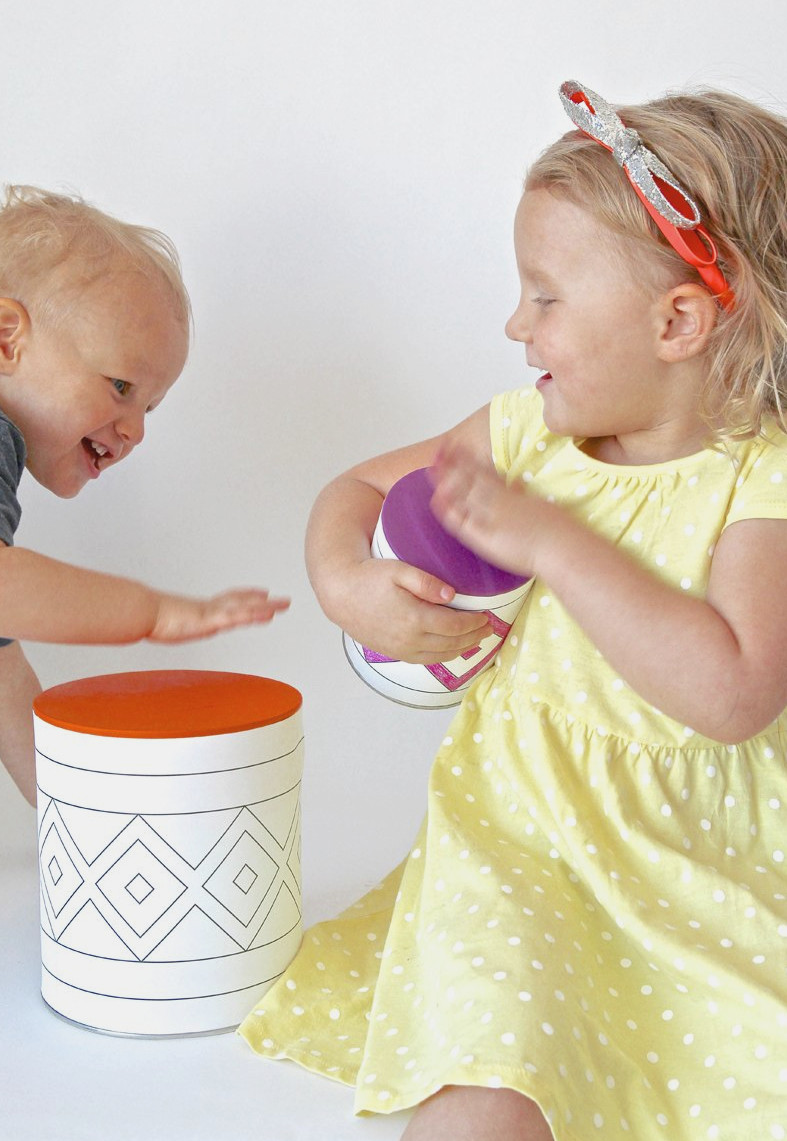
Tin Can Drum
Children can easily create these drums with balloons, recycled tin cans, and a free pattern they can decorate with colors.
View the Tutorial
24
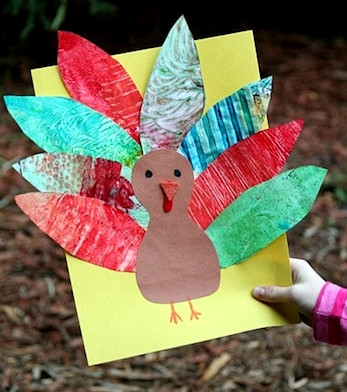
Colorful Gobbler Artwork
Turn children’s paintings and sketches into the feathers for this lively project. Kids will have a wonderful time designing and trimming the feather shapes they prefer.
View the Tutorial
25
26
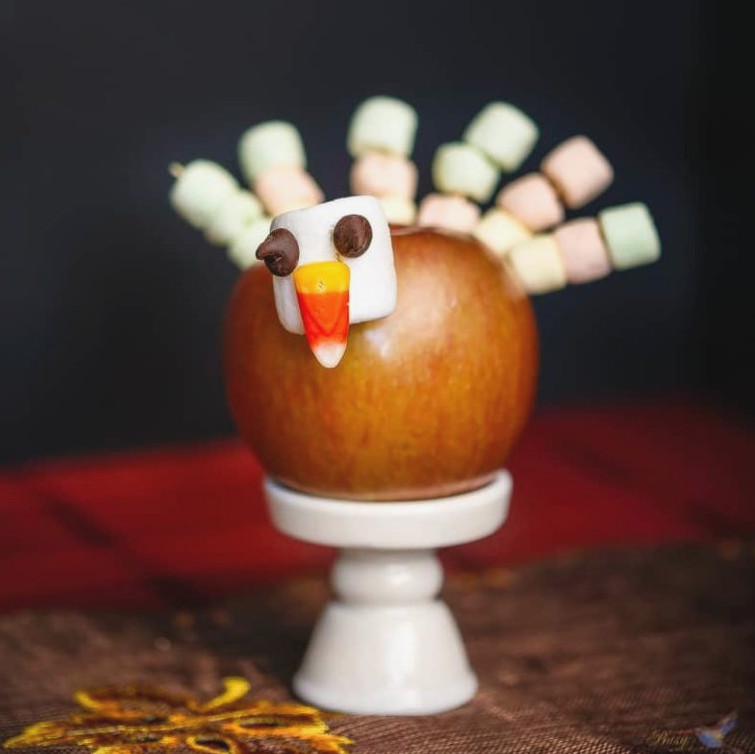
Apple-Shaped Turkey
Children will have fun creating . . . and later enjoying . . . these adorable turkeys! It makes a playful Thanksgiving snack, and who can resist an edible craft?
View the Tutorial
27
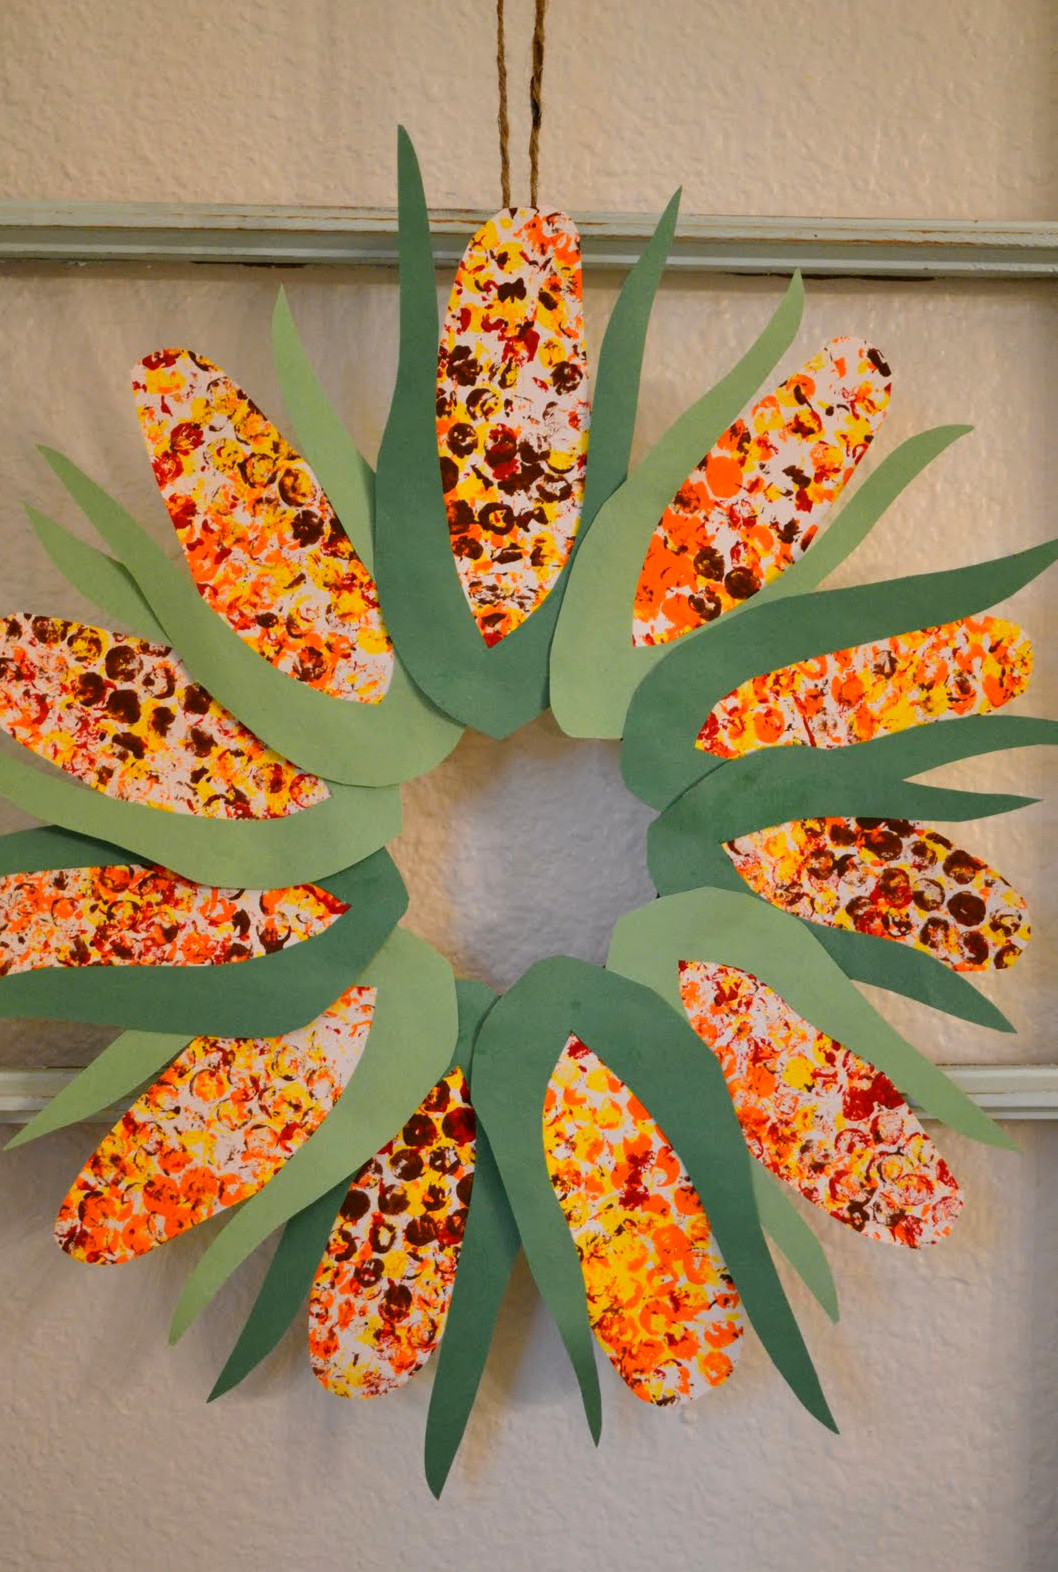
Corn Kernel Wreath
Create the appearance of corn kernels using paint and an entertaining material – bubble wrap! I can’t guarantee there won’t be plenty of popping sounds while making this Thanksgiving project for children.
View the Tutorial
28
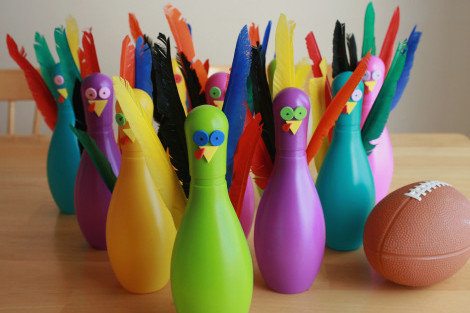
Thanksgiving Bowling Game
Transform the pins into turkeys with foam decals – then, once Thanksgiving is over, remove them easily and restore your bowling set to its original condition.
View the Tutorial
29
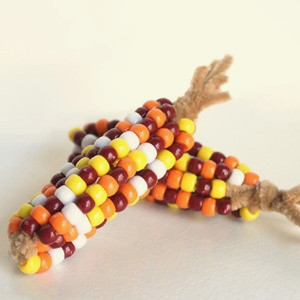
Pony Bead Corn Craft
View the Tutorial
30
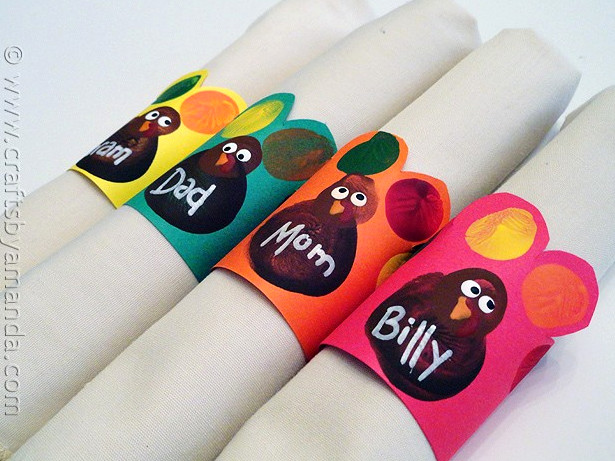
Turkey Napkin Ring and Place Card
A place card and napkin holder combined in one! Children will enjoy crafting these with their own fingerprints.
View the Tutorial
31
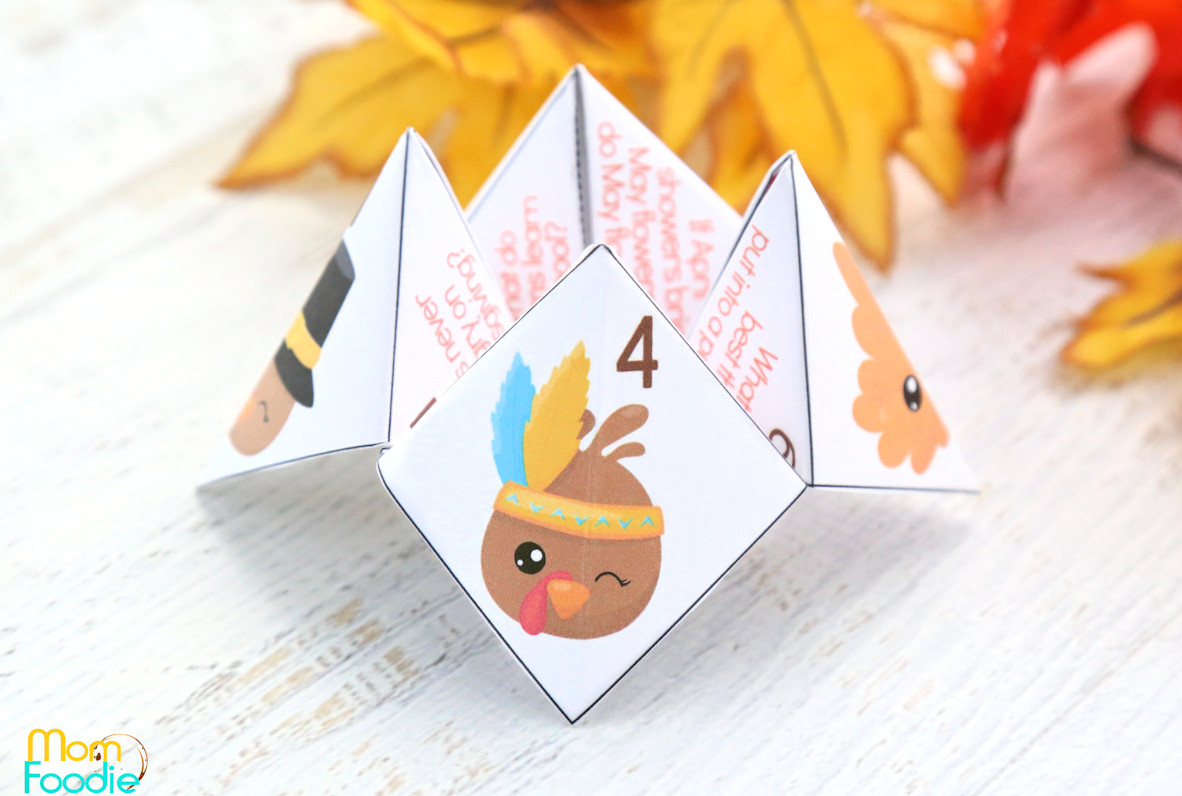
Thanksgiving Fortune Teller
Print the complimentary template, then let your children fold it and exchange the Thanksgiving jokes hidden inside. When you were growing up, did you call these Cootie Catchers or Fortune Tellers?
View the Tutorial
32
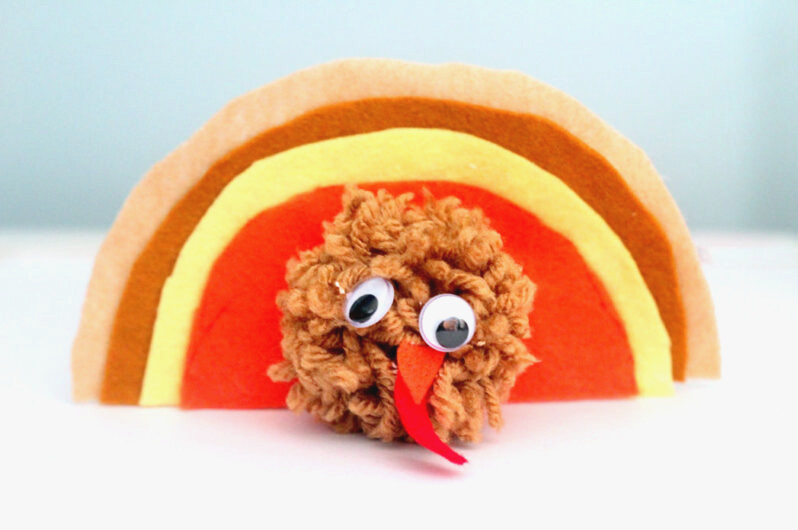
Pom-Pom Turkey
View the Tutorial
33
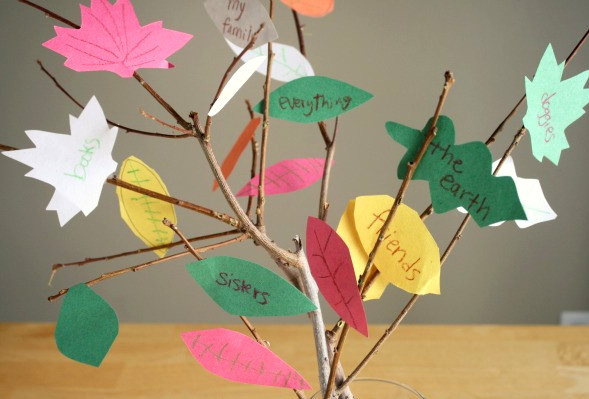
Gratitude Tree
What things make your children feel thankful? Ask them to jot their ideas on paper leaves and add them to the branches every day.
View the Tutorial
34
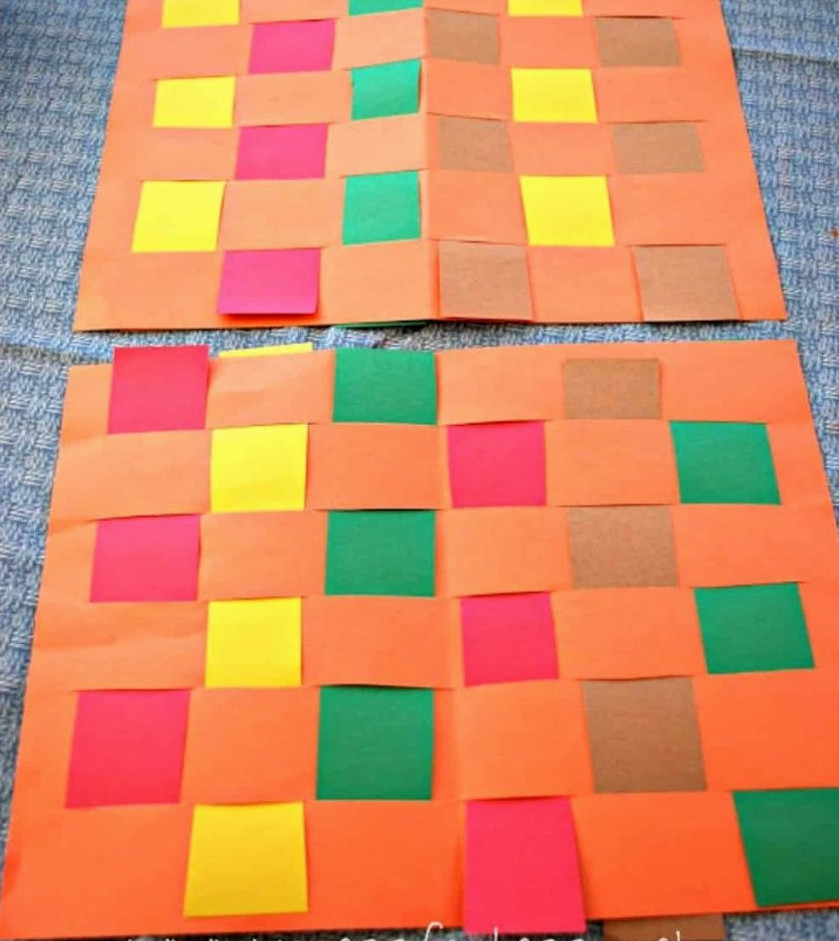
Braided Placemats
Create these simple woven placemats with construction paper in Thanksgiving shades. Making them at home with children is wonderful because the activity strengthens fine motor abilities while producing an attractive design.
View the Tutorial
35
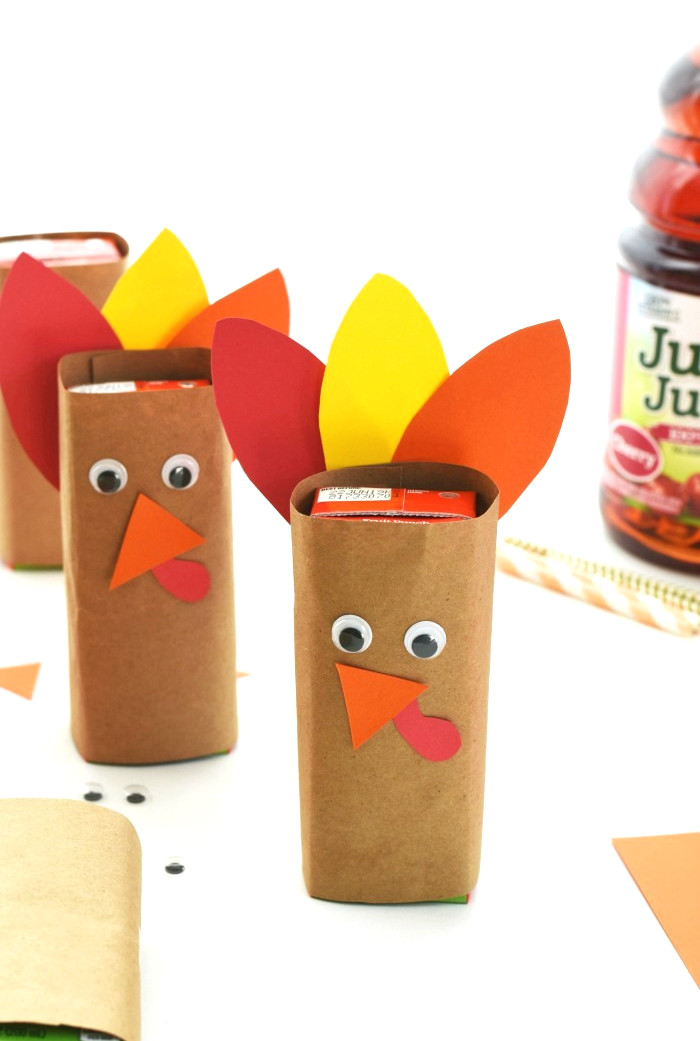
Turkey Drink Boxes
The children can prepare these adorable turkey juice boxes the day before Thanksgiving, then set them out on the kids’ table when the holiday arrives.
View the Tutorial
36
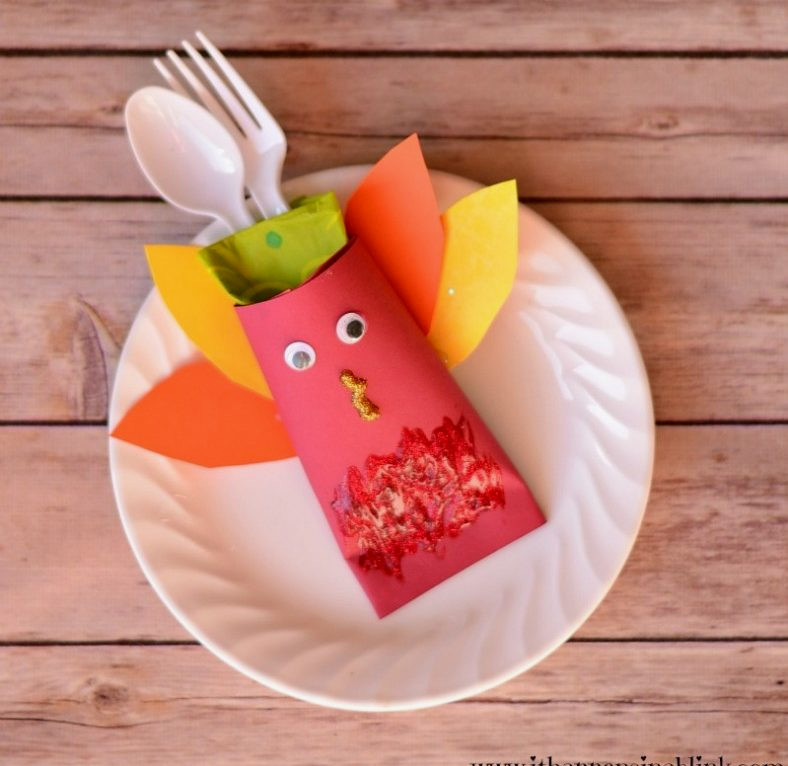
Turkey Utensil Holder
Here is one more turkey-themed idea for the children’s Thanksgiving table. Let the kids create these utensil holders and fill them with plastic cutlery.
View the Tutorial
37
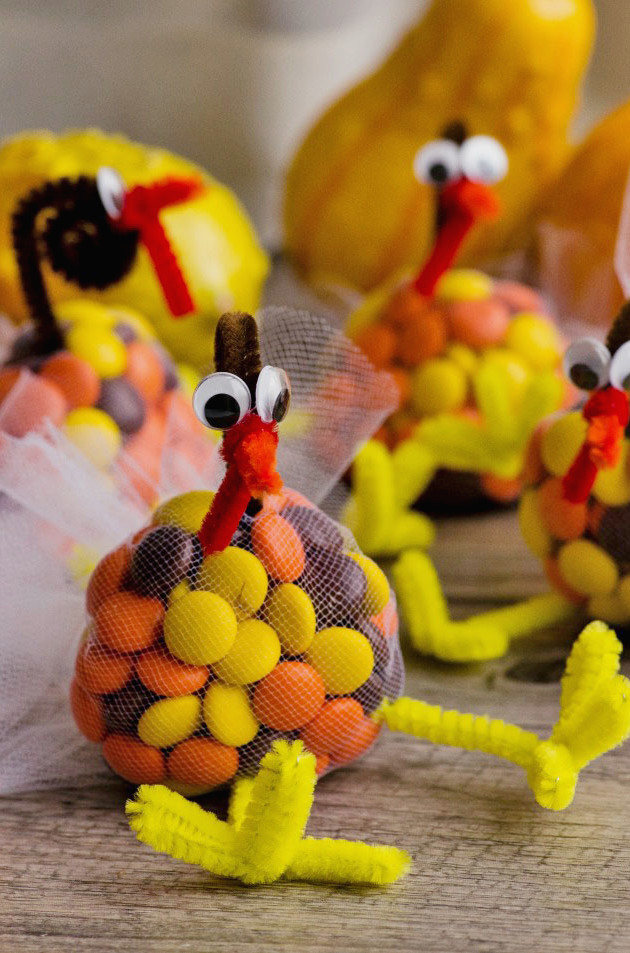
Turkey Snacks
All right, one more treat for the children’s table! Your kids will enjoy crafting these amusing turkeys . . . and eating them afterward (once dinner is over, naturally!).
View the Tutorial
38
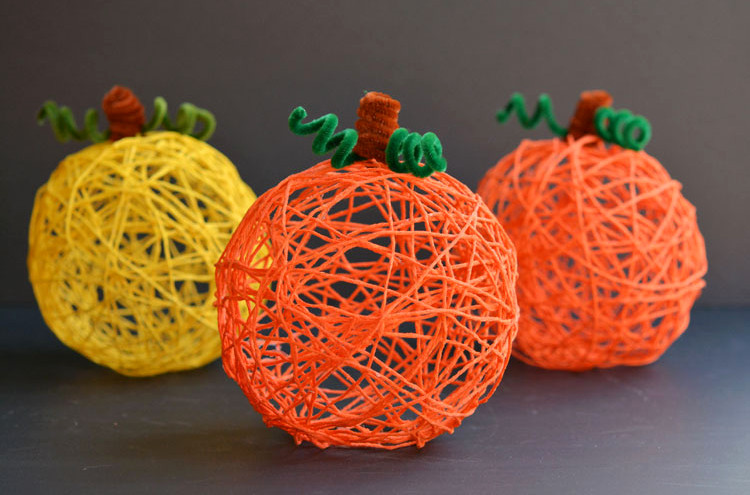
veljavenska
Yarn Pumpkins
Gather your yarn leftovers in lovely autumn shades for this craft. Children will enjoy inflating balloons and covering them with yarn to create pumpkins. They would make a charming addition to a Thanksgiving table display!
View the Tutorial
39
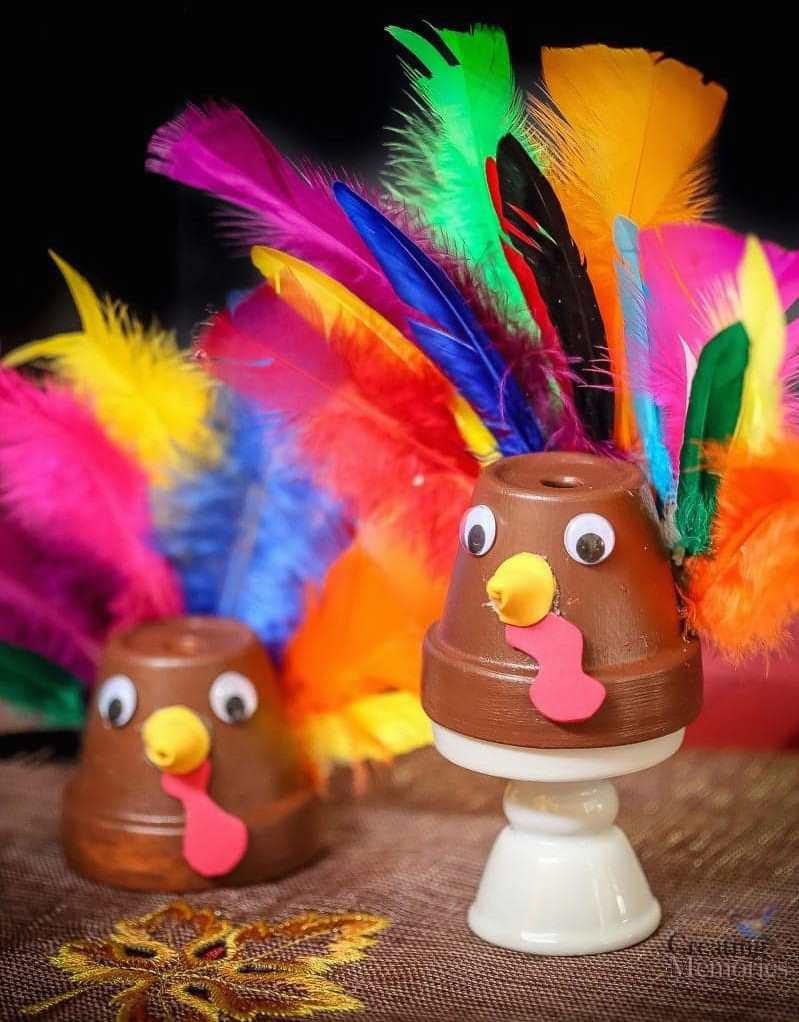
Clay Pot Turkey
Don’t you think small clay pots painted brown make an ideal turkey body? This quick Thanksgiving craft works wonderfully for children and grown-ups alike.
View the Tutorial
40
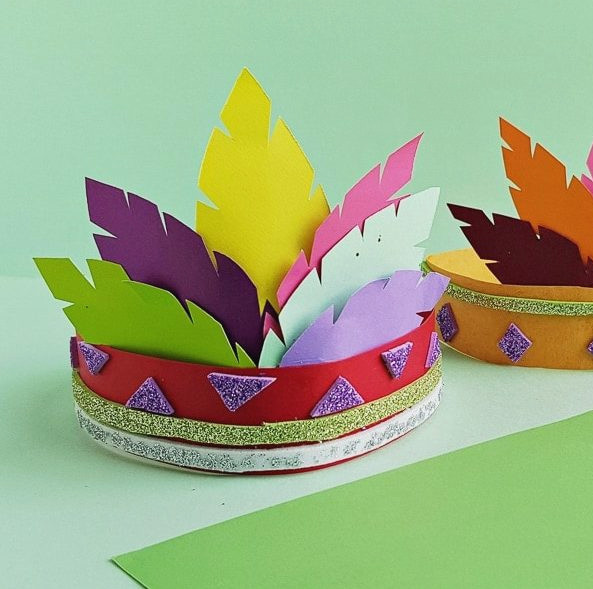
Native American Headband
To simplify the process of making this headband, be sure to download the feather patterns provided on this page.
View the Tutorial
41

Turkey Crown
The youngest children will adore crafting these turkey crowns from handprints and wearing them during Thanksgiving.
View the Tutorial
42
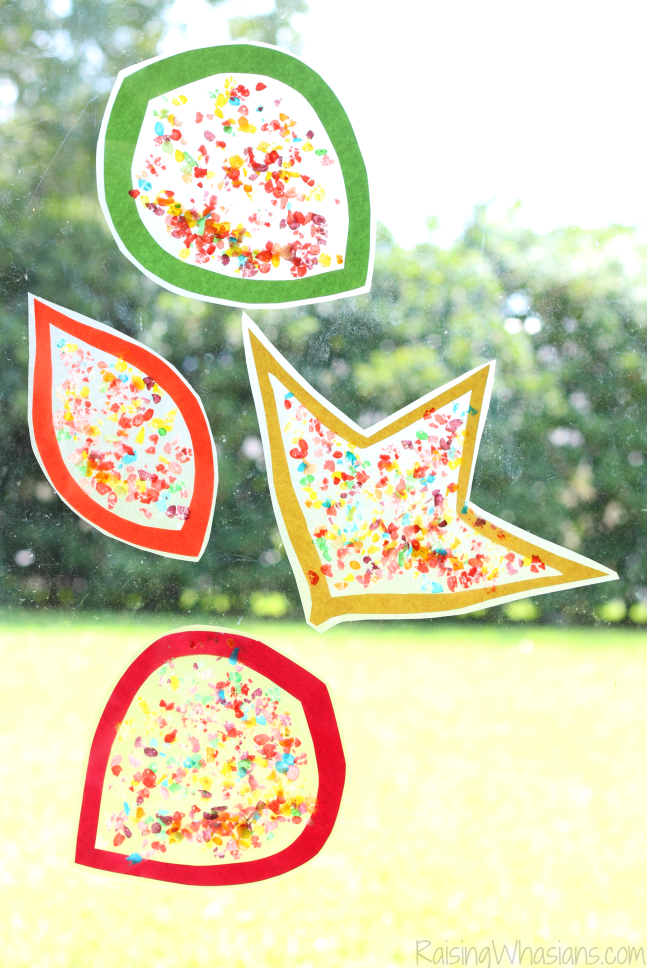
Stained Glass Leaves
View the Tutorial
43
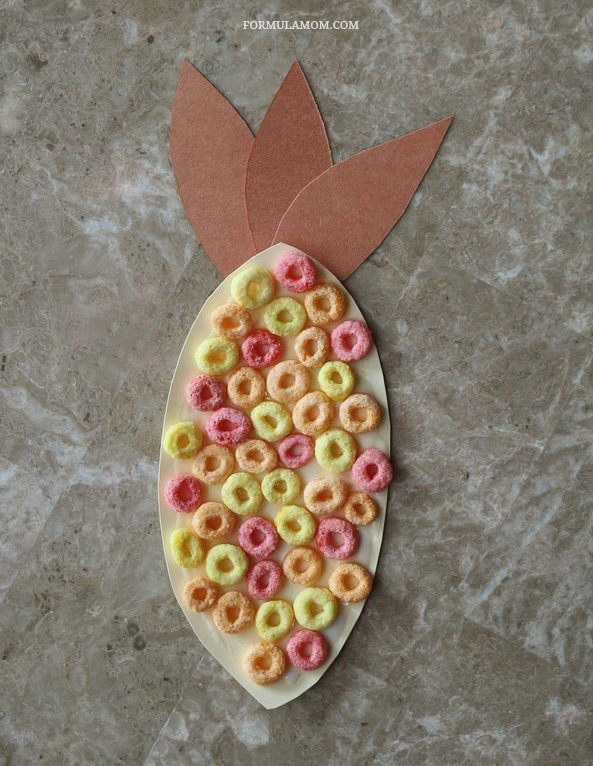
Indian Corn
The Thanksgiving craft above featured Fruity Pebbles, and we carry on the cereal idea here. Mariah created this Indian Corn with Fruit Loops!
View the Tutorial
44
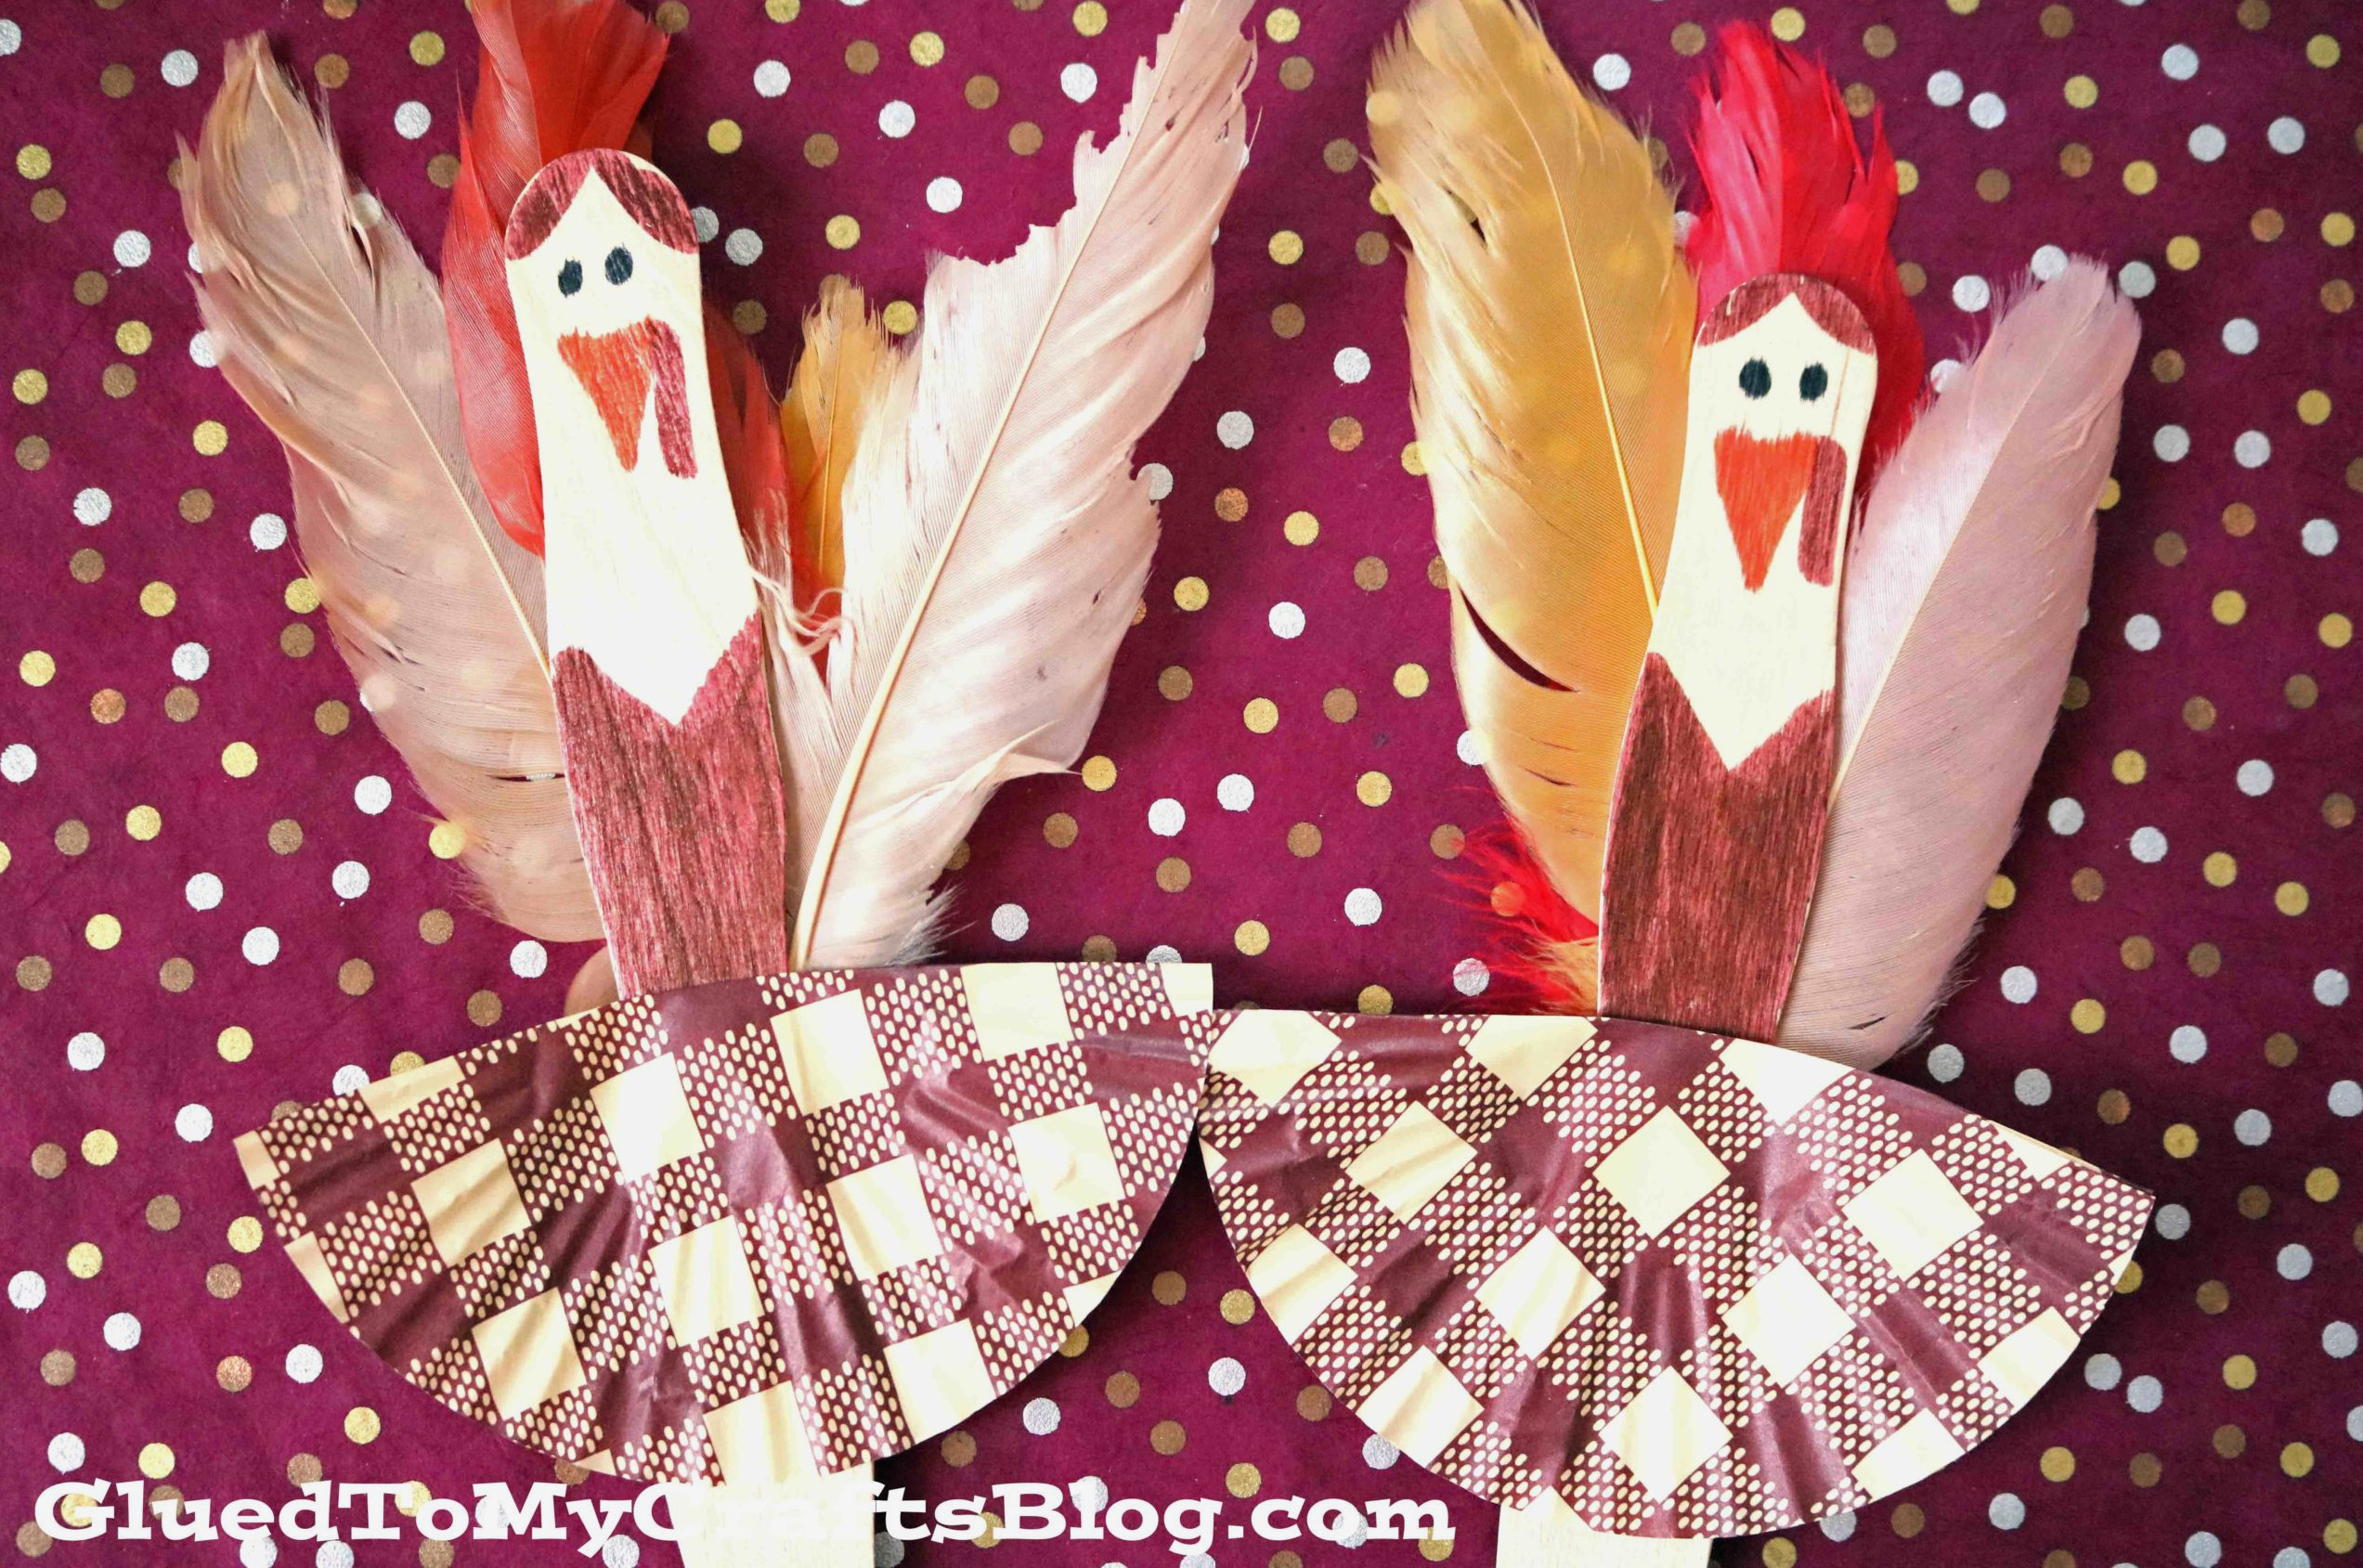
Turkey Ballerinas
While creating these playful turkey ballerinas, your children can picture turkeys dancing in the backyard! They’ll enjoy bringing these Thanksgiving performers to life during playtime.
View the Tutorial
45
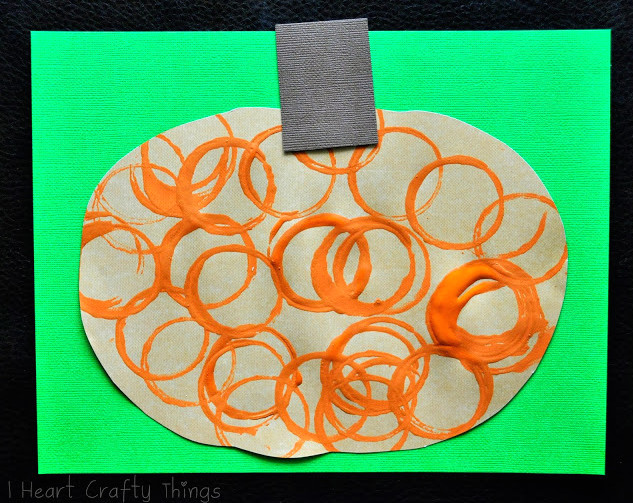
Stamped Pumpkin
Create this enjoyable pumpkin artwork with construction paper and a paint-filled toilet paper roll. It’s suitable even for the youngest Thanksgiving crafters.
View the Tutorial4th of July Kids' Crafts
I hope these simple Thanksgiving crafts for children brought you joy! Please share your thoughts in the comments. You may also want to explore these additional kids’ craft collections and themes:
4th of July • Apples • Candy Cane • Christmas Ornaments • Christmas Trees • Clay • Cotton Balls • Earth Day • Easter • Flowers • Hearts • Macaroni • Moon • Mother’s Day • Mummies • Mushro
Whether or not your children enjoy fireworks, they can still take part in Independence Day celebrations with these one-of-a-kind 4th of July crafts for kids!
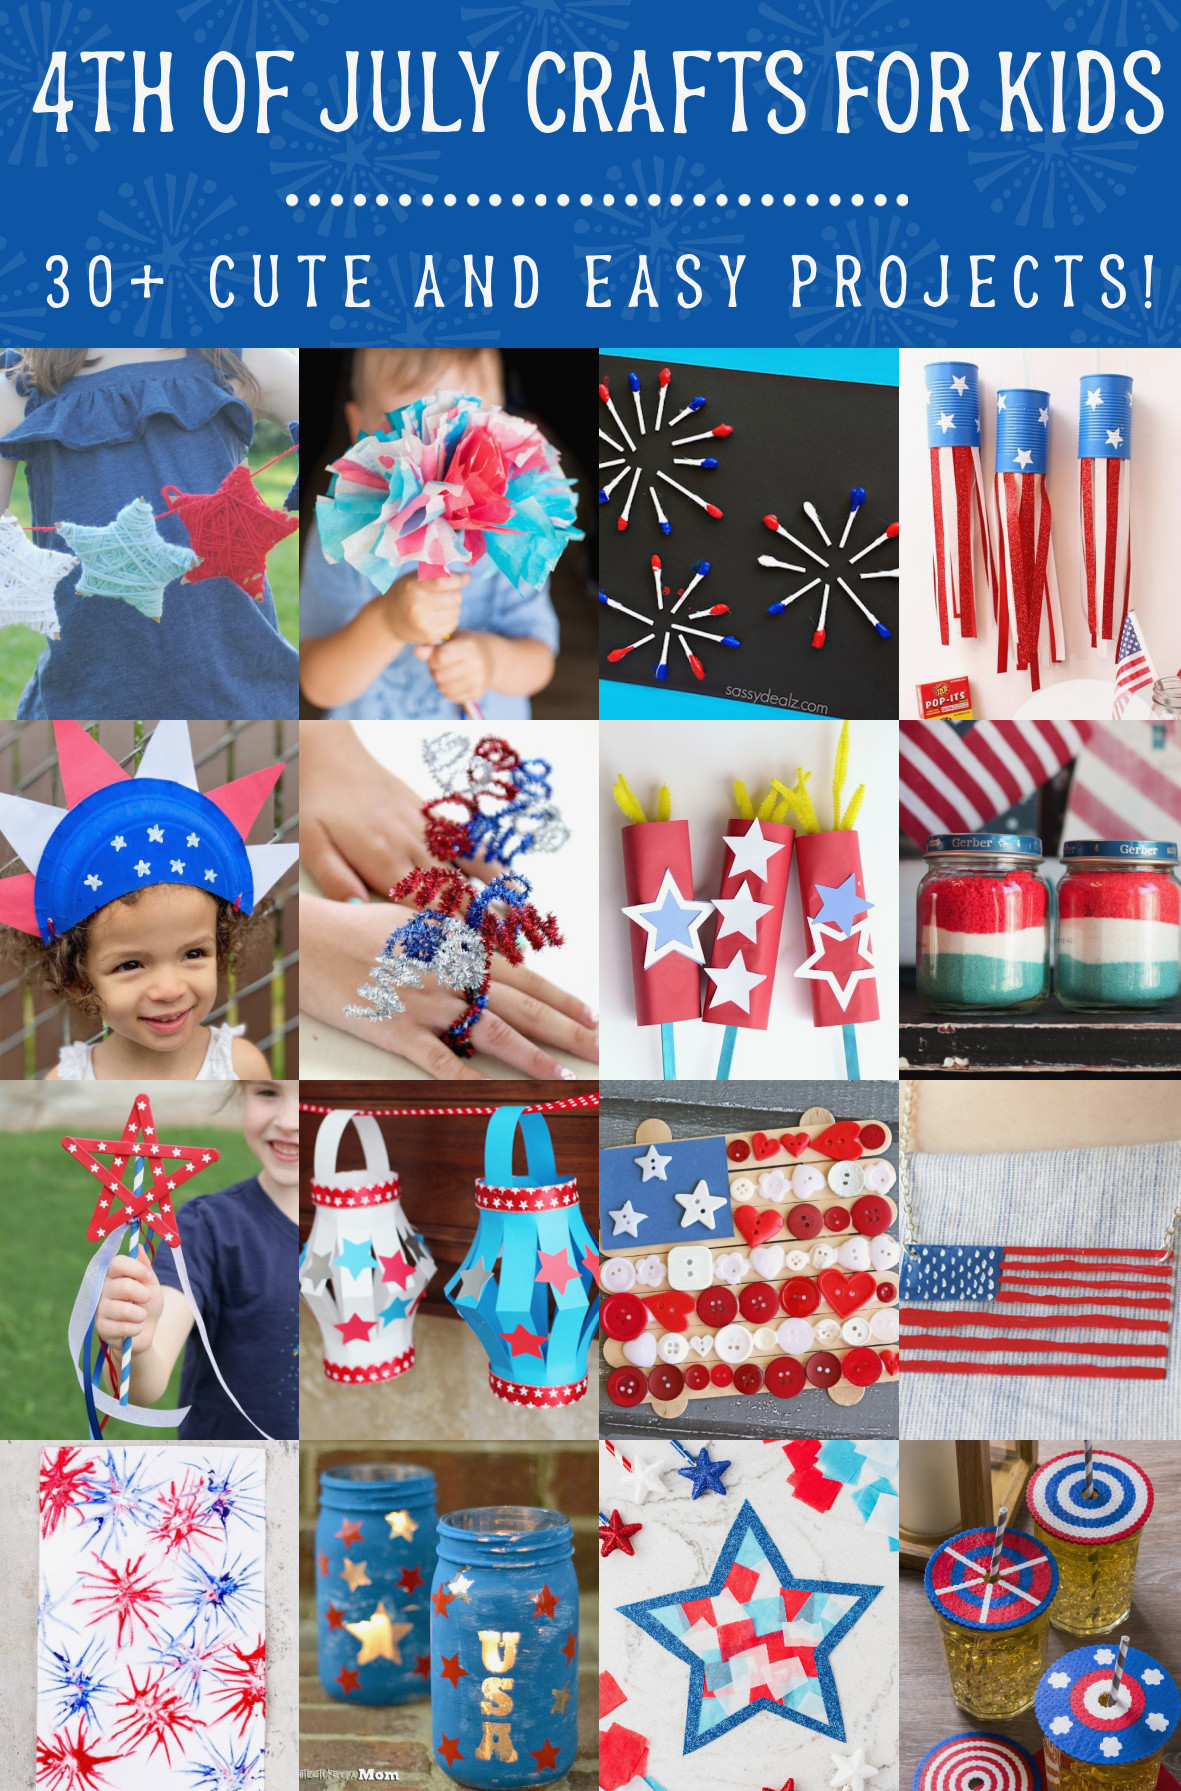
Do you remember those wonderful summer crafting days from childhood? The scent of glue sticks and the seemingly endless glitter that managed to spread throughout the entire house?
Although those moments were enjoyable, let’s be truthful: our Fourth of July crafts back then were somewhat… well, macaroni-art quality. Fortunately, the world of 4th of July crafts for kids has advanced, and it’s more thrilling than ever!
Before we jump into this creative firework showcase, I should admit something: As a child, I wasn’t a fan of the actual Fourth of July fireworks. The loud sounds and the chaos felt like far too much sensory stimulation for me.
A peaceful spot with a few craft materials was all I needed to feel perfectly content.
Therefore, whether your children are similar to me or absolutely love the loud pops and booms, these activities offer a wonderful way to celebrate without needing earplugs.
This year, I’ve gathered more than 25 wonderful Fourth of July crafts for kids that are both incredibly entertaining and imaginative—macaroni art can step aside!
These activities are ideal for children who want all the holiday’s bright colors and excitement without the loudness of fireworks. Consider it a quiet crafting party—all the enjoyment with none of the noise!
From patriotic pinwheels twirling in the warm summer air to glittery, mess-free firework artwork, these projects are suited to small hands and limitless imaginations.
They give children a fun outlet for showing their patriotic enthusiasm while helping parents keep those energetic little ones… well, occupied!
Whether you’re arranging a peaceful Fourth of July at home or getting ready for a large family barbecue, these craft projects are an excellent way to bring a touch of red, white, and blue to your festivities.
You may even discover that you want to join the creative fun yourself—and don’t worry, your glitter-covered secret is safe with us.
Ready to begin? Scroll down for plenty of ideas. With easy activities for younger children and more detailed projects for older kids, there’s an option for every age and ability level.
Let’s start creating and turn this Fourth of July into a bright, imaginative, and mostly peaceful celebration!
July 4th Crafts
1
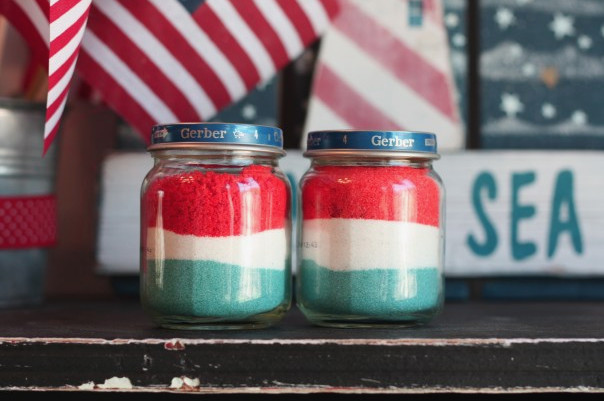
Red, White, and Blue Sand Art
This sand artwork is beautiful and can keep children entertained for hours! Combine whichever color pairings you prefer.
Get the Tutorial
2
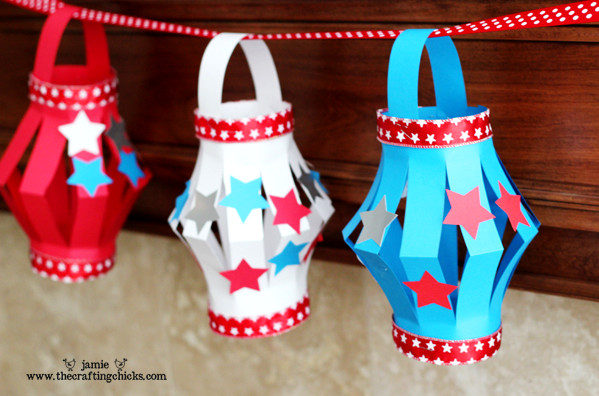
4th of July Paper Lantern
Kids will be amazed by how simple it is to create these red, white, and blue paper lanterns for the Fourth. Decorating them is enjoyable as well.
Get the Tutorial
3
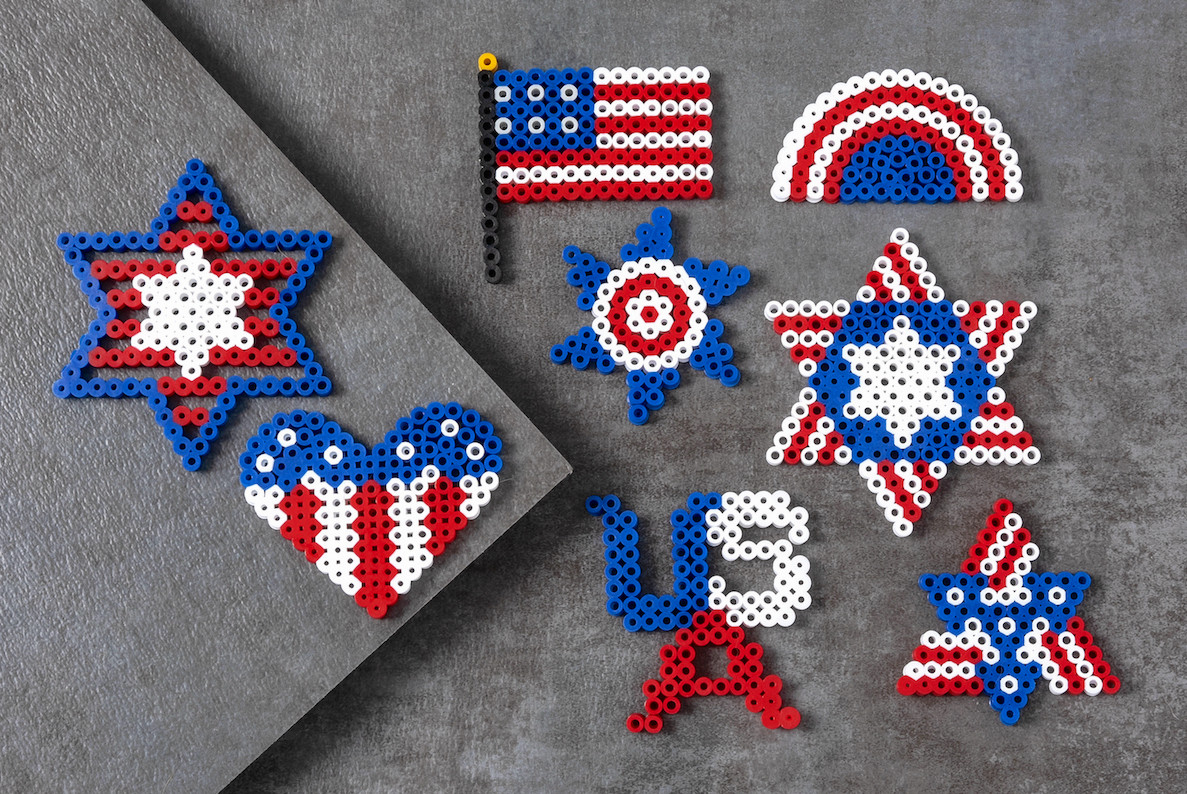
4th of July Perler Beads (More Than 25 Designs!)
Get the Patterns
4
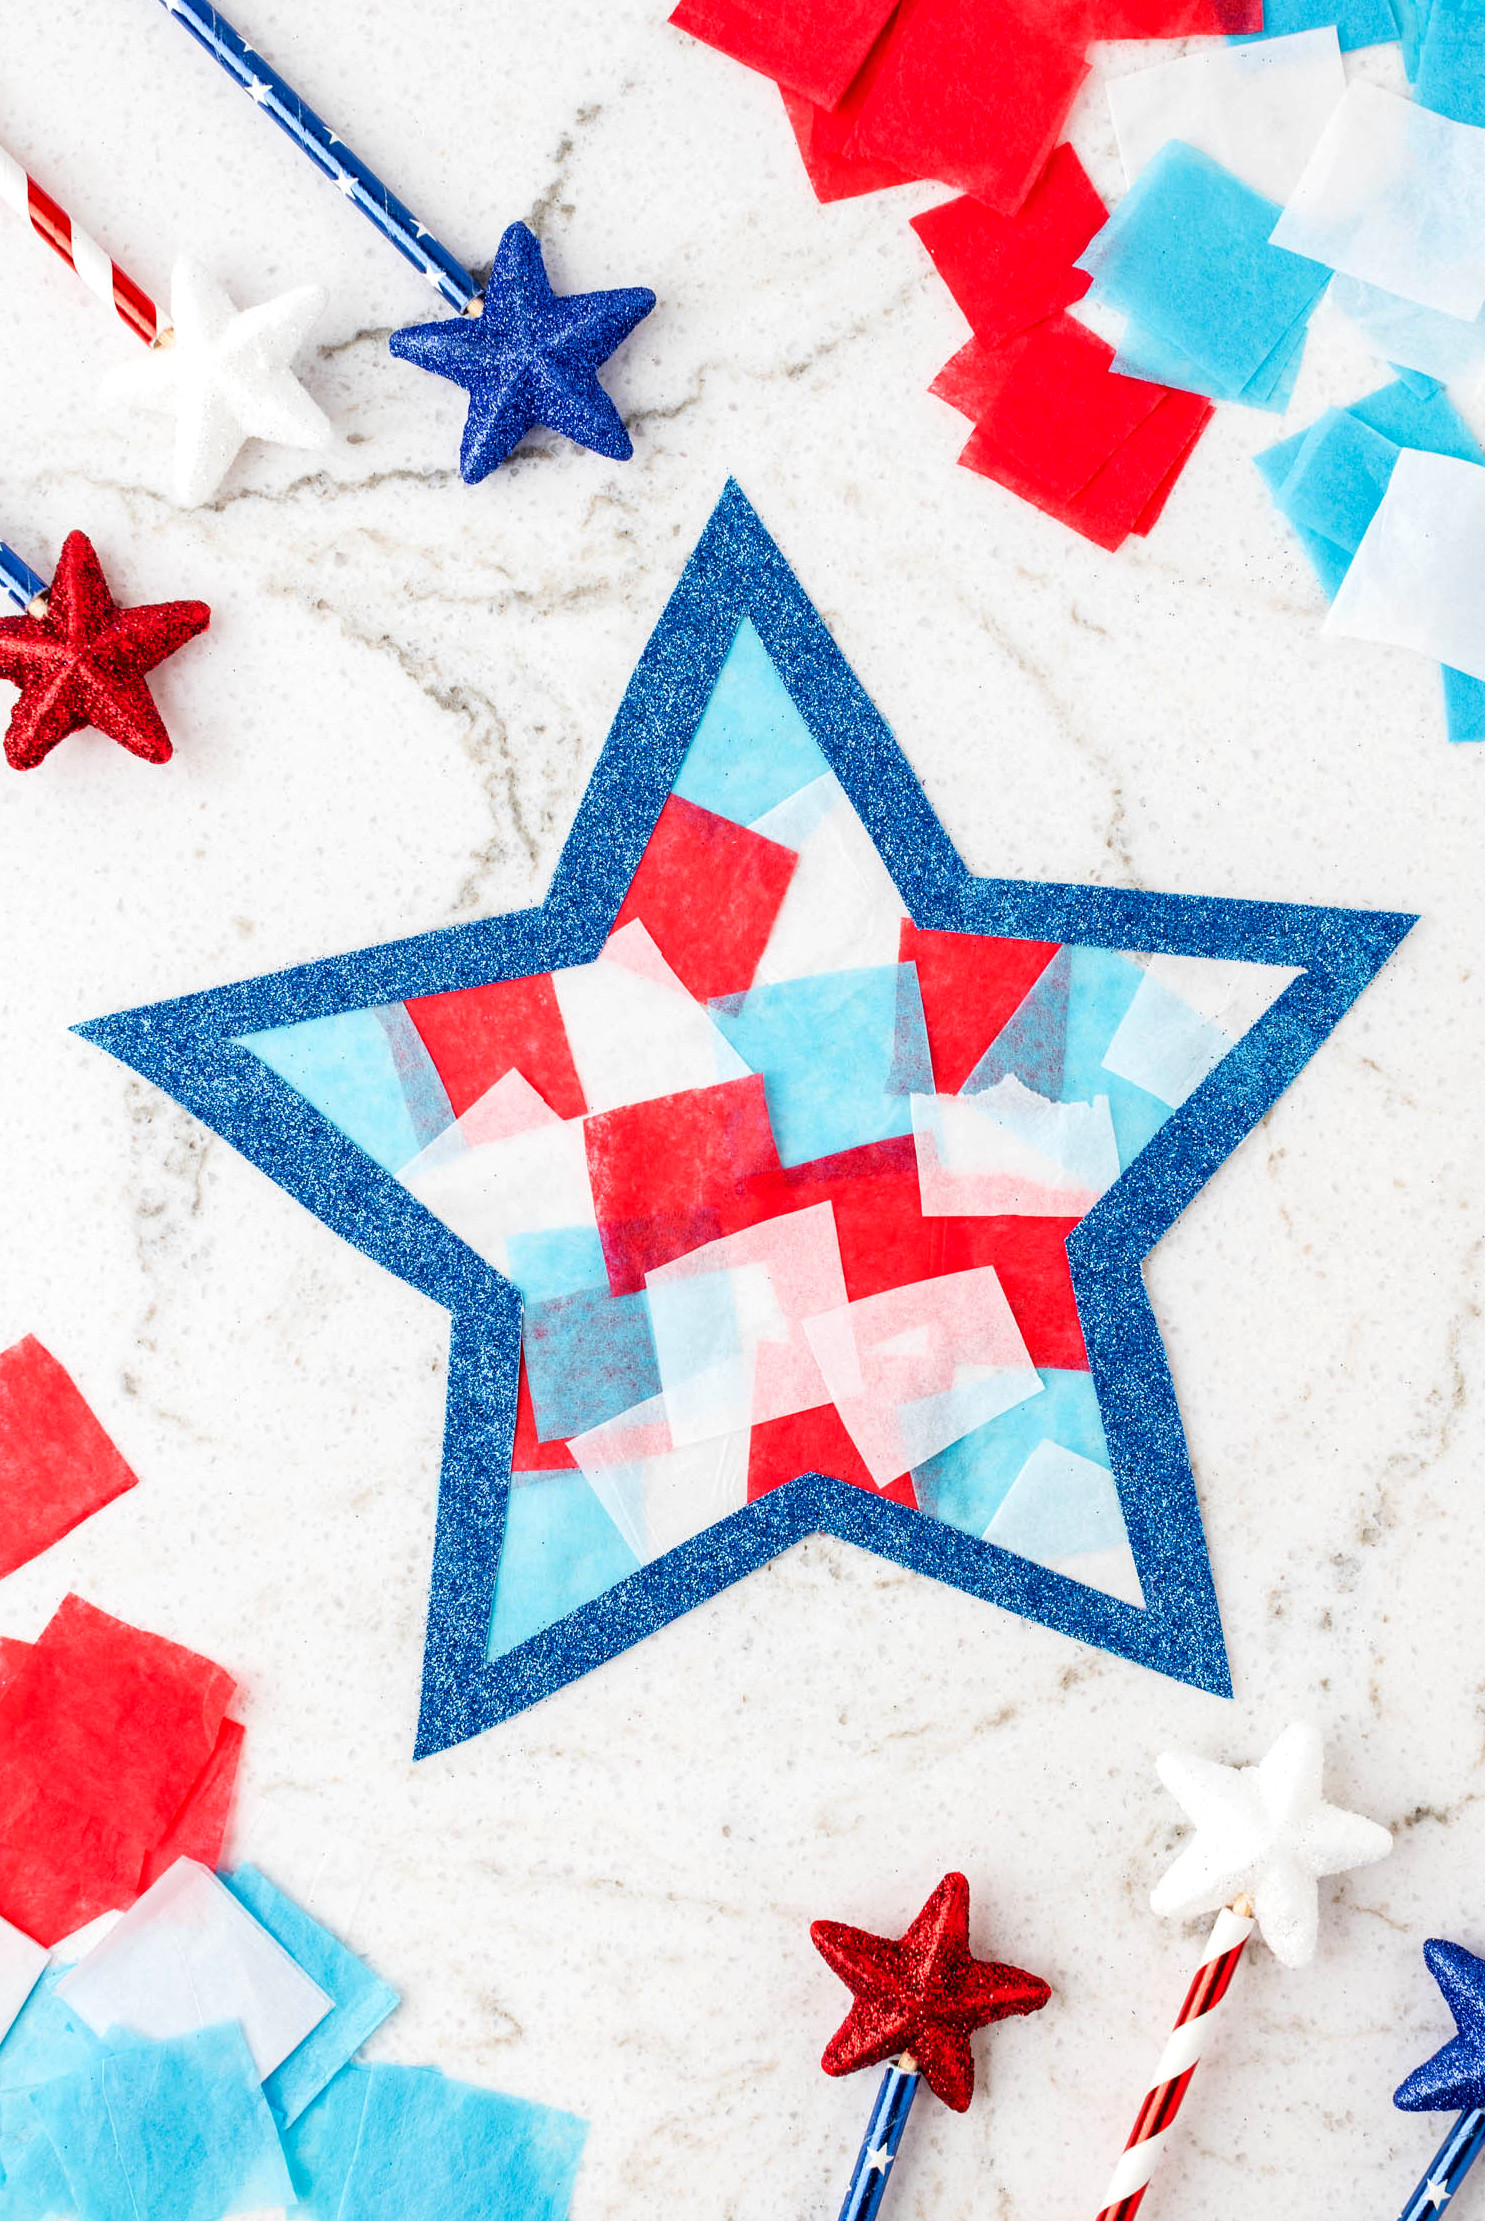
Star Suncatchers
These are simple to create using a star template and look gorgeous displayed in your windows! Just cut out the star, attach it to contact paper, and embellish it with tissue paper.
Get the Tutorial
5
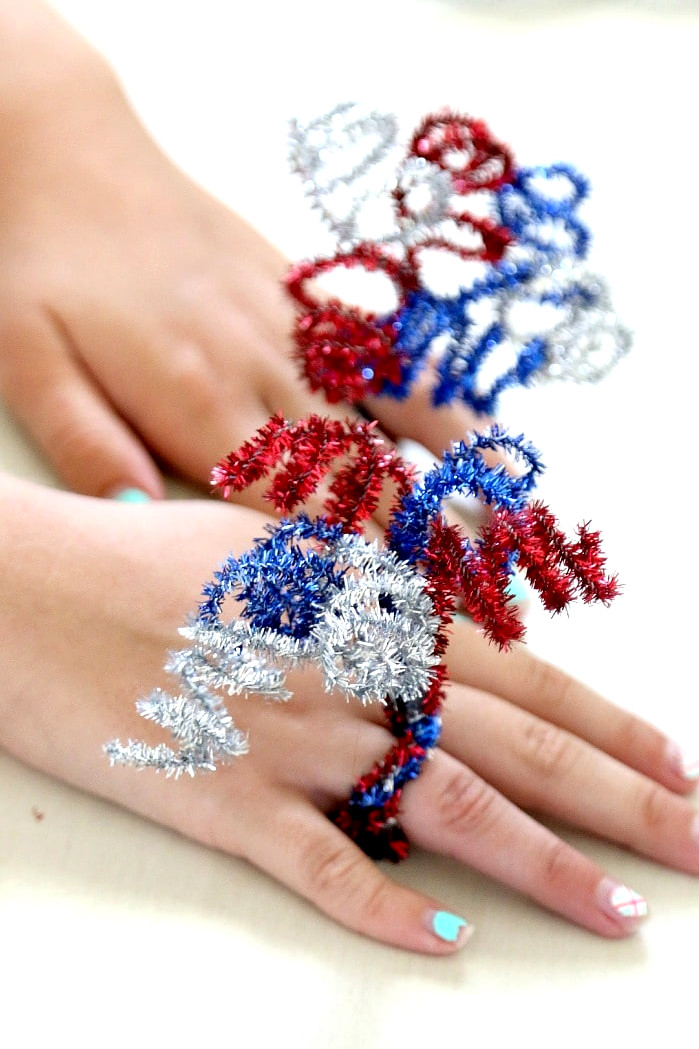
Exploding (Pipe Cleaner)Sparkler Ring
I’ve always loved working with pipe cleaners, and these rings bring the perfect touch of sparkle to the holiday season! They’re incredibly simple to create.
Grab the Instructions
6
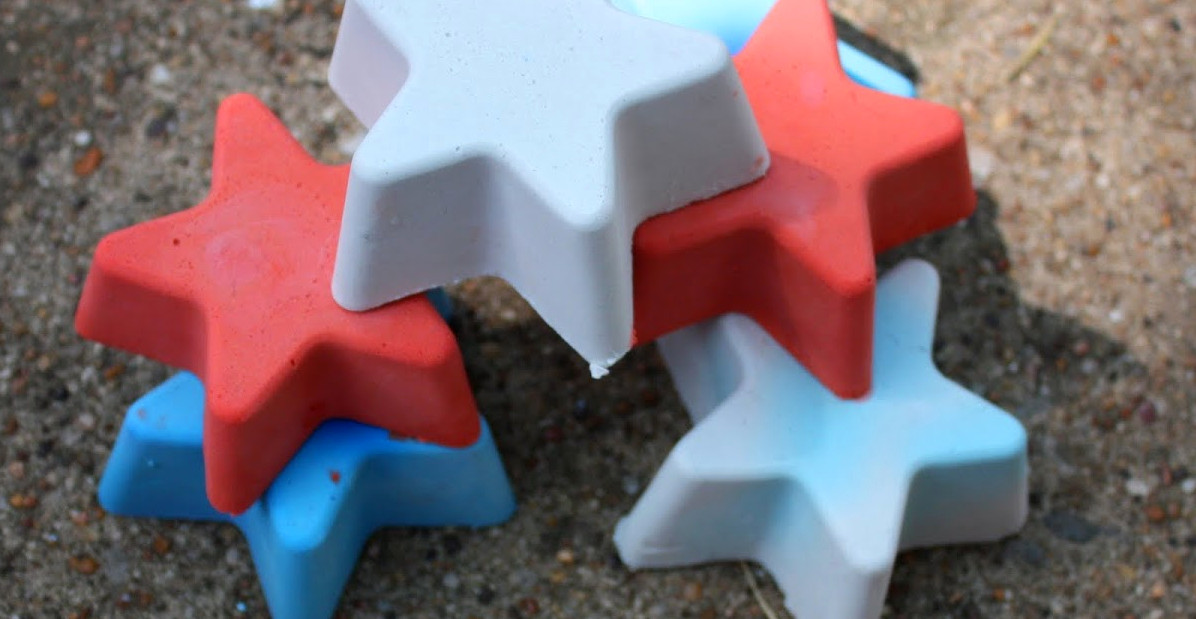
DIY Star Chalk
Discover how to create star-shaped chalk at home with a silicone mold – choose red, white, and blue for a patriotic look.
Grab the Instructions
7
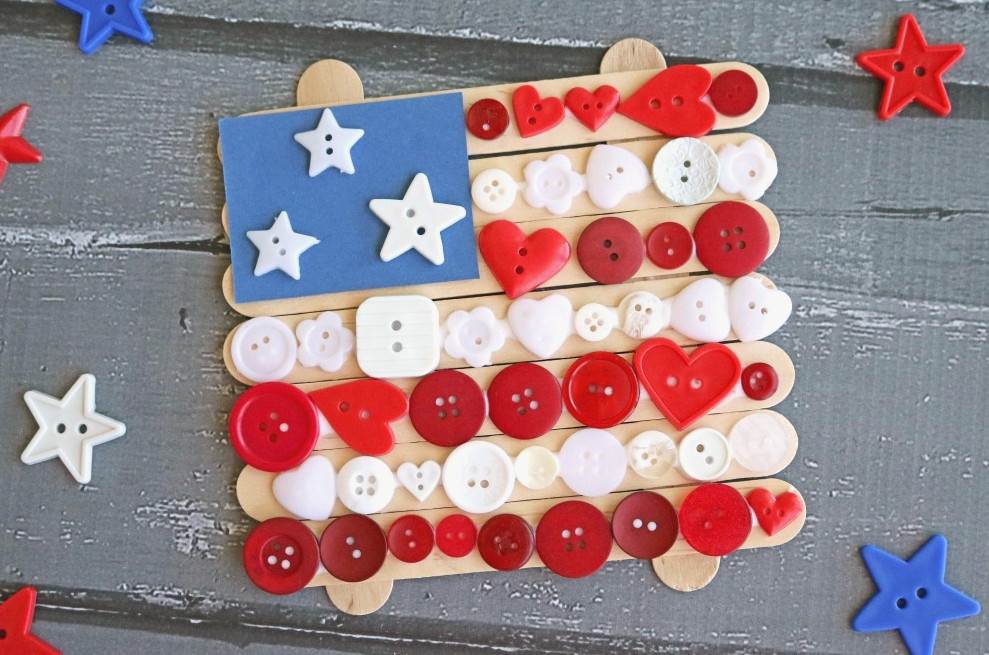
Button American Flag
With just a few supplies, this button flag project is wonderfully easy and affordable, while also serving as fantastic patriotic decoration!
Grab the Instructions
8

Statue of Liberty Hat
Your little ones will look adorable in this easy paper plate hat craft! When you’re in a celebratory mood, you can create one for yourself as well.
Grab the Instructions
9
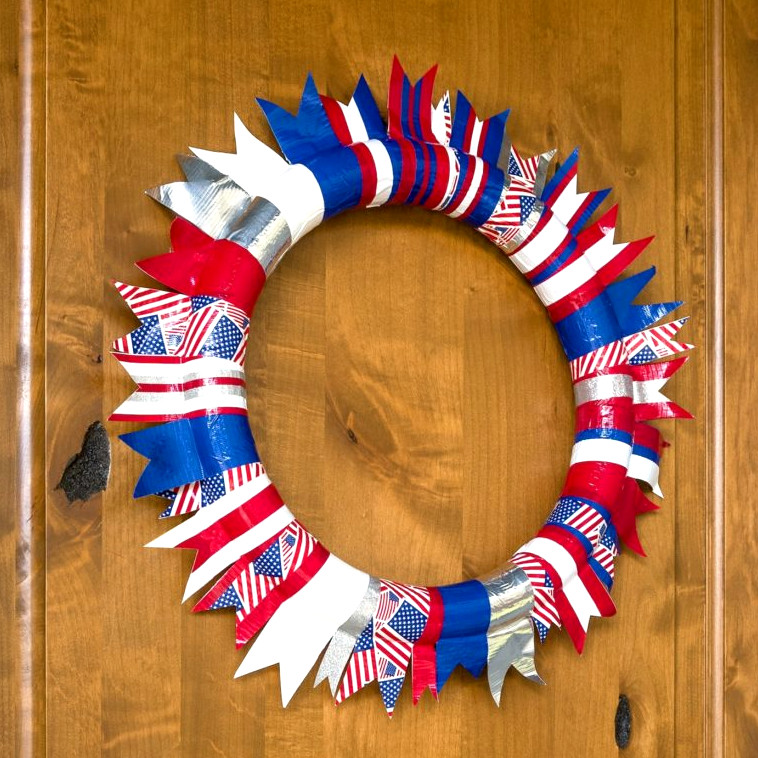
Duck Tape 4th of July Wreath
Create the SIMPLEST 4th of July wreath with Duck Tape! This project is so straightforward that children can make it too. For younger kids, select a smaller wreath form.
Grab the Instructions
10
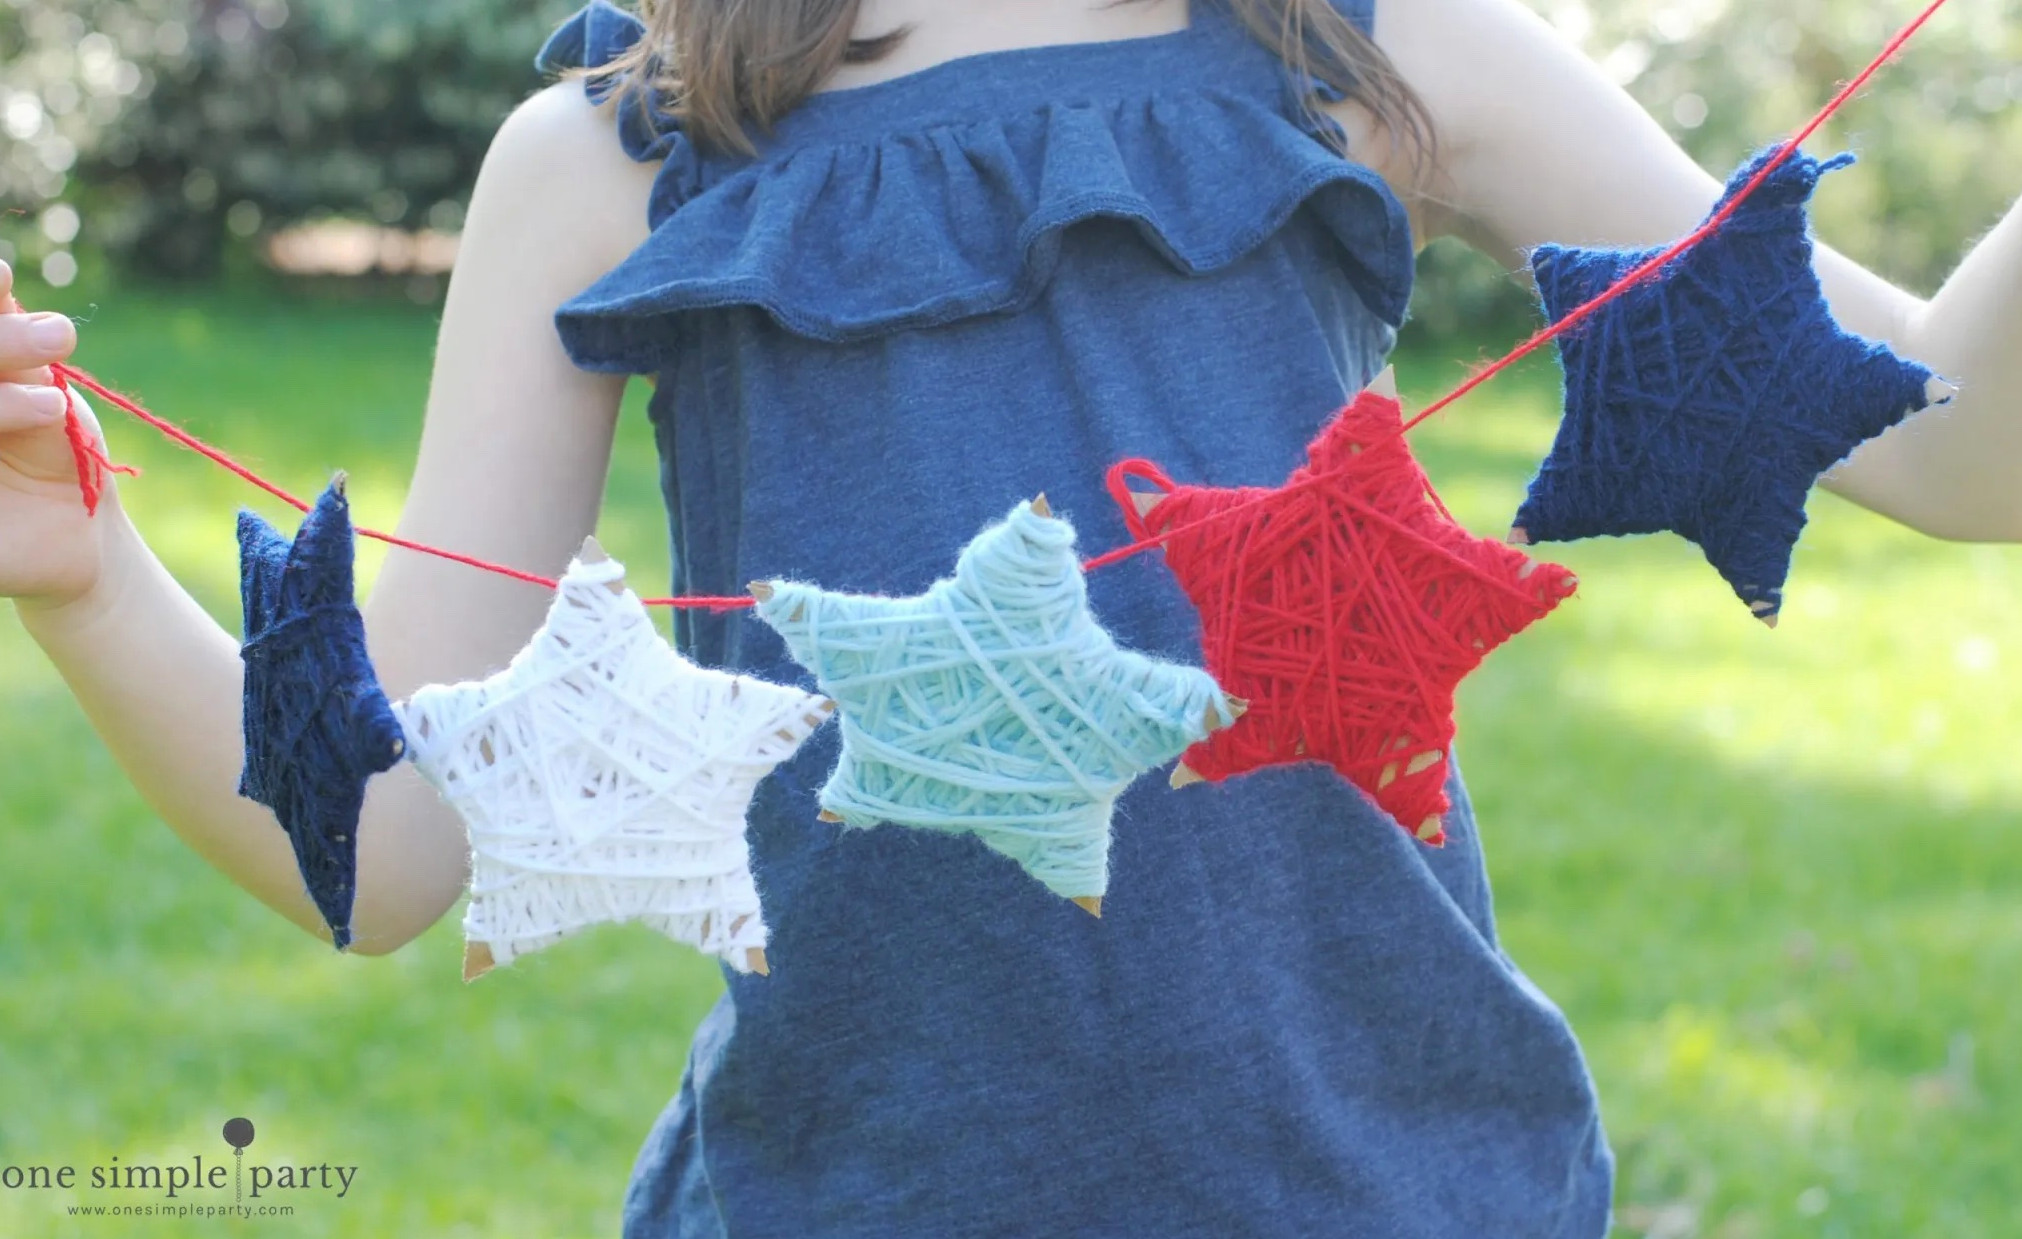
Patriotic Yarn Star Garland
If you’ve created God’s Eyes at summer camp, you’re already familiar with wrapping yarn to form a craft. This garland follows that very same concept!
Grab the Instructions
11
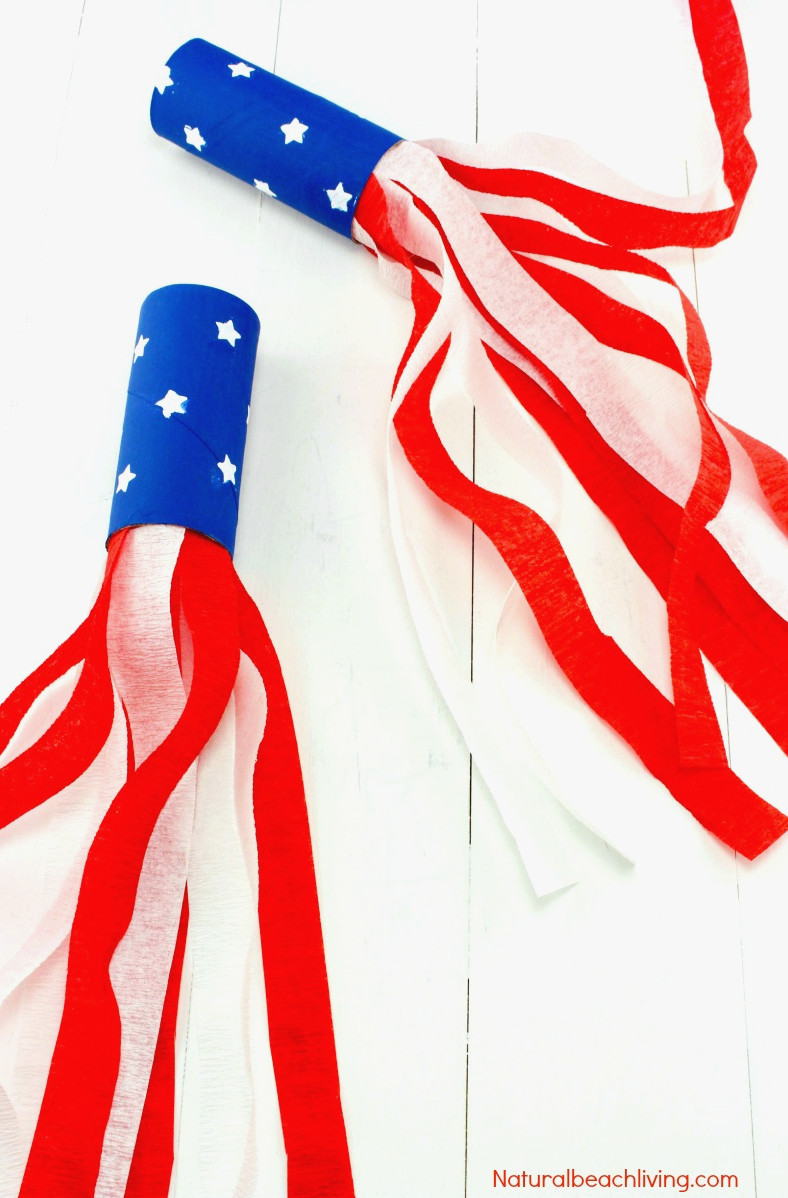
Patriotic Party Blower
Made from a handful of basic craft materials, this adorable blower will keep children entertained. Blow through the rounded end to make the tissue paper dance!
Grab the Instructions
12
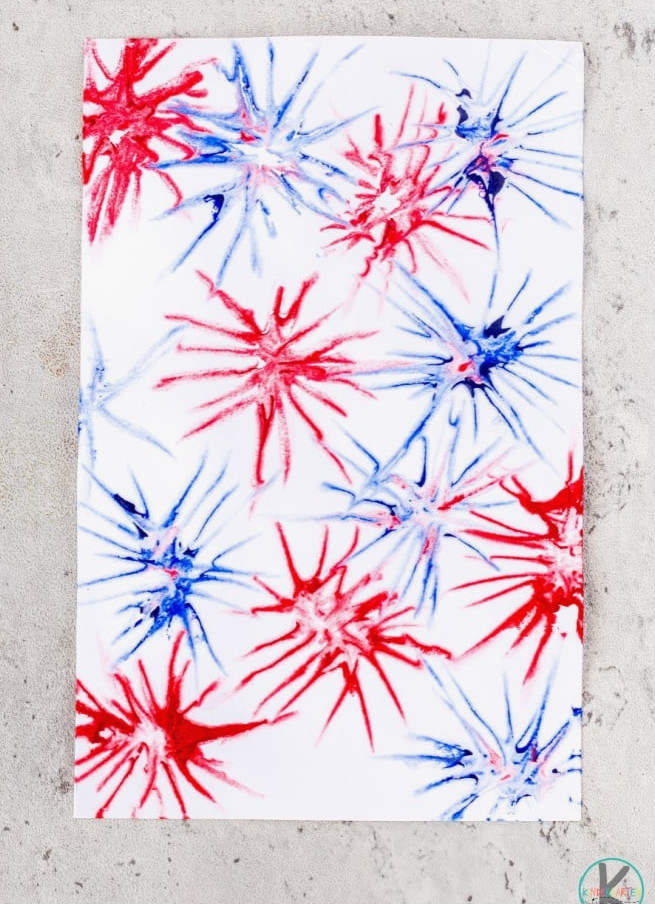
Firework Artwork with Shaving Cream
Create an impressive firework project with shaving cream and food coloring. It’s ideal for little kids.
Grab the Instructions
13
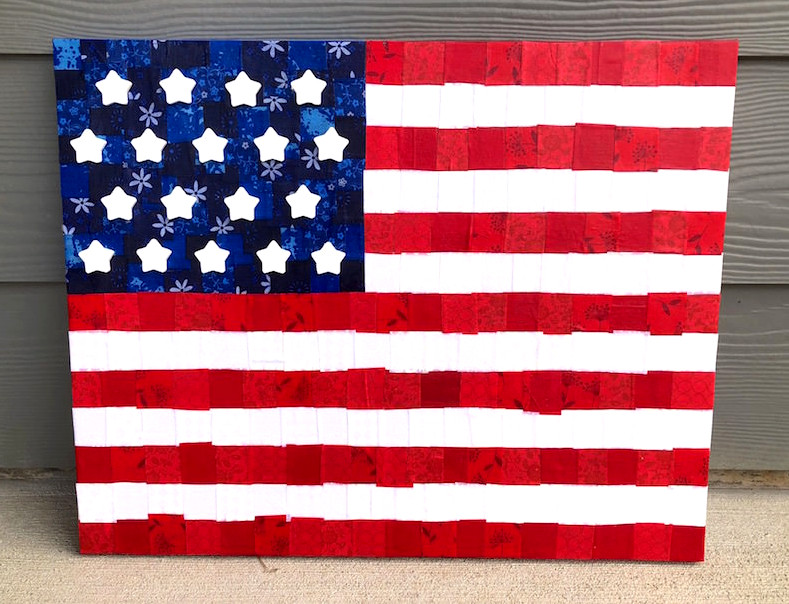
American Flag Wall Art
American Flag Fabric Canvas
Create distinctive and SIMPLE American flag artwork with fabric and Mod Podge! It’s ideal for the 4th or whenever you want to celebrate your USA pride.
Access the Instructions
14
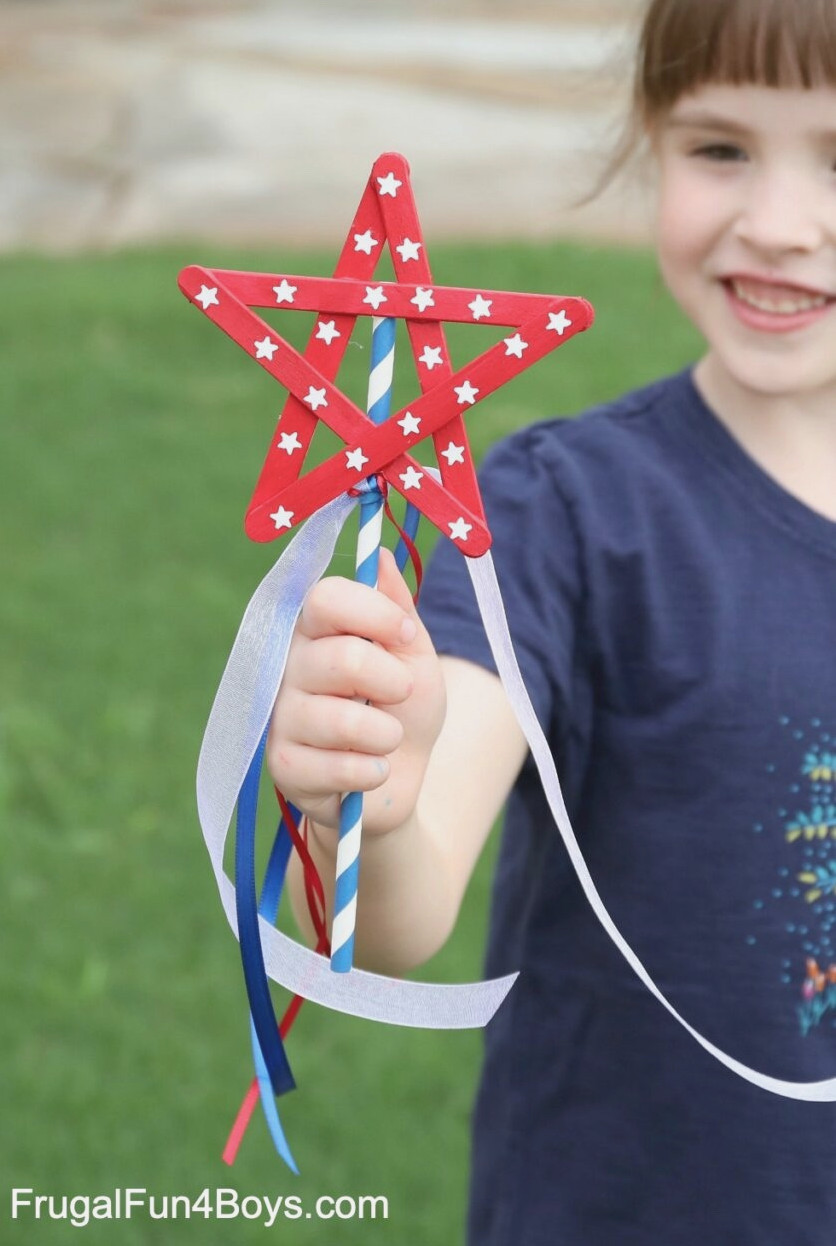
Star Wands Made with Popsicle Sticks
Making these wands is incredibly enjoyable! They’re great for pictures or for holding during a holiday parade.
Access the Instructions
15
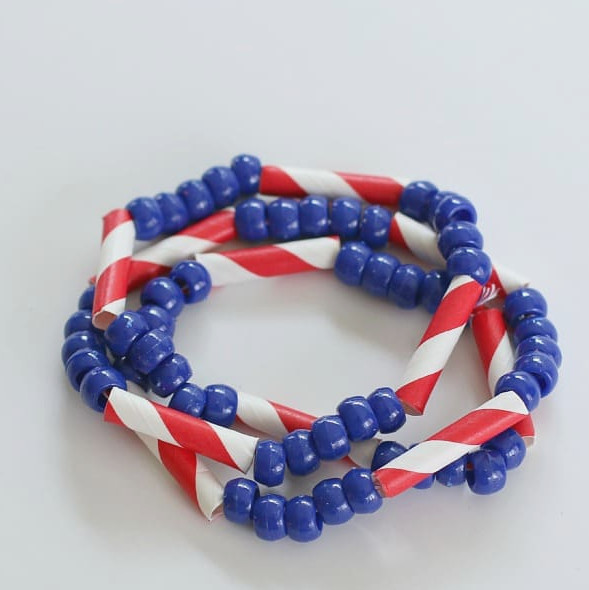
Patriotic Beaded Necklace
Use pony beads, straws, and baker’s twine to create necklaces that are ideal for displaying your US pride.
Access the Instructions
16
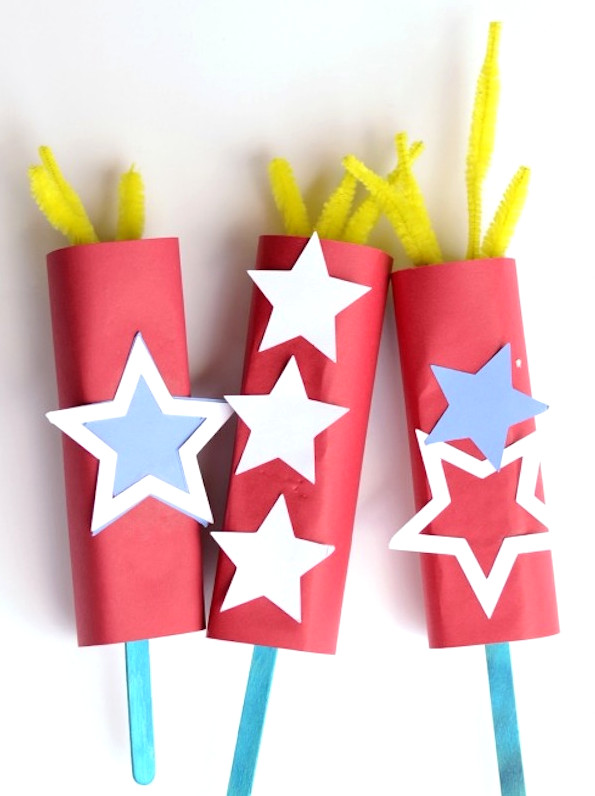
Paper Sparklers Without the Fire
Little children can safely enjoy the holiday with these faux paper sparklers instead of handling the real thing!
Access the Instructions
17
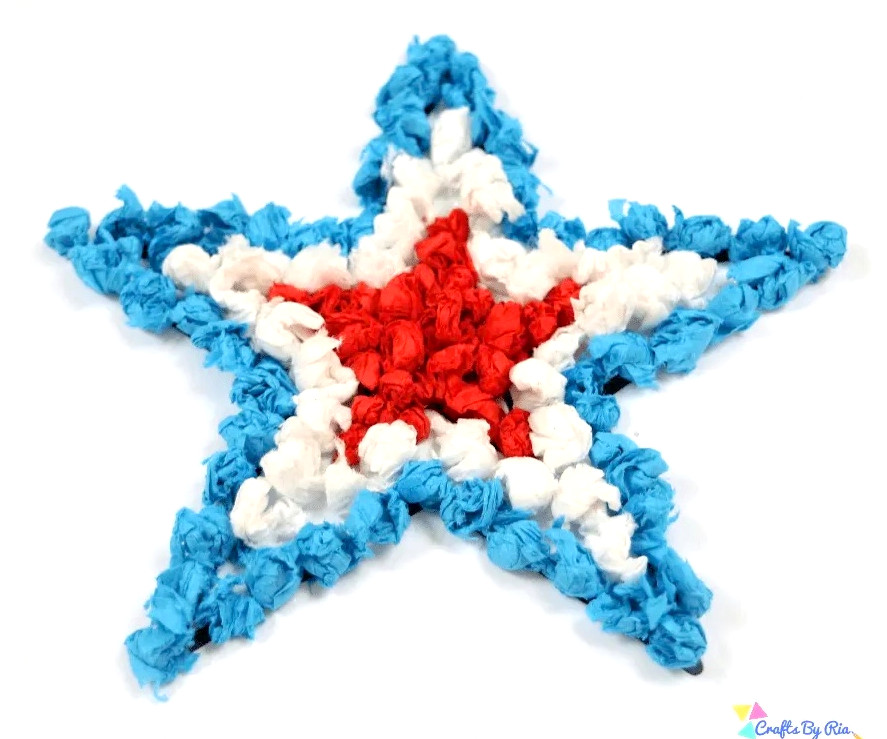
Tissue Paper Star Craft
For young children, scrunching tissue paper offers an excellent fine motor exercise and a fun way to beat boredom! This star makes a wonderful holiday project.
Access the Instructions
18
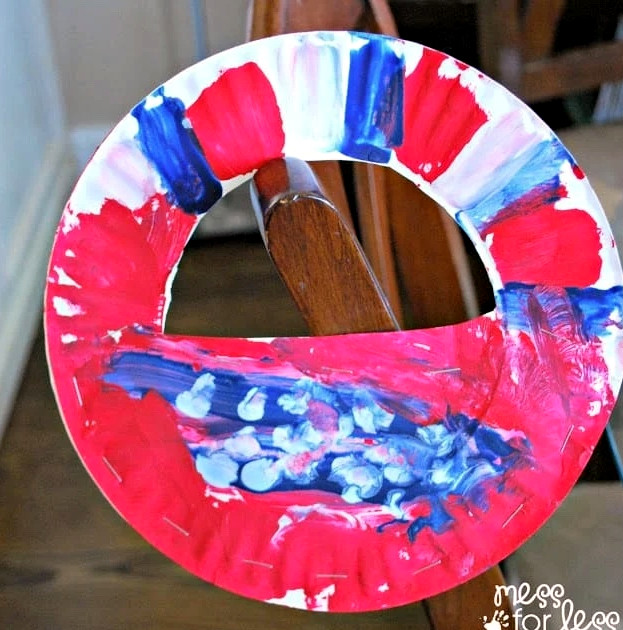
Colorful Holiday Noisemakers
These paper plate noisemakers are simple and entertaining to create! Children of every age can decorate them using red, white, and blue patterns.
Access the Instructions
19
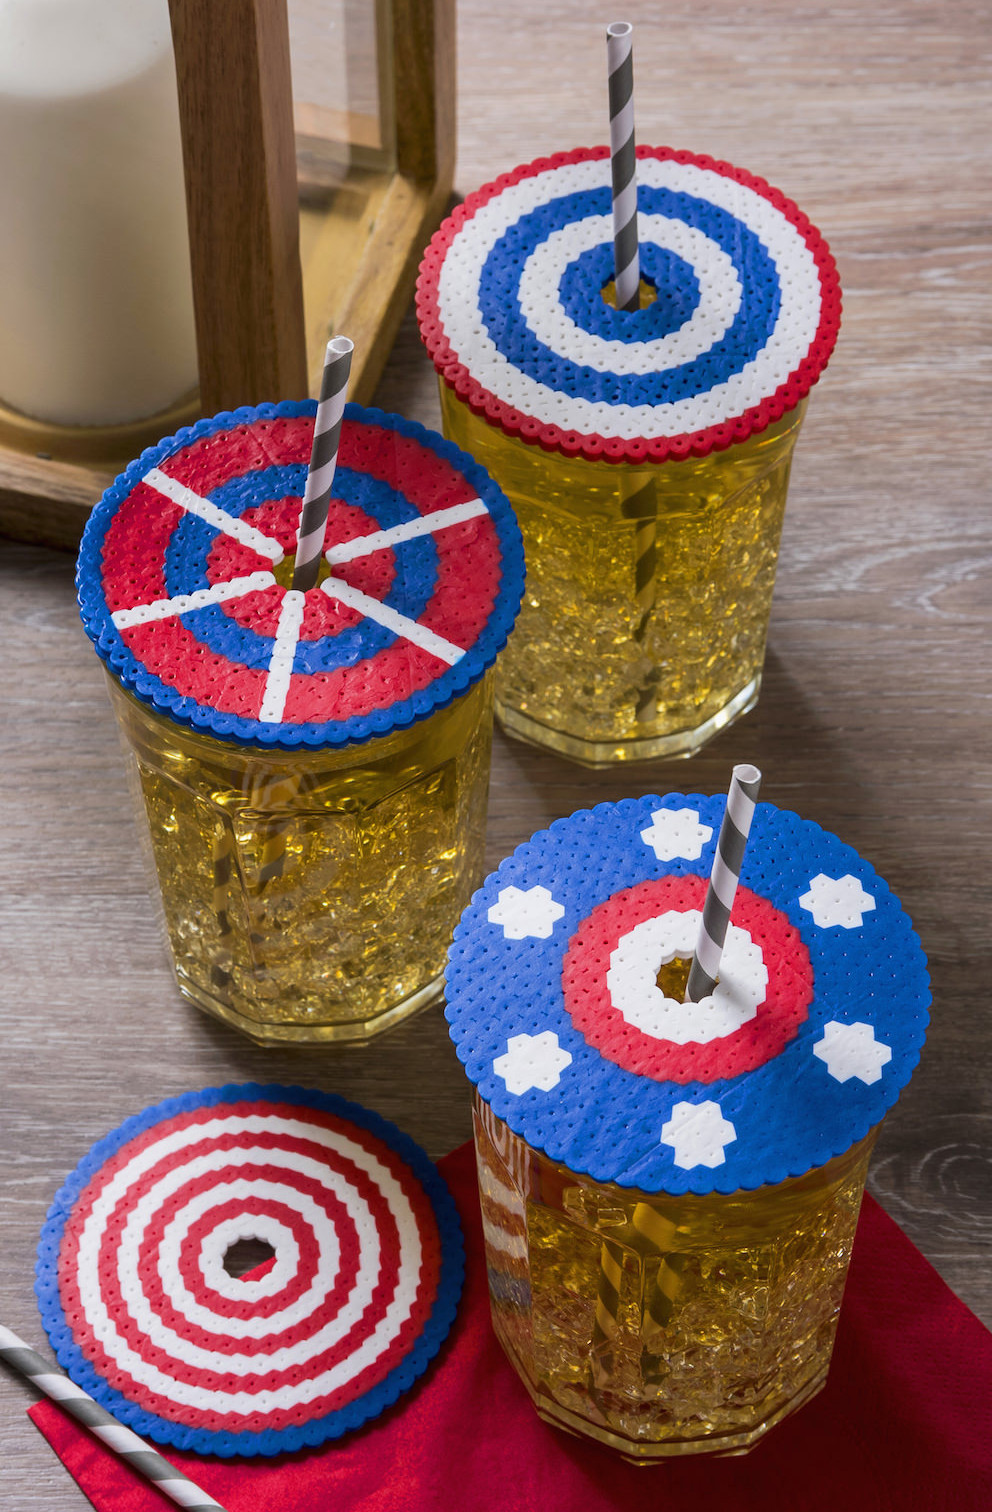
Perler Bead Beverage Covers
Access the Instructions
20
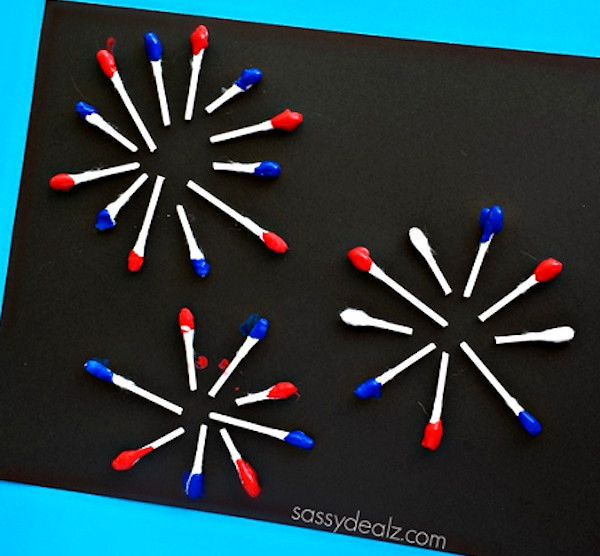
Q-Tip Firework Project for Children
With Q-Tips, children can create this simple fireworks artwork! It’s an excellent project for the 4th of July or Memorial Day.
Access the Instructions
21
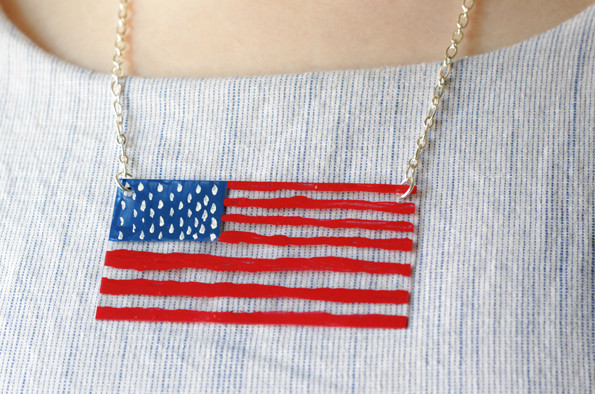
Acrylic American Flag Necklace
Heidi crafted her necklace from acrylic sheets, though Shrinky Dinks would also make a fun alternative for this project.
Access the Instructions
class=”wprm-recipe wprm-recipe-roundup-item wprm-recipe-roundup-item- wprm-recipe-template-diy-candy-roundup” data-servings=”0″>
22
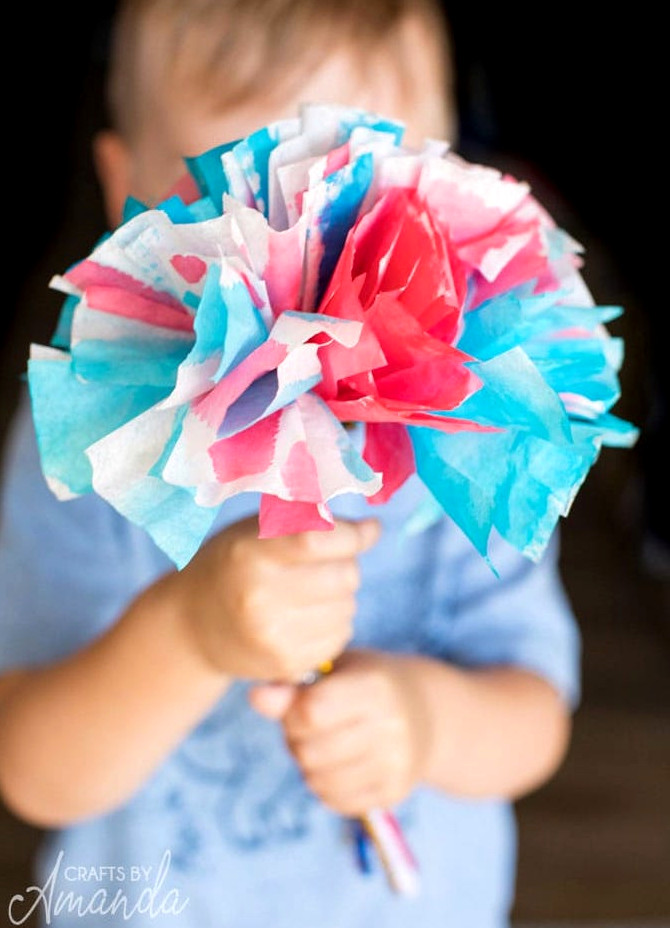
Coffee Filter Blooms
View the Tutorial
23
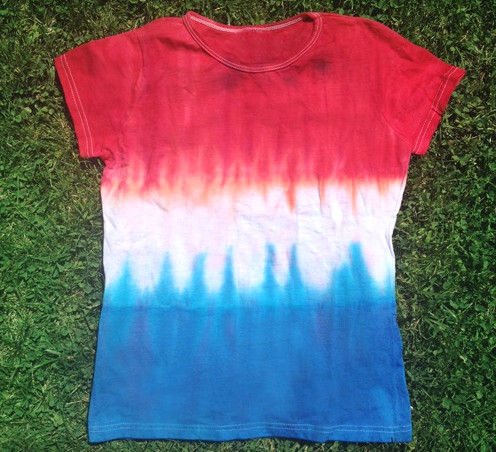
Patriotic Tie-Dye Shirt
Doesn’t this shirt look like rocket pops? Children can create it quite easily with tie-dye techniques.
View the Tutorial
24
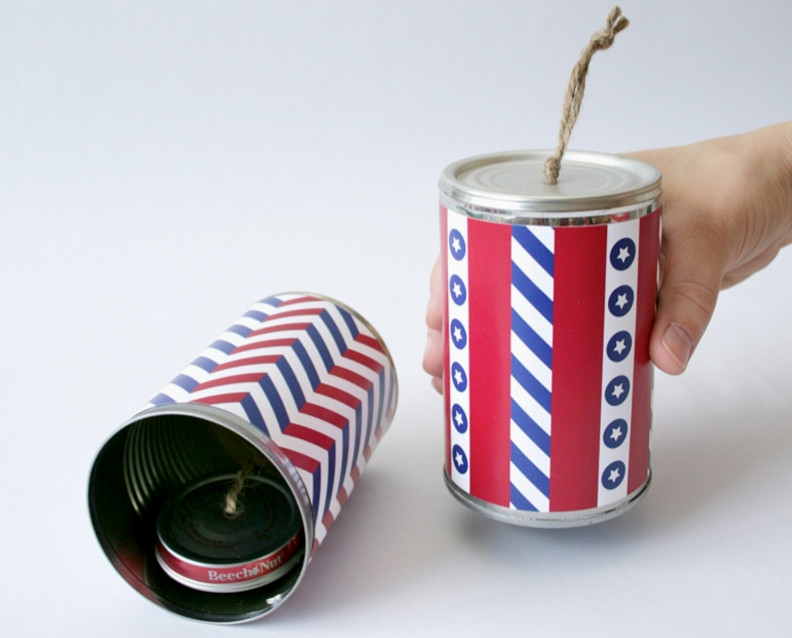
Firecracker Sound Maker
On the 4th of July, fireworks aren’t the sole source of sound – these recycled noise makers are loud too!
View the Tutorial
25
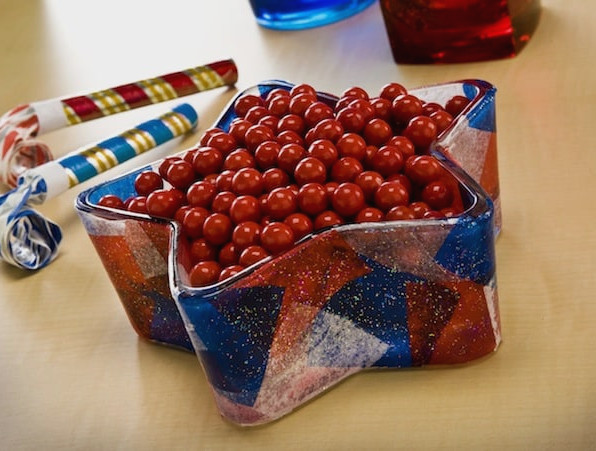
Dollar Store Candy Bowl
Need more patriotic craft ideas? Transform a dollar-store dish into this festive candy holder with tissue paper and decoupage medium. Kids will especially enjoy using the Sparkle Mod Podge!
View the Tutorial
26
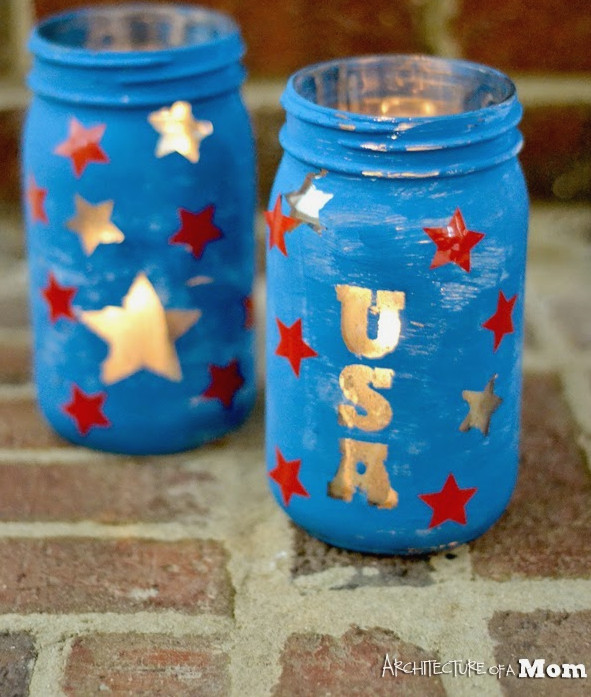
American-Themed Mason Jars
Children of every age will enjoy decorating these jars, and adding LED lights turns them into ideal porch lanterns.
View the Tutorial
27
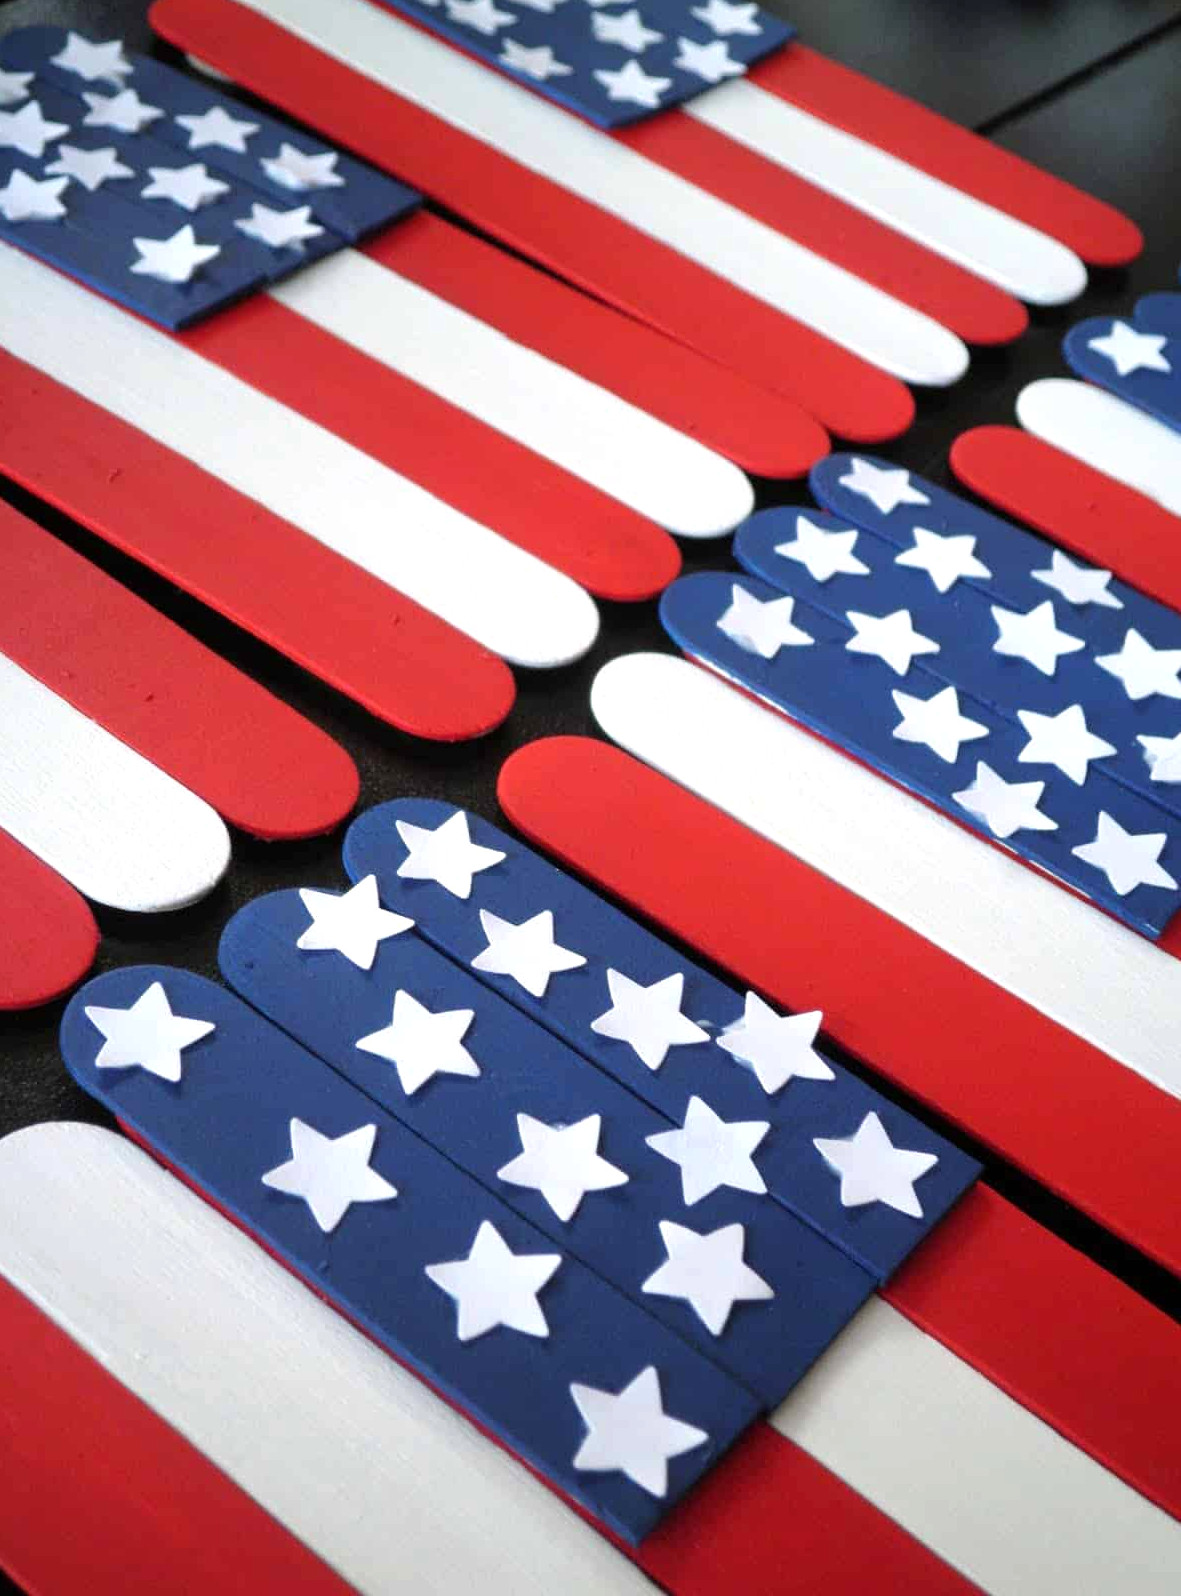
Popsicle Stick American Flags
Painting and gluing these flags is wonderfully simple, making them a fun project for children of any age.
View the Tutorial
28
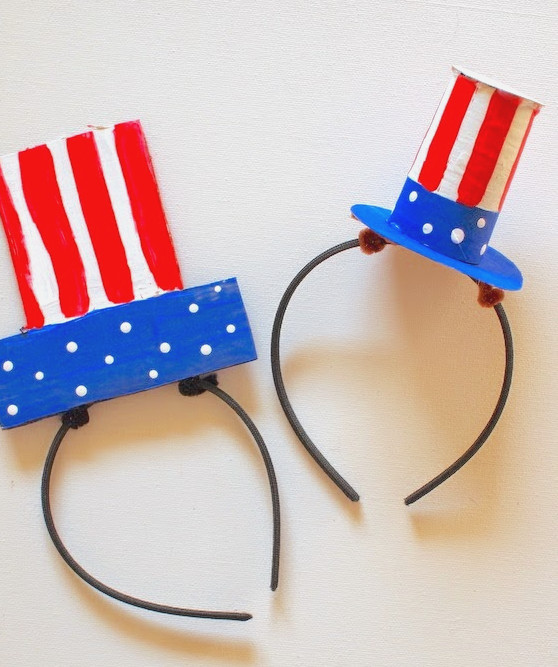
DIY Cardboard Fourth of July Caps
Perfect for patriotic 4th of July photos, these adorable little hats are a fun project! It’s hard to believe they were crafted from cereal boxes, toilet paper rolls, and corrugated cardboard.
View the Tutorial
29

Red, White, and Blue Star Wands
For a festive party favor, give children star wands decorated with red, white, and blue ribbons.
View the Tutorial
30
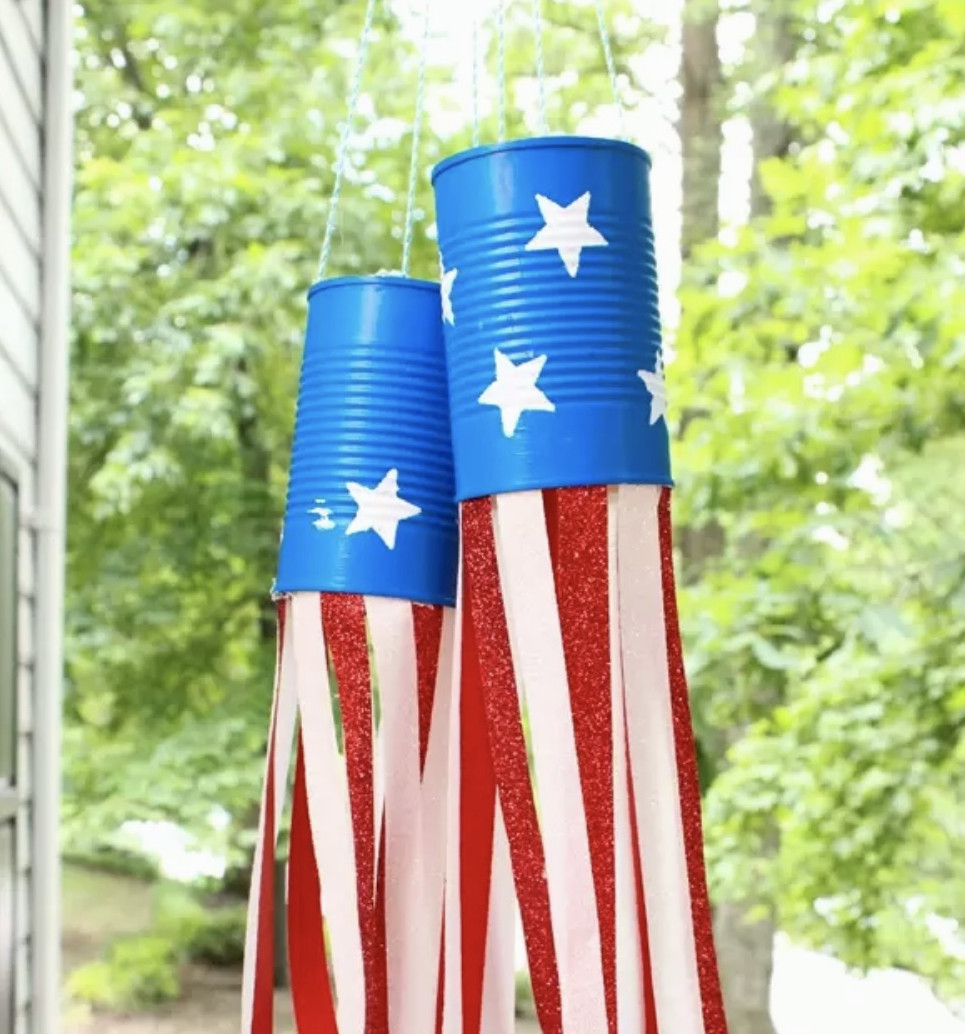
Tin Can Windsocks
Decorate your porch for the Fourth by transforming recycled tin cans with craft paint and shimmering ribbon.
View the Guide
31
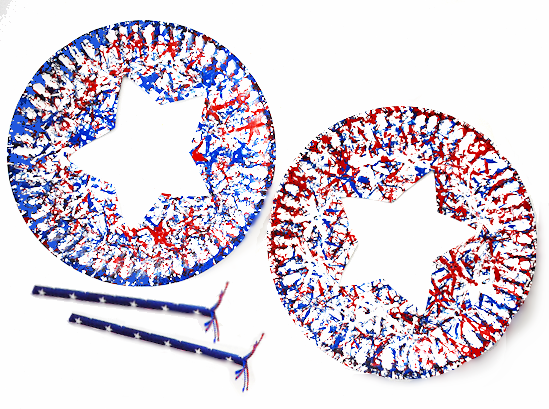
Paper Plates Stamped with Straws
Have spare paper straws and paper plates? You’ll adore this project! Crystal paired a simple patriotic craft with an enjoyable stamping technique to create these.
View the Guide
32
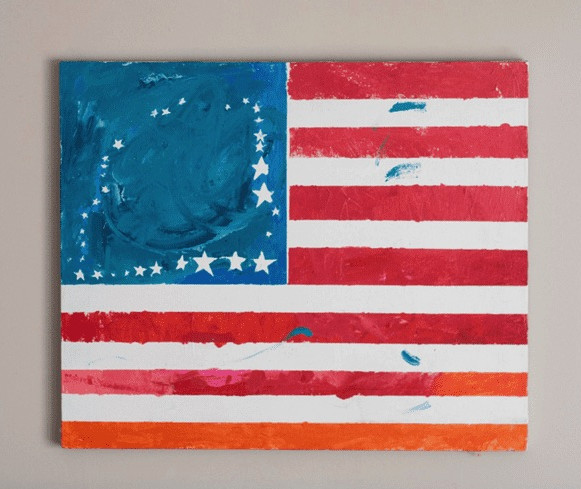
Flag Artwork with Painter’s Tape
Your kids will have a wonderful time creating this painted flag artwork. Painter’s tape makes this project simple to complete!
View the Guide
33
Watercolor Fireworks from Coffee Filters
View the Guide
Which of these Fourth of July crafts for kids would you make first? I’d be delighted to hear your thoughts in the comments! Be sure to explore these additional posts too!
oms • Paper Cups • President’s Day • Snowflakes • Stars • Straws • Summer • Valentine’s Day
Noodle • Pool Noodle Floral • Pom Pom • Ribbon • St. Patrick’s Day Mesh • Valentine Mesh • Wine Cork • Witch Hat
Pocus•Mickey Mouse•Pokemon• Star Wars• S
Discover more than 25 Fourth of July perler bead designs! This collection features numerous hama bead ideas, including flags, stars, rockets, hearts, and plenty more.
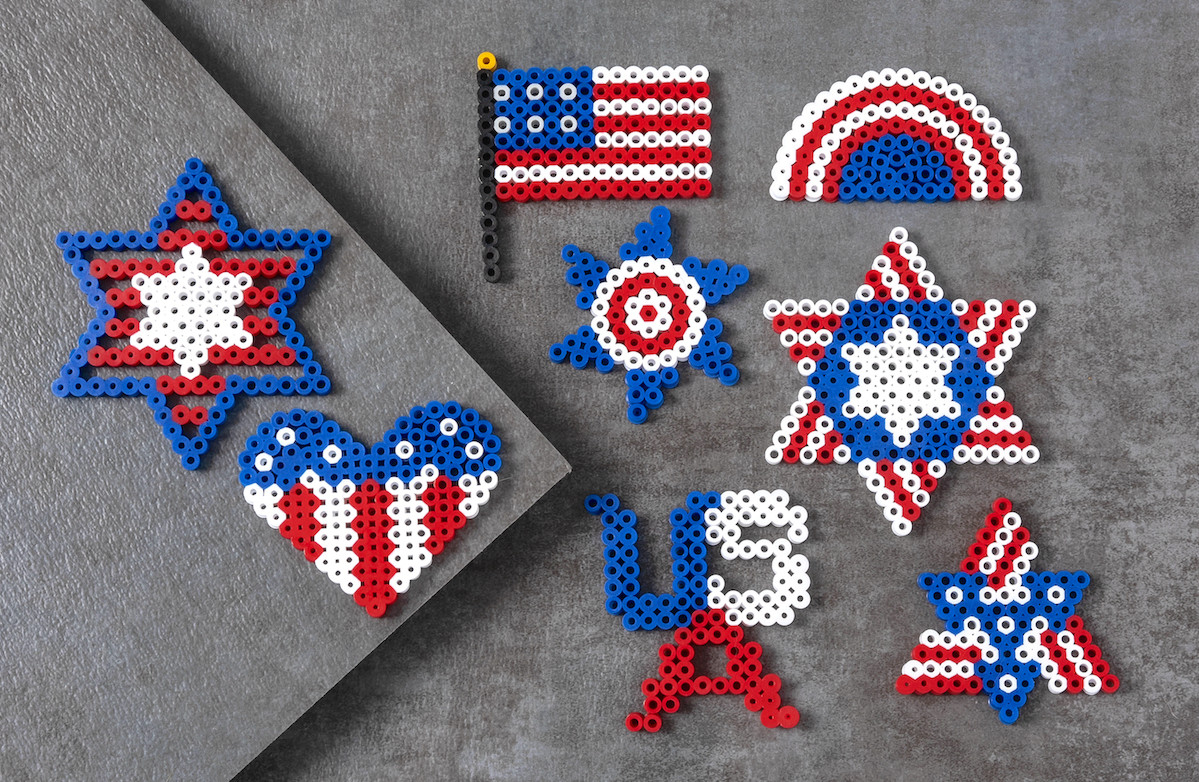
Which summer activities do your children enjoy most? I’m fond of the classic choices, such as slime, tie-dye, and sidewalk chalk paint.
For Independence Day, children’s crafts naturally shift toward red, white, and blue, just as you would expect. You may even want to recreate familiar projects using the USA color scheme, since there are countless wonderful possibilities.
BUT perhaps you’re looking to revisit an activity you haven’t done in a while. Something entertaining for children of every age. Something you may have overlooked?
How about Fourth of July perler beads!
If it has been some time since you bought perler beads, these designs can help you get started again. They’re suitable for ages six and older, making this a delightful project to enjoy with children. Kids adore perler beads, which are also called hama beads, fuse beads, or melty beads.
Below, you’ll find more than 25 designs featuring classic Independence Day figures and emblems, including Uncle Sam, flags, stars, patriotic hearts, the Statue of Liberty, and more. Some are quite easy, while others offer a greater challenge.
Children aren’t the only ones who enjoy them. EVERY time I set out the beads for my nieces at home, the grown-ups participate too. Every single time!
I’m certain this post will become a favorite.
Fourth of July Perler Beads
Be sure to keep these tips in mind:
- Several designs exceed the size of a 29 x 29 pegboard, so you’ll need either anextra large pegboard(49 x 69 tall) or several square pegboards arranged together to create a bigger “canvas.”
- Along with square pegboards, you’ll also find heart and round pegboards. They’re useful additions to your collection if you intend to make plenty of perler projects.
- You may notice that a few pattern backgrounds below are not white – this is only for contrast, making it easier to identify where the white beads belong. Adding the background is optional.
- There’s no need to copy my colors exactly. Personalize each design using your preferred bead colors or shades.
- I generally arrange my list from the simplest, smallest designs to the more challenging, larger ones. If your favorite hasn’t appeared yet, continue browsing!
Rocket, Rocket Pop, USA Letters, and USA in a Heart
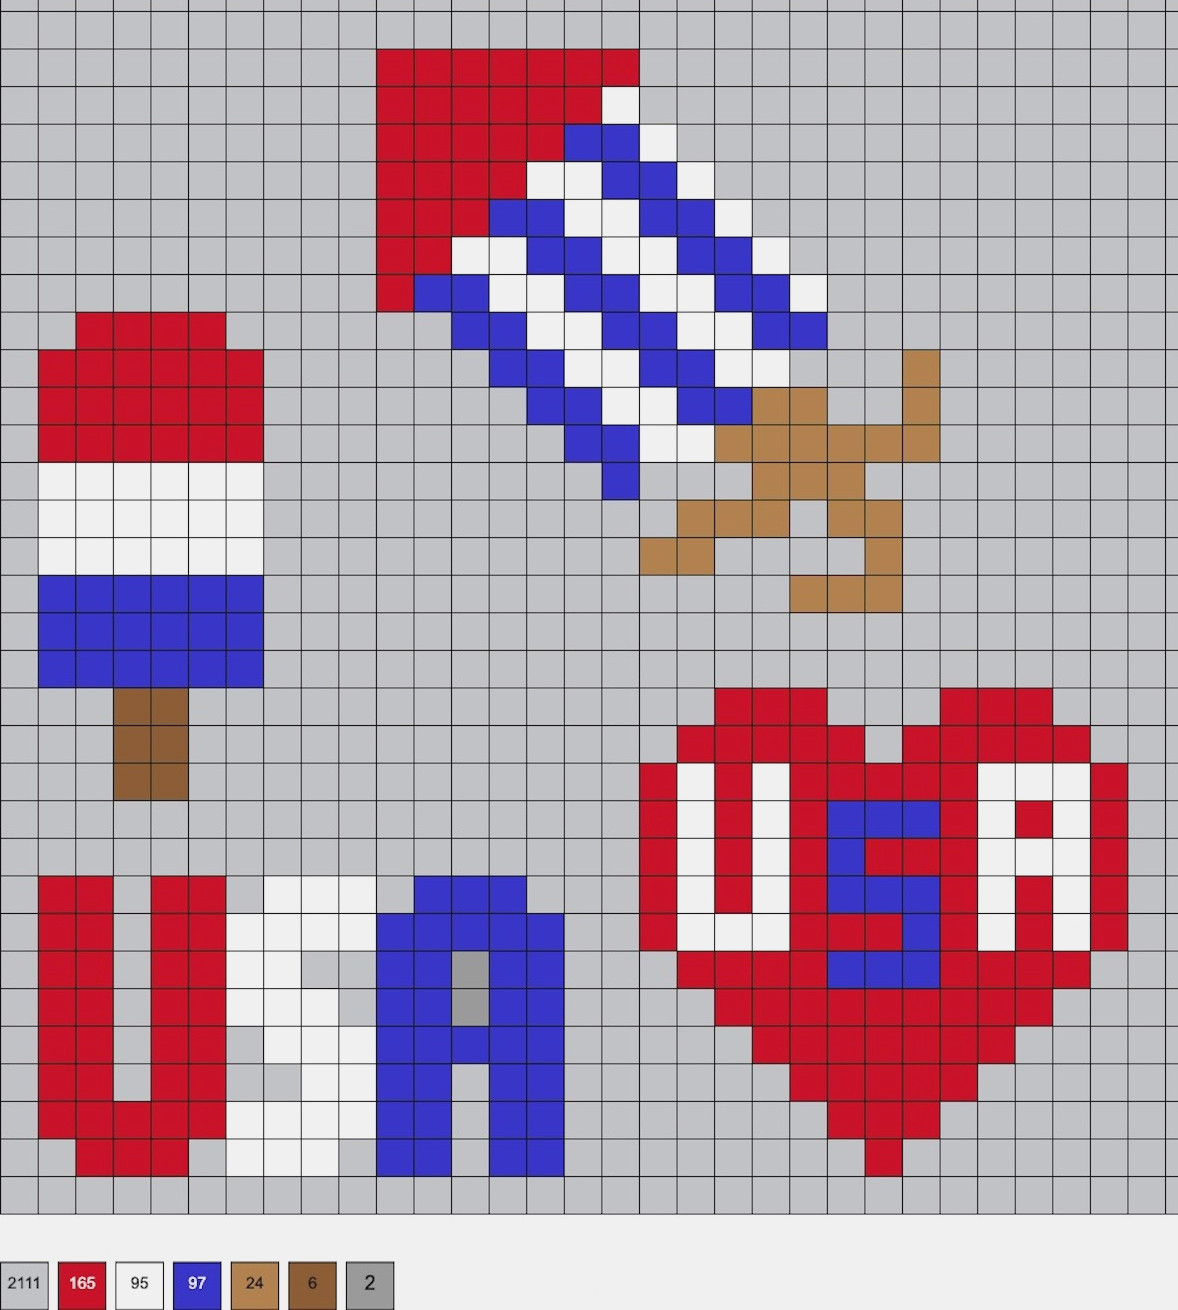
Small USA and Flag
These designs are created on the smaller square boards, which measure 14 x 14.
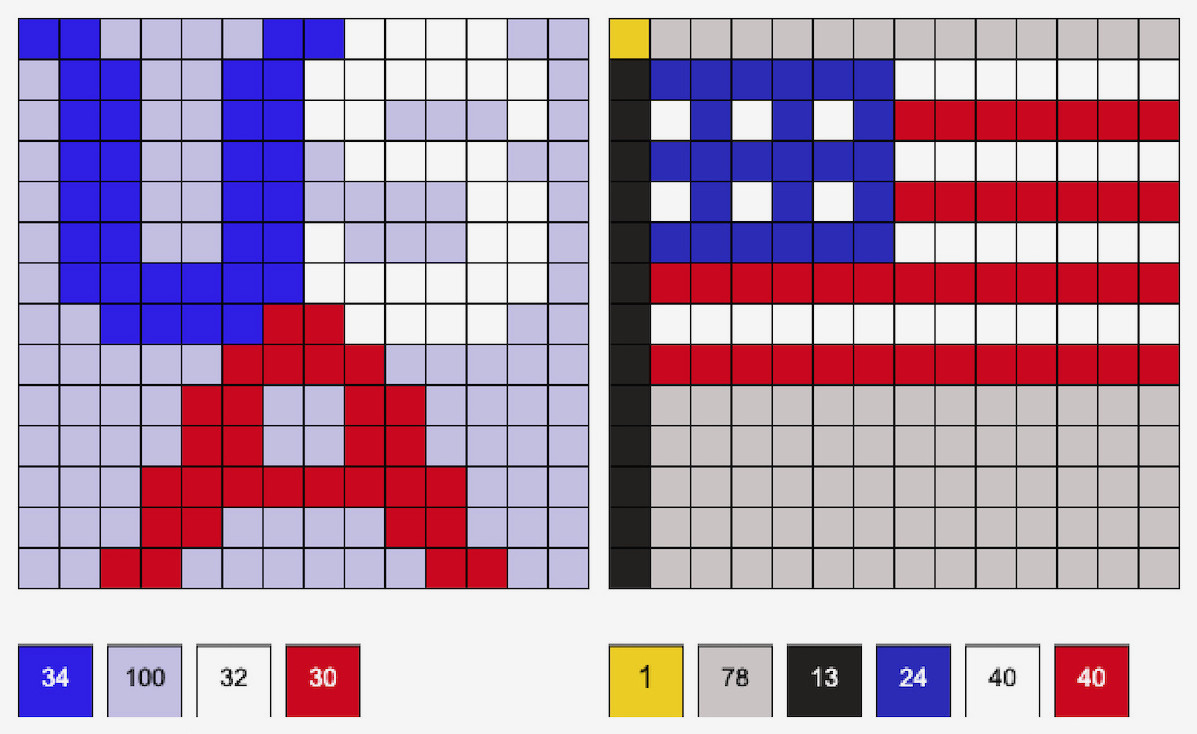
Three Patriotic Stars
Below are three Fourth of July star variations made on small star boards with patriotic color combinations, using star pegboards.
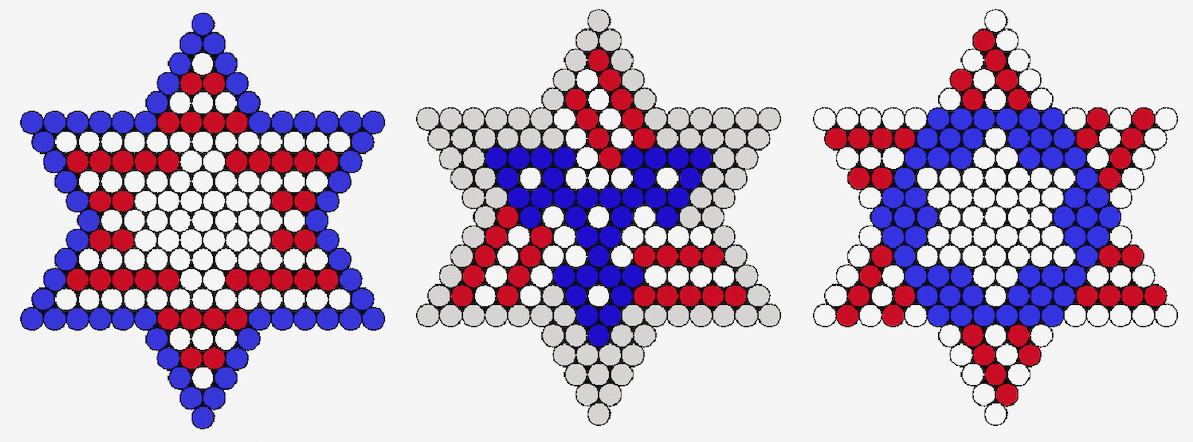
Red, White, and Blue Rainbow and Blue Pointed Star
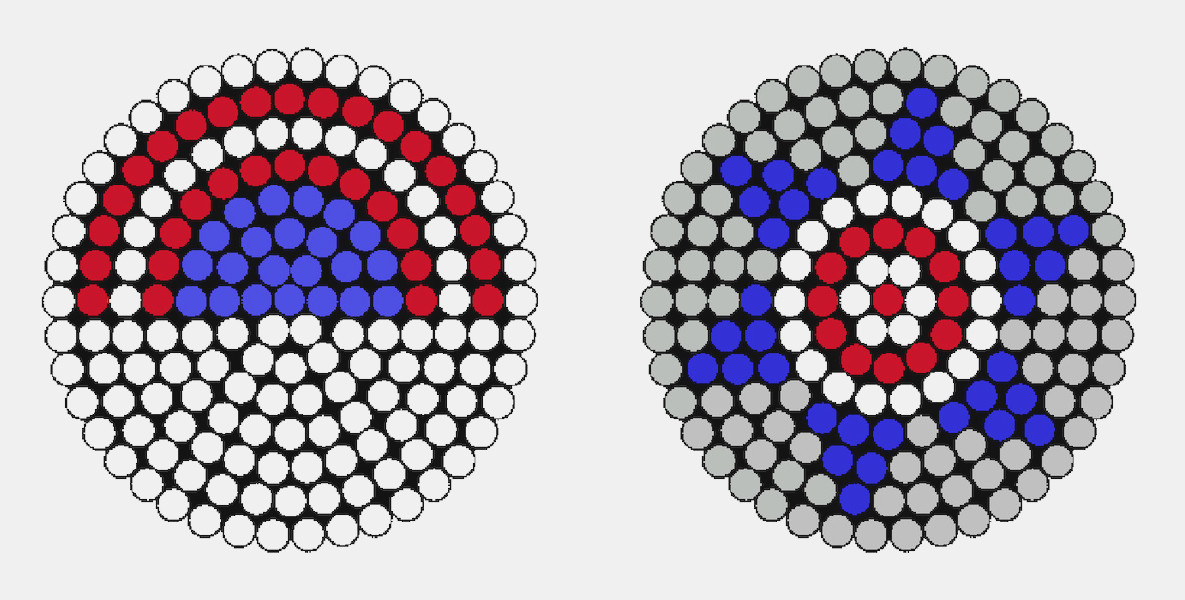
Small Flag Heart and Large Intertwined Heart
The design on the left uses a small heart pegboard. The one on the right shows a red, white, and blue interwoven heart. The gray sections represent either clear beads or spaces that should remain empty.

Stars and Stripes on a Large Heart Pegboard

Dimensional Red and Blue Stars
You’ll need 134 dark blue beads and 134 red beads for this design. To assemble the star, slide the upper section down over the lower section.
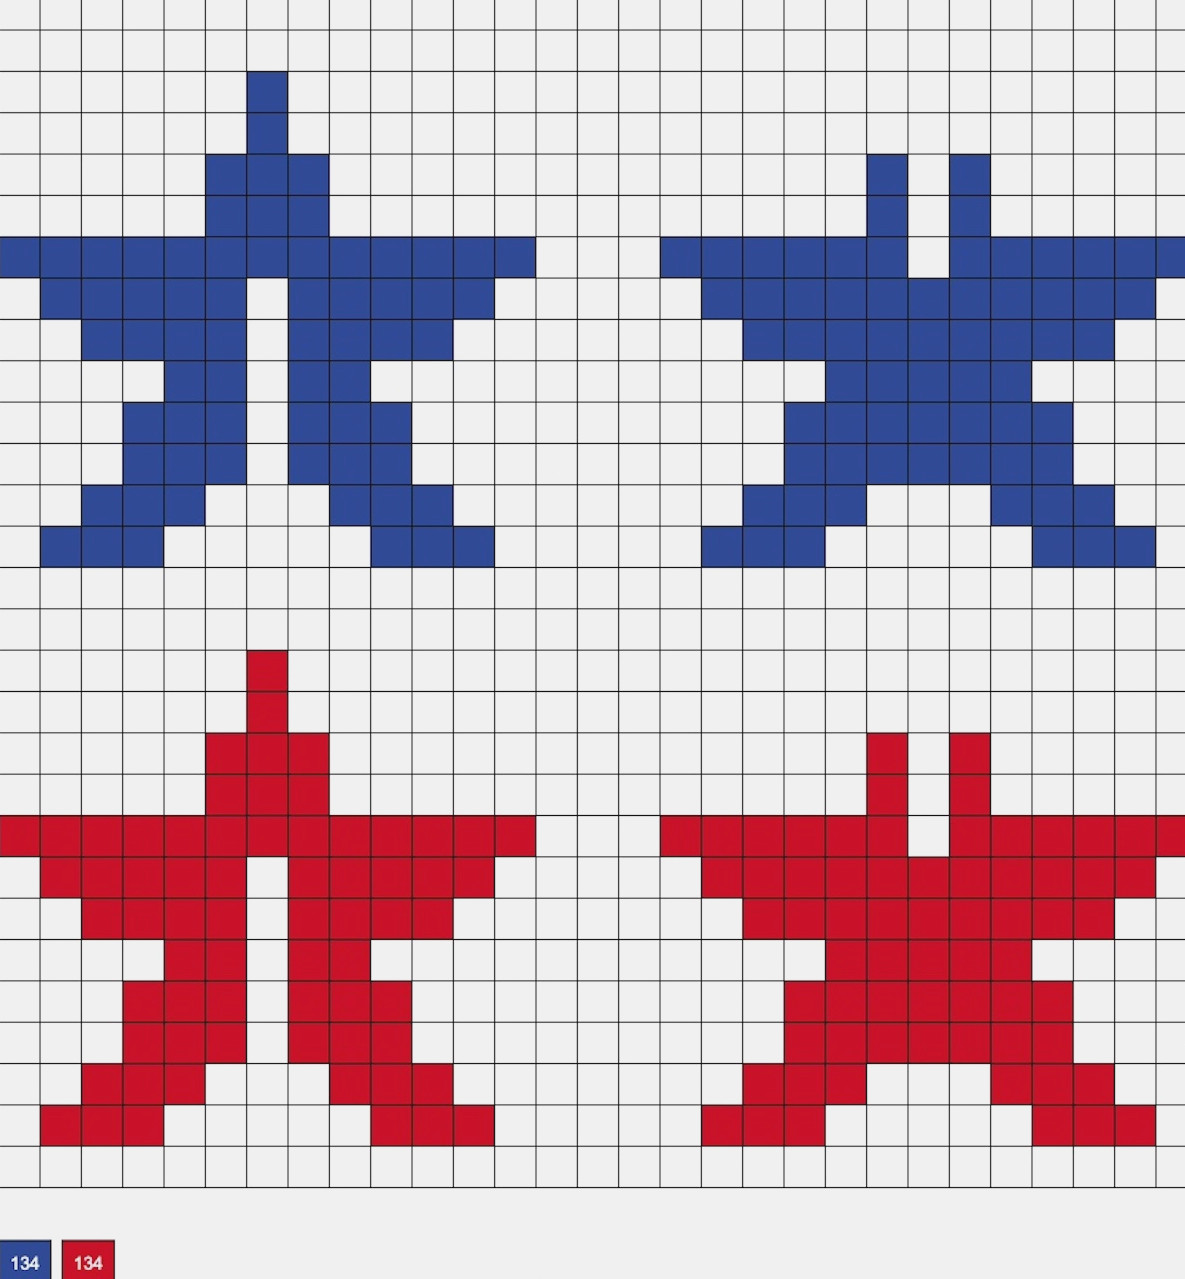
Statue of Liberty Flag
This design calls for 83 light blue, 106 red, 102 white, 9 yellow, and 45 pastel blue beads.
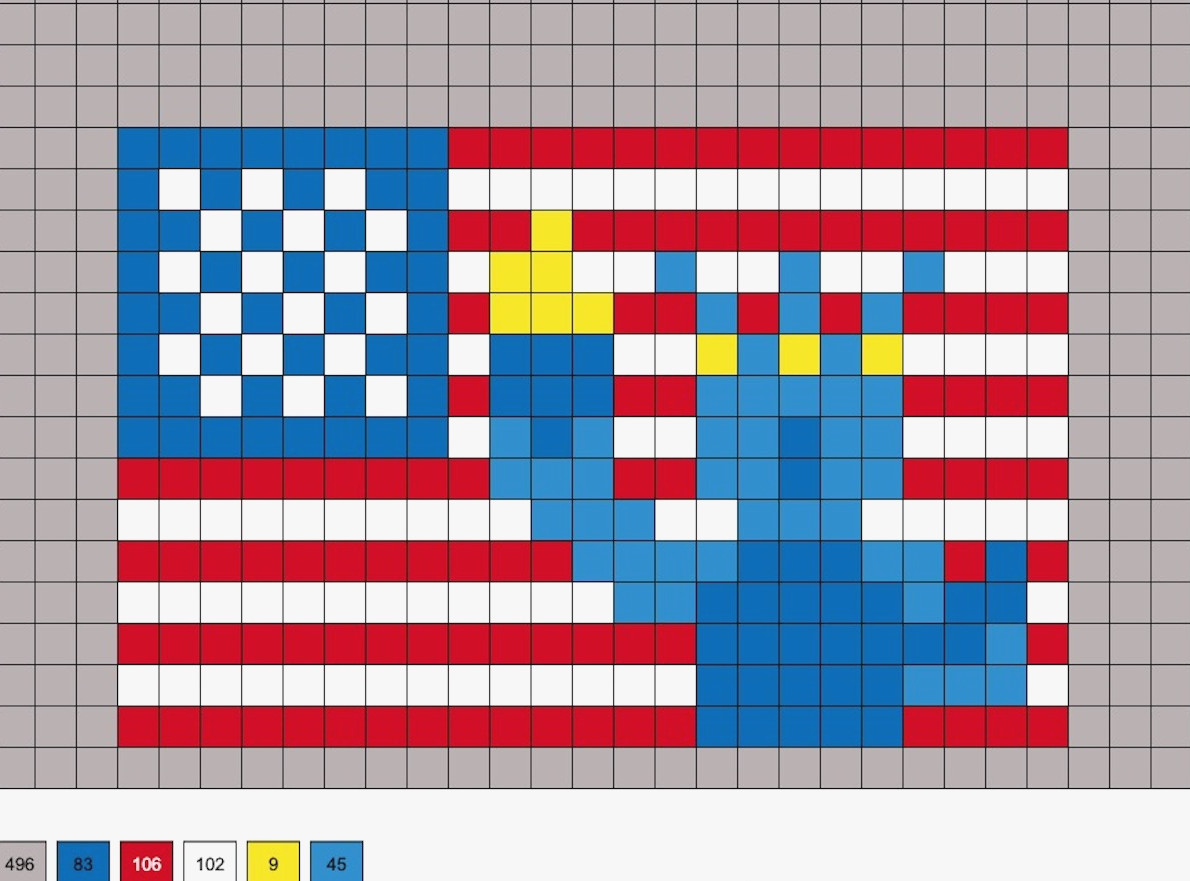
Heart-Shaped Flag on a Square Board
No heart pegboard? No problem—you can still create a flag-shaped heart! This design requires 60 black, 78 dark blue, 132 white, and 106 red beads.
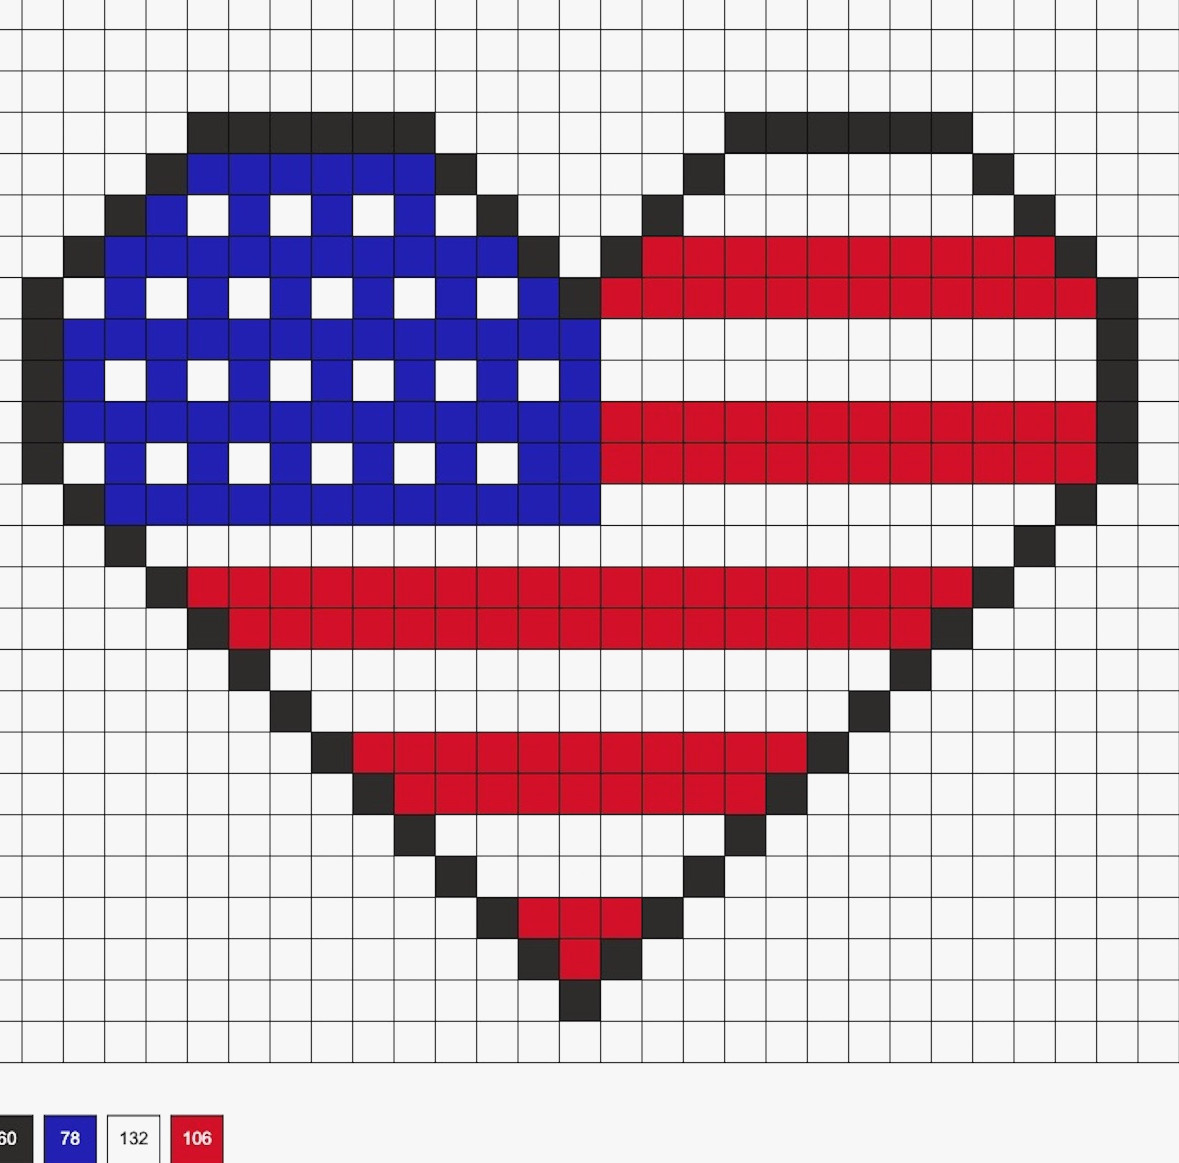
Uncle Sam Figure
For this design, you’ll need 54 red, 68 white, 20 cobalt, 57 flesh, and 8 flamingo beads.
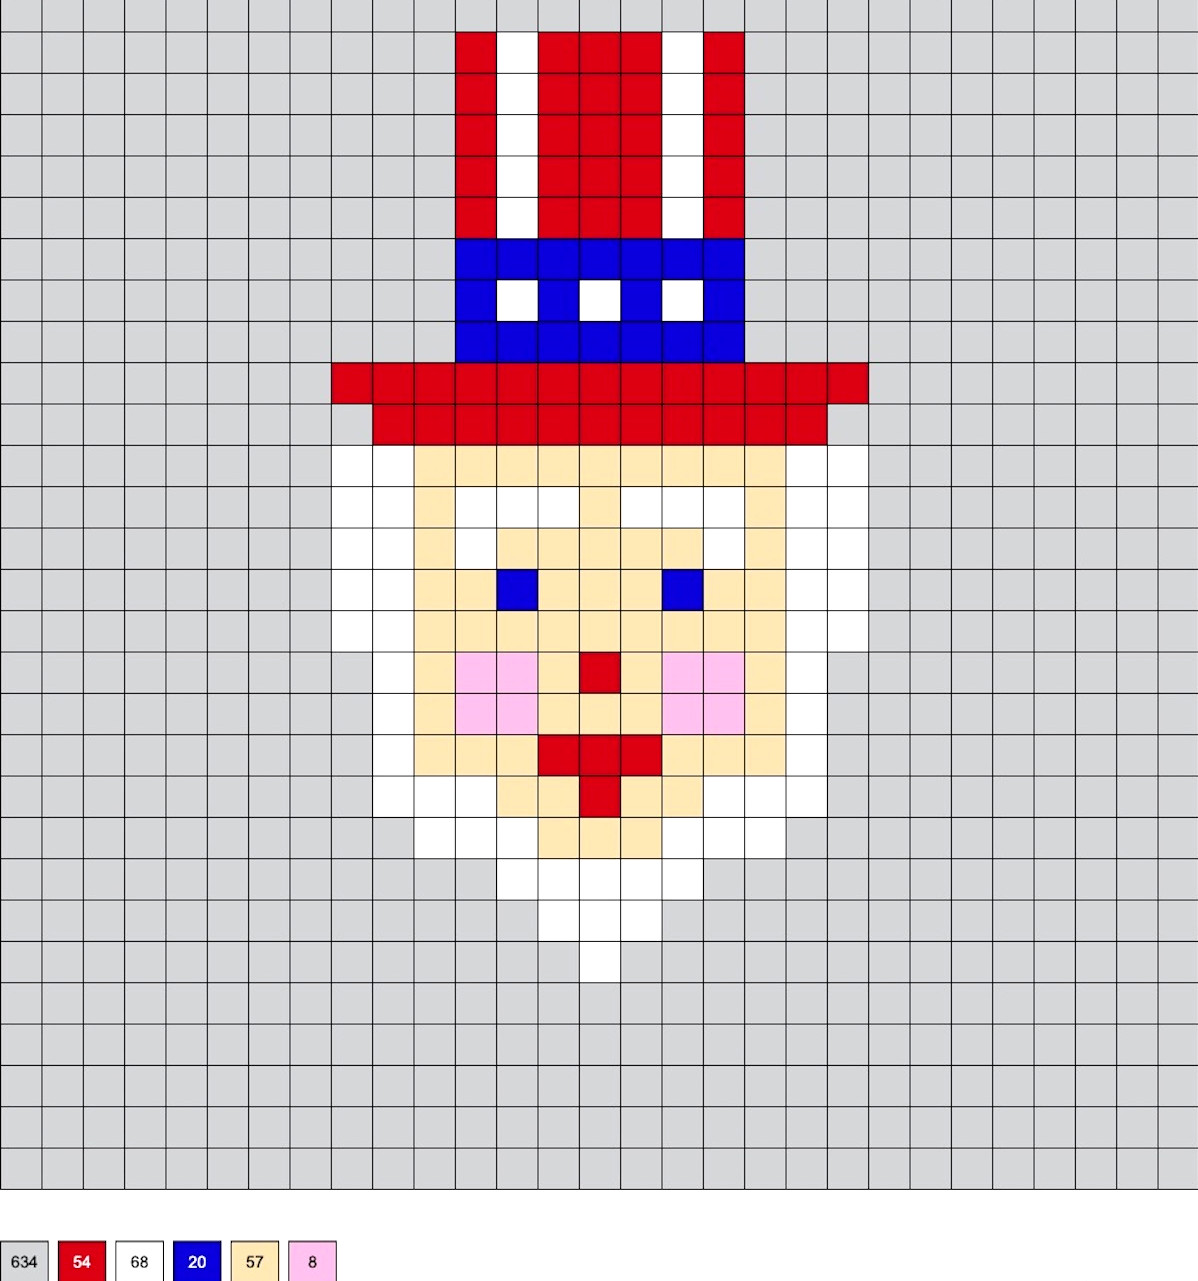
Fourth of July Display
You’ll need 909 white, 68 cobalt, and 299 red beads to complete this design.
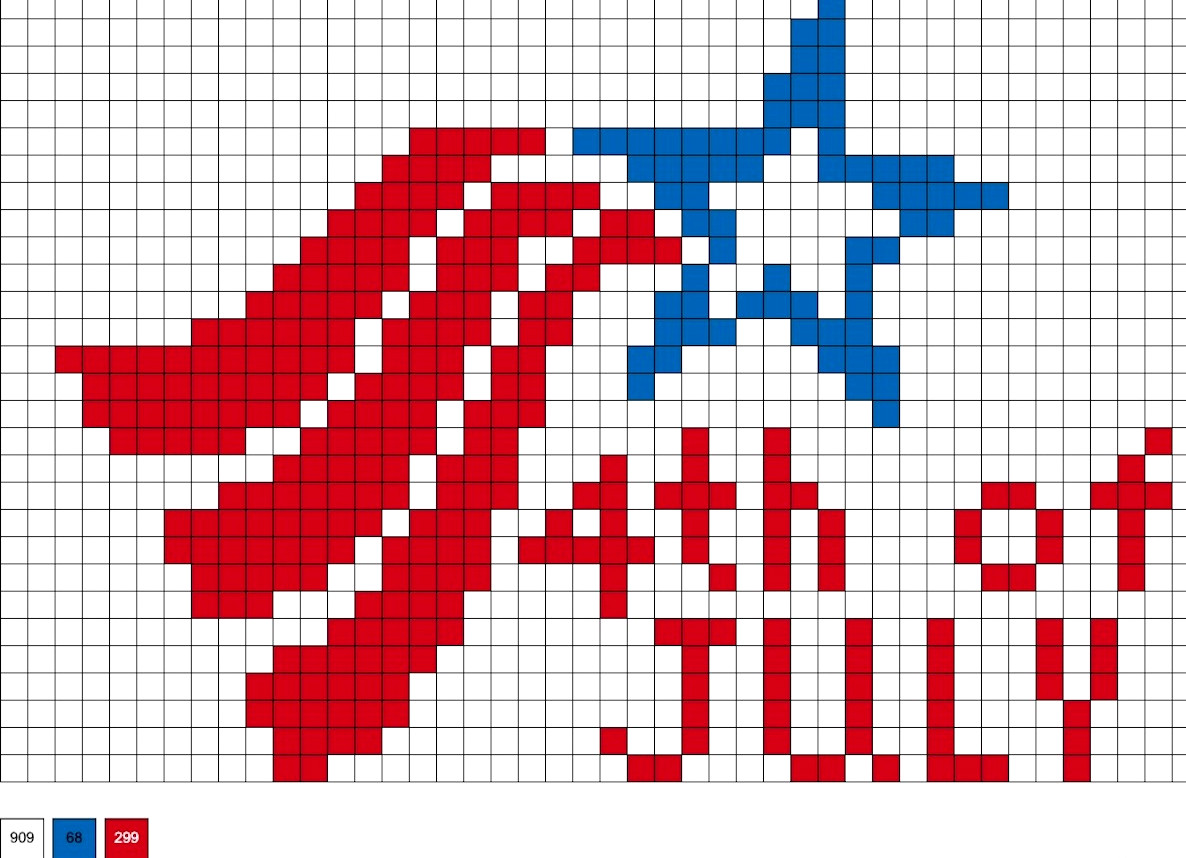
Stars-and-Stripes Gnome
This design calls for 201 white, 120 red, 89 cobalt, and 24 flesh beads.
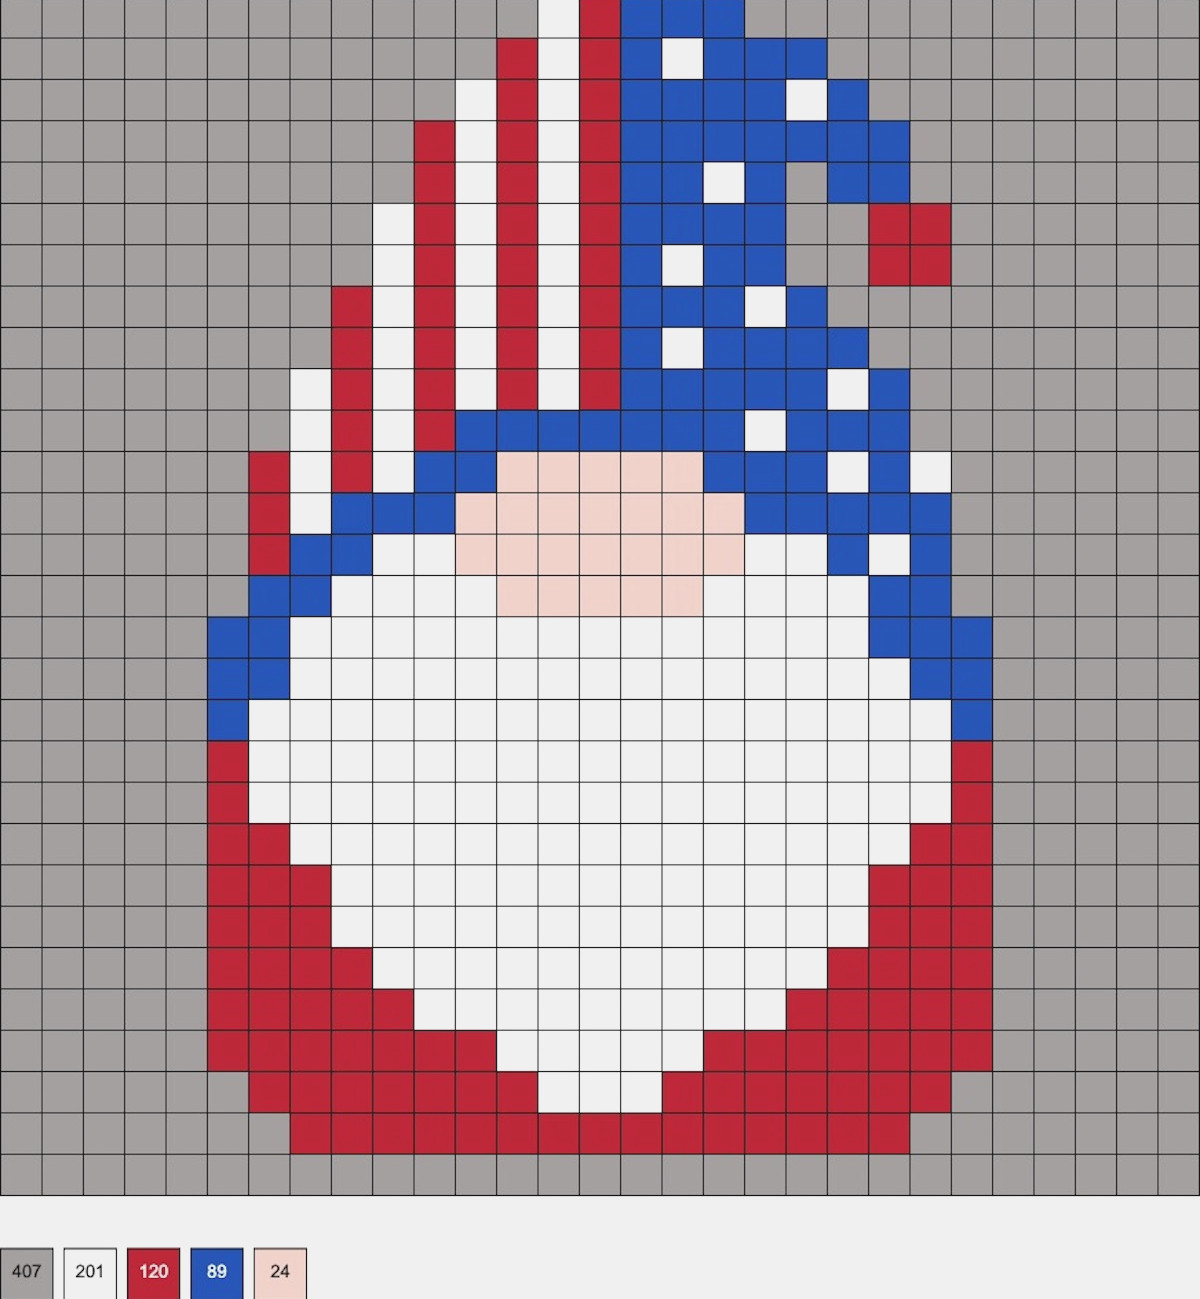
Uncle Sam’s Hat
To make this pattern, gather 98 black, 83 red, 69 white, 70 cobalt, 94 gray, and 65 dark gray beads.
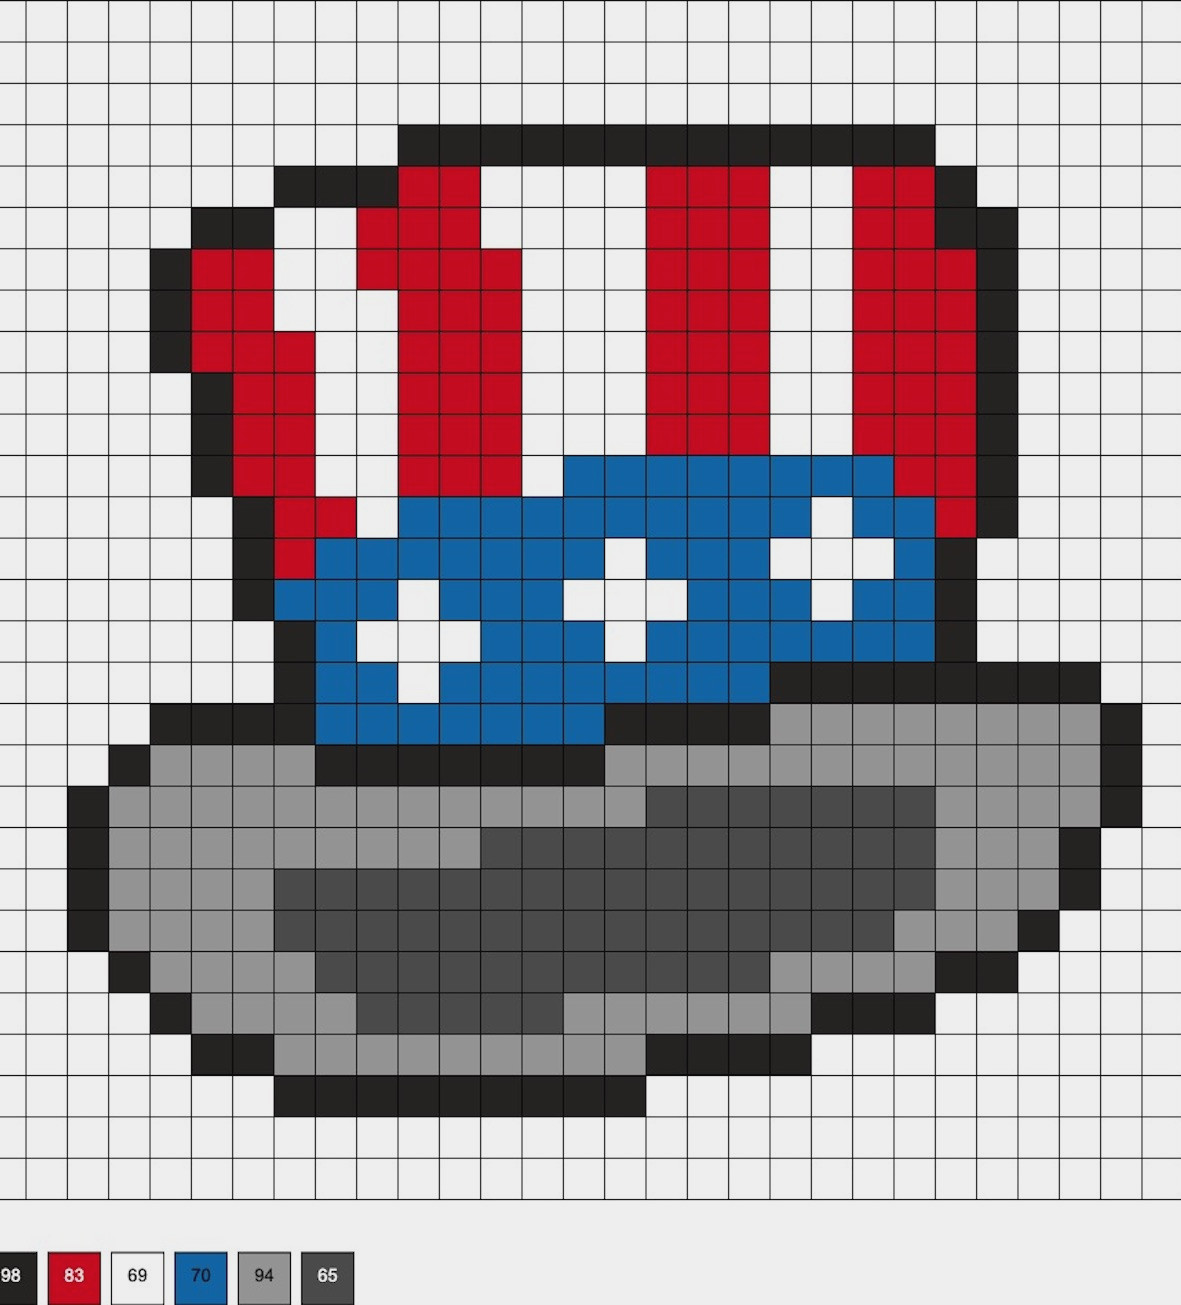
USA Holiday Ornament
An opening at the top makes it ready for hanging! This design requires 77 white, 59 cobalt, and 117 red beads.
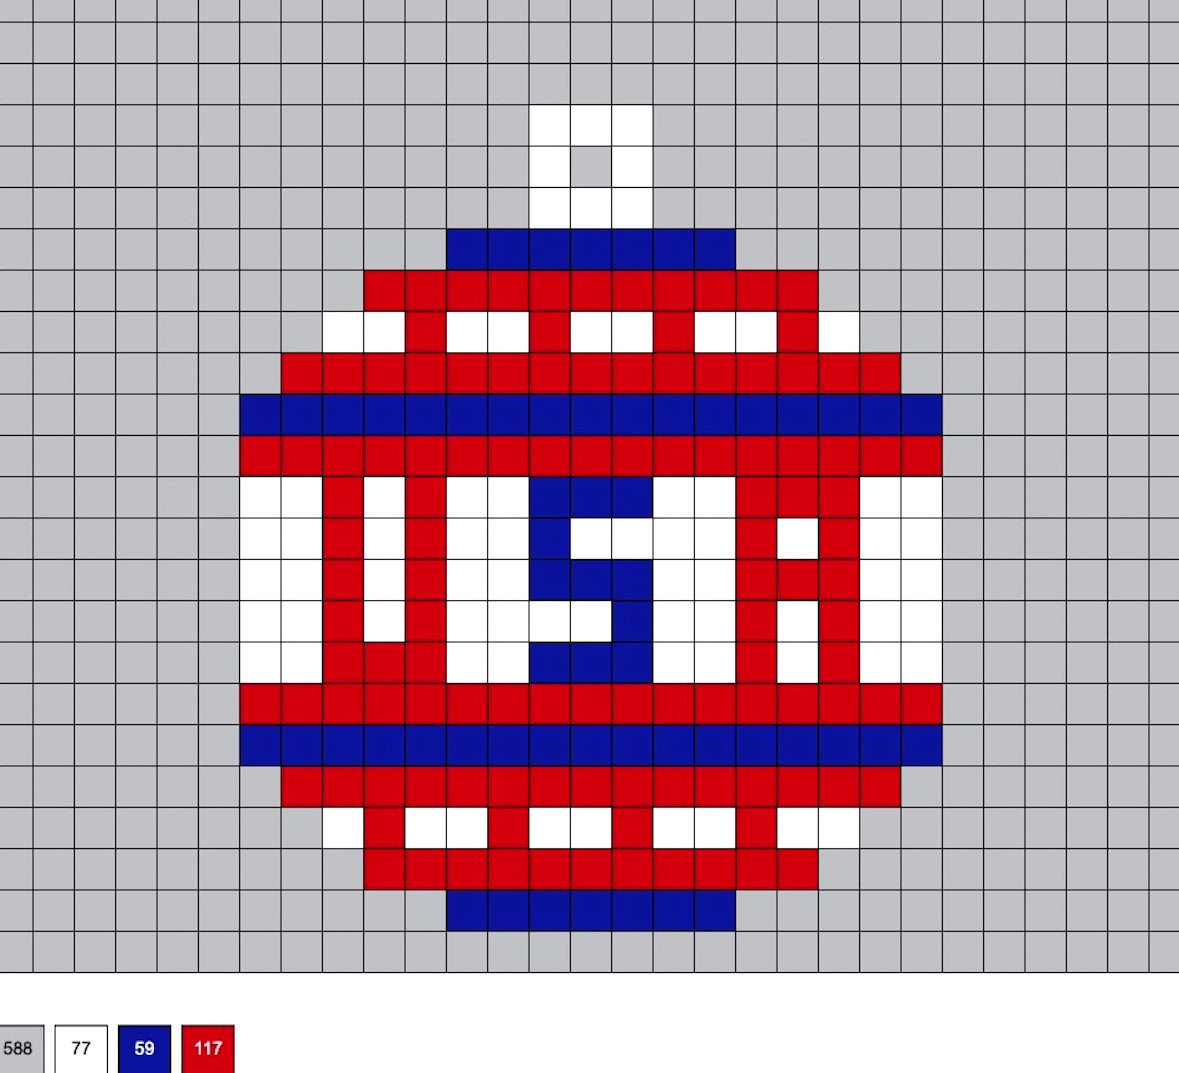
American Bald Eagle
This design calls for 200 white, 57 gray, 37 yellow, 14 cheddar, and 74 cocoa beads.
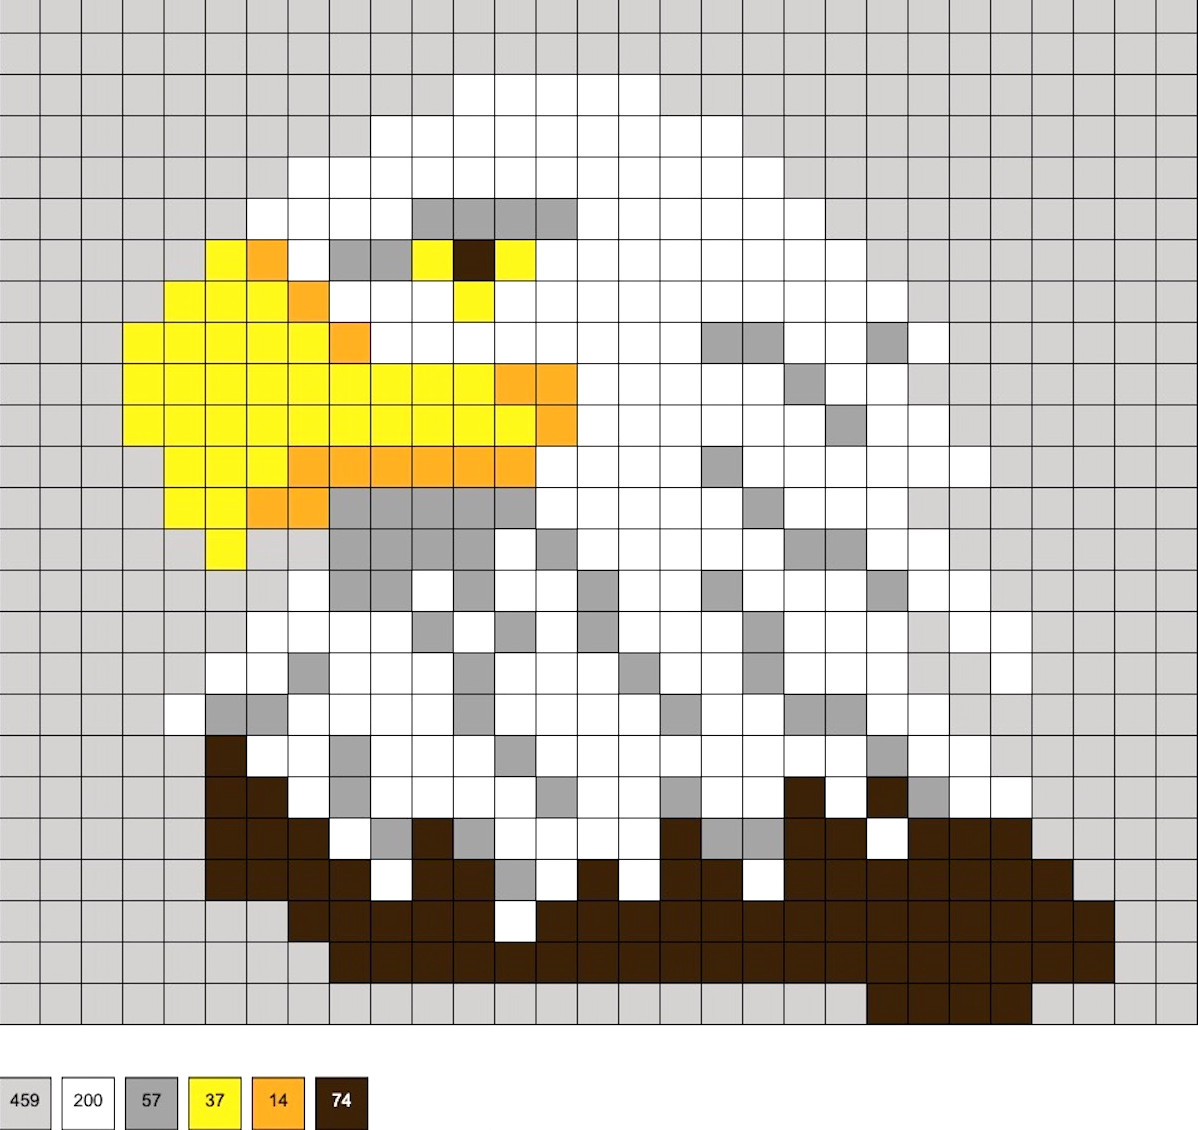
Liberty Statue
For this design, you’ll need 4 cheddar, 2 yellow, 180 Caribbean sea, 151 lagoon, and 63 mist beads.
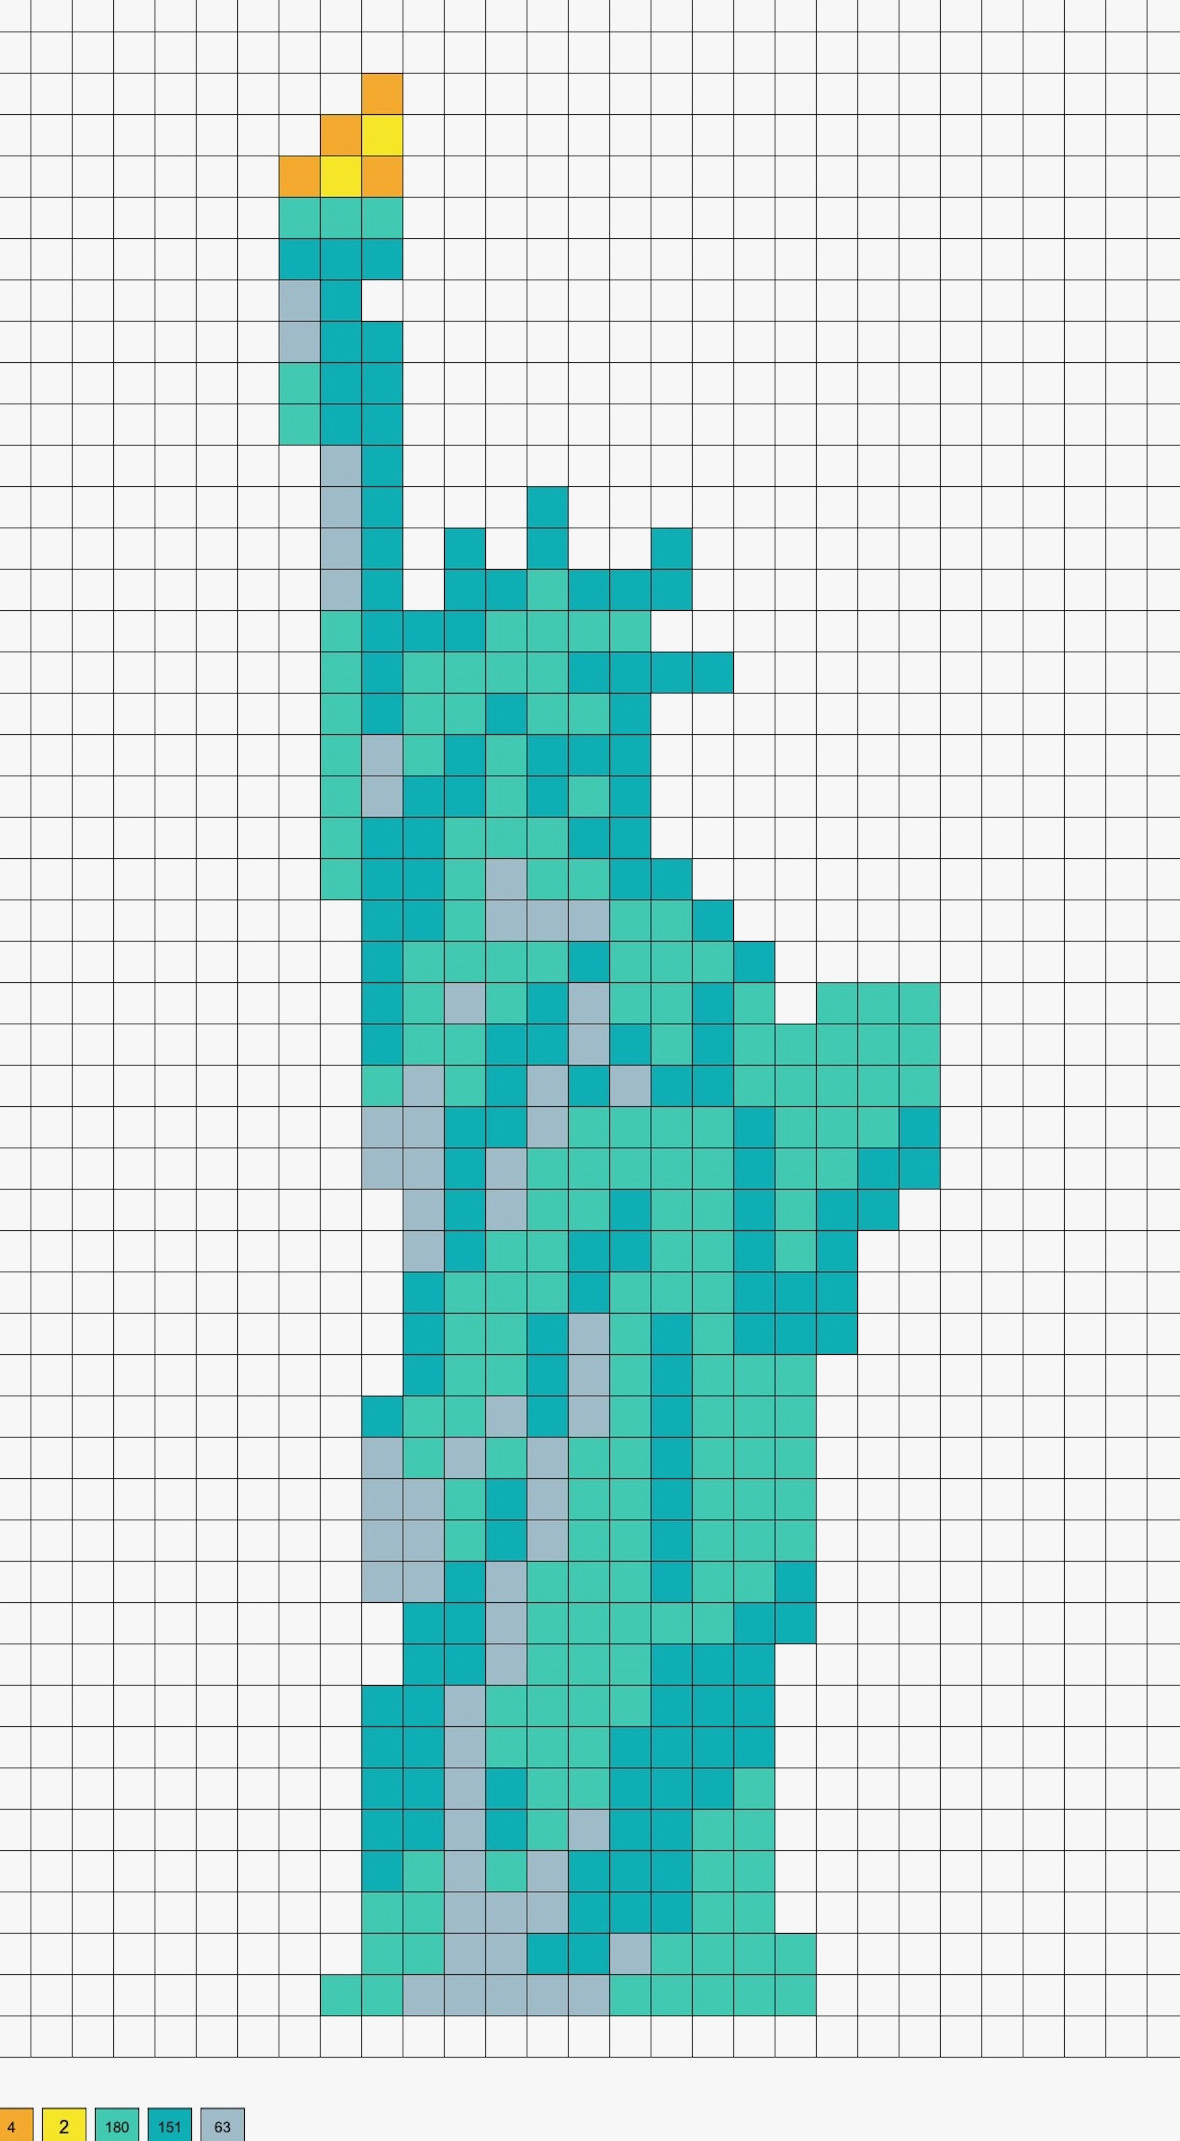
United States Map with Flag Design
This design requires 165 cobalt, 217 white, and 190 red beads.
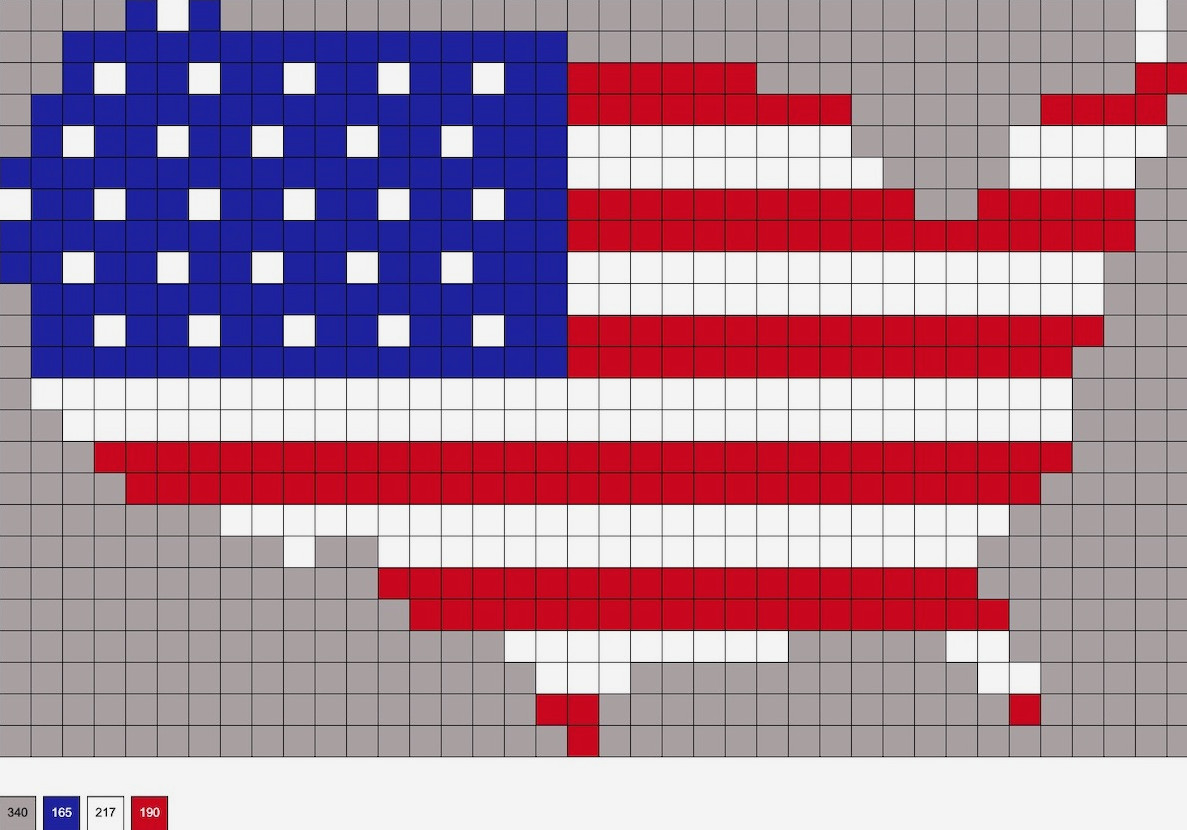
Windblown American Flag
To recreate this pattern, use 40 honey, 187 dark blue, 204 white, 289 red, and 57 toasted marshmallow beads.
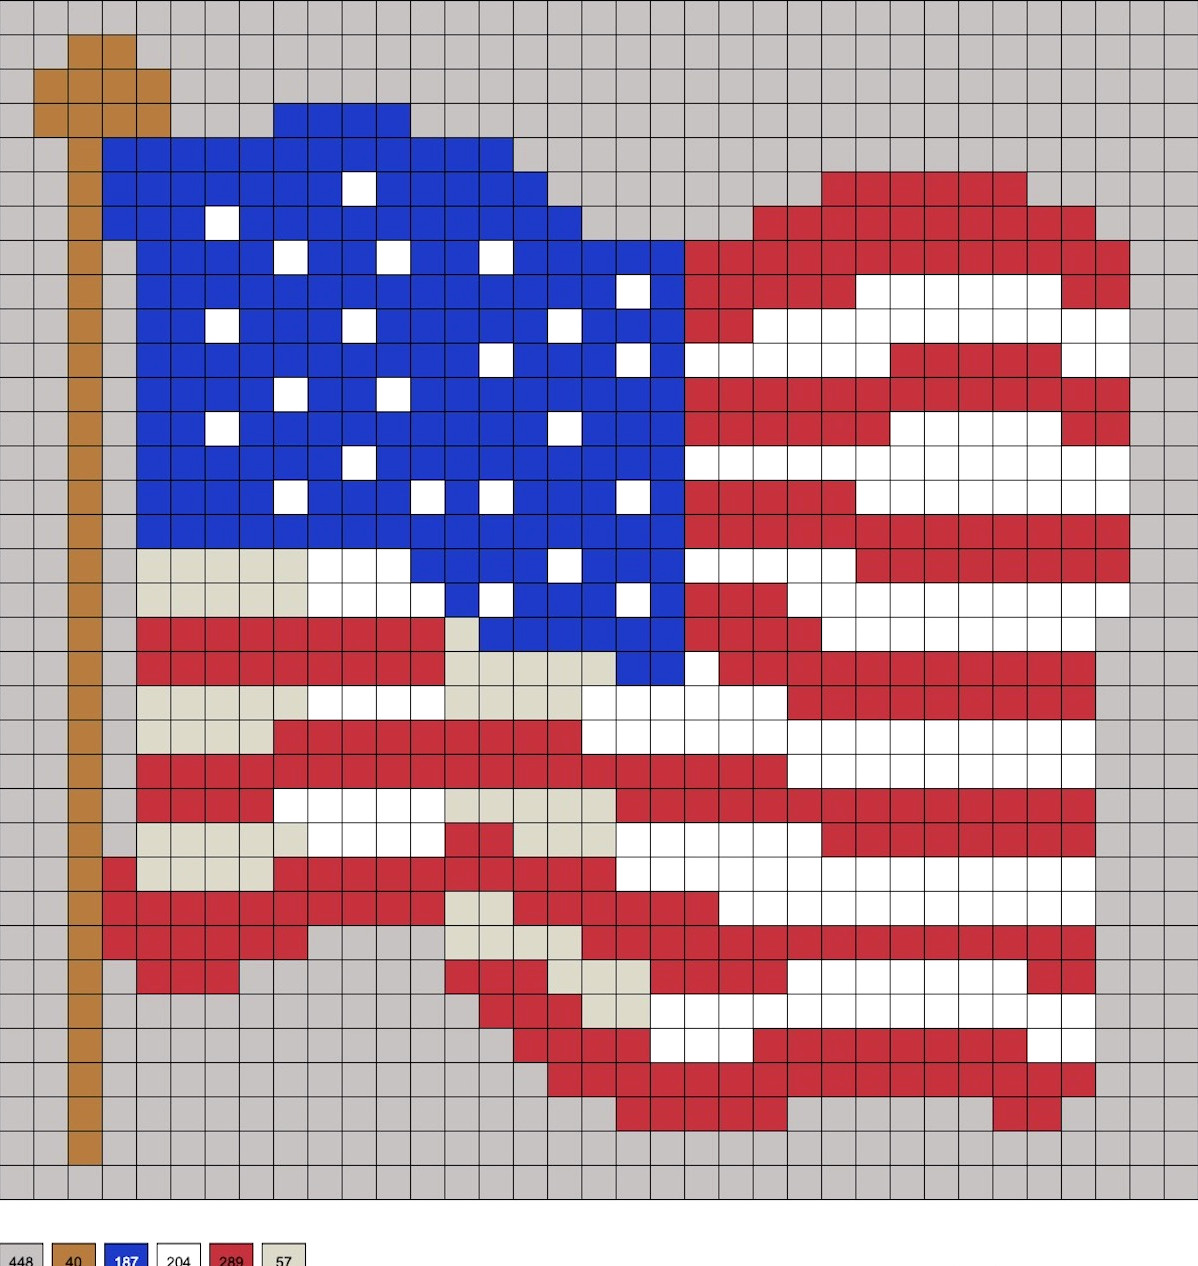
Wonder Woman–Style Heart
This design uses 199 cobalt, 93 white, 104 red, and 102 gold beads.
Did you like these Fourth of July Perler bead designs? Share your thoughts in the comments! You may also want to explore these other patterns:
Animals • Birds • Butterflies • Cats • Coasters • Dinosaurs • Dogs • Dragons • Easter • Emojis • Fairies & Gnomes • Flowers • Frogs • Mickey Mouse • Minions • Mother’s Day • Mushrooms • Pandas • Rainbows • Summer • Super Mario • Superheroes • Unicorns • Valentine’s Day
uper Mario
lan performance. Each structural decision, including recessed niches and uninterrupted flooring, helps create a room that is simple to move through and straightforward to care for.
Careful preparation can transform even compact bathrooms into bright, orderly retreats. Explore more of our remodeling and architecture articles for additional ideas for your upcoming projec
Planning to embellish your home for Thanksgiving but not certain how to begin? Browse this collection of more than 40 DIY Thanksgiving decorations for ideas. These crafts are charming (they don’t appear homemade) and easy on the wallet!
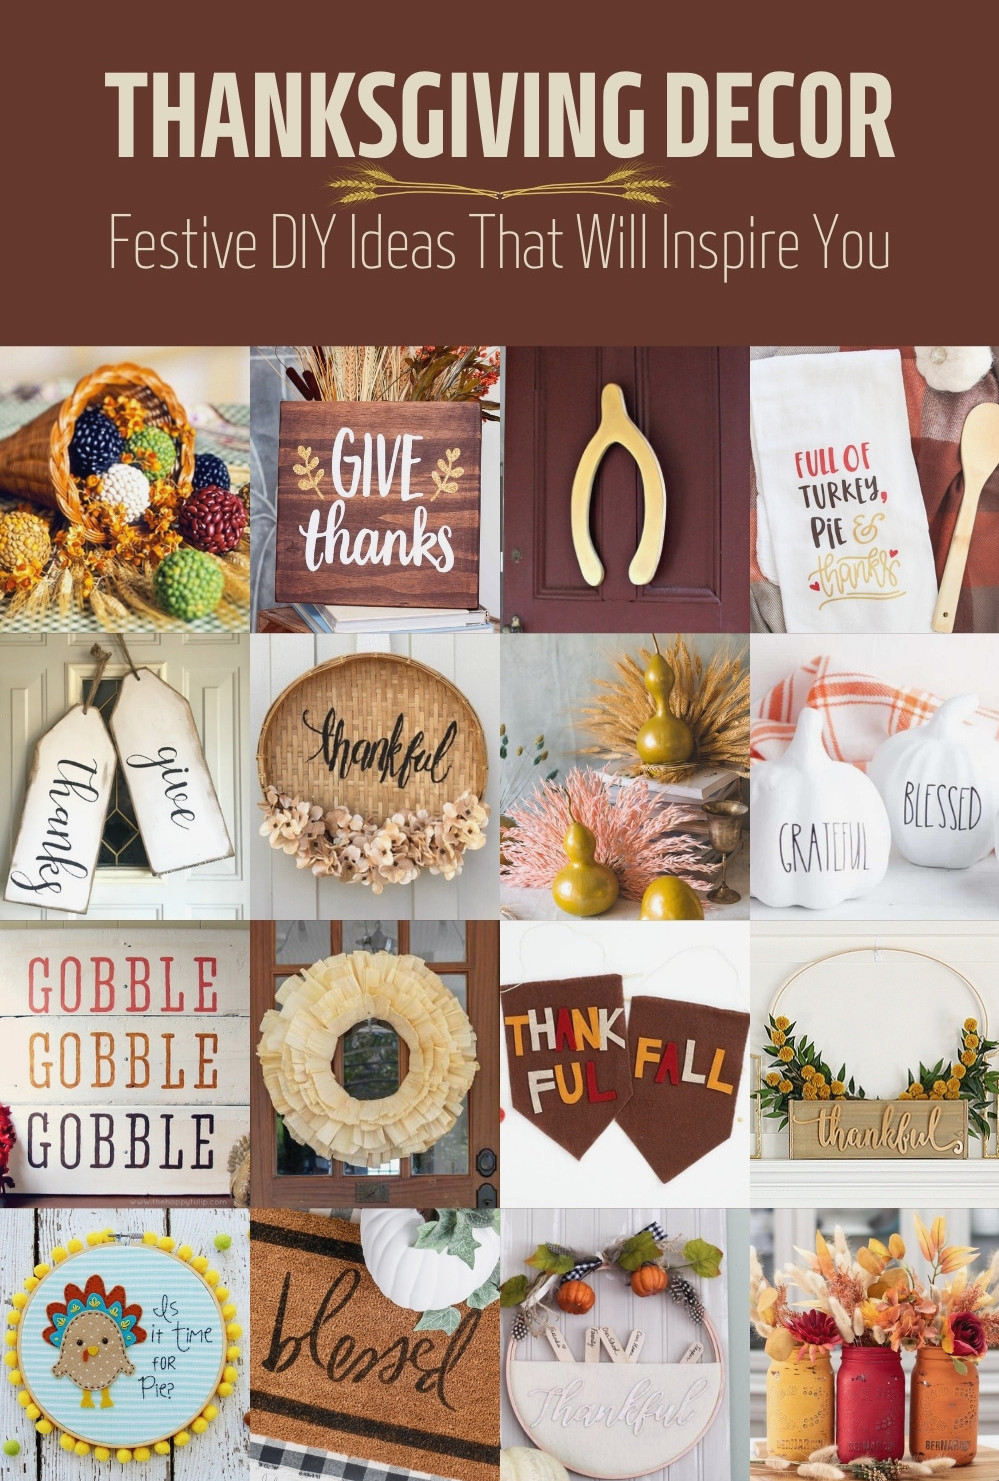
I enjoy decorating for autumn, Halloween, and Christmas, but Thanksgiving often seems to be overlooked when it comes to seasonal décor. This year, I’m determined to add a few decorations to help honor the holiday.
Because of this, I searched through fellow bloggers for creative DIY ideas. Although I discovered plenty of Thanksgiving crafts for children, finding DIY Thanksgiving décor projects designed for adults was somewhat more challenging.
If I ran into this problem, chances are you have too. So, I gathered the finest DIY Thanksgiving decorations I could find and have listed them below for you.
Whether you’re welcoming guests for Thanksgiving dinner or simply hoping to dress up your home for the occasion, you’re in the right spot!
Keep scrolling to discover more than 40 DIY Thanksgiving decoration projects to make the holiday special. I’d also love to hear which ideas are your favorites, so share them in the comments!
DIY Thanksgiving Decor Ideas
1

Simple Give Thanks Sign
Discover how to create this lovely, uncomplicated stained Give Thanks sign. With a hint of shimmer, it’s ideal for autumn and the Thanksgiving season!
Get the Tutorial
2
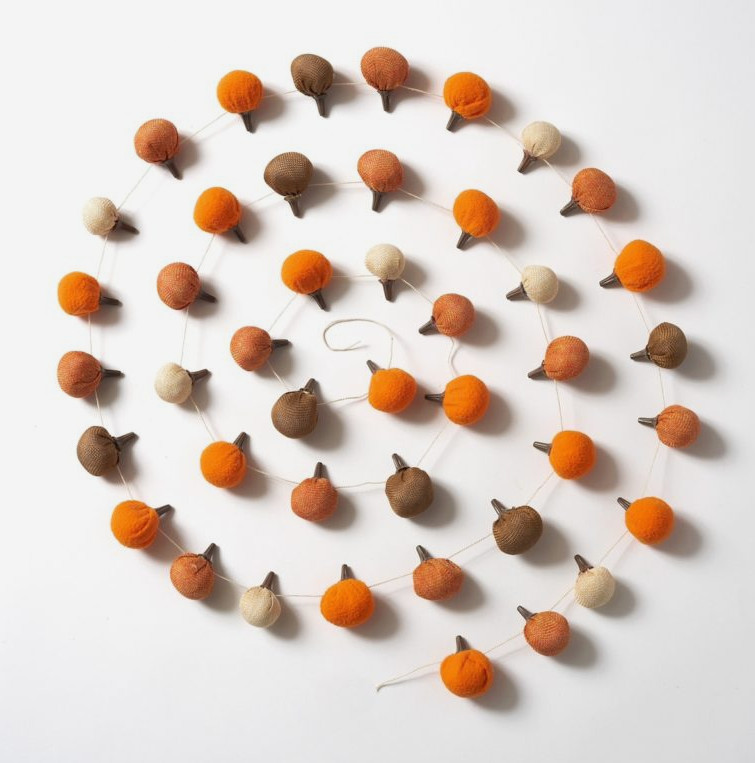
Homemade Pumpkin Garland
Put together a festive pumpkin garland using easy-to-find, inexpensive supplies from your neighborhood dollar store. It’s a wonderful way to add autumn flair to your mantel or seasonal celebration.
Get the Tutorial
3
Gourd Turkeys
Turn dried flowers, gourds, and metallic paint into these playful turkey decorations. Display them on a mantel or arrange several as an eye-catching centerpiece.
Get the Tutorial
4
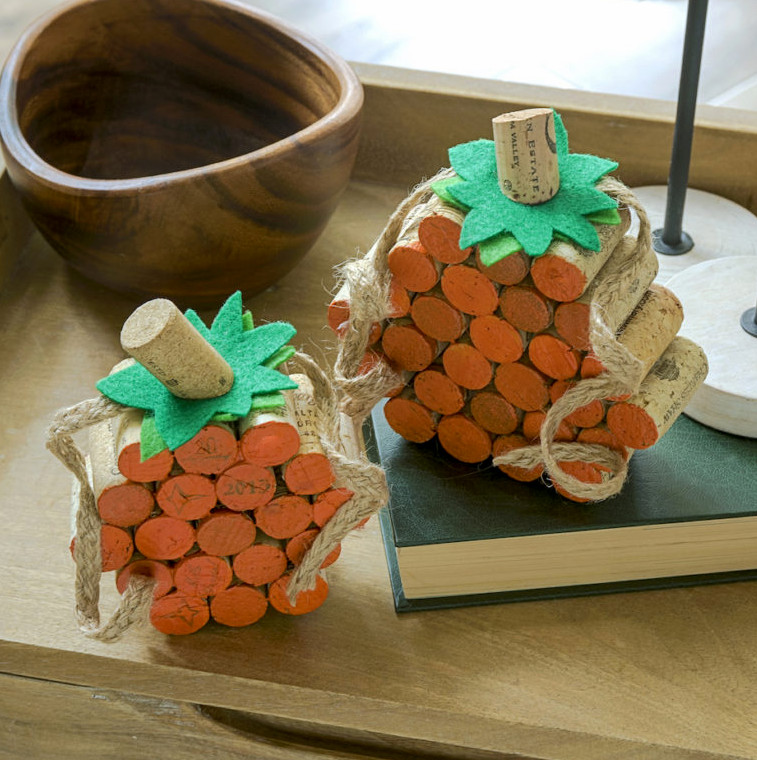
Pumpkins Made from Wine Corks
Create distinctive, uncomplicated autumn decorations with wine cork pumpkins! Crafters of every experience level can make them. They’d be lovely displayed on a console table or mantel.
Get the Tutorial
5
Rustic Thanksgiving Sign
This DIY Thanksgiving sign celebrating gratitude and blessings makes a wonderful addition to your holiday décor. It’s incredibly SIMPLE to create and suits farmhouse or country-inspired spaces beautifully!
Get the Tutorial
6
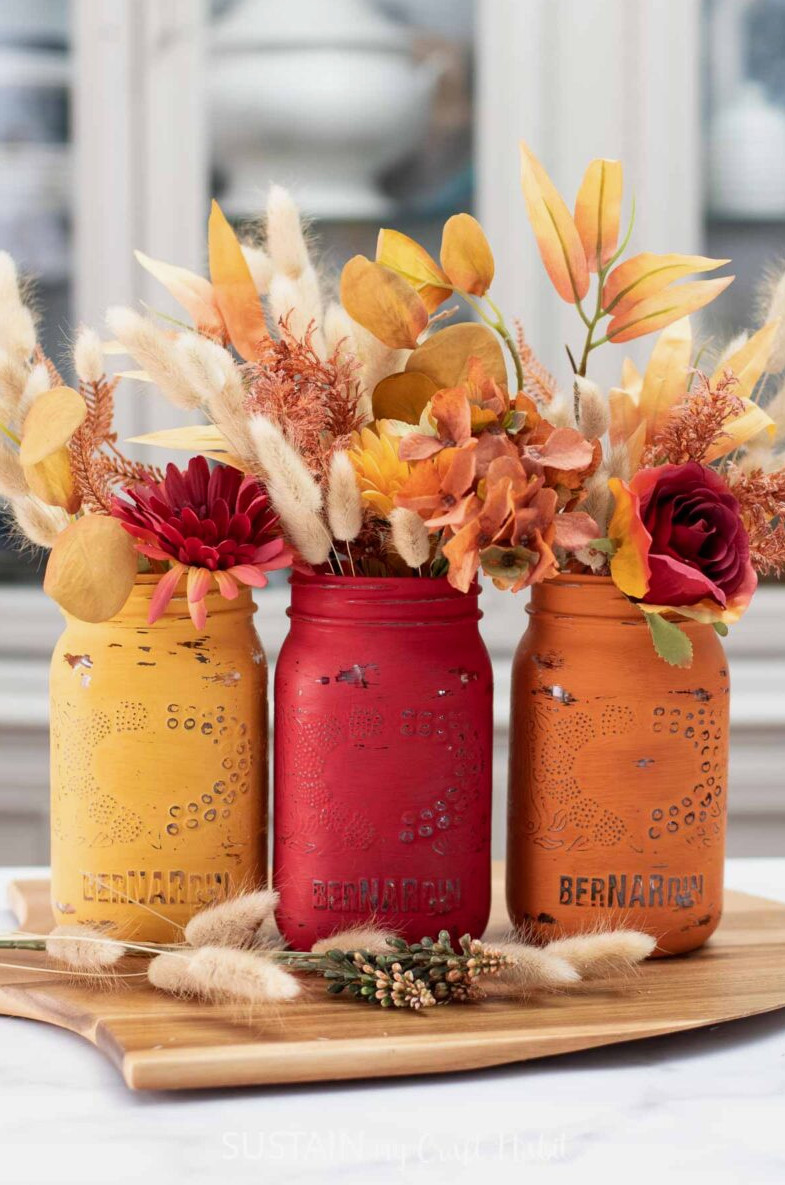
Decorated Jars
These mason jars decorated with chalk paint would be lovely on a mantel or arranged as a Thanksgiving dinner centerpiece. Best of all, this is likely the simplest craft on the list, and you can fill them with either fresh or faux flowers.
View the Tutorial
7
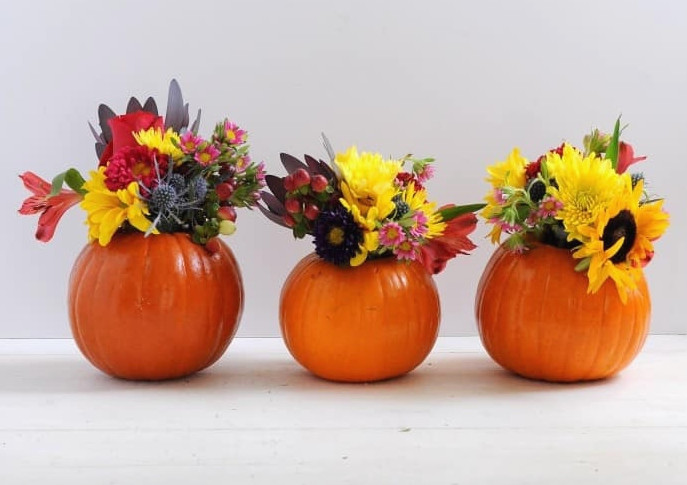
DIY Mini Pumpkin Vases
Need a simple floral decorating idea to prepare your home for the holidays quickly? Create an attractive pumpkin vase that makes a lovely addition to the Thanksgiving dinner table.
View the Tutorial
8
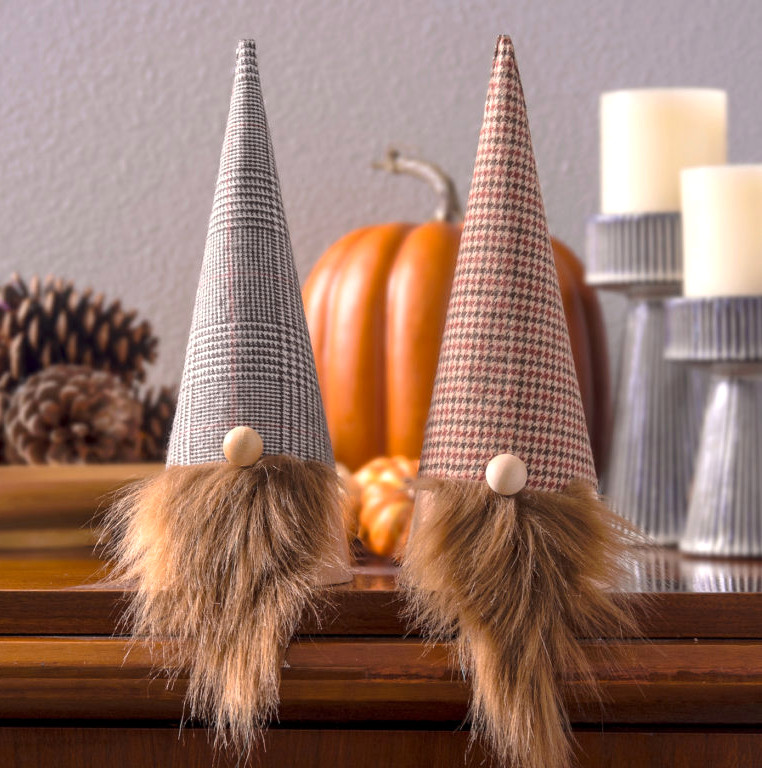
Thanksgiving Gnomes
Create charming gnomes for your Thanksgiving decorations using just a handful of basic supplies from the craft store.
View the Tutorial
9
Blue and Orange DIY Fall Centerpiece
This lovely centerpiece is one of my favorites because it works beautifully from fall all the way through Thanksgiving! The soft blue adds an unexpected twist to the holiday, which I really enjoy.
View the Tutorial
10
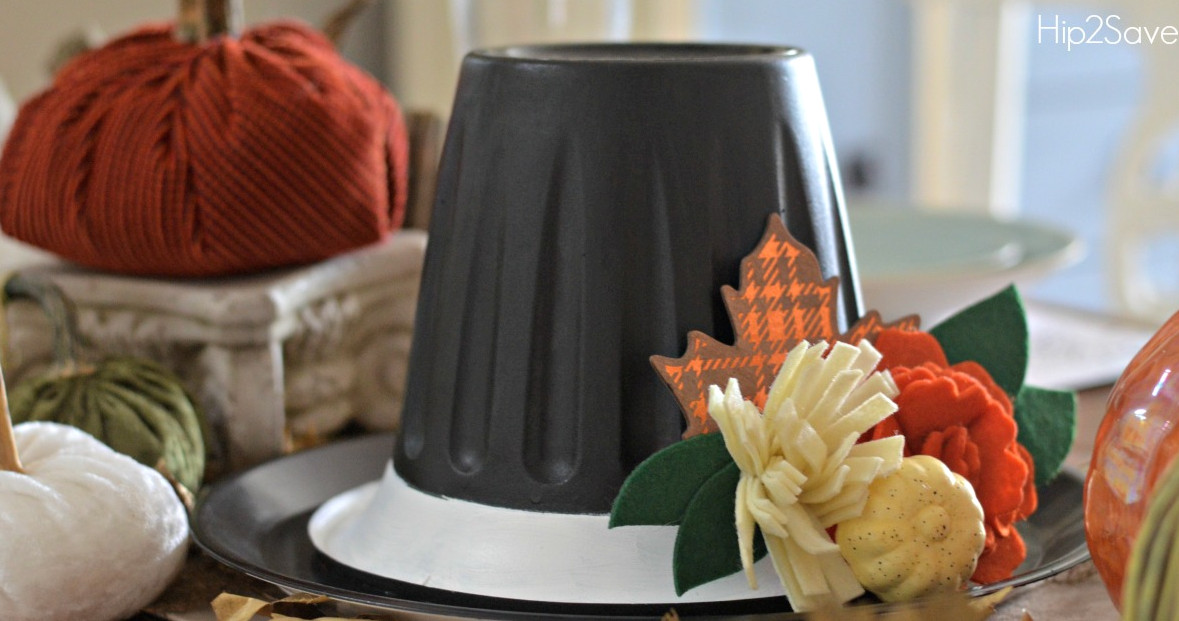
Dollar Store Thanksgiving Hat Centerpiece
With a little glue, transform a basic flower pot into an adorable pilgrim hat by attaching it upside down to a large round tray! You’ll end up with a charming decoration for your Thanksgiving table.
View the Tutorial
11
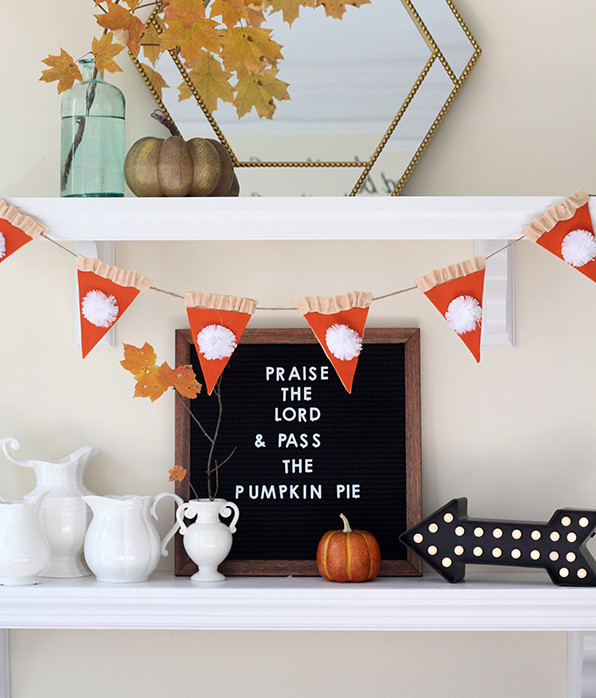
Pumpkin Pie Thanksgiving Garland
View the Tutorial
12
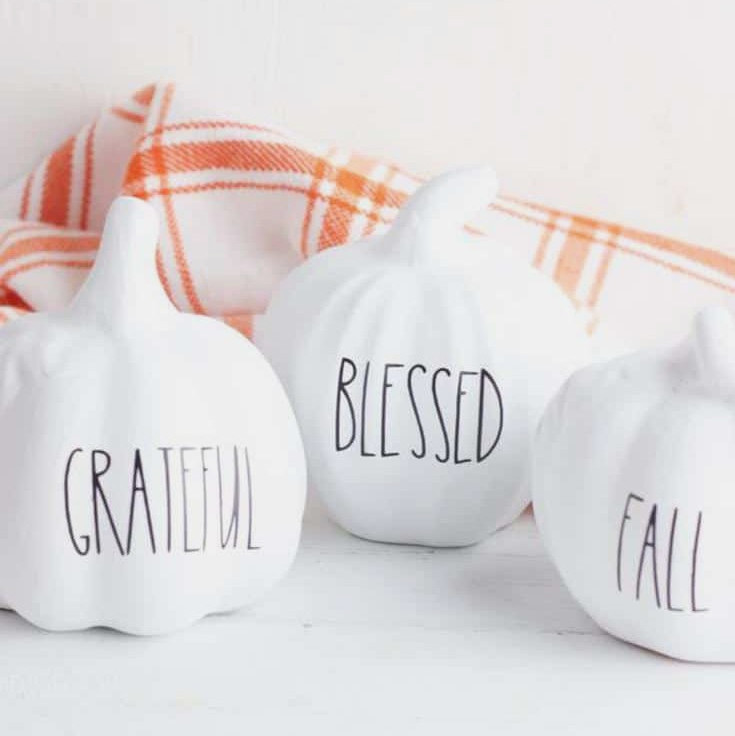
Rae Dunn Inspired Pumpkins
Give inexpensive mini glass pumpkins a farmhouse Thanksgiving look with white paint and a Cricut. No cutting machine? Simply handwrite the designs or print, then trace them.
View the Tutorial
13
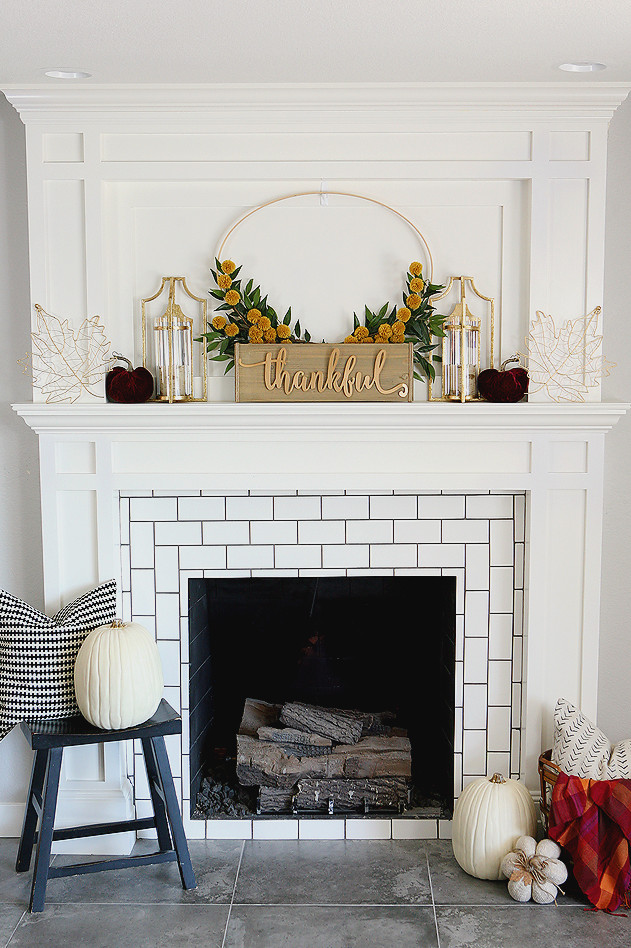
Pretty Fall Mantel
This mantel arrangement can stay in place throughout the entire season! The oversized oval embroidery hoop wreath is my favorite feature. Add some cheerful yellow-ochre pom-poms to stand in as seasonal “flowers.”
View the Tutorial
14
gr
Elegant Autumn Mantel
Keep this seasonal mantel display up from early fall through Thanksgiving! The prominent oval embroidery hoop wreath adds a beautiful touch, while golden-yellow pom-poms make delightful seasonal “flowers.”
View the Tutorial
15
Pumpkin Pie Thanksgiving Garland
View the Tutorial
16
Rae Dunn Inspired Pumpkins
Give inexpensive mini glass pumpkins a farmhouse Thanksgiving look with white paint and a Cricut. No cutting machine? Simply handwrite the designs or print, then trace them.
View the Tutorial
17
Pretty Fall Mantel
This mantel arrangement can stay in place throughout the entire season! The oversized oval embroidery hoop wreath is my favorite feature. Add some cheerful yellow-ochre pom-poms to stand in as seasonal “flowers.”
View the Tutorial
18
DIY Mini Pumpkin Vases
Need a simple floral decorating idea to prepare your home for the holidays quickly? Create an attractive pumpkin vase that makes a lovely addition to the Thanksgiving dinner table.
View the Tutorial
19
Thanksgiving Gnomes
Create charming gnomes for your Thanksgiving decorations using just a handful of basic supplies from the craft store.
View the Tutorial
20
Blue and Orange DIY Fall Centerpiece
This lovely centerpiece is one of my favorites because it works beautifully from fall all the way through Thanksgiving! The soft blue adds an unexpected twist to the holiday, which I really enjoy.
View the Tutorial
21
Dollar Store Thanksgiving Hat Centerpiece
With a little glue, transform a basic flower pot into an adorable pilgrim hat by attaching it upside down to a large round tray! You’ll end up with a charming decoration for your Thanksgiving table.
View the Tutorial
22
Pumpkin Pie Thanksgiving Garland
View the Tutorial
23
Rae Dunn Inspired Pumpkins
Give inexpensive mini glass pumpkins a farmhouse Thanksgiving look with white paint and a Cricut. No cutting machine? Simply handwrite the designs or print, then trace them.
View the Tutorial
24
Pretty Fall Mantel
This mantel arrangement can stay in place throughout the entire season! The oversized oval embroidery hoop wreath is my favorite feature. Add some cheerful yellow-ochre pom-poms to stand in as seasonal “flowers.”
View the Tutorial
14
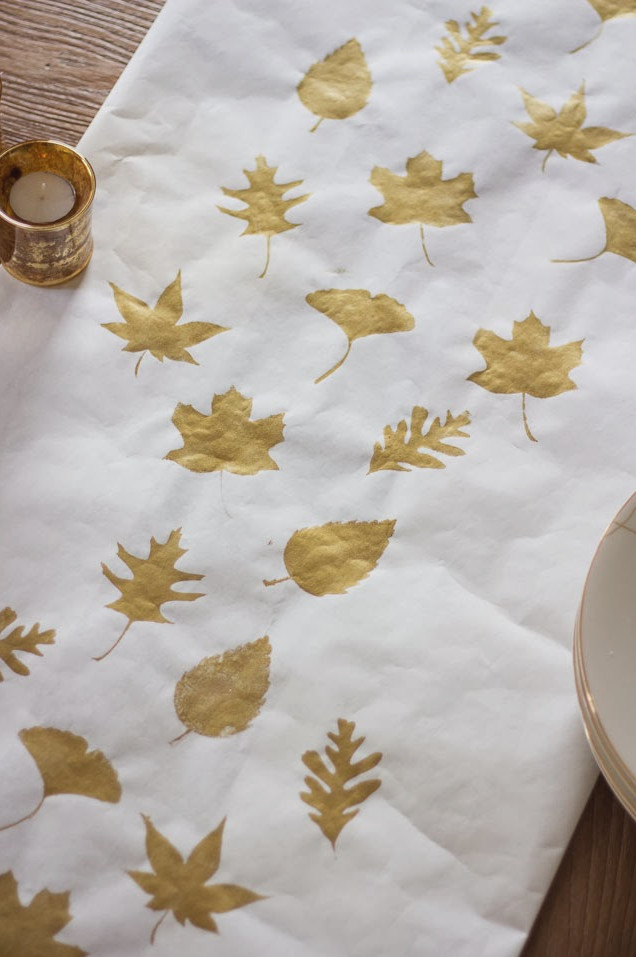
Thanksgiving Table Runner
If you’d rather not use an actual table runner since it may become messy, this appealing alternative is ideal. It costs next to nothing to create! With paint and a stencil, you’ll be finished within minutes.
View the Instructions
15
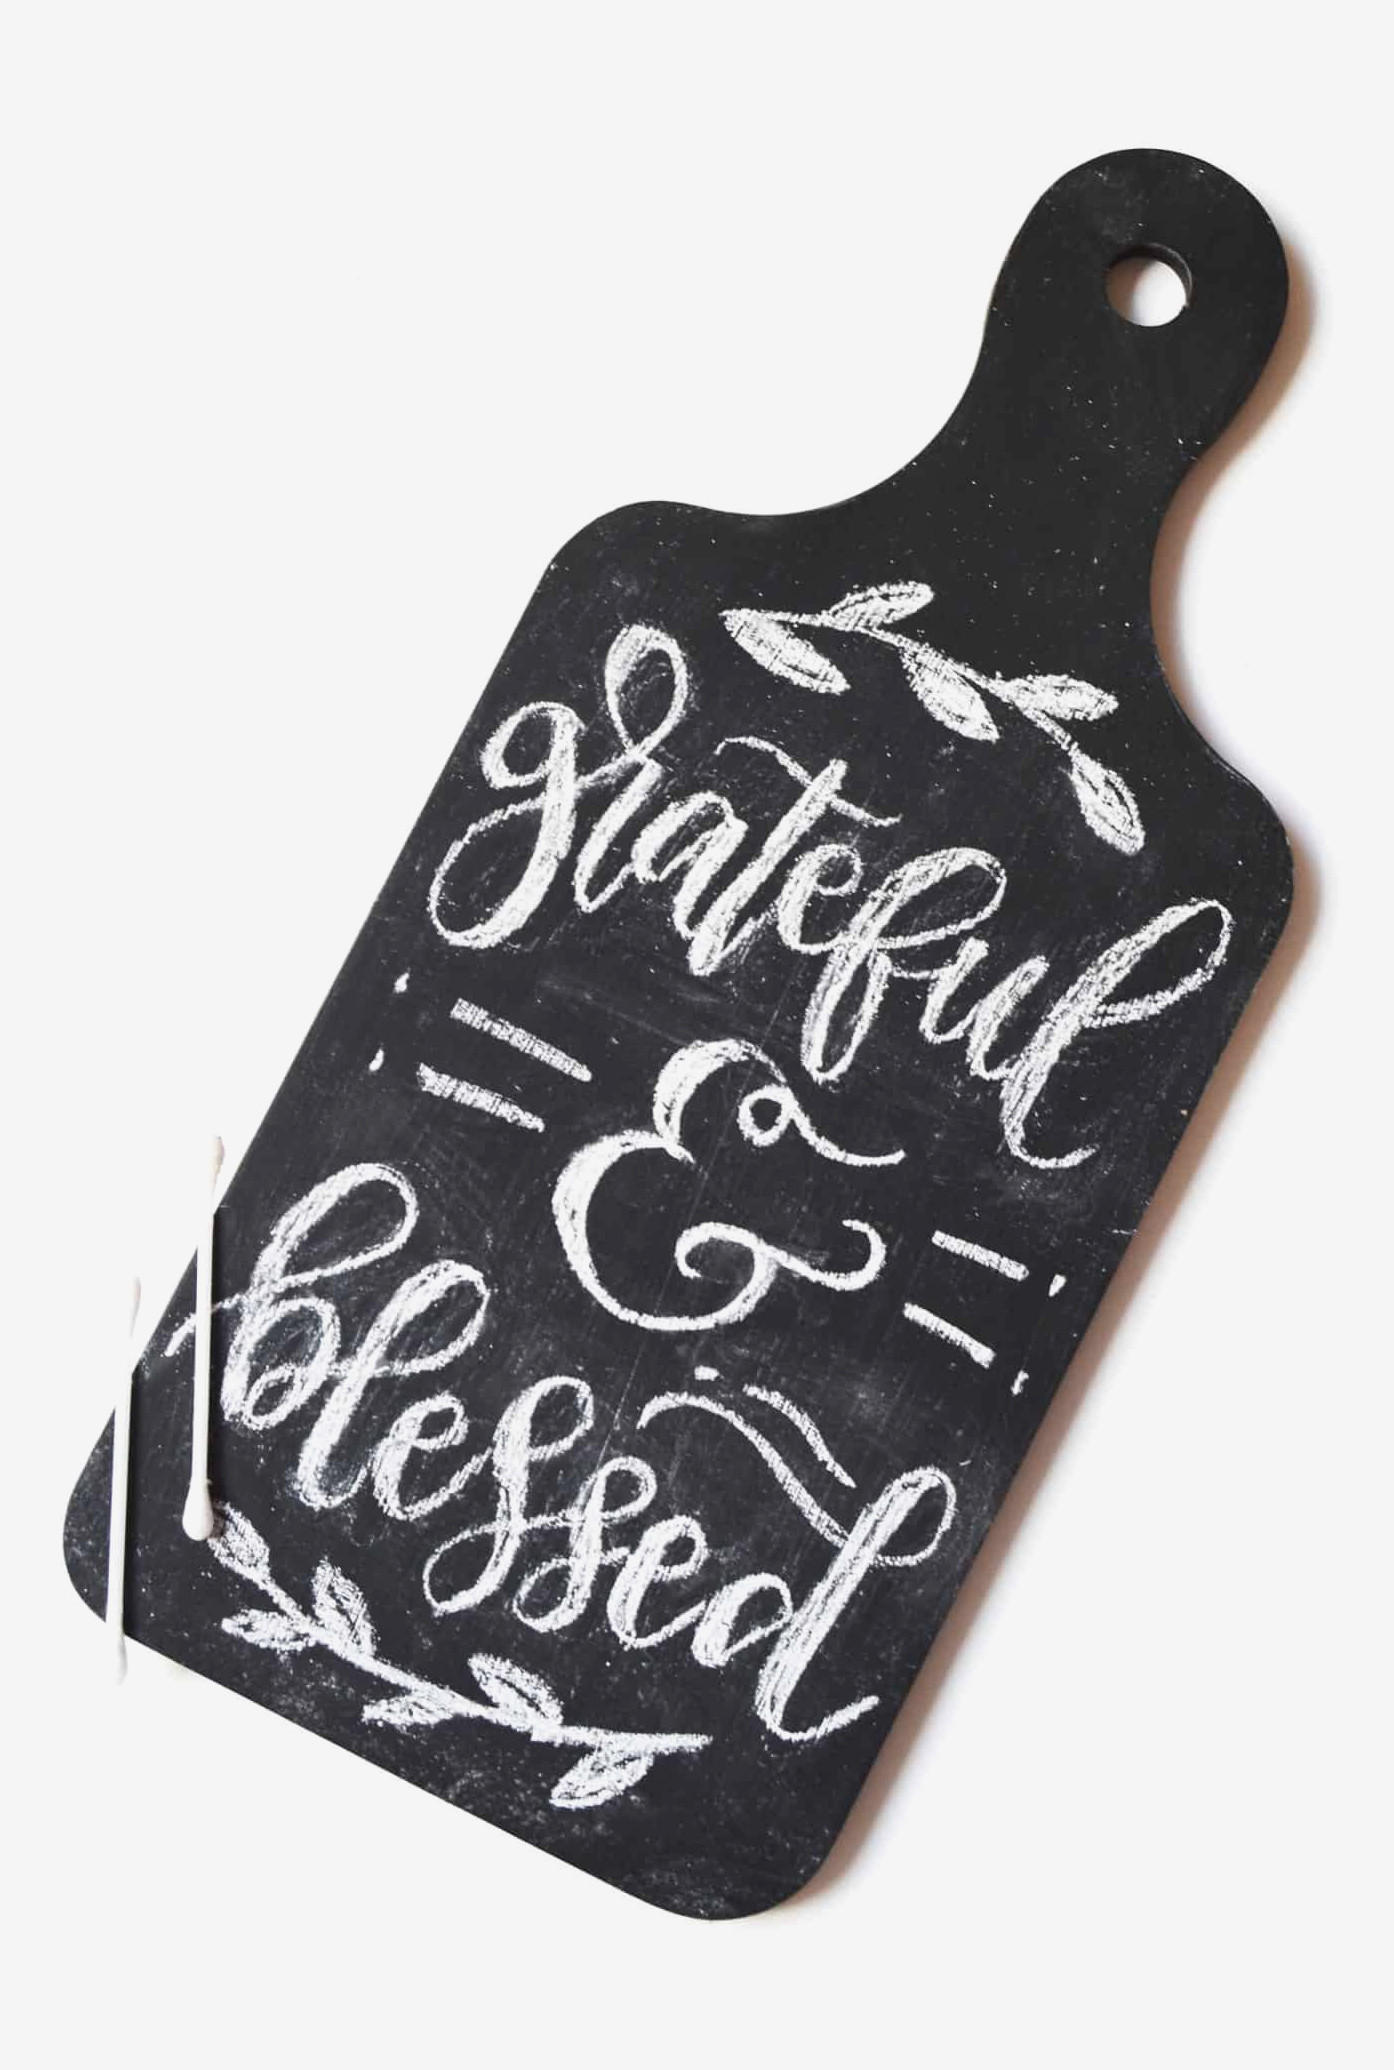
Chalkboard Breadboard
Transform an MDF breadboard into this one-of-a-kind DIY chalkboard. It’s ideal for leaving notes during Thanksgiving and other celebrations—or even for daily use!
View the Instructions
16
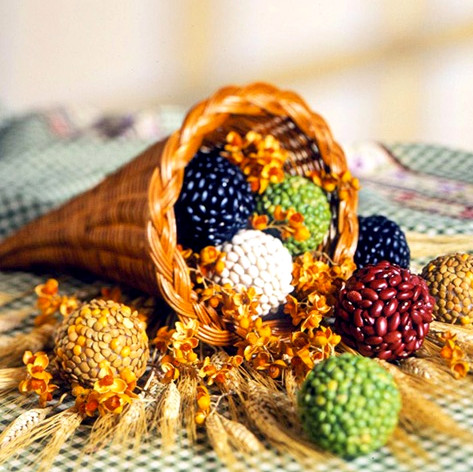
Abundance Seed Balls
A cornucopia filled with these handmade seed balls makes a wonderful Thanksgiving centerpiece! This easy project carries a meaningful message for the holiday.
View the Instructions
17
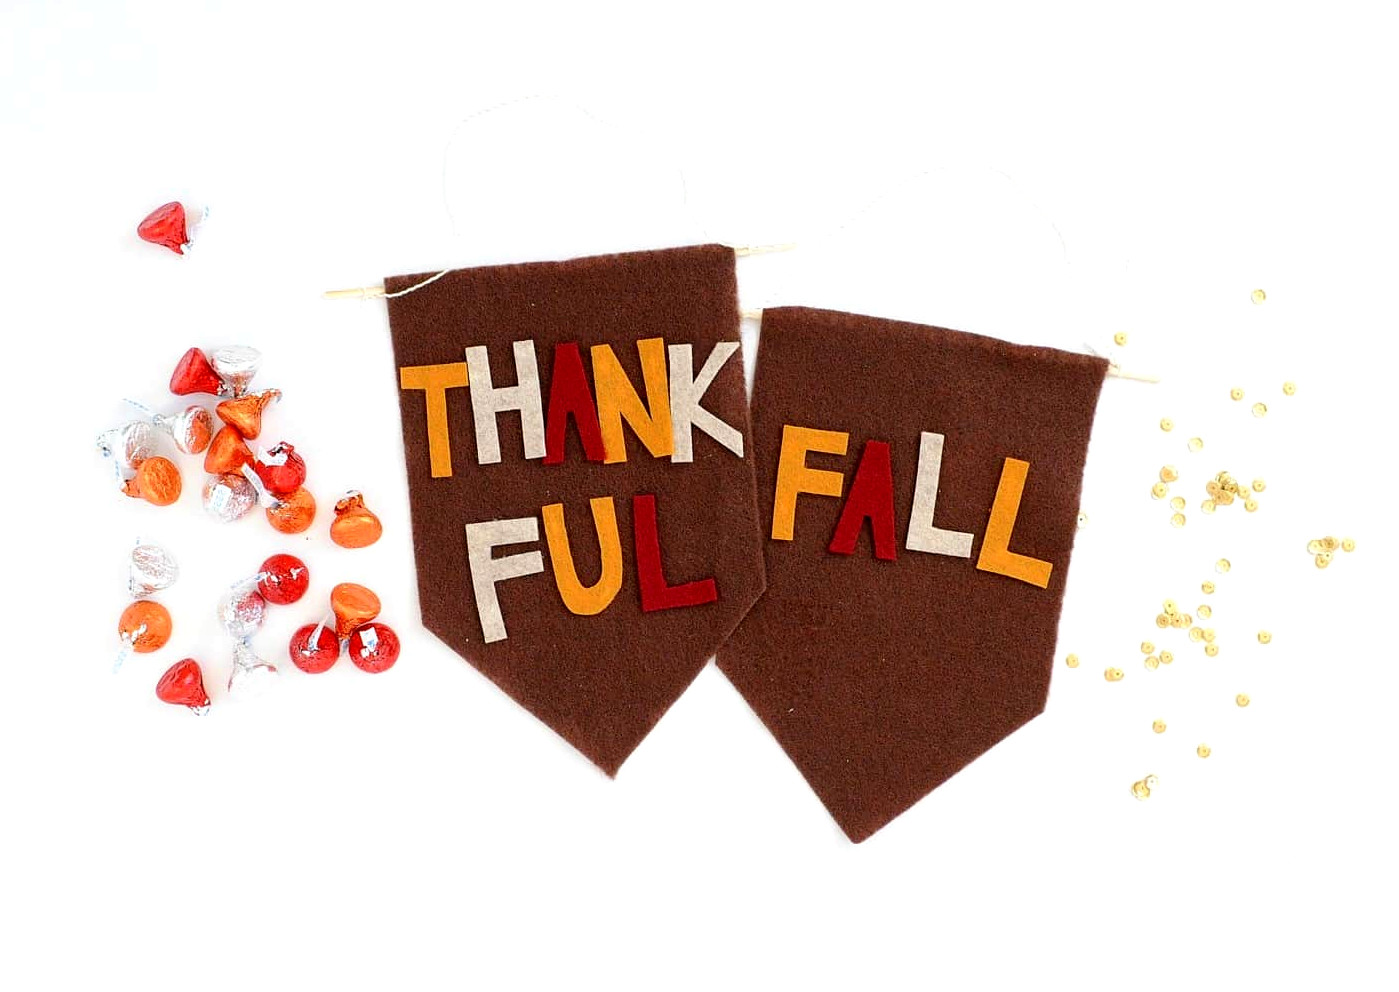
Mini Fall Banners
Felt fall banners are simple to craft and ideal for marking Thanksgiving! Discover how to create this smaller design, suitable for crafters of every age.
View the Instructions
18
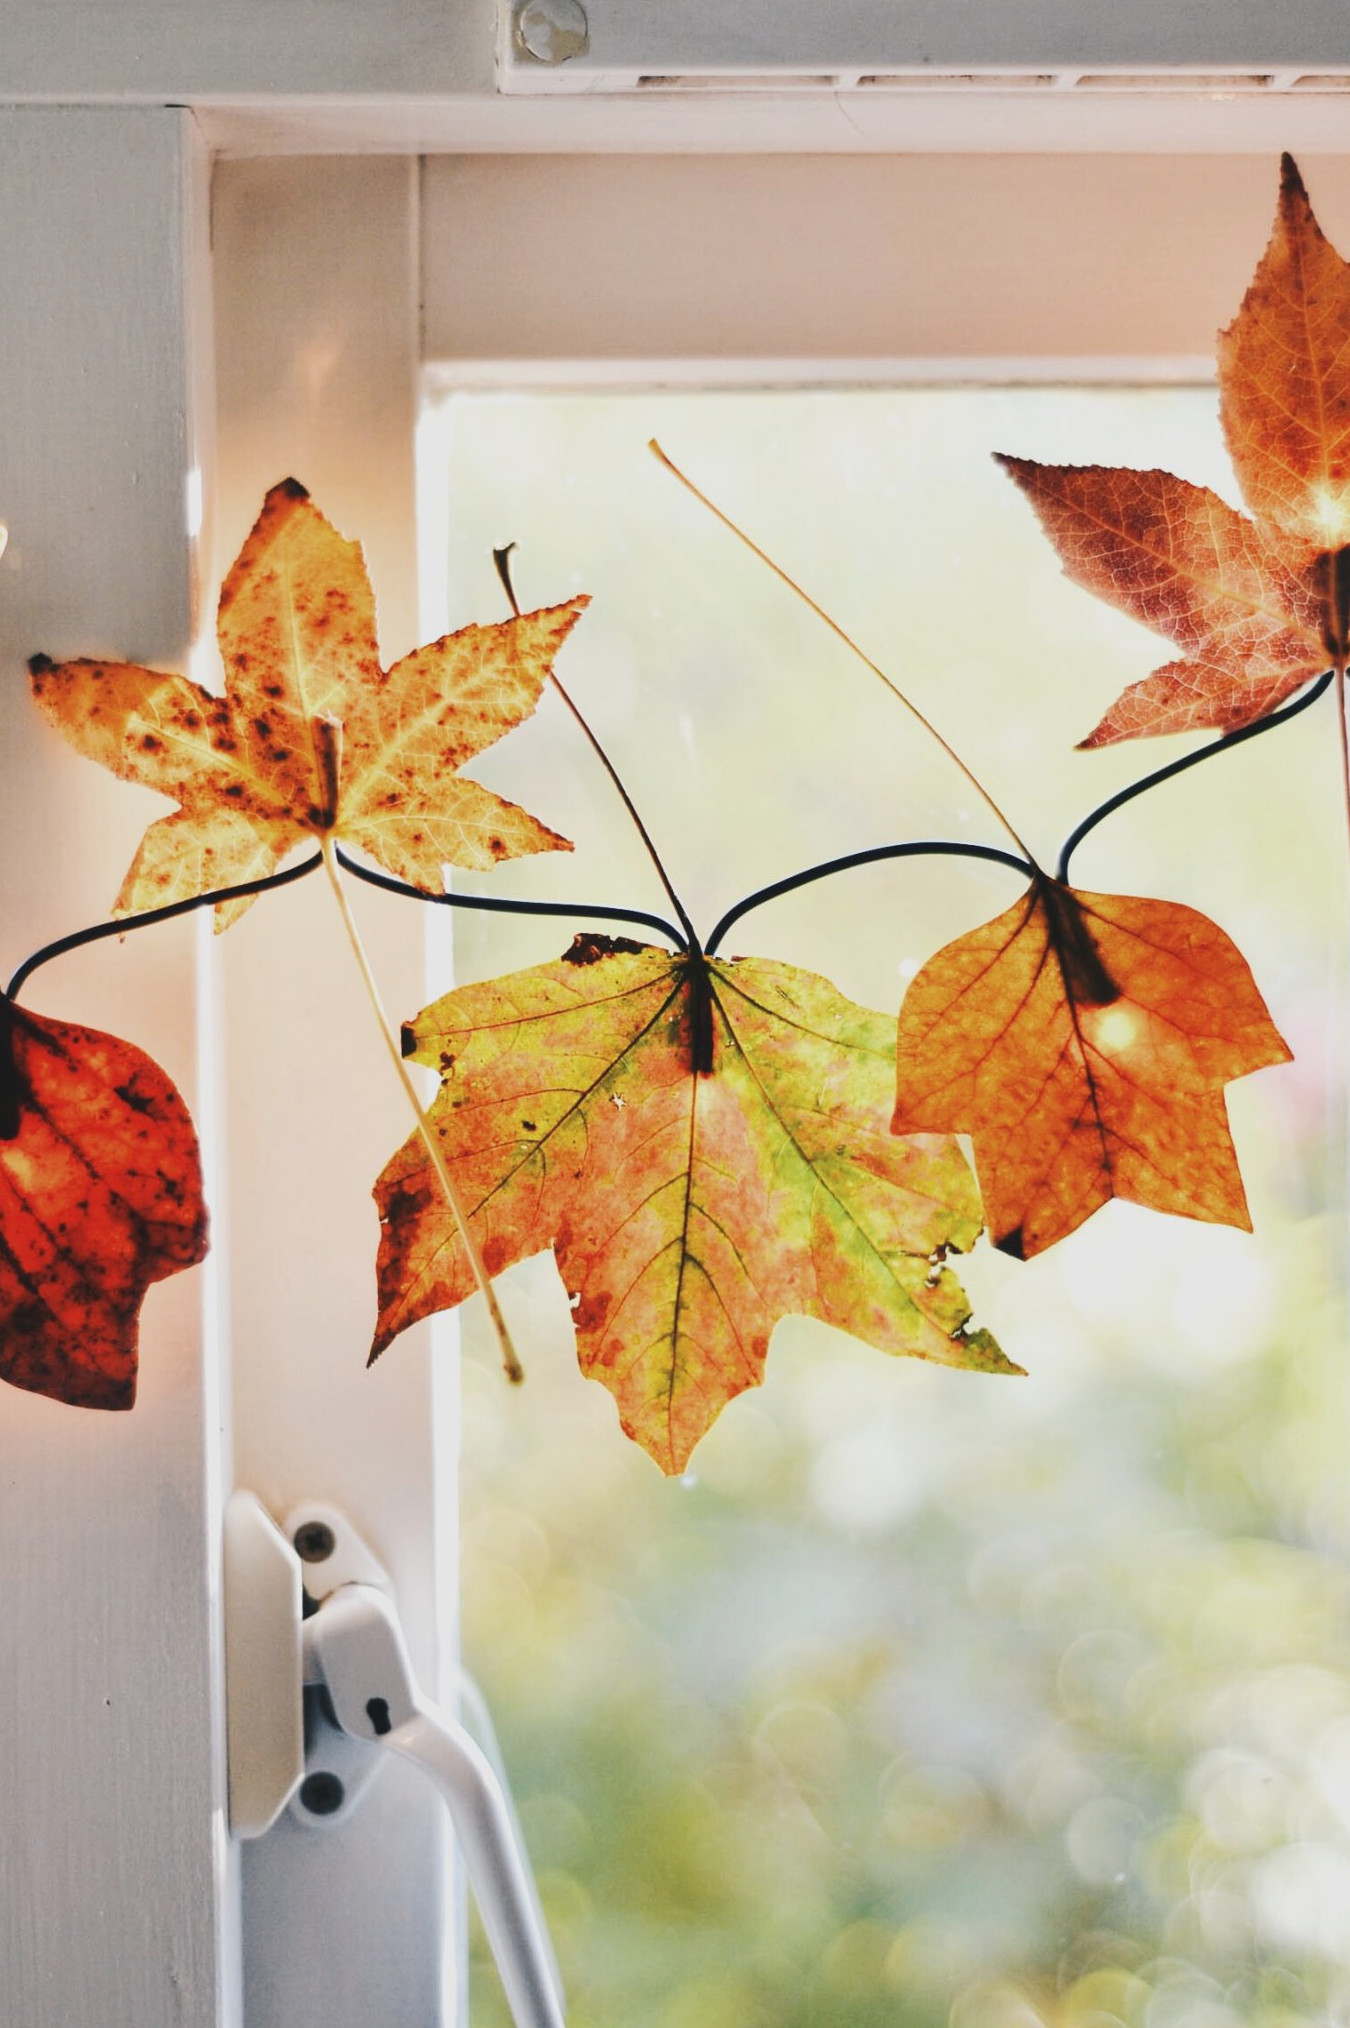
DIY Leaf Fairy Lights
In my opinion, Christmas shouldn’t be the sole holiday decorated with lights! Combine preserved leaves—or artificial ones from the dollar store—with a string of lights to make this effortless decoration.
View the Instructions
19
DIY Fall Welcome Mat
Why not begin your Thanksgiving decorating at the entrance? With a stencil and paint, you can design your own cheerful doormat.
View the Instructions
20
Greenery Garland
Shape wire and greenery—Amy used Myrtle—into any words you wish, then suspend them with string. This idea can be easily modified for every type of occasion.
View the Instructions
21
Grateful Wall Décor
Learn how to create framed burlap wall art with letter stamps. You can customize this craft for any holiday term that holds personal significance.
View the Instructions
22
Charming DIY Harvest Wheat Arrangement
Bring a beautiful DIY harvest wheat arrangement to your table this fall or Thanksgiving! You’ll adore Kim’s clever secret for the base she used.
Get the Tutorial
23
Thanksgiving Dish Towel
Add this towel to your Thanksgiving kitchen! Discover how to create it with a cutting machine. It would make a wonderful holiday gift for a hostess.
Get the Tutorial
24
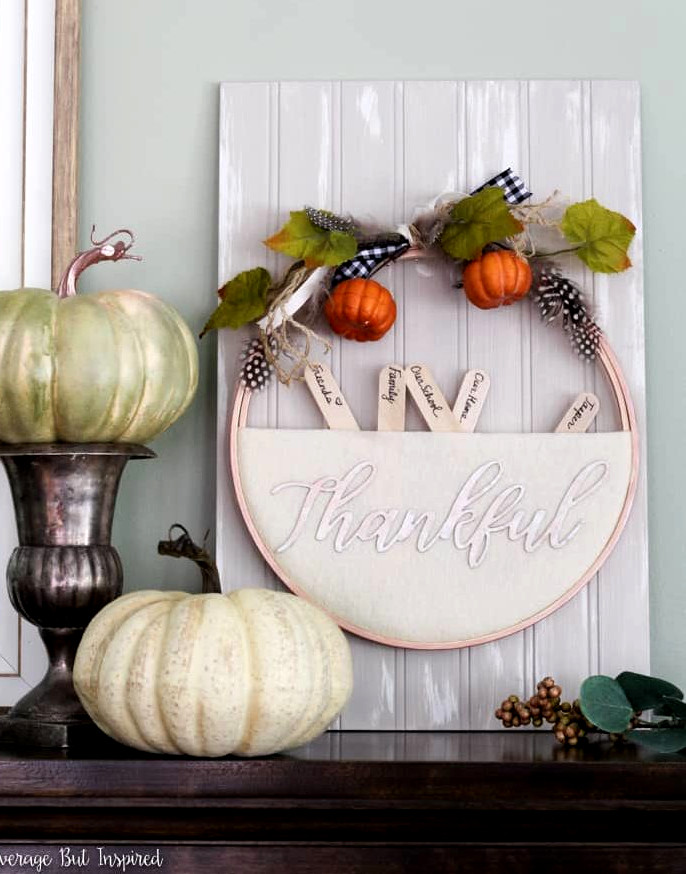
Embroidery Hoop Garland
A handy pocket is built into this ‘thankful’ embroidery hoop garland, giving you a place to put notes about what you appreciate on craft sticks. What a delightful concept!
Get the Tutorial
25
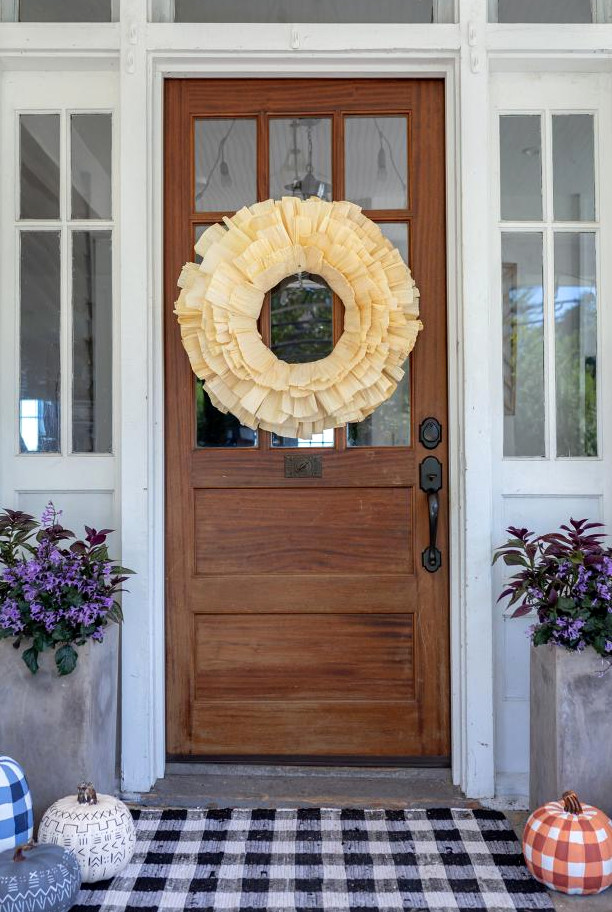
Corn Husk Garland
This handmade corn husk garland is truly eye-catching! Its simplicity appeals to me, though you could embellish it with a ‘thankful’ or ‘blessed’ sign as well.
Get the Tutorial
26
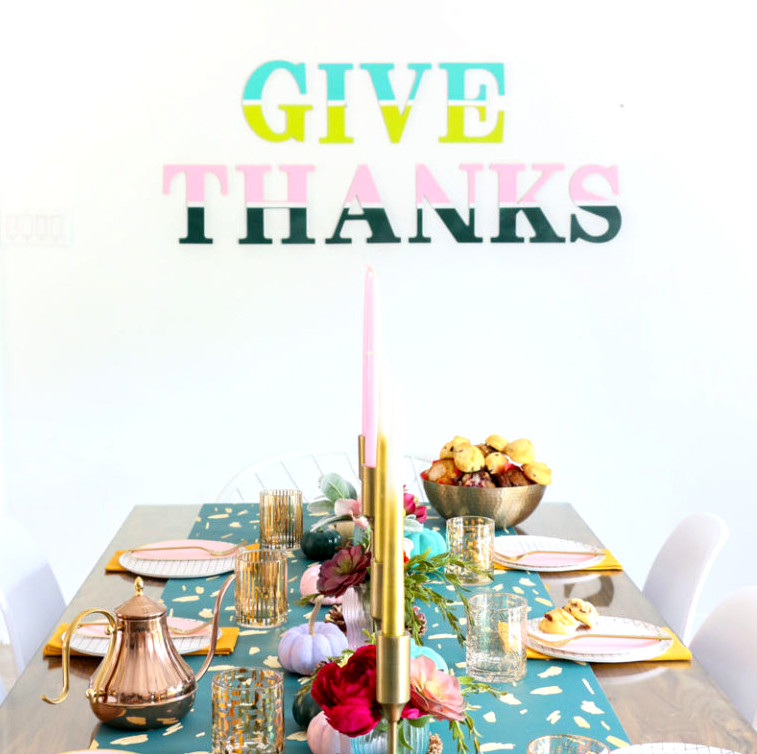
Give Thanks Wall Decor
Discover how to create these playful color-blocked letters. Their vibrant shades were chosen to match the theme of this Friendsgiving feature.
Get the Tutorial
27
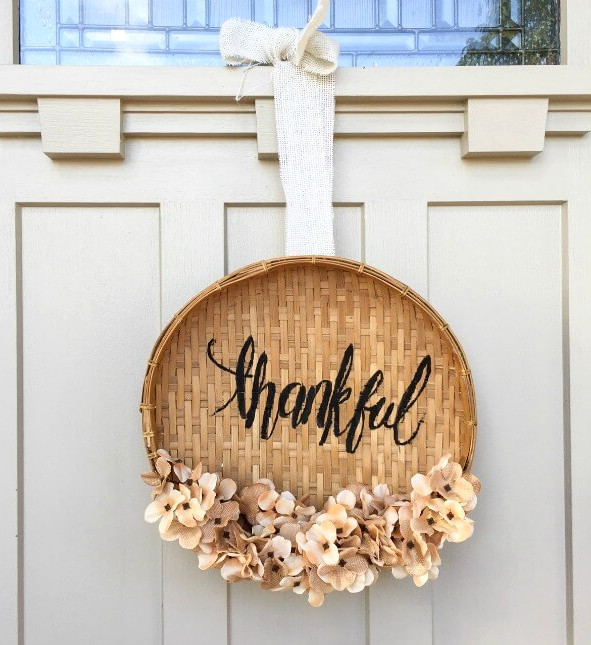
Basket Garland
Learn how a shallow, round basket can become a lovely DIY Thanksgiving garland. Don’t be intimidated by the freehand ‘thankful’ lettering; sketch it out first before making it permanent.
Get the Tutorial
28
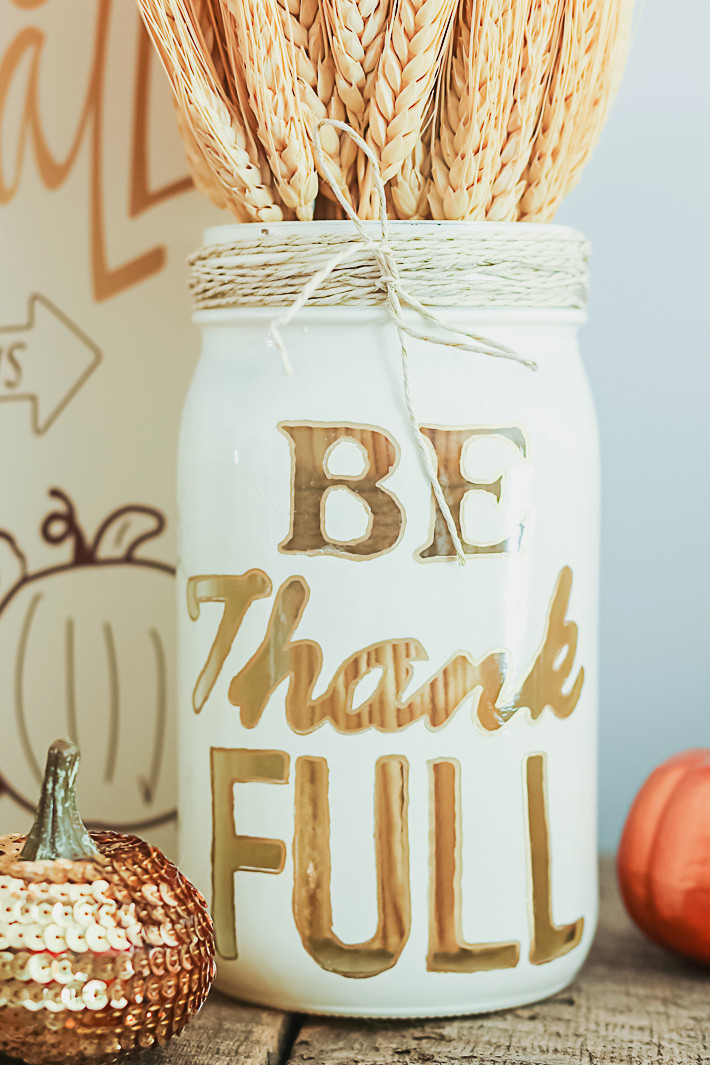
Table Centerpiece
For Thanksgiving dinner, make an attractive centerpiece with this sticker-decorated mason jar. The way the lettering remains see-through in the jar is my favorite detail!
Get the Tutorial
29
Oversized Wishbone
This is a playful alternative
to a Thanksgiving wreath for your front door! This piece was cut from an MDF sheet and then coated in gold paint.
Get the Tutorial
30
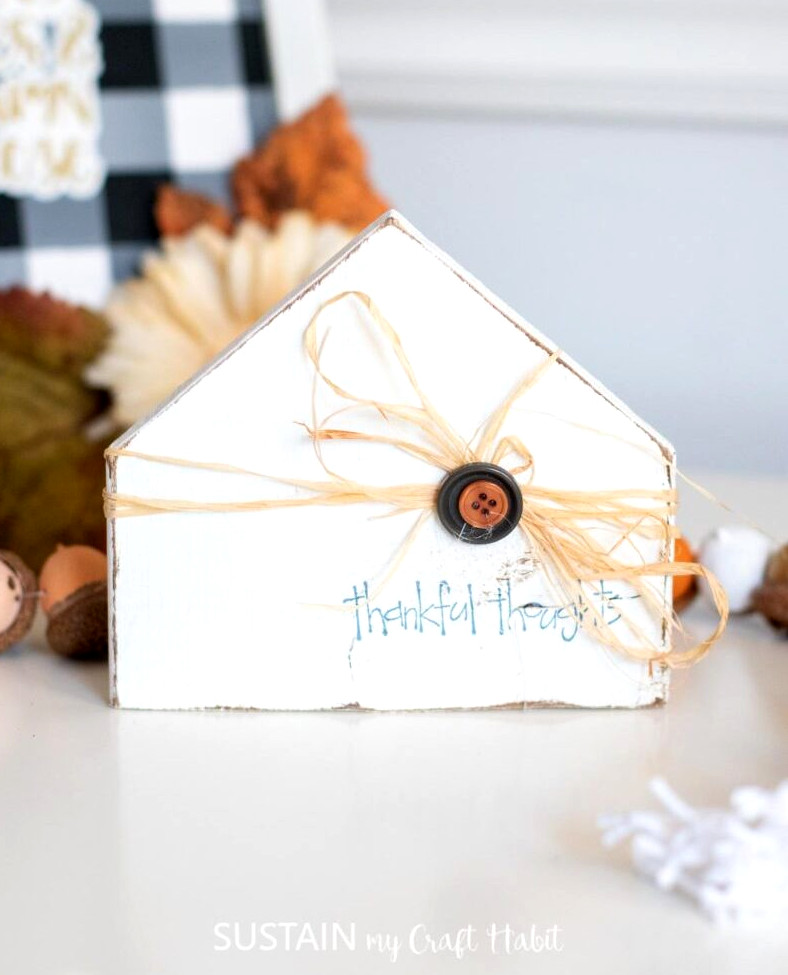
Grateful Homes
Get the Tutorial
31
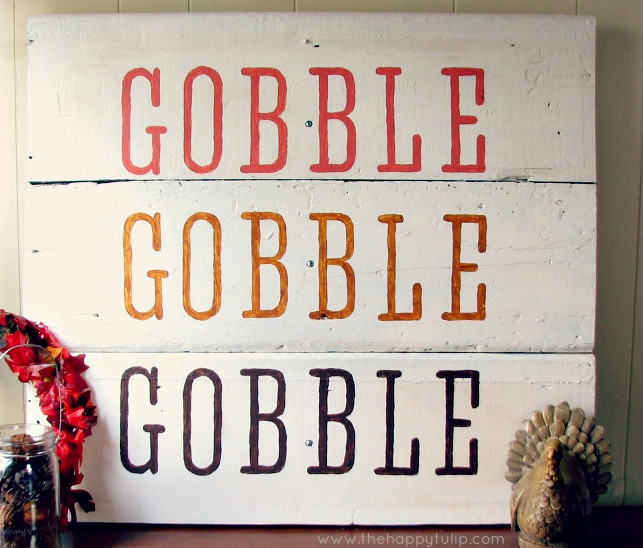
Gobble Decor
Get the Tutorial
32
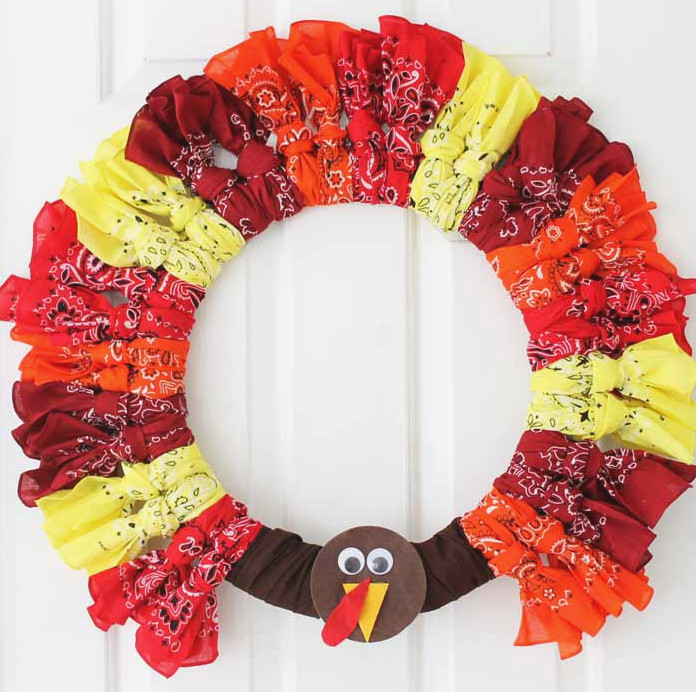
Turkey Wreath
Need inspiration for Thanksgiving wreaths? Give this bandana turkey wreath a try! It is a fast, simple project you can complete in just minutes!
Get the Tutorial
33
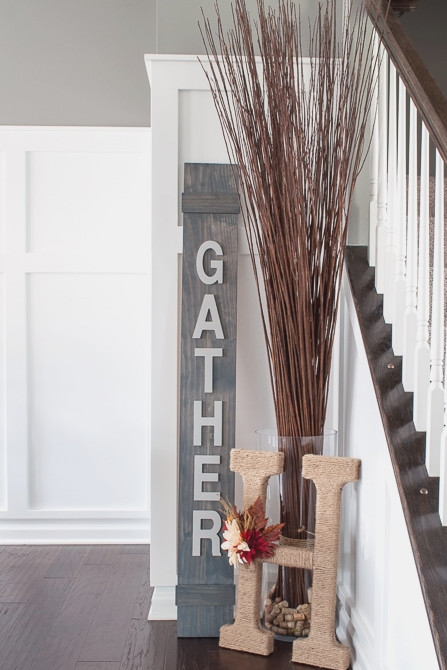
Gather Sign
This ‘gather’ sign would be a lovely addition to your foyer or Thanksgiving-inspired porch! I especially like its vertical layout, making it ideal for decorating a narrow area.
Get the Tutorial
34
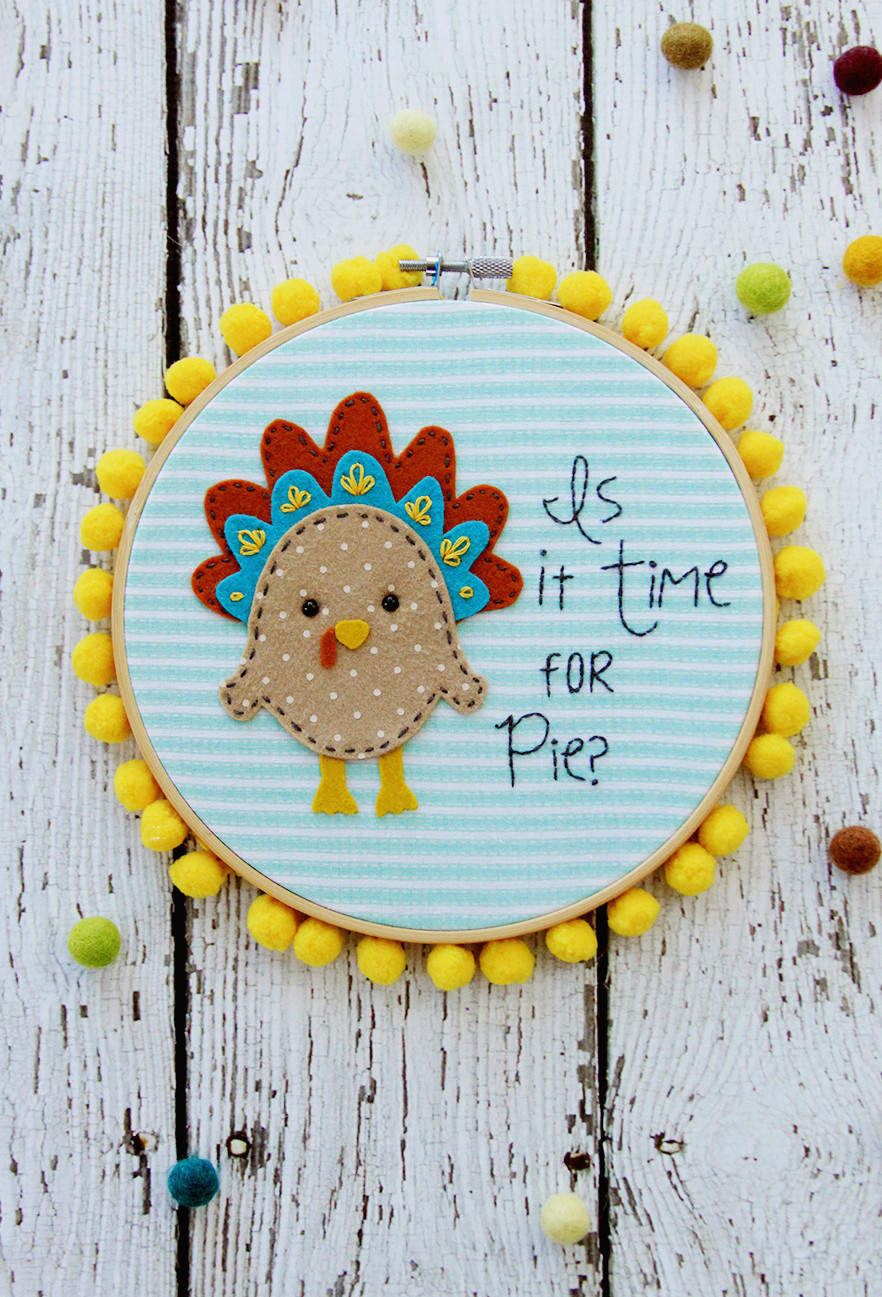
Embroidery Hoop Art
It is the question heard at every Thanksgiving gathering: ‘Is it time for pie?’ This charming turkey embroidery hoop design expresses that feeling perfectly!
Get the Tutorial
35
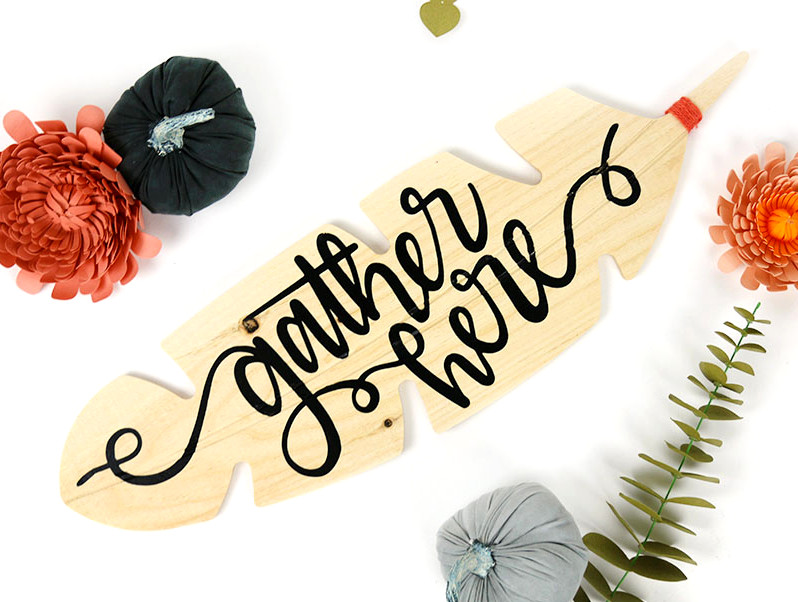
Feather Sign
Convert this unfinished wooden feather into an endearing Thanksgiving sign reading ‘gather here’. A cutting machine is needed, and a complimentary cut file is included!
Get the Tutorial
36
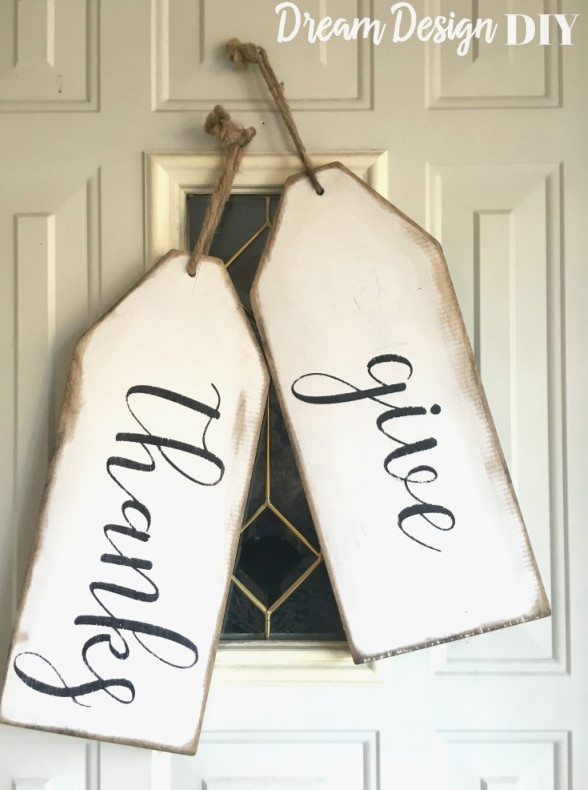
Thanksgiving Tags
Want an alternative to a wreath for your entrance? These large wooden tags are an excellent choice! They work especially well on homes equipped with storm doors.
Get the Tutorial
37
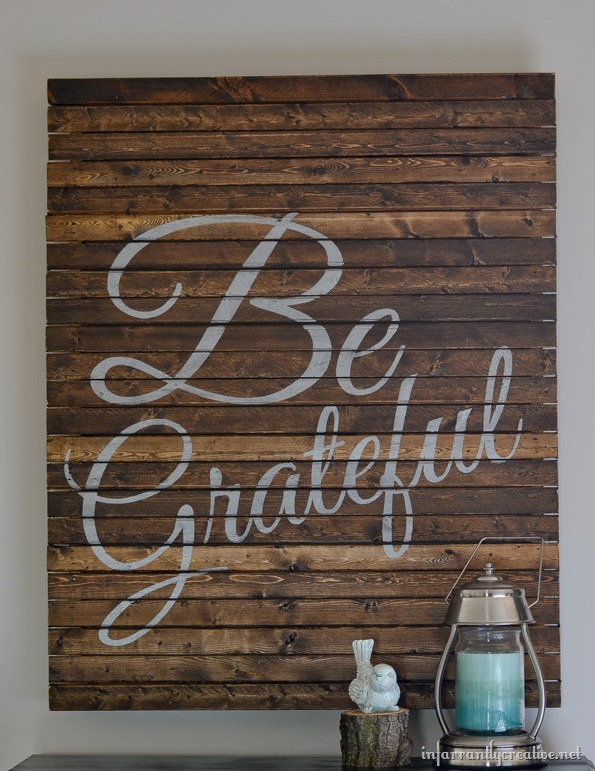
“Be Grateful” Pallet Artwork
With wood shims, a cutting machine, and paint, you can create this Thanksgiving pallet decoration for under $10!
View the Tutorial
38
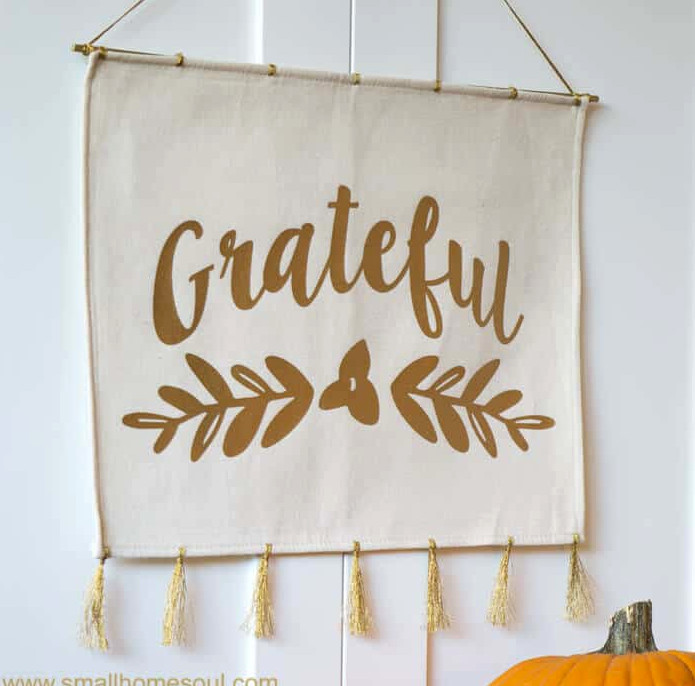
Gratitude Wall Hanging
Create a Thanksgiving wall decoration from a placemat! This example already features a design, though adding one to a plain placemat would be simple.
View the Tutorial
39
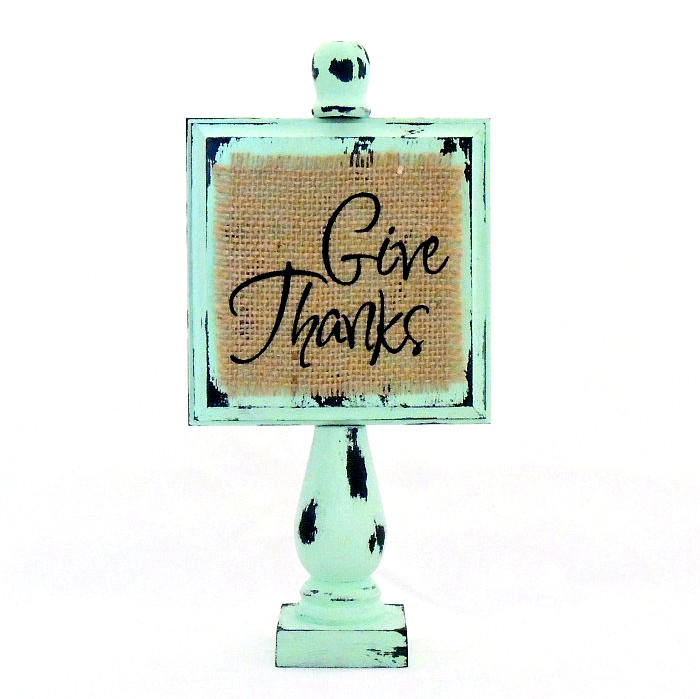
Give Thanks Wooden Decoration
The unfinished wood aisle at my craft store is one of my favorites! Using pieces from that section and a few other basic supplies, I created this charming mini display. I can imagine several of these arranged across a festive holiday tablescape!
View the Tutorial
Loved these project suggestions? You will also enjoy these well-liked fall and holiday articles:
t.
Did you have fun making this Christmas paper garland? Share your thoughts in the comments! You may also enjoy browsing these additional posts:
Subscribe to our Newsletter and receive this Gnome Ornament Template as a thank-you gift!
If you liked these Valentine’s perler bead designs, share your thoughts in the comments! You may also want to explore these other posts:
Birds • Butterflies • Easter • Emoji • Fairy & Gnome • Flowers • Mother’s Day • Mushrooms • Stars • Summer • Unicorn