
Because every child can customize their tree, this project is also a wonderful choice for a classroom Christmas activity!
Paint the pine cones green for a traditional holiday look, or experiment with vivid colors for something more playful. Cheerful pom poms add bright accents, and the decorations can be coordinated with the colors on your family Christmas tree.
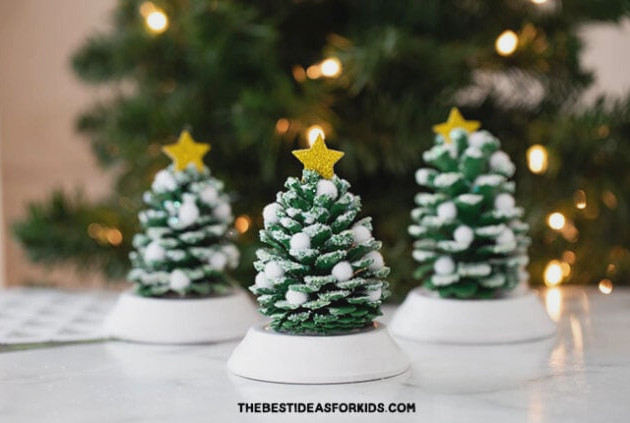
Feel free to use any other craft materials available, such as glitter, beads and decorative gems. Ribbons can also be wound around the trees to create a festive style that complements the Christmas tree at home.
These charming handmade ornaments are lovely gifts for teachers, grandparents and neighbors.
View the Video Guide
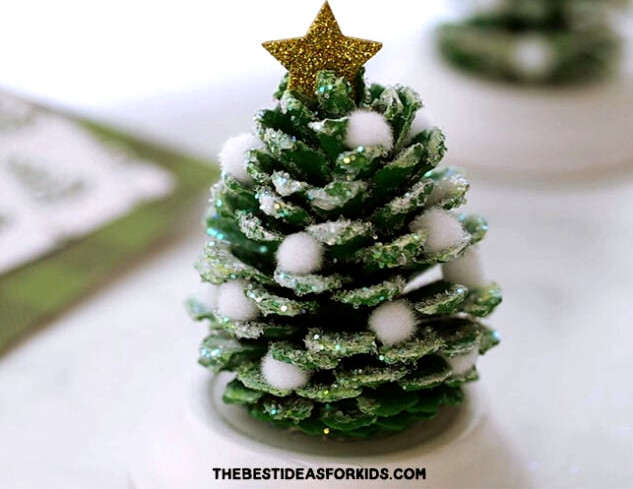
Materials Required
- Pine cones – we used pine cones measuring about 3 to 5 inches in length. Gather them outdoors, or purchase them from a craft shop or Amazon.
- Small clay pot saucers – each of our saucers is 3 inches wide. You can purchase them in bulk from Amazon or buy individual saucers at a craft store, as we did at Michaels. A wooden round or firm piece of felt also makes a suitable base for the Christmas tree.
Making a Pine Cone Christmas Tree
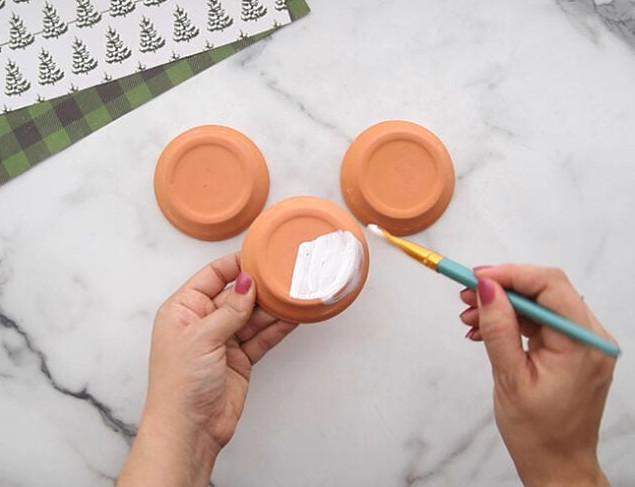
1. Paint the saucers white.
Begin by coating the clay pot saucers with white paint. Put them to one side and let them dry completely.
2. Paint the pine cones green.
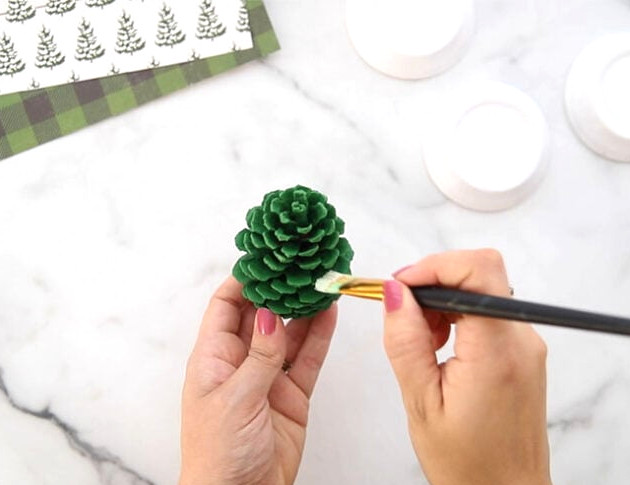
Use green acrylic paint to cover each pine cone.
The paint does not need to provide complete coverage. A few visible areas of brown will make the pine cone resemble the natural branches of a Christmas tree.
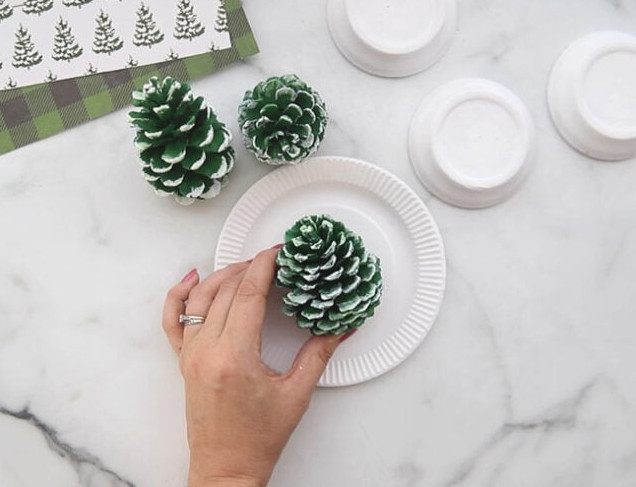
3. Brush the edges with white paint.
Add a delicate layer of white paint along the pine cone’s edges for a snowy winter appearance.
To create a simple dry-brushed look, use only a small amount of white paint on the brush and lightly dab it across the raised edges of the pine cone.
4. Leave the paint to dry.
Allow every painted surface to dry thoroughly before beginning the decorating stage.
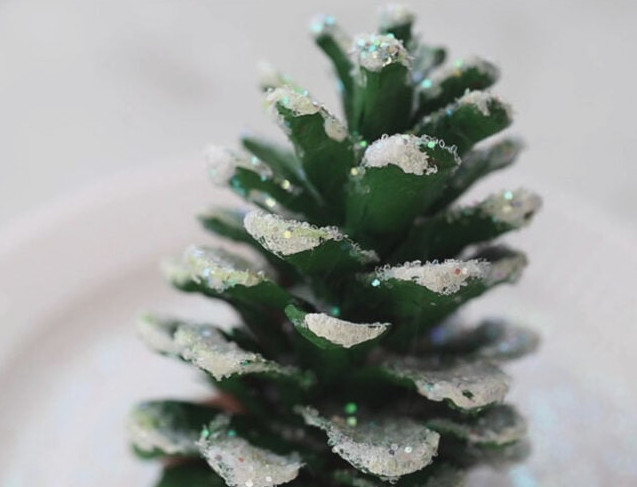
5. Sprinkle glitter onto the pine cones.
Brush a thin layer of Mod Podge or white glue over each pine cone.
Before the adhesive dries, sprinkle iridescent glitter across the painted areas.
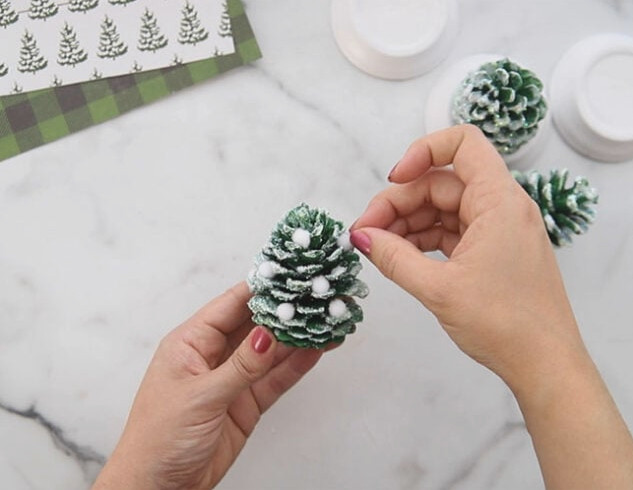
6. Attach pom poms.
Stick miniature pom poms to the pine cones to turn them into colorful ornaments for the little trees.
A hot glue gun may be used with adult supervision, although we prefer tacky glue, which holds the pom poms firmly in place.
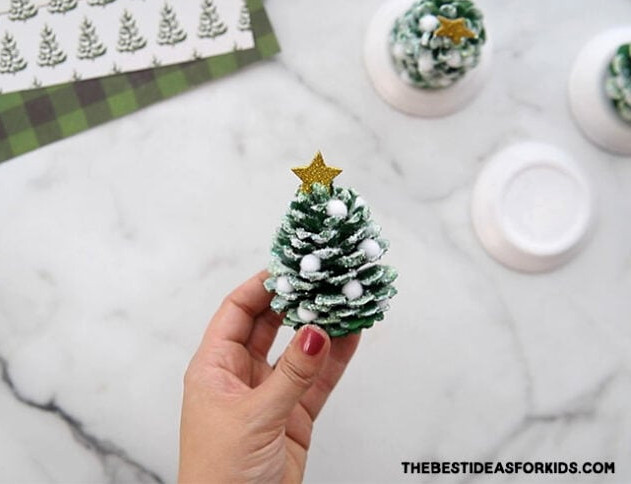
7. Place a gold star atop the pine cone.
Stick two gold star foam stickers together. After they are joined, secure the star to the pine cone’s tip to serve as a festive topper.
8. Secure the pine cone to the painted saucer.
To finish, have an adult use hot glue to fasten the bottom of the pine cone to the clay pot saucer.
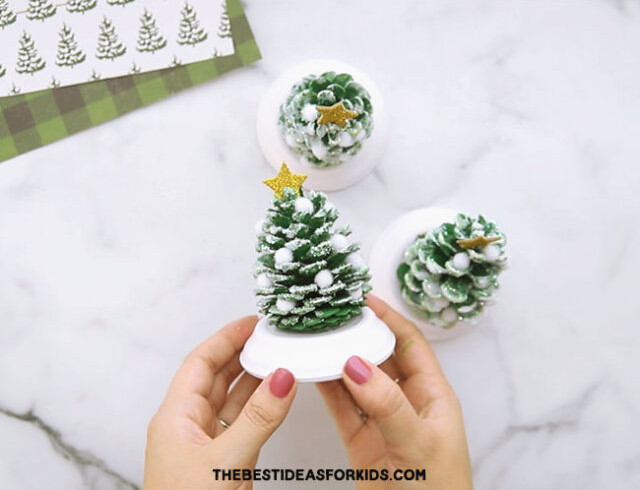
Your pine cone Christmas tree is complete! Mix and match pom pom shades and other craft decorations to create a festive group of unique miniature trees.
Children will love placing these handmade decorations around the home during the holiday season, and they are equally sweet to give as gifts.
For another cheerful pine cone project, try making this pine cone Christmas wreath.