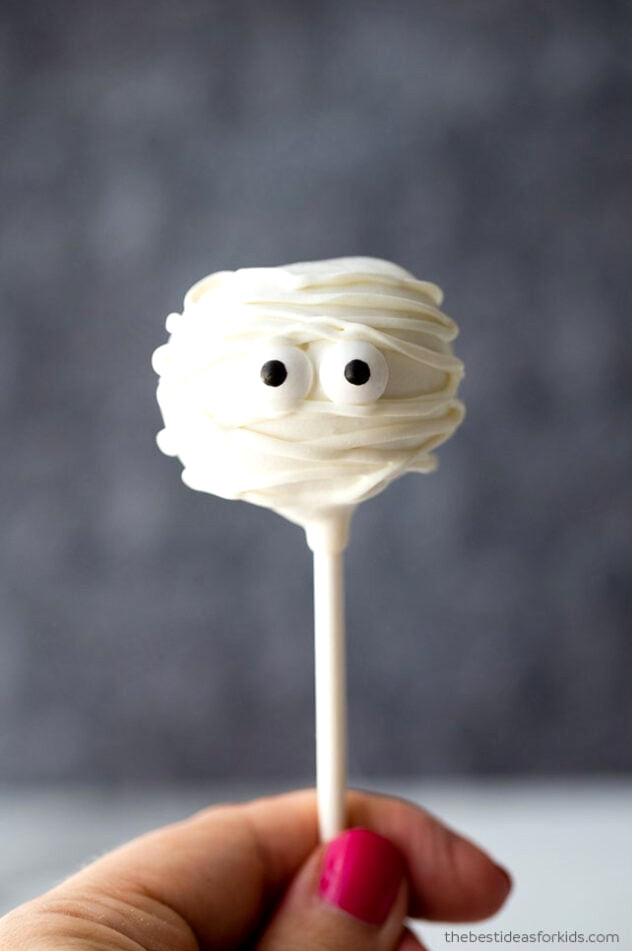
Cake pops are surprisingly easy to make! They’re also an excellent way to transform leftover cake into something delicious instead of letting it go to waste.
These cute treats are perfect for Halloween parties or homemade gifts. Place each one in a clear bag and tie ribbon around the candy stick before giving them out as festive Halloween goodies.
For complete, step-by-step cake pop directions, visit the blog post here.
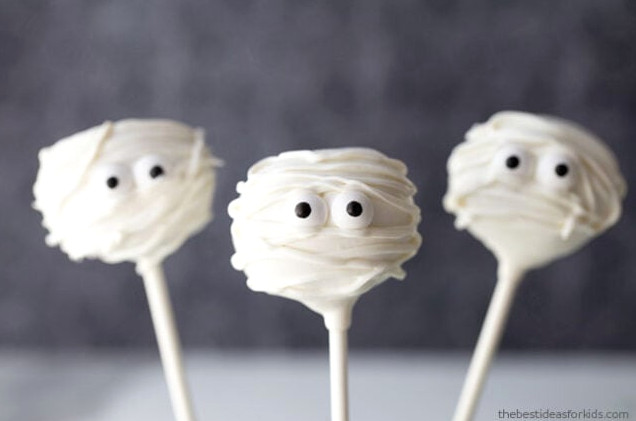
Required Supplies
Before you start making the Mummy cake pops, gather the following ingredients and supplies:
- One boxed cake mix, or a homemade cake baked from scratch (cake leftovers are ideal for making cake pops too!)
- 2 packages of white candy melts
- A piping bag fitted with an icing tip or a large freezer bag
- Foam board (for keeping the cake pops upright as they dry)
Preparing Mummy Cake Pops
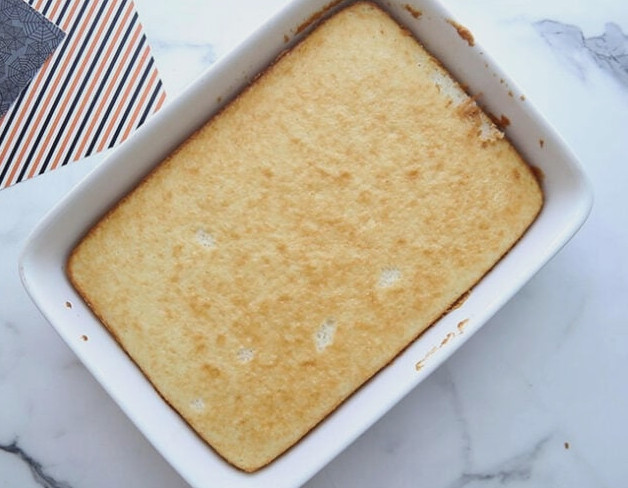
1. Start by baking a cake, or use any cake leftovers you have!
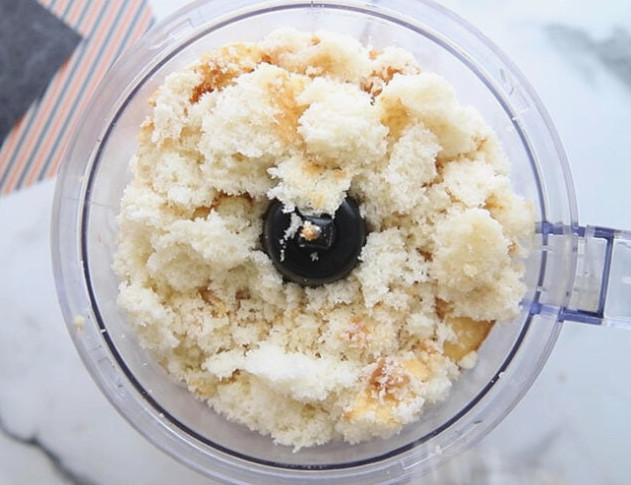
2. Place the cake in a food processor and process it into crumbs.
Don’t worry if you don’t have a food processor—you can crumble the cake manually. Aim for small, even crumbs so the finished mixture won’t be too chunky once the icing is added.
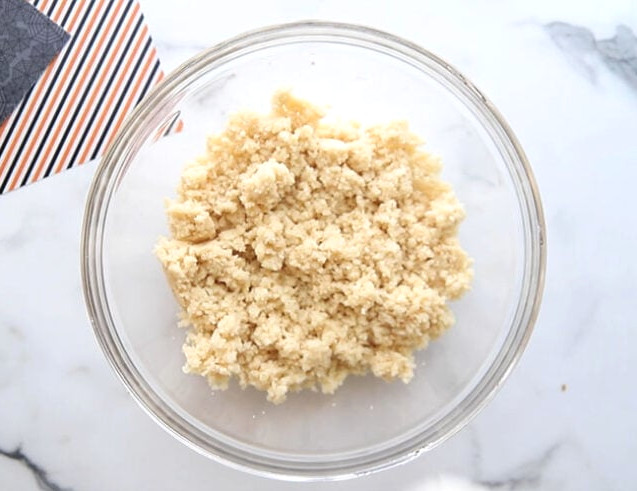
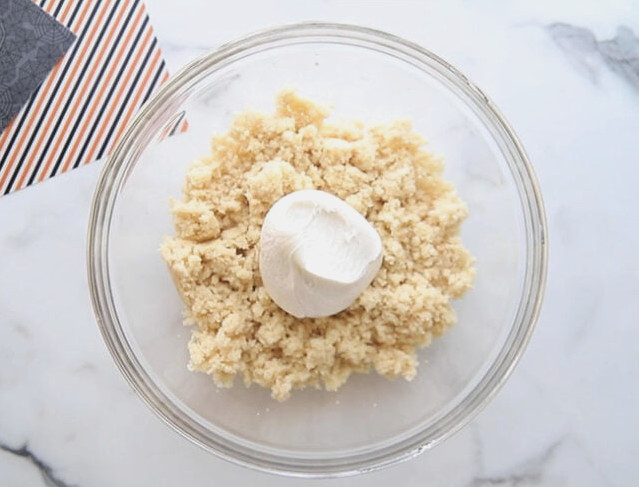
3.Combine the cake crumbs with the icing.
(I used about 1/2of the jar, but add it little by little until the mixture reaches the proper texture). It should feel similar to dough and should not be excessively wet, sticky, or overloaded with icing.
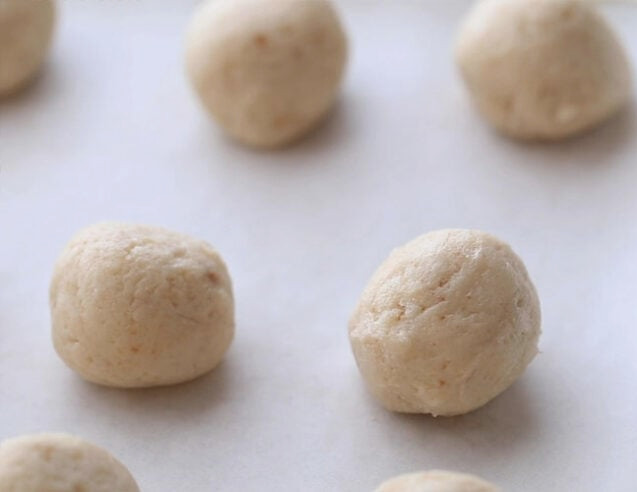
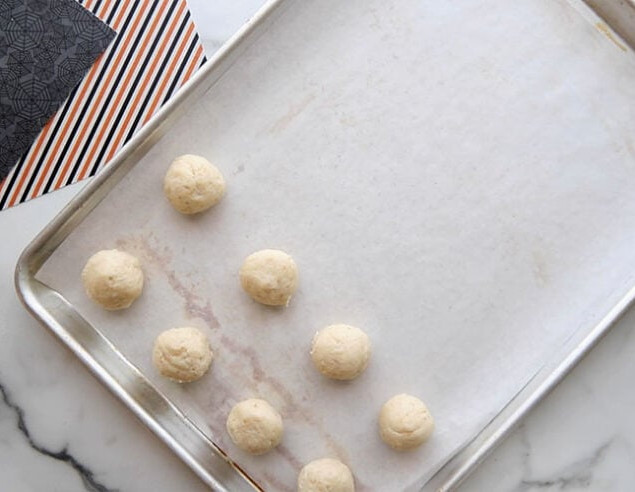
4. Roll the mixture into balls and arrange them on parchment paper.
As you shape the cake balls, they should remain easy to handle without being overly sticky. If the mixture sticks to your hands, too much frosting has been added. Add more cake if you have some available.
If the cake balls crumble or feel too dry while you roll them, mix in a little more frosting until they hold together.
5.Melt the candy melts in the microwave according to the package directions.
The package instructions we followed recommended heating them in 30-second bursts. Watch them carefully during this step. If the candy melts overheat, stir in a small quantity of shortening to help loosen them.
Use the microwave’s lowest power setting and stir well after each interval. Let the remaining heat soften the candy melts before heating them again; this helps prevent the coating from becoming too hot.
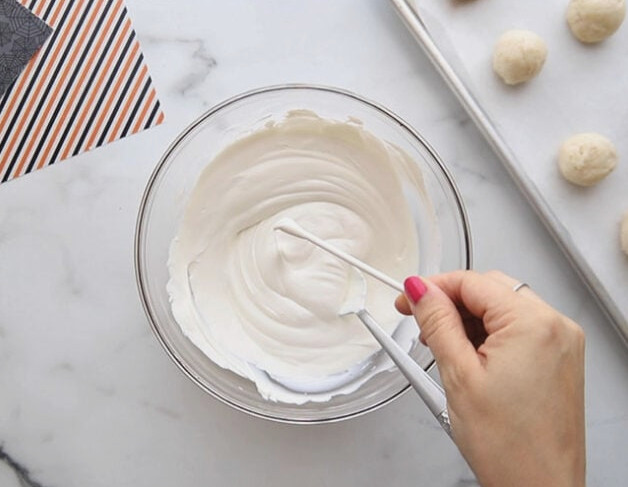
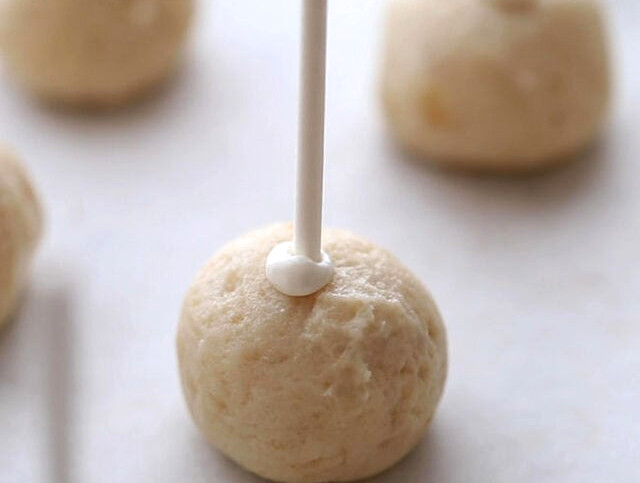
Dip the end of each candy stick into a small amount of melted candy, then insert it into a cake ball.
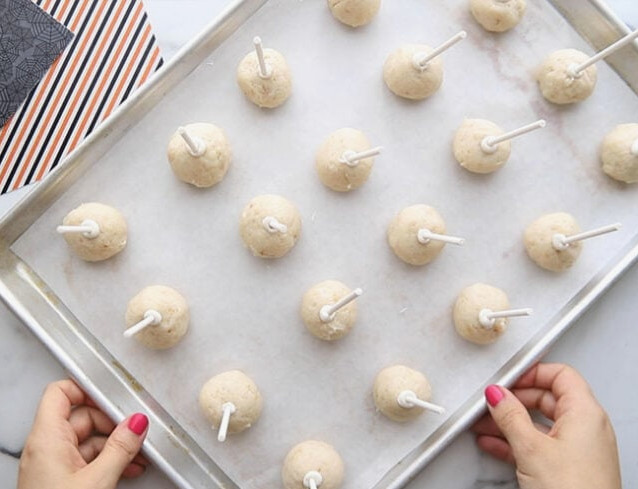
Place the cake pops in the refrigerator for one hour to firm up.
4. Once chilled, take the cake pops out of the refrigerator and dip them into the melted candy coating.
Tip
Melt just a little candy coating at first for securing the sticks. That way, you won’t need to reheat the candy melts when it’s time to coat the cake pops.
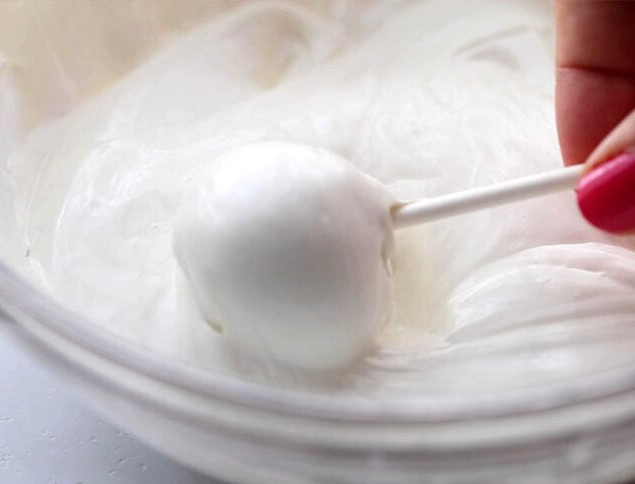
5. After coating each pop, let it become almost set before attaching the eyes so they stay in place.
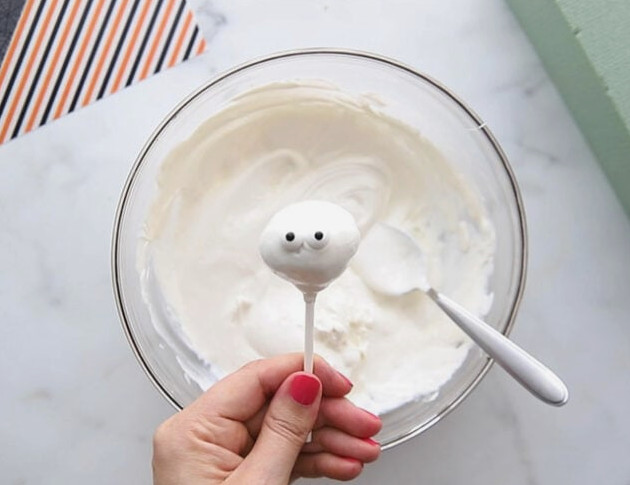
6. Transfer the remaining melted candy into a Ziploc freezer bag (cut a very small hole in one corner) or use a piping bag.
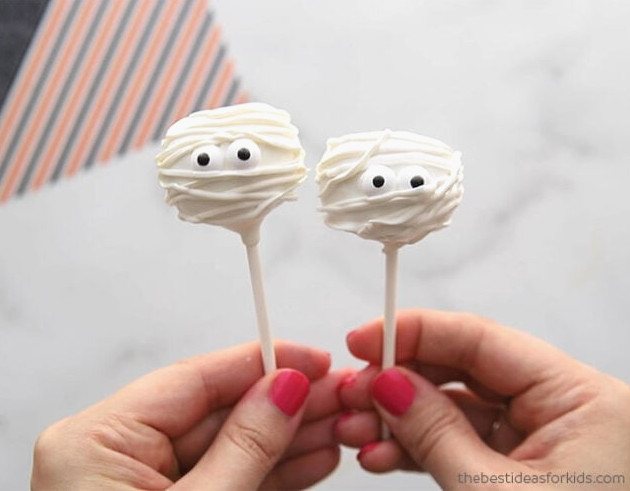
Drizzle stripes across the front to give each cake pop its classic mummy look.
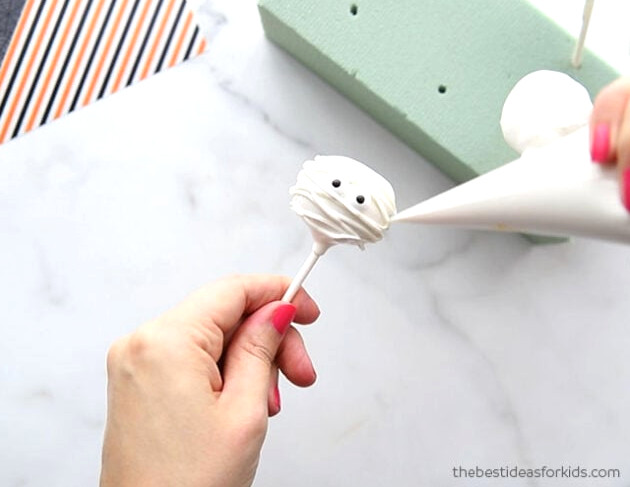
Set the cake pops on a foam board and let them firm up.
These spooky Halloween treats are quick, fun, and easy to make! Tie them with a ribbon for a charming homemade Halloween gift.
- Start with a freshly baked cake, or make use of leftover cake.
-
Break the cake down in a food processor. Without a food processor, crumble the cake by hand. Aim for fine, even crumbs to prevent a lumpy texture after adding the frosting.
-
Stir the cake crumbs and frosting together.I added about half the jar, but add the frosting little by little until the mixture reaches the proper consistency. It should feel like dough rather than being greasy, sticky, or heavily frosted.
-
Roll the mixture into balls and arrange them on parchment paper. The mixture should roll easily without sticking excessively to your hands. If it clings to your fingers, too much frosting was added; combine in more cake if available.If the mixture feels crumbly or dry, work in a small amount of extra frosting.
-
Melt the candy melts in the microwave according to the package directions. Our package recommended heating them in 30-second bursts. Watch them carefully, and stir in a little shortening if they become too thick or hot. Choose the lowest microwave power setting and stir well after each interval. Let the residual heat from the melted candy continue the process before heating it again to help prevent scorching.
-
Dip the end of each candy stick into a little melted candy, then insert it into a cake ball. Place the cake pops in the refrigerator for one hour.
- Once chilled, take the cake balls out and cover each one with the melted candy coating.
- As the coating begins to firm but has not completely set, gently attach the candy eyes.
-
Pour the remaining melted candy into a Ziploc freezer bag with a tiny corner snipped off, or use a piping bag. Pipe lines across the front to create the classic mummy design.Place the finished cake pops on a foam board until the coating is fully set.
Melt just a small amount of candy coating first to secure the sticks, which means you will not need to warm it again before dipping the cake pops.