How to Make Rainbow Rice
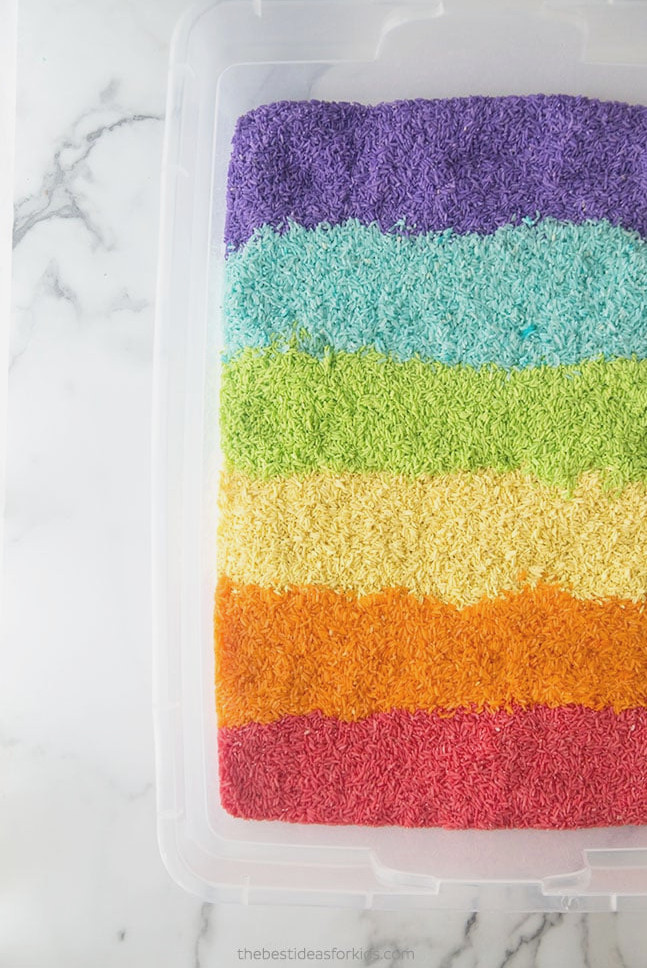
Create colorful sensory rice with just two basic supplies: uncooked rice and paint.
It is also helpful to gather:
- 6 large ziploc bags (one bag for each color)
- Non-toxic acrylic paint
- Wax paper or parchment paper for the drying process
A large storage container for the finished rice (we chose a 28 quart bin)
Measuring cups, spoons, and other tools for exploring the rice once it is ready.
Watch the Video Tutorial
Acrylic Paint vs Food Coloring
In the past, we made rainbow rice with food coloring and liquid watercolors. Food-coloring recipes often call for vinegar, which can leave behind an odor, or require baking the rice, adding another step to the project. Food coloring is also much messier and may leave stains on your work surface that are harder to remove.
Liquid watercolors can work as well, but we found that matching the even coverage and vivid color of acrylic paint required using quite a lot of watercolor. Liquid watercolors are also typically far more expensive than acrylic paint.
Is this Rice Taste Safe?
Even though most paints are labeled non-toxic, painted rice is not recommended for very young children who may put it in their mouths. For toddlers who still taste or chew on objects, food coloring is the safer alternative. Follow the same method with food coloring, but remember that wet coloring can stain surfaces, so protect your workspace before beginning.
How to Dye Rice
If you prefer food coloring, simply omit the paint and stir the food coloring into the recipe below. You can add one teaspoon of vinegar for every cup of rice.
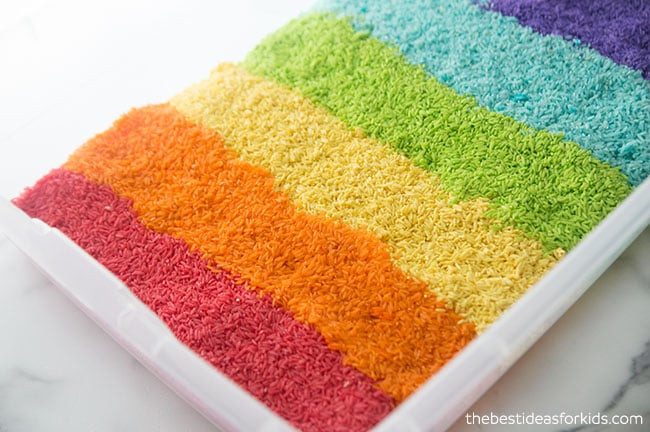
Ways to play with colored rice:
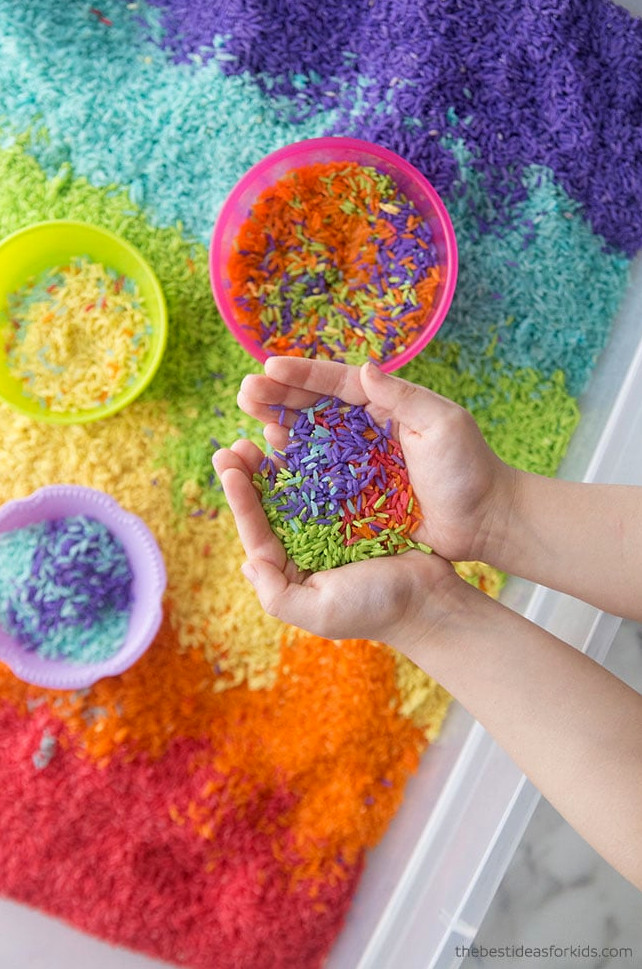
- Explore it with kitchen tools, including measuring cups and funnels
- Add toys such as plastic dinosaurs, bugs, or small dump trucks
- Give everyday items a new purpose, such as paper towel tubes, little boxes, or rinsed margarine containers
- Add 3 cups of rice to a large ziploc bag.
-
Squeeze in a generous amount of paint to get started, then knead the sealed bag until every grain is coated. Begin with a small quantity of paint and add more only if needed. Using: using less paint helps keep the grains from sticking together. Keep adding paint until every grain of rice is colored and no white pieces are visible.
- Once thoroughly mixed, distribute the rice in an even layer on parchment paper set over a baking tray.
- Leave the rice to dry in the air for 1-2 hours. If it is still moist, spread the grains apart so the paint can dry completely.
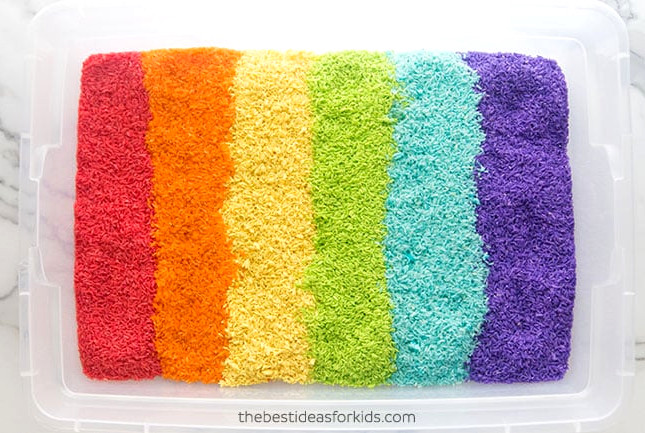
- Repeat the process for each shade you would like to make. We used red, orange, yellow, green, blue and purple.
- Rinse the ziploc bags after use and keep them for making rainbow rice again. You can also reuse them to store and sort craft supplies.
If mixing 3 cups of rice in one bag seems difficult, divide it into 2 batches and add 1.5 cups of rice at a time.
For a smaller sensory bin, simply use less rice.
The rice can be used for at least one month, though our sensory rice has remained suitable for much longer.
Keep it in a cool, dry place.
We love how quick and straightforward this rainbow rice is to make. It is also the simplest way to achieve wonderfully vibrant rice colors!
More Sensory Play Activities
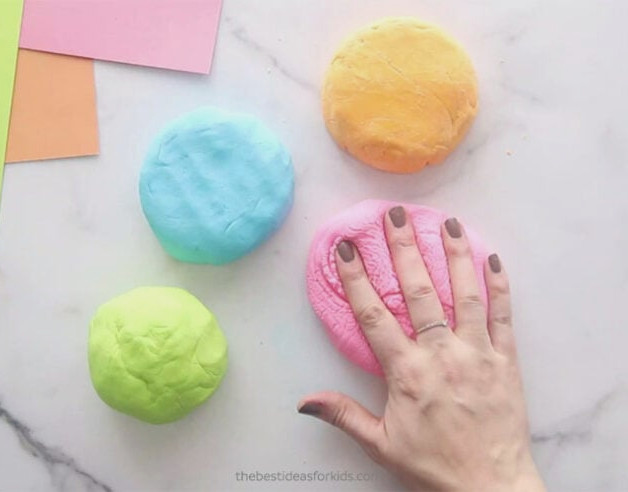
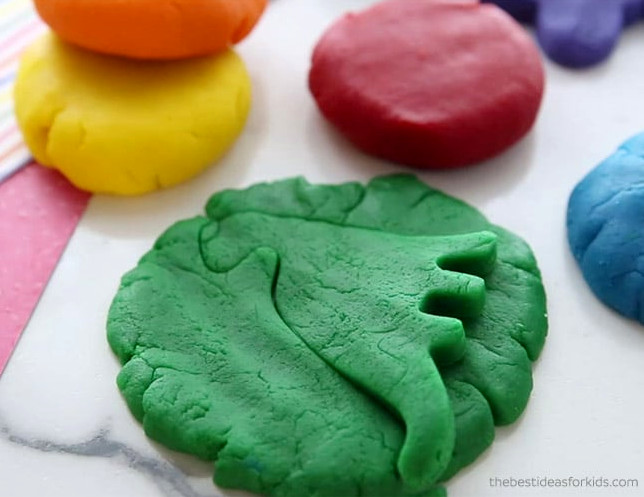
Another favorite rainbow sensory project is making our own homemade playdough.
Be sure to try this easy-to-make cloud dough recipe!