Have leftover birthday cake on hand? Maybe a homemade cake turned out a little drier than expected? This step-by-step guide to making cake pops shows you how to turn almost any cake into fun, bite-sized treats. Kids can join in with the preparation, while enjoying the finished cake pops is the best part!
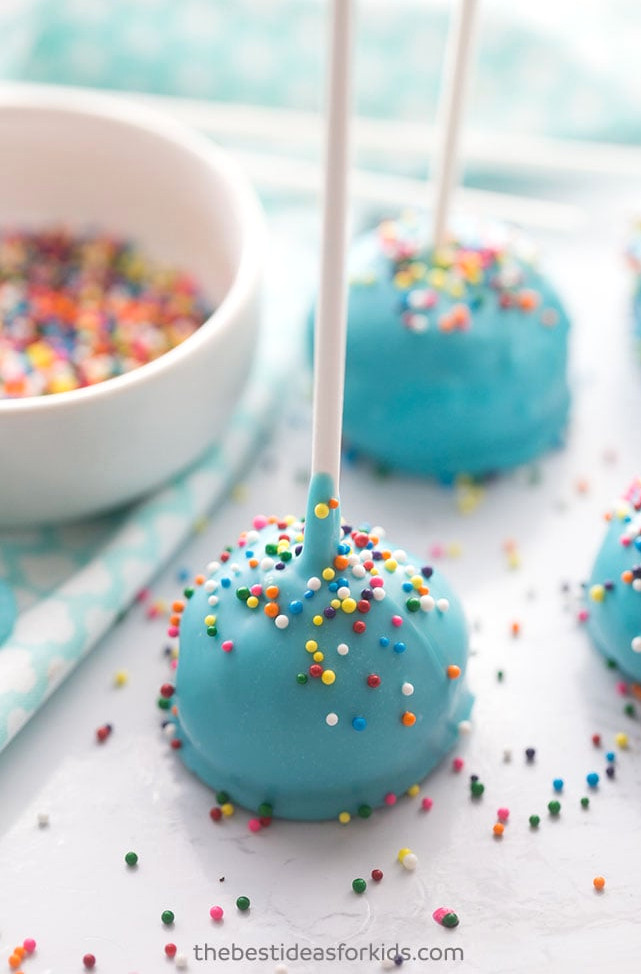
Your homemade cake pops do not have to look as though they came from a professional bakery. The important thing is to have fun making them and enjoy their soft, fudgy centers. They are surprisingly easy to prepare, and children will love helping you—especially when it is time to dip and decorate each one.

How to Make Cake Pops Round
For perfectly round cake pops, you will need a piece of foam board to keep them standing, or you can use a cake pop mold. We usually make the bottoms slightly flat because the cake pops are easier to store that way—and they never last long in our house! If you are preparing them as a gift, however, a cake pop mold is the better choice.
Which Cake Should I Use?
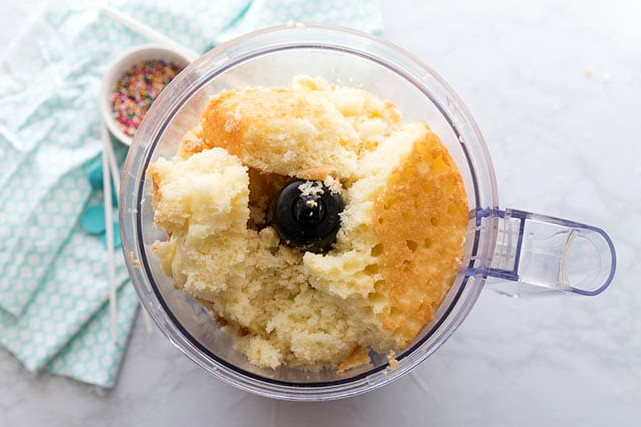
Leftover cake from a birthday party or another celebration is perfect for this recipe because you can give it a completely new purpose. Cake that has baked up too dry is also a great candidate for making cake pops.
You can use a boxed cake mix or bake a cake from scratch before making your cake pops. Whichever option you select, a food processor will quickly turn the cake into fine crumbs. If you do not own one, you can crumble the cake easily with your hands.
How to Melt Candy Coating
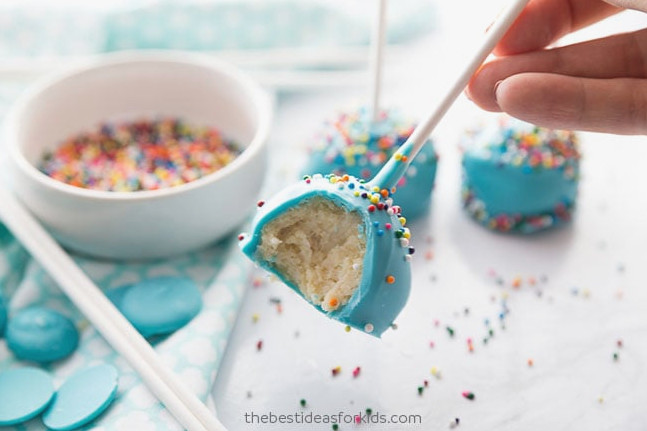
Your candy coating package will include melting directions. Pay close attention during this step, as the coating can overheat easily. If that happens, stir in a small amount of shortening. Use the lowest microwave power setting and mix the coating often between heating sessions. Let the residual heat from the candy melts continue the process before placing them back in the microwave.
Tip: Begin by microwaving the candy melts for only half the time recommended on the package. Stir thoroughly and see whether the remaining pieces soften from the existing heat. Because microwave strengths vary, avoid overheating the coating; otherwise, it may become unsuitable for dipping your cake pops.
-
If you do not have leftover dry cake, bake one according to the package instructions and let it cool completely.Place the cake in a food processor and pulse until it becomes fine crumbs. If you are working without a food processor, crumble the cake thoroughly by hand.
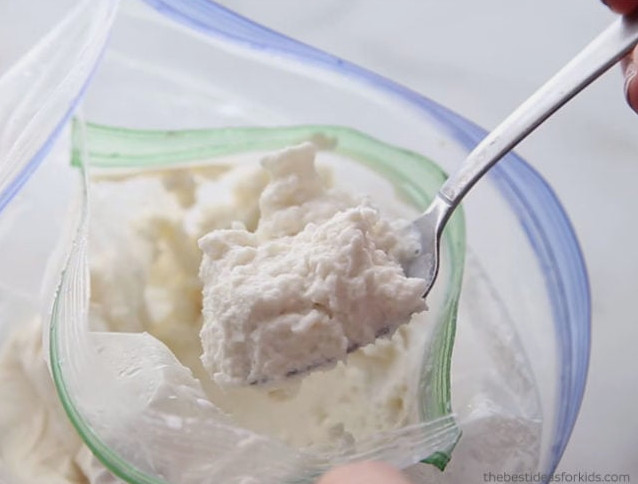
- Add the icing to the cake crumbs, using about 3/4 of the jar to start. You may need to incorporate it little by little until the texture is correct. The mixture should have a dough-like consistency without becoming too sticky. If it sticks excessively, blend in more cake crumbs; if it seems dry, add a little extra icing.
- Roll the mixture between your palms to form balls, then arrange them on wax paper or parchment paper.
- Place the cake balls in the refrigerator for several hours so they can become thoroughly chilled.
-
Melt the candy melts in the microwave according to the package directions, taking care not to overheat them. If they become too hot, stir in a small amount of shortening.Use the microwave’s lowest power setting and stir the candy melts often between heating intervals. Let the residual heat continue melting them before microwaving again to help prevent overheating.
- Dip the ends of the candy sticks into the melted coating, then push each stick halfway into a cake ball. Allow the coating around the sticks to firm up.
- Dip every cake ball into the melted chocolate, letting the excess drip away on one side. Add sprinkles before the coating fully hardens, if desired. For evenly shaped cake pops, stand them upright in a cake pop holder while they dry.
Additional Recipes
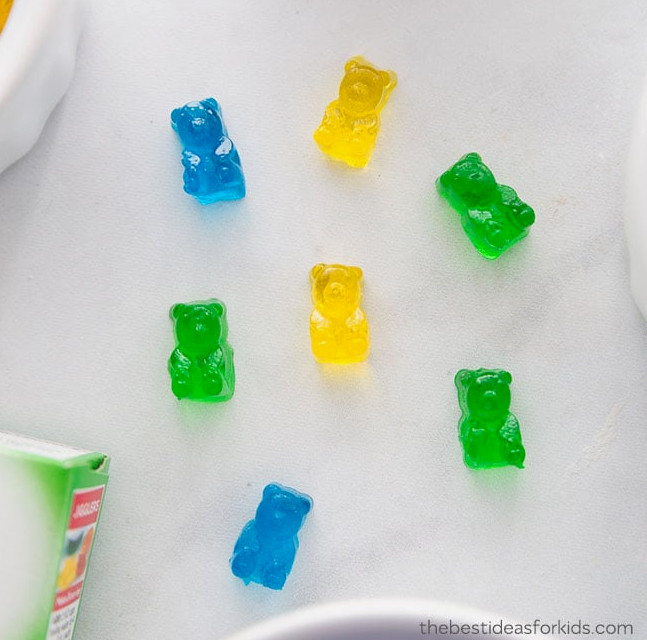
If you are looking for another easy dessert to make with kids, try this simple gummy bear recipe. treat.
Children will also have fun helping make this delicious ice cream in a bag dessert!