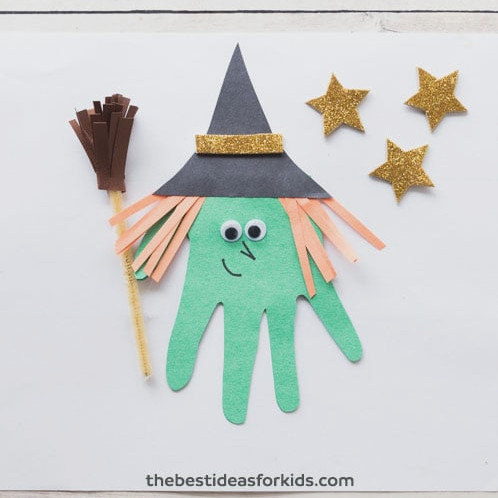
RELATED: Handprint Witch
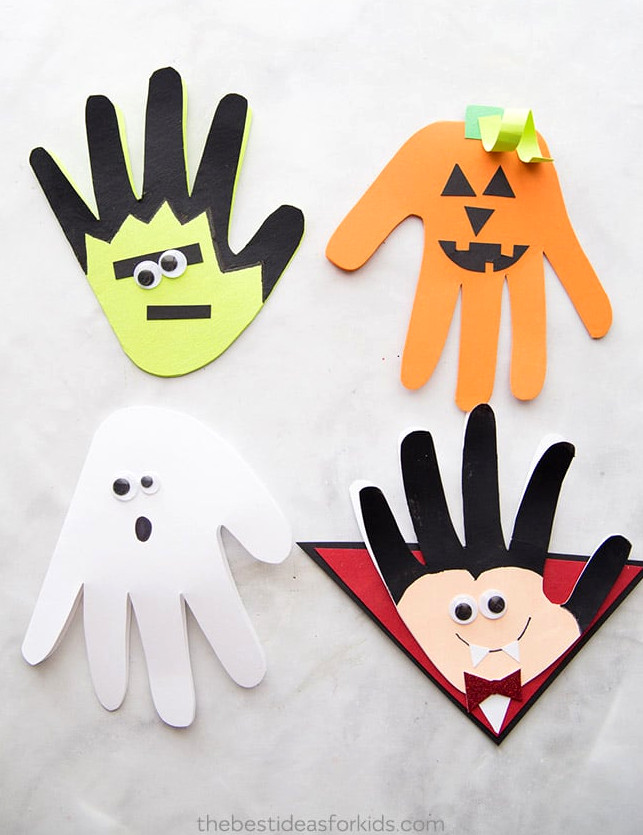
Follow the steps below to make these cheerful Halloween handprint cards. Since each design opens up, kids can write a special message inside, like “Have a spook-tacular Halloween!” in the ghost card or a simple “Happy Halloween!” Collect some paint, cardstock and googly eyes, and let the crafting begin!
Materials Required
Frankenstein
Pumpkin
Ghost
Vampire
View the Video Tutorial
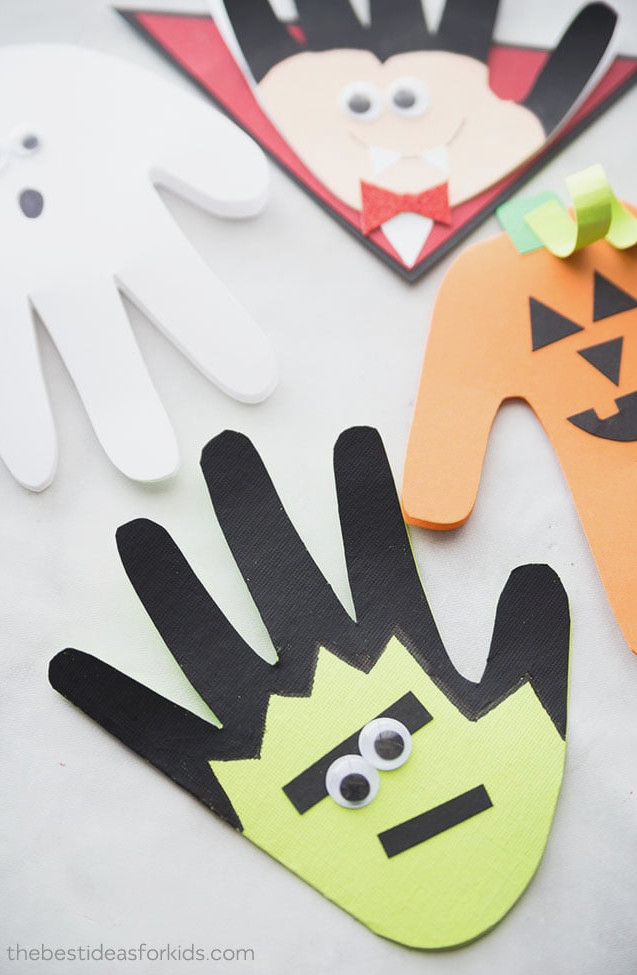
How to Create Halloween Handprint Cards
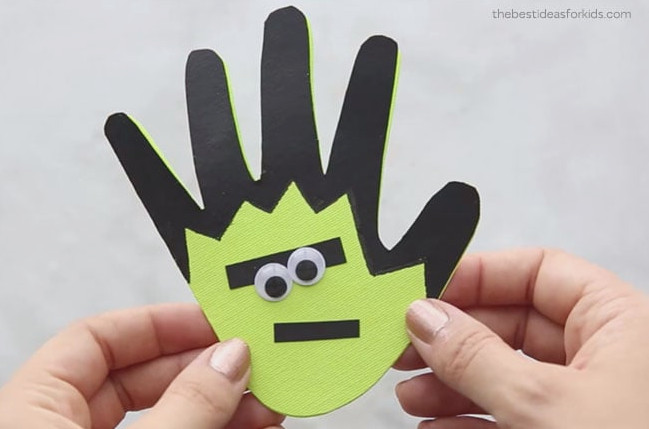
Handprint Frankenstein
1. Fold the neon green cardstock in half first. Place the handprint with the pinky lined up against the crease and trace around it. Cut out the shape, keeping the pinky area joined at the fold so the card remains functional.
2. Paint the top section of the hand black for Frankenstein’s hair. Add a few jagged zigzag shapes as you work to give the hairstyle extra character.
3. Cut two narrow pieces from black cardstock and glue them on as the eyebrows and mouth.
4. Glue the googly eyes above the eyebrows to complete the face.
Handprint Pumpkin
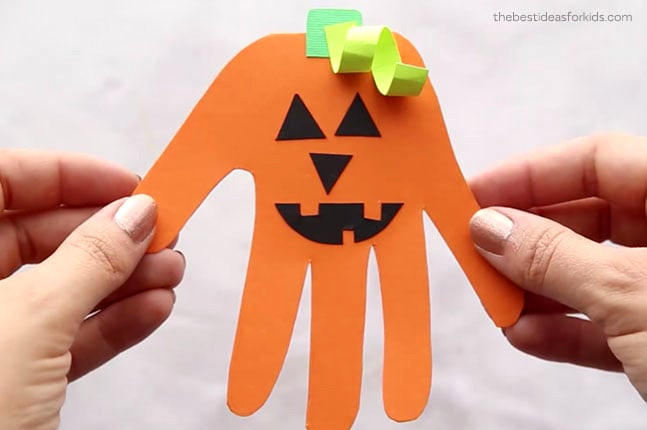
1. Crease the orange cardstock in half. Trace the hand with the wrist resting along the fold, then cut around the outline while leaving the wrist attached so the card opens there.
2. Use black cardstock to make the pumpkin’s eyes, nose and mouth. Glue all of the facial pieces onto the handprint.
3. Snip a small stem from dark green cardstock and attach it with glue.
4. Make a thin strip from light green cardstock and wrap it around a pencil to form a curl. Glue the curled strip to the stem.
Handprint Ghost
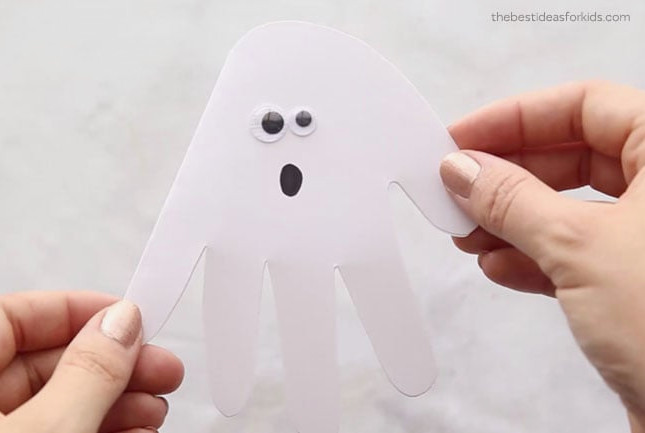
1. Fold a piece of white cardstock in half to begin.
2. Trace the handprint with the pinky resting along the folded side. Cut around the shape, leaving the area beside the pinky attached so it forms an opening card. For a detailed look at how the opening works, view the video tutorial at the end of this post!
3. Position and glue on the googly eyes, using one eye that is slightly smaller on the right side.
4. Draw the ghost’s mouth with a black sharpie.
Handprint Vampire
1. Fold a white piece of cardstock in half. Trace the handprint with the pinky resting against the crease, then cut around it while keeping the pinky-side portion connected so it opens like a card.
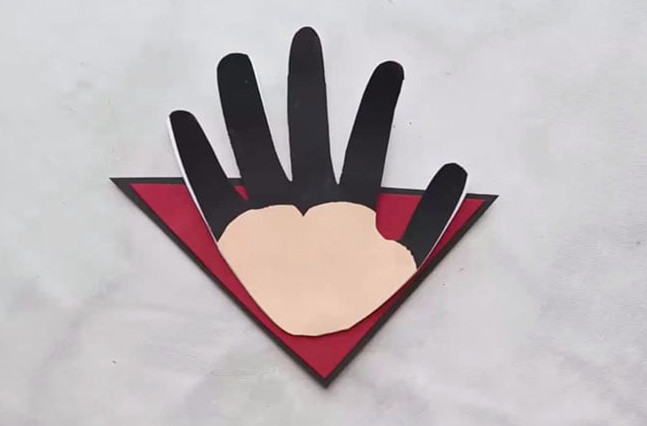
2. Paint the bottom portion of the handprint with this paint color, then leave it aside until it is completely dry.
3. Paint the upper section black to form the hair, tapering it into a point at the bottom.
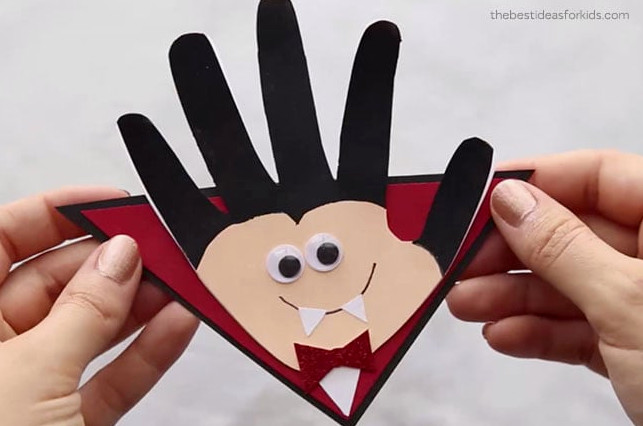
4. Draw the vampire’s mouth with a black sharpie. Cut two small white cardstock triangles and glue them onto the mouth as fangs.
5. For the cape, cut a large triangle from red cardstock. Make a slightly bigger triangle from black cardstock and glue the layers together. Add a small white triangle to the bottom tip.
6. Glue the completed cape onto the back of the handprint.
7. Cut a bow tie from red glitter paper and attach it near the lower part of the handprint. Glue it only to the handprint, not the cape, so the card can still open.
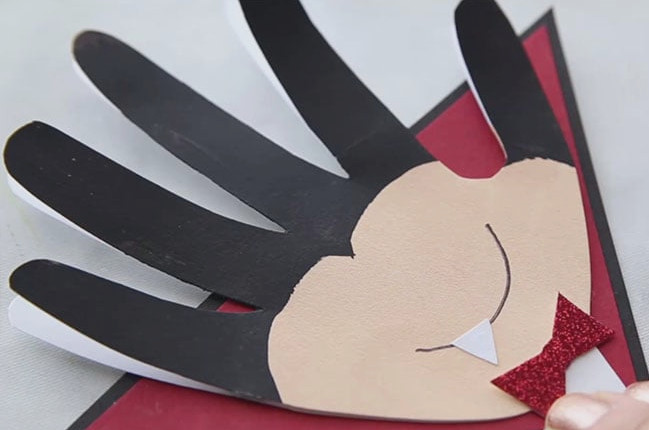
8. Add the googly eyes with glue as the final detail.
We hope these cute Halloween handprint cards bring plenty of fun to your craft time! Remember to share your completed creations with us in our group.
Additional Halloween Crafts for Children
Discover 50+ Halloween Crafts for Kids – with so many creative projects, there’s an idea for every child!
Looking for another sweet Halloween handprint card? Take a look at this handprint witch craft.