Materials Required
View the Video Tutorial Here!
Making a Handprint Witch
1. Fold the green construction paper in half to get started. Place your hand on it and trace around it, allowing the wrist to cross over the folded edge. This way, the fingers will spread apart when the card is opened.
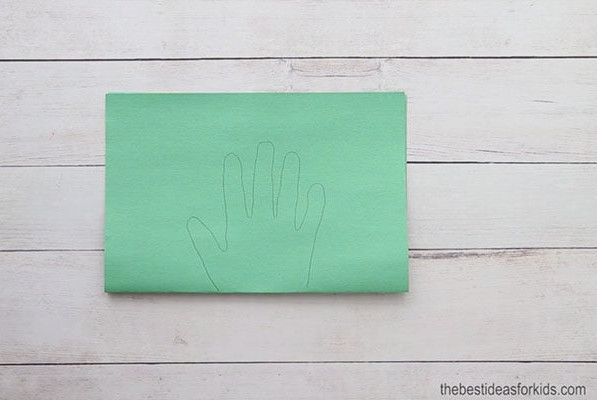
2. Carefully cut out the handprint and use glue to secure it to the white paper or cardstock.
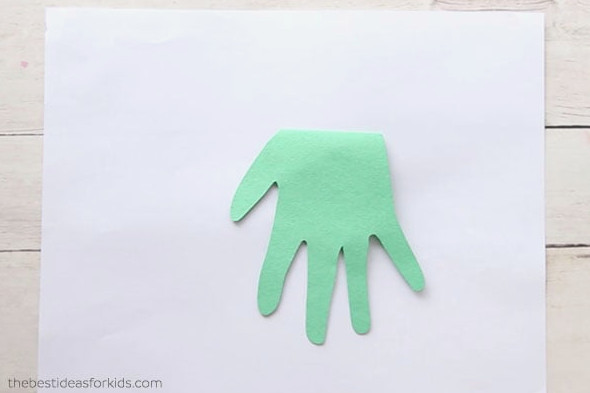
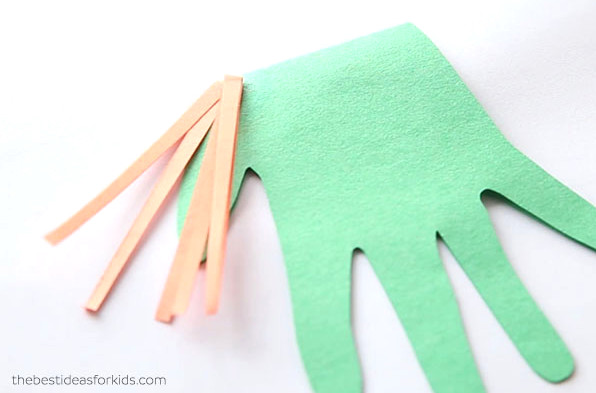
3. Give your witch a head of hair next. Cut the orange construction paper into short strips. Remember to glue the hair on first, before adding the hat.
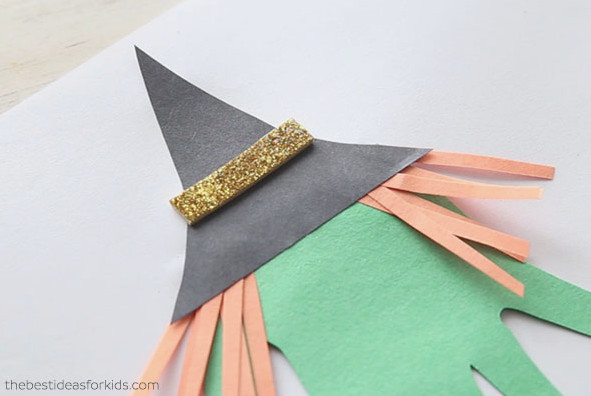
4. Now create the hat. Cut a pointed witch’s hat from the black construction paper, then trim a slim piece of gold foam paper and attach it across the hat.
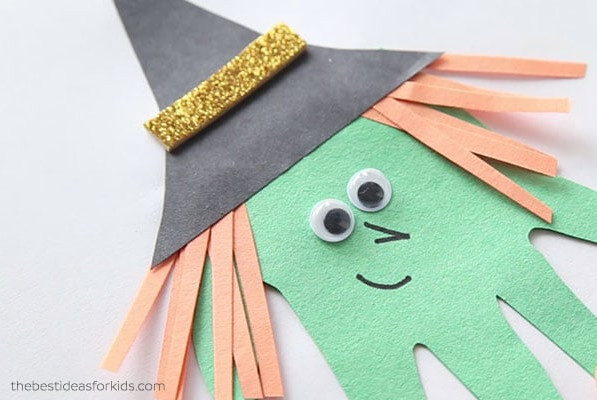
5. Glue on the googly eyes, or use the self-sticking variety. Then draw a pointed nose and a smiling mouth. We think a happy witch is perfect for Halloween!
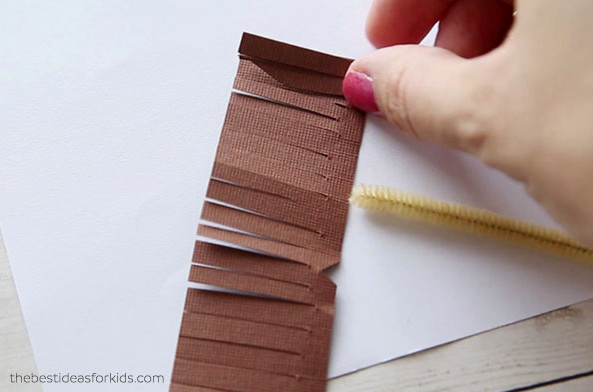
6. Next, make the broom. Take a strip of brown paper and cut slits across about three-quarters of its length. Add enough cuts for it to wrap around the pipe cleaner. Spread on glue and roll the paper around the pipe cleaner. A strong tacky glue is best to keep it securely in place.
7. Place the broom beside the thumb on the handprint witch and glue it in position, making it look as though she is holding it. Use plenty of quality tacky glue again so the pipe cleaner remains firmly attached to the paper.
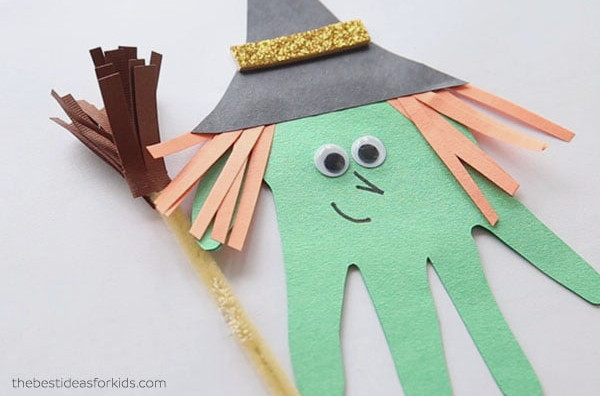
8. Finish decorating the card by cutting a few stars from the gold glitter foam paper and attaching them to the front.
9. Add a Halloween message inside the card, such as Happy Halloween or Trick or Treat, to complete your project.
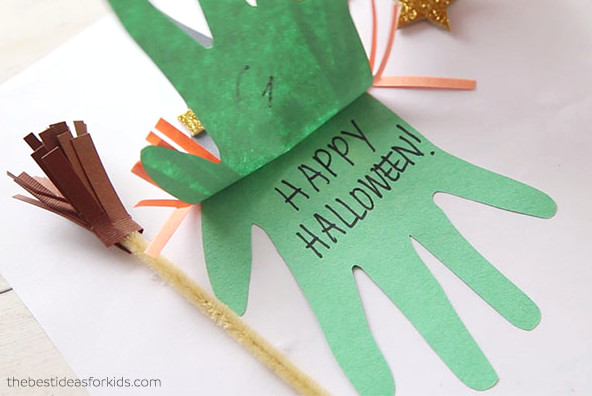
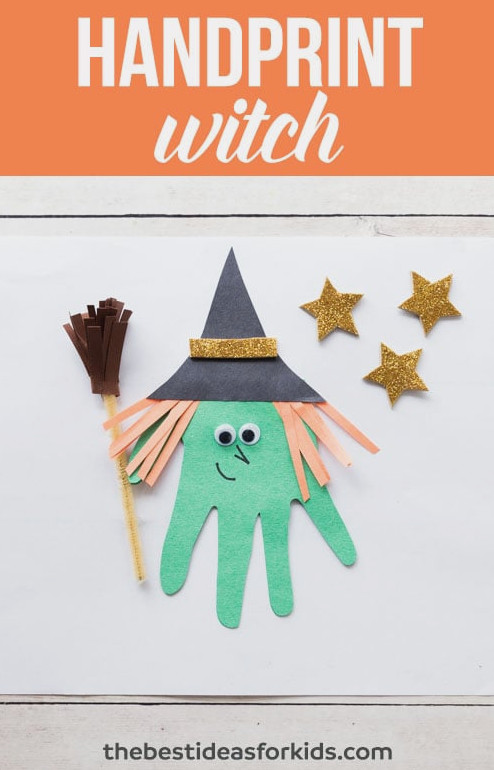
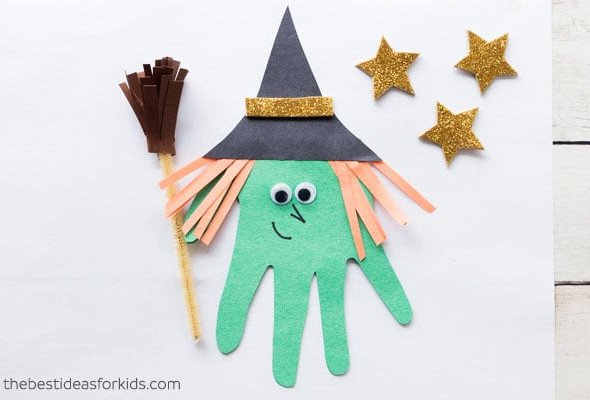
This witch handprint craft is incredibly cute! Kids will enjoy personalizing their witch, and anyone would be excited to receive this handmade card alongside candy and other Halloween treats.
We hope you have as much fun making yours as we did!
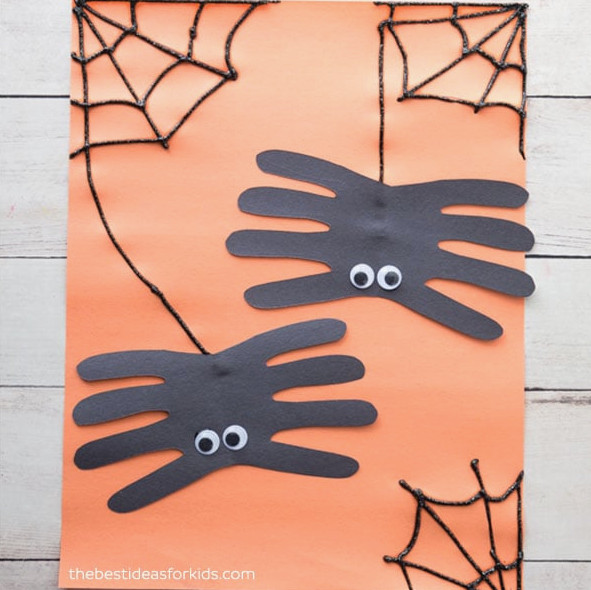
For more fun Halloween crafts, be sure to check out these adorable spider handprints.