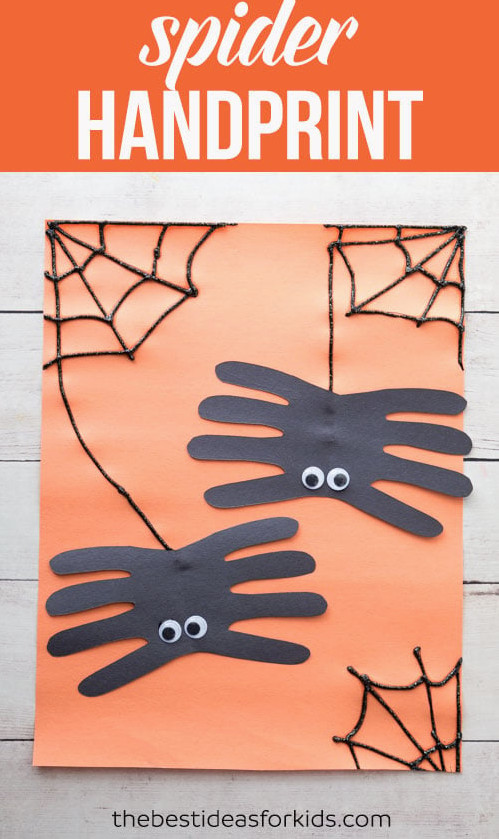
Materials You’ll Need
Watch the Video Tutorial!
How to Make a Spider Handprint Craft
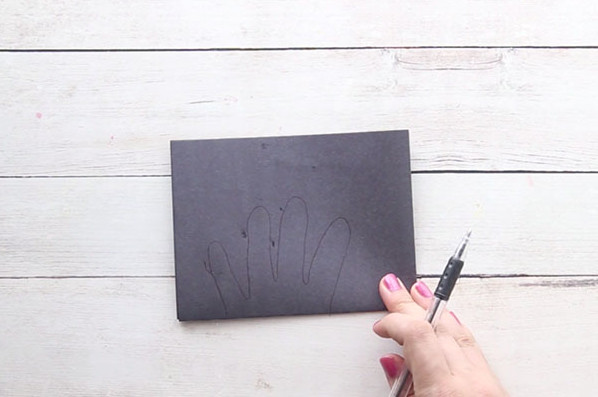
1. Start by folding the black paper in half twice, following the example below:

2. Trace four fingers only, leaving out the thumb, and leave about 1/2 an inch between the tracing and the point where the bottom cut will be made. Do not trace the whole hand, since the spider’s body will be oversized after cutting. It is also important to trace along the folded edge where the two layers come together, allowing both layers to form spiders. If you do not, you could trace the hand two separate times or end up with just one spider!
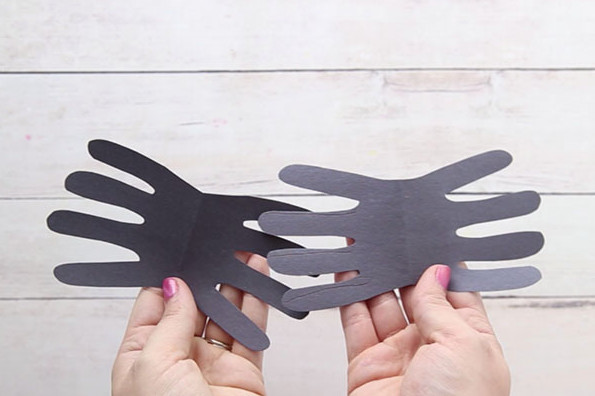
3. Cut around the handprint next. When you unfold it, you should have 2 spiders.
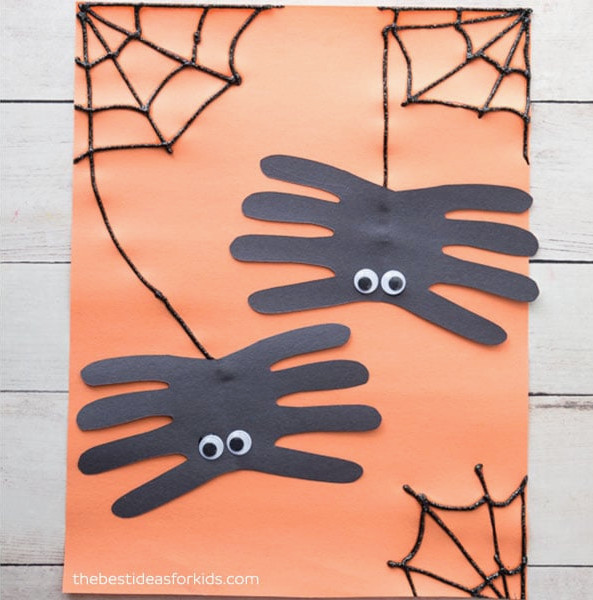
4. With a pencil or black pen, draw spider webs on the orange construction paper. Add two web strands hanging down from the area where you plan to place the spider handprints.
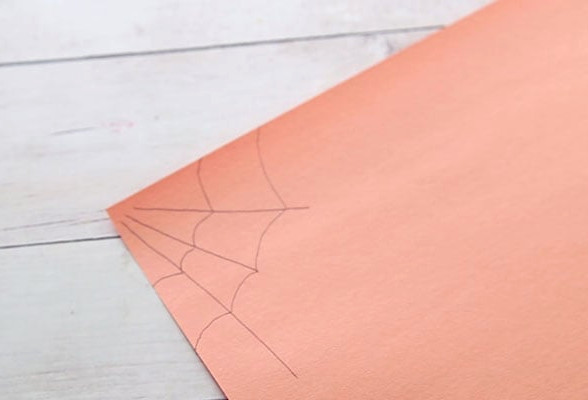
5. Trace over the web designs carefully with the black glitter glue. Keep each stroke as continuous as possible while outlining the web to prevent the glue from collecting in thick spots. Leave the black glue to dry overnight.
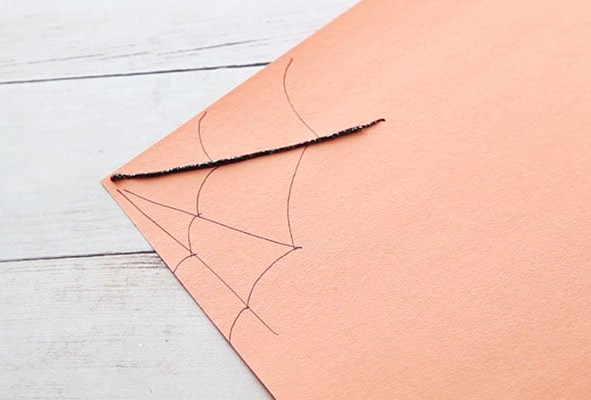
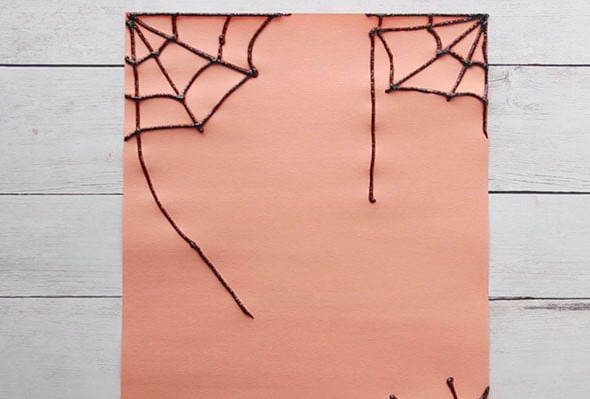
Note: The black glue was still drying when these photos were taken. Once dry, it will settle and become slightly flatter.
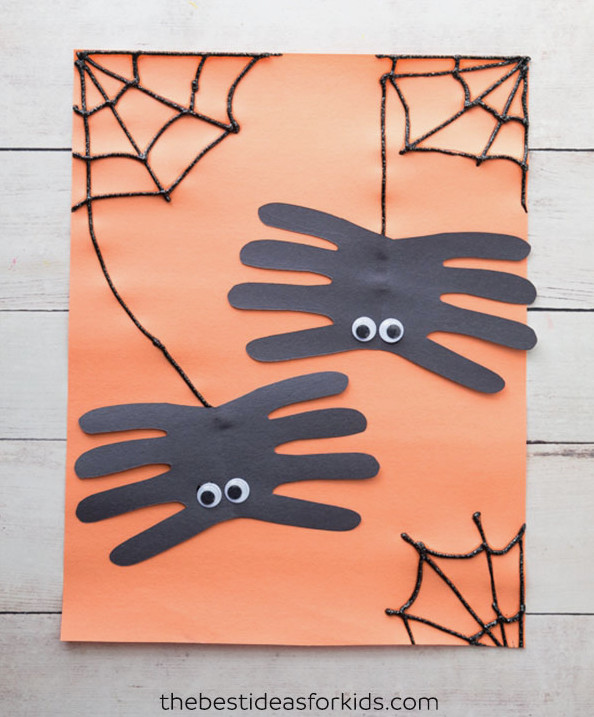
6. Glue the spider handprints onto the paper, then add the googly eyes. Your Halloween craft is finished!
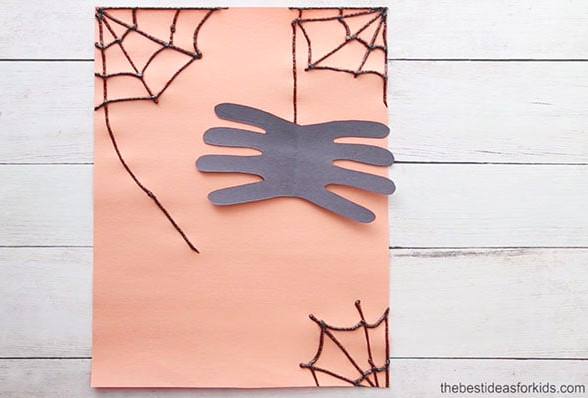
Aren’t they adorable? We love the sweet and playful look of these handprint spiders!
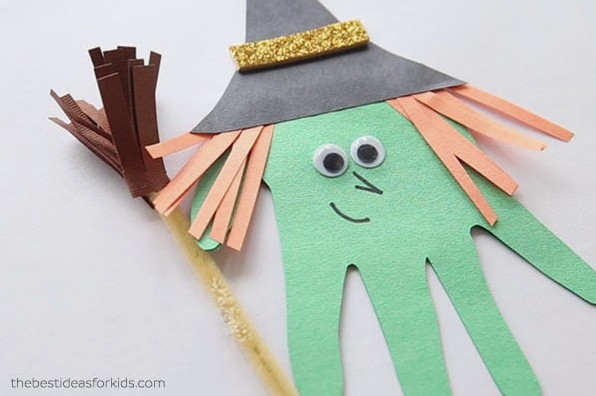
For another fun Halloween project, check out this charming handprint witch.
Discover even more Halloween handprint art projects.