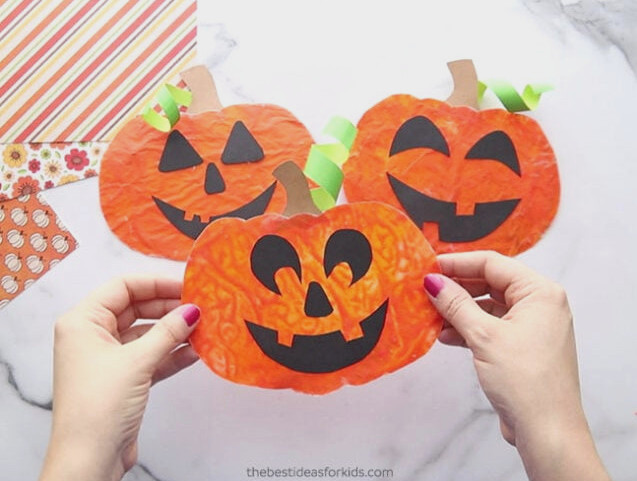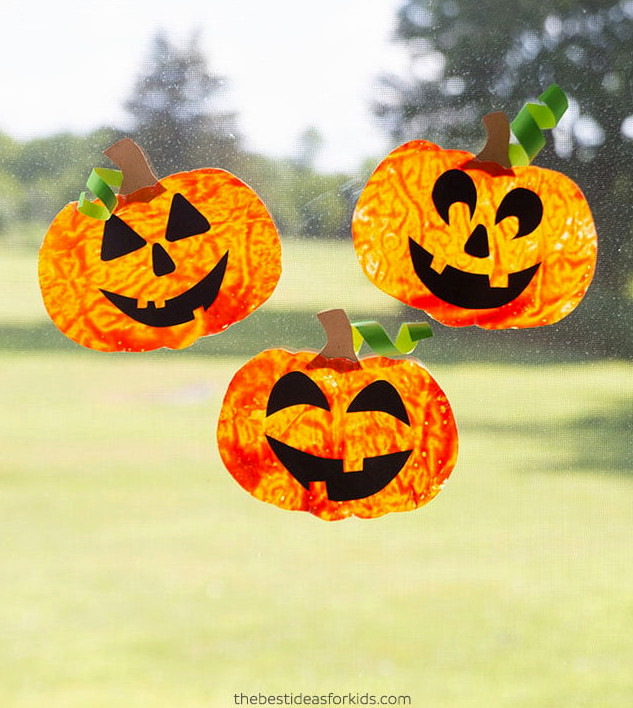
Crayons and wax paper are excellent supplies for making colorful suncatchers. Tissue paper combined with contact paper is another option you could try.
Since contact paper can sometimes be difficult to find, melted crayon suncatchers are a handy alternative. Wax paper and crayons are common household supplies that you may already have on hand.
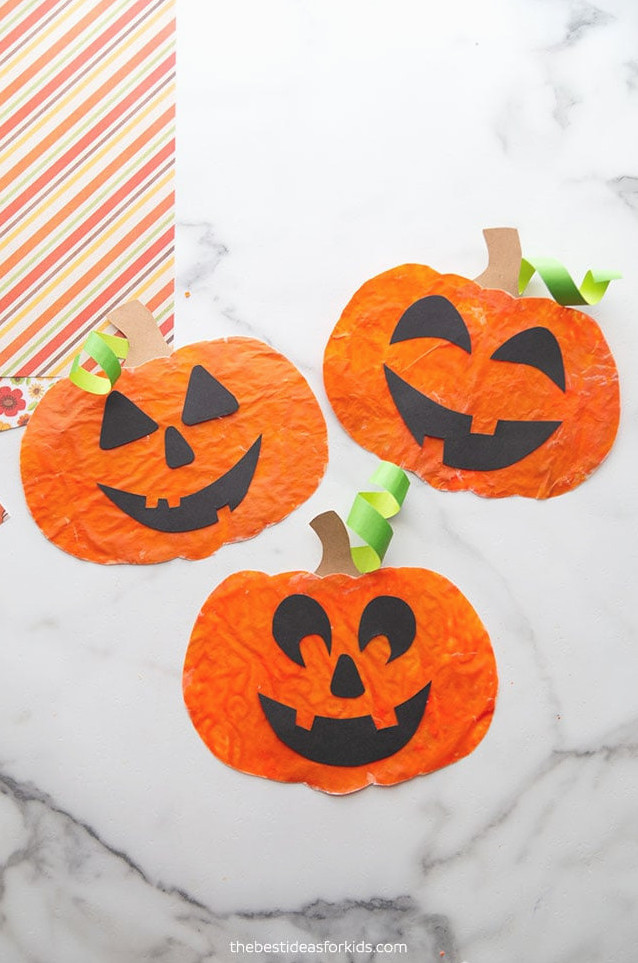
Supplies You’ll Need
- Crayons – we mixed the Crayola colors ‘Yellow Orange’, ‘Orange’ and a little ‘Neon Orange’. Do not choose an orange shade darker than the regular orange, as the finished pumpkin may turn out too dark. Allow approximately 2-3 crayons for each suncatcher.
- Sharpener or Grater – an everyday pencil sharpener was used to make the crayon shavings. You can also use a crayon sharpener or cheese grater. An adult should supervise this activity or do it for younger children.
- Tape or double-sided tape – for securing the suncatchers to your windows
- Templates – you can find the free template at the bottom of the post, within the form showing its preview.
Watch the Video Guide
How to Create a Pumpkin Suncatcher
Note: Keep the finished suncatchers out of direct sunlight and away from strong heat, particularly on windows that become hot, since the crayons may melt again. We placed ours on a window that stayed out of direct sunlight.
1. First, sharpen the crayons to make shavings. Each suncatcher requires about 2-3 crayons.
This part can seem a bit time-consuming at first, but it gets faster after you find a comfortable technique for shaving the crayons.
We made our shavings with a regular pencil sharpener. A crayon sharpener or cheese grater can be used instead. Younger children should have adult supervision, and an adult may need to complete this step.
2. Lay one sheet of wax paper on the table, making sure it is large enough to fit the pumpkin outline.
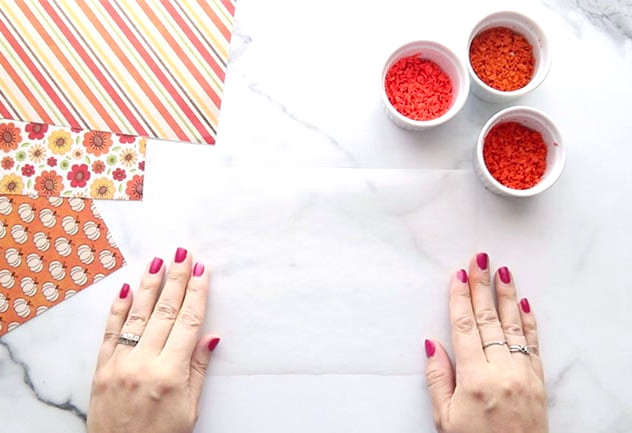
3. Scatter the crayon shavings over the wax paper.
Spread the different shades across the surface, covering an area large enough for the pumpkin template.
The entire sheet does not need to be covered. Once heated, the melted crayon will flow into some of the smaller spaces.
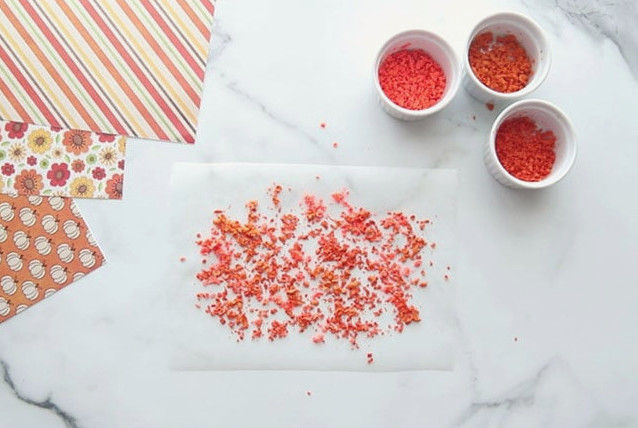
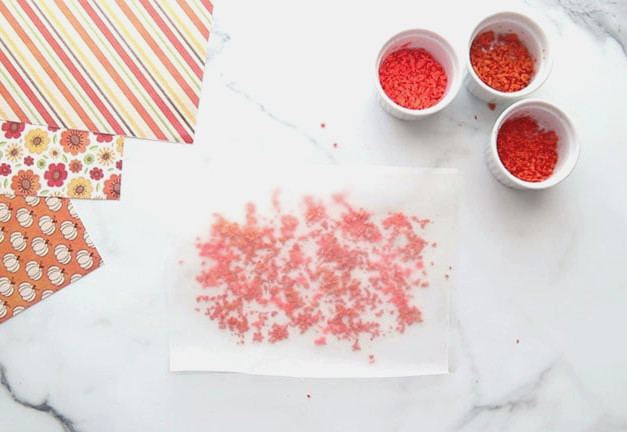
4. Place another sheet of wax paper over the shavings and gently press the layers together so they flatten.
5. Direct warm air from a hair dryer over the crayon-filled area. Note: This step requires adult supervision or assistance.
The crayon shavings will gradually become soft and start to melt.
If any patches are still bare, use the hair dryer to guide the melted shavings toward those areas.
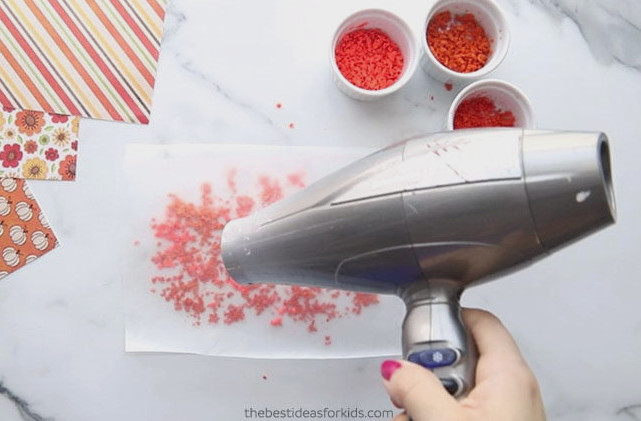
6. Keep warming the wax paper until almost all of the crayon has liquefied and the colored section is large enough for the pumpkin template.
Caution: the wax paper may feel warm. Wait for the wax to cool before touching the area covered with crayon.
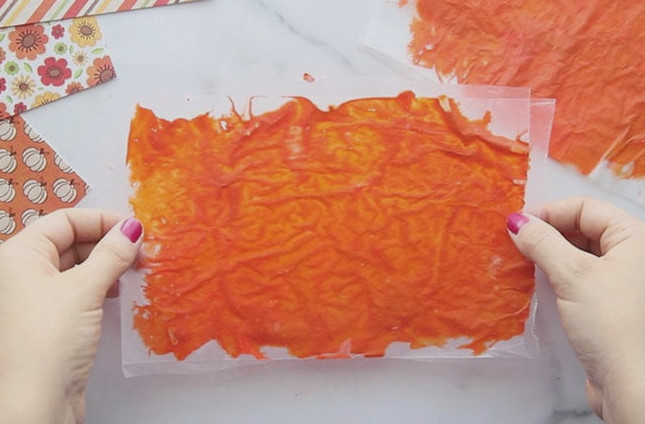
7. Set the melted crayon aside until it has cooled and dried fully.
After the crayon becomes firm, the two wax paper layers should stick together on their own.
8. Position the pumpkin template on top of the wax paper and cut along its edges to create the pumpkin shape.
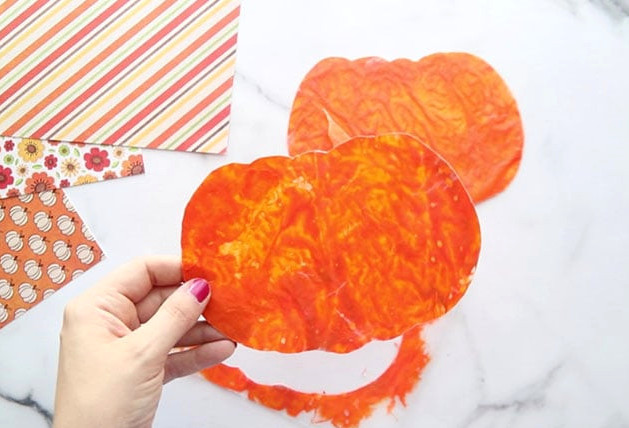
9. Trace the stem template onto brown cardstock. Then glue the stem onto the top section of the pumpkin’s back.
<figureclass=”wp-block-image aligncenter”>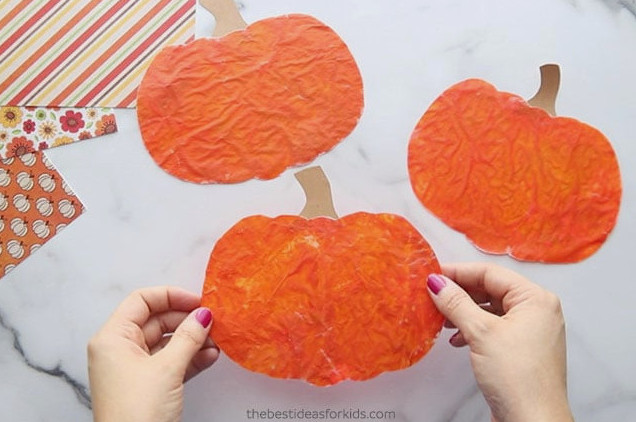
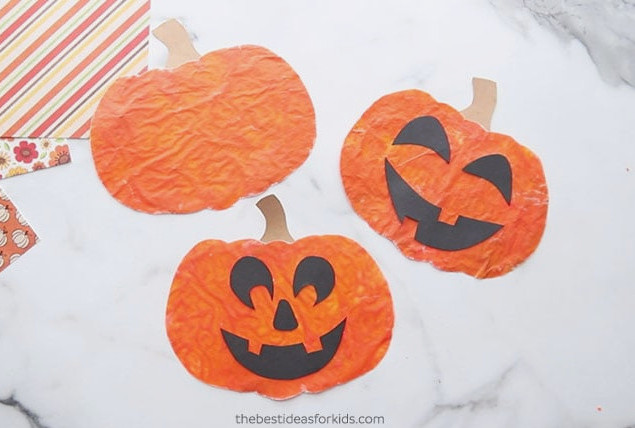
10. Place the pumpkin face templates over black cardstock, trace each design, and carefully cut out the shapes.
Then use glue to secure the pumpkin face pieces in place.
12. Cut a narrow strip of green cardstock, curl it around a pencil, and attach it behind the stem with glue.
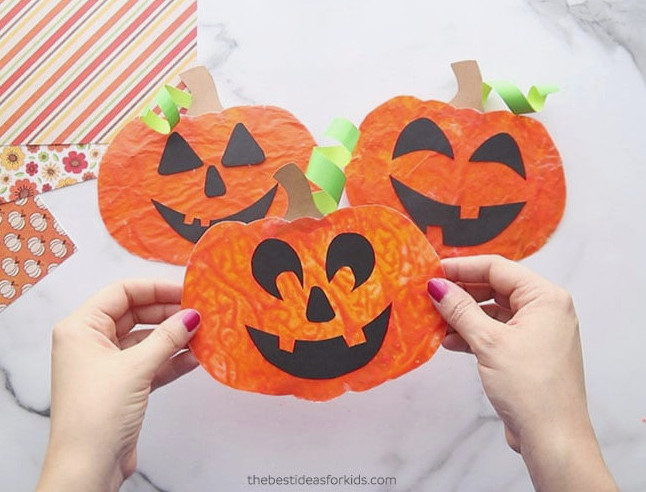
Your pumpkin suncatcher is now complete!
Note: Protect your suncatchers from direct sunlight and high temperatures, particularly in windows that get hot, as the crayons may melt. We placed ours in a window that receives no direct sunlight.
Secure it to the window using tape or double-sided tape.
Access the Free Template Here
Download the Free Suncatcher Template
Get the free suncatcher templates sent straight to your inbox, along with our weekly newsletter at no cost.
Already a subscriber? There’s no need to sign up again—you won’t receive duplicate emails!