Looking for an easy fall craft to enjoy with kids? This wooden spoon scarecrow craft is sure to be a hit! Children can have fun designing these adorable scarecrows, and each one can be customized however you like.
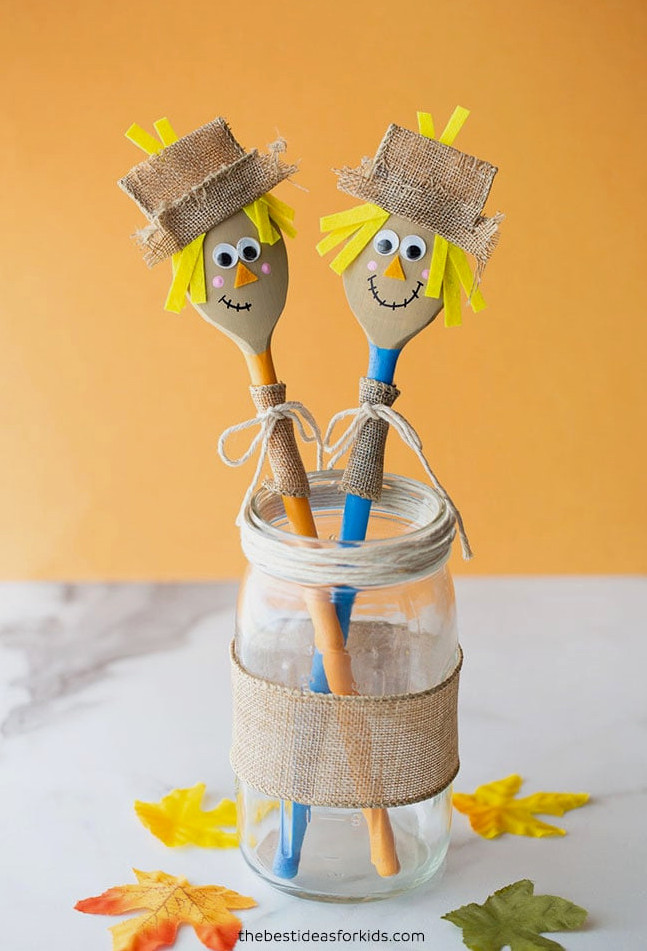
You can find inexpensive wooden spoons at most dollar stores or purchase them from Amazon. Kids will love decorating their own spoon scarecrows, and after completing the project, they can use them in a fun puppet show! They also make delightful props for imaginative storytelling.
Enjoy making scarecrow crafts? Be sure to check out our popsicle stick scarecrow craft.
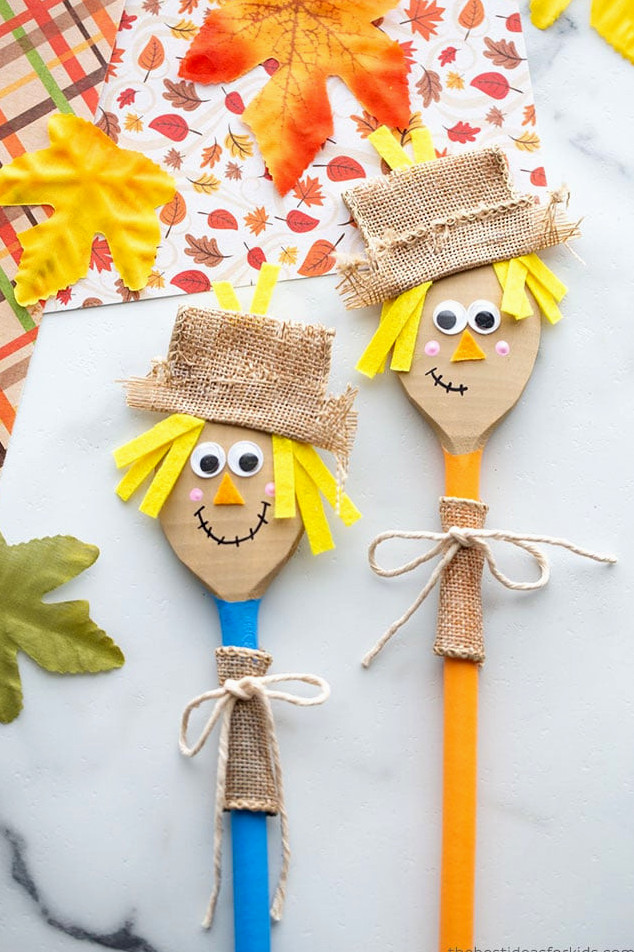
Make one wooden spoon scarecrow or create a whole group using different paint colors and decorations!
Supplies Needed
- Wooden Spoons – we used these wooden spoons.
- Small googly eyes
- Fine point sharpie
- Acrylic Paint – we used light brown, pink, blue and orange
- Felt – yellow felt was used to make the hair, and orange felt was used for the nose.
- Twine
- Burlap Ribbon
- Hot glue – use hot glue to hold the hat and other pieces firmly in place. Adult supervision is required.
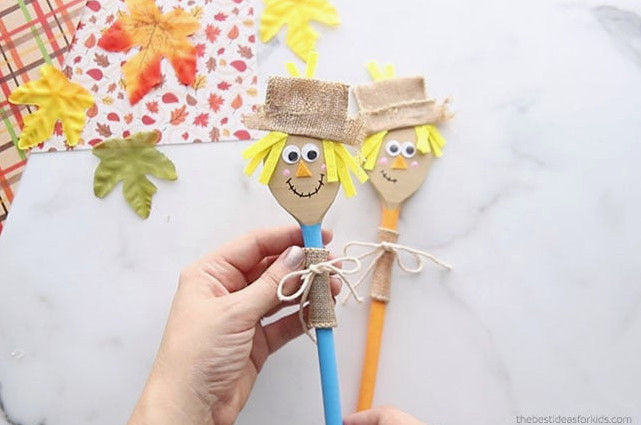
Watch the Video Tutorial
How to Make a Wooden Spoon Scarecrow
1. Start with a plain wooden spoon. Dollar stores are often a convenient place to buy them, or you can order these wooden spoons from Amazon.
A spoon with an end measuring about 2 inches wide gives you more space to add the scarecrow’s hair and facial features.
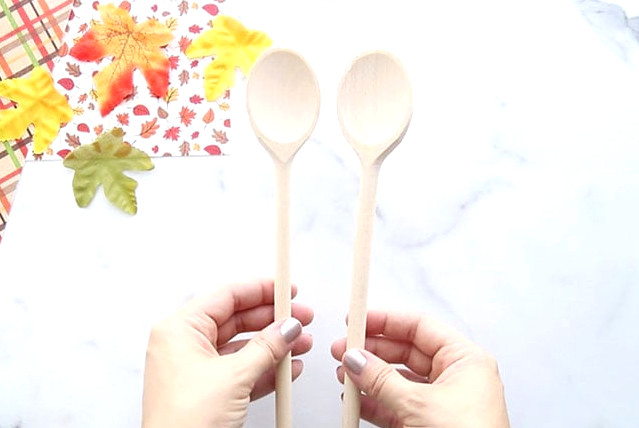
2. Paint the wooden spoon with non-toxic acrylic paint. We applied light brown to the top area, followed by blue and orange on the lower section.
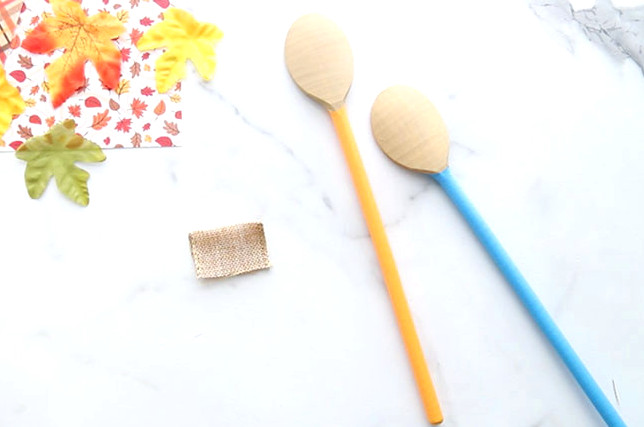
3. Make the scarecrow hat with burlap ribbon:
We used burlap ribbon that is 2.5 inches wide for this project.
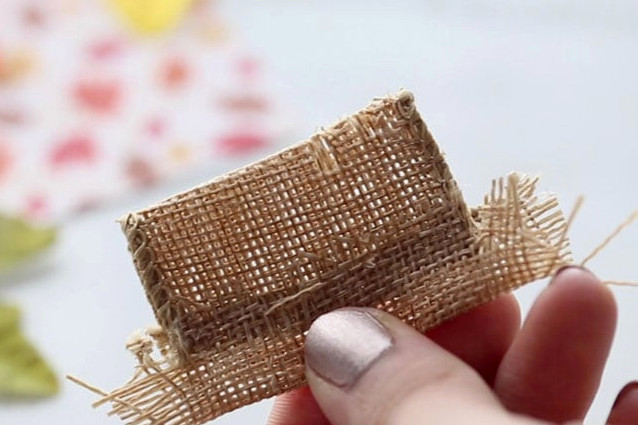
Begin by cutting a short piece and folding it over to create the top portion of the hat. (You can see this technique in the video!)
Next, cut a longer piece for the brim of the hat and fold it lengthwise.
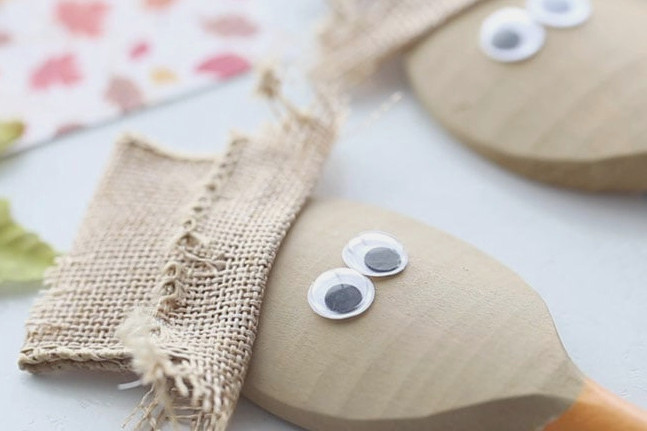
Glue both pieces together. Afterward, pull at the edges and make a few small cuts to give the hat a charmingly ragged look.
4. Use glue to fasten the hat to the upper part of the spoon.
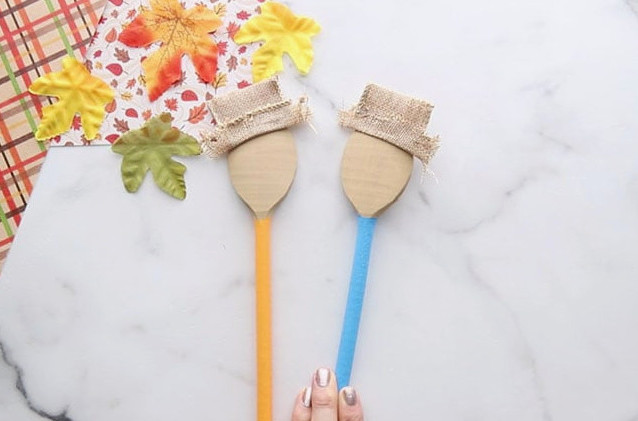
5. Glue on 2 small googly eyes.
6. Snip a triangle from orange felt and attach it for the nose.
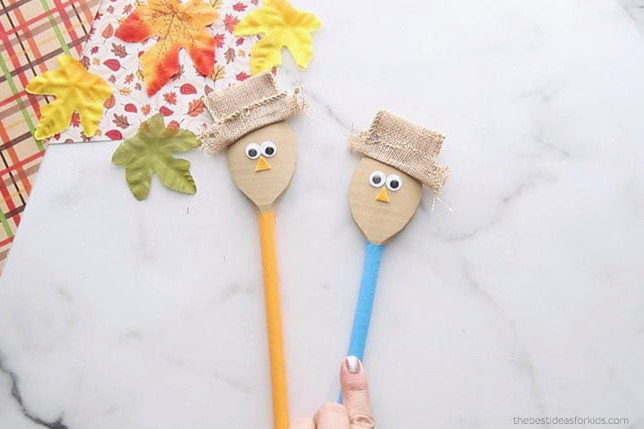
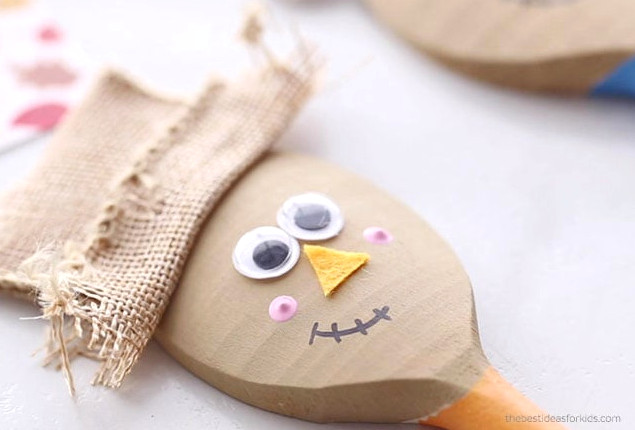
7. Draw the mouth with a black sharpie.
Note – if the face isnot painted, the Sharpie could seep into the wooden spoon. We found that applying paint beforehand helped keep the ink from spreading.
Use the back of a paintbrush to dab on two pink cheeks.
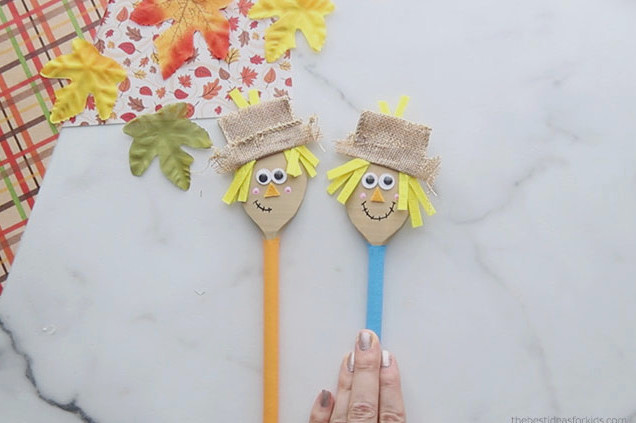
8. Finish the face by cutting several slim strips of yellow felt for the hair.
Glue the felt pieces along both sides of the scarecrow’s face.
We added a few extra strands across the top of the hat as well.
9. Wrap a short length of burlap ribbon around the spoon handle close to the top and secure it with glue.
Add a knotted piece of twine over the ribbon, then glue it firmly in place.
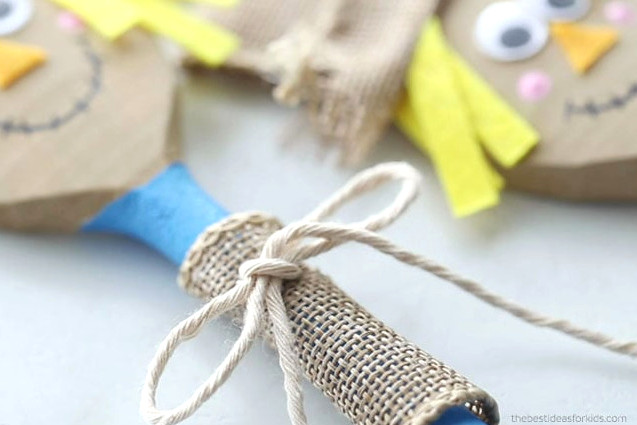
9. Your spoon scarecrows are ready!
Use them as charming story spoons, or display them in a mason jar for a festive decoration. We decorated our mason jar with burlap ribbon and twine too.
Explore More Scarecrow Crafts
Why not make popsicle stick scarecrows next?
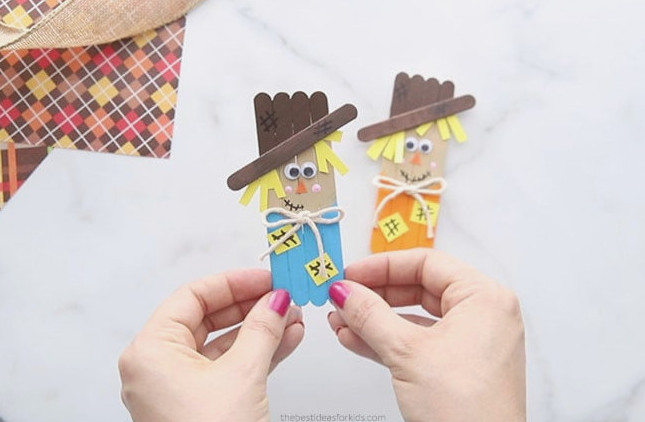
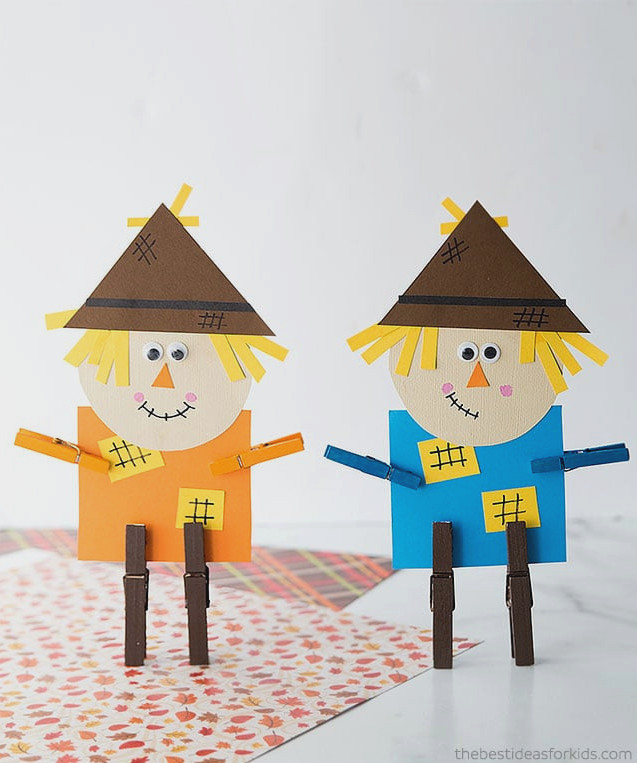
These adorable clothespin scarecrows are another fun project to try, and a free printable template is available to help you make them!