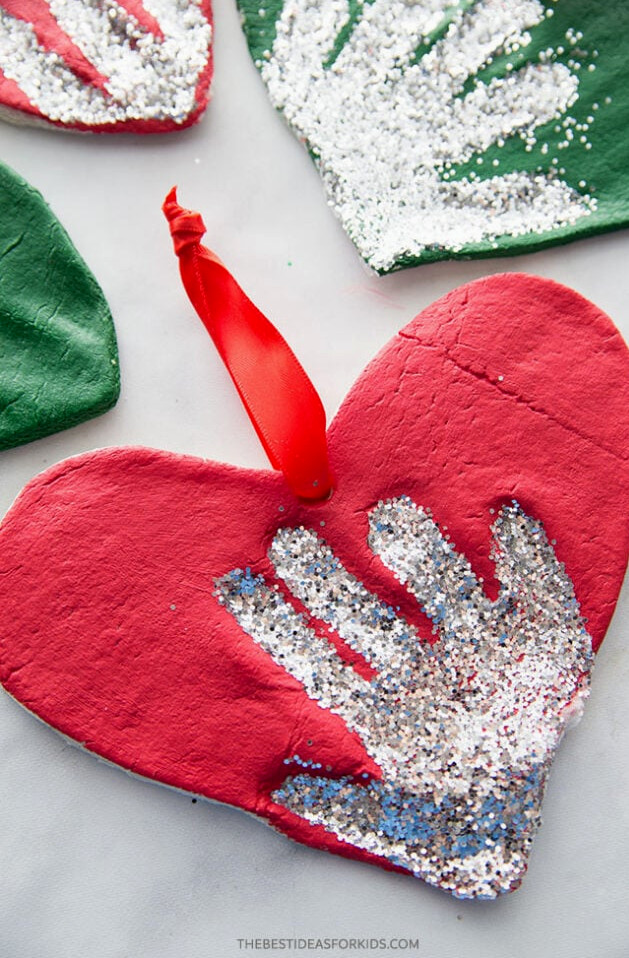
Handprint ornaments are one of our favorite projects to make with this salt dough recipe. You can also cut the dough into different shapes with cookie cutters and decorate them using paint.
Be sure to add the year to the back of every salt dough ornament, making it easy to remember when each one was created.
Note: keep these ornaments out of reach of pets.
Ingredients
- 4 cups all purpose flour (Note: choose regular all-purpose flour, not self-rising flour)
- 1 cup salt
- 1.5 cups warm water
Watch the Video Tutorial
How to Make Salt Dough
1. Combine the flour, salt, and warm water in a bowl, stirring until the ingredients come together into a dough.
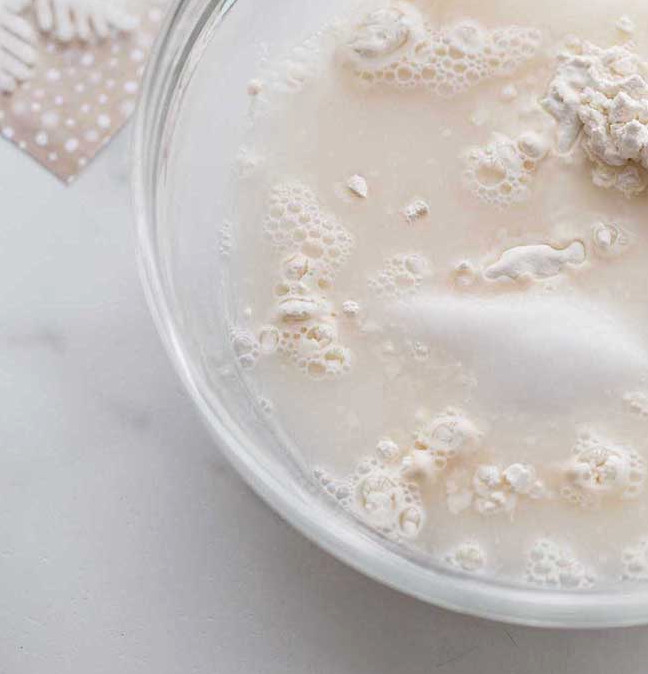
2. Take the dough out of the bowl and knead it for at least 10 minutes.
The mixture may look a little dry in the beginning. Add a small quantity of water, about 1 tablespoon at a time, and continue kneading until it comes together.
The finished dough should be soft, smooth, and easy to roll without many bumps. It must also be pliable enough to hold a handprint. If it feels stiff or rough, continue kneading. When it still seems dry, add more water slowly, a few tablespoons at a time. Take care not to overdo it, since too much water can make the dough sticky and wet.
Roll or press the dough to a thickness of roughly 1/4 to 1/2 inch. Very thick dough will take longer to dry thoroughly.
Push your hand firmly into the surface of the dough.
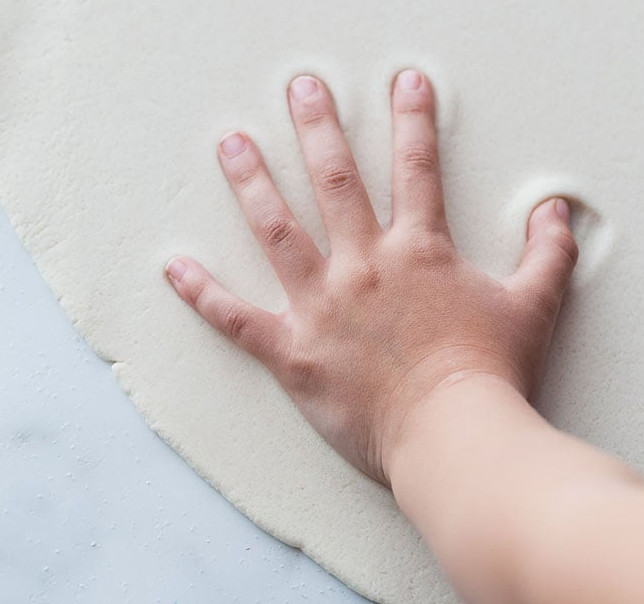
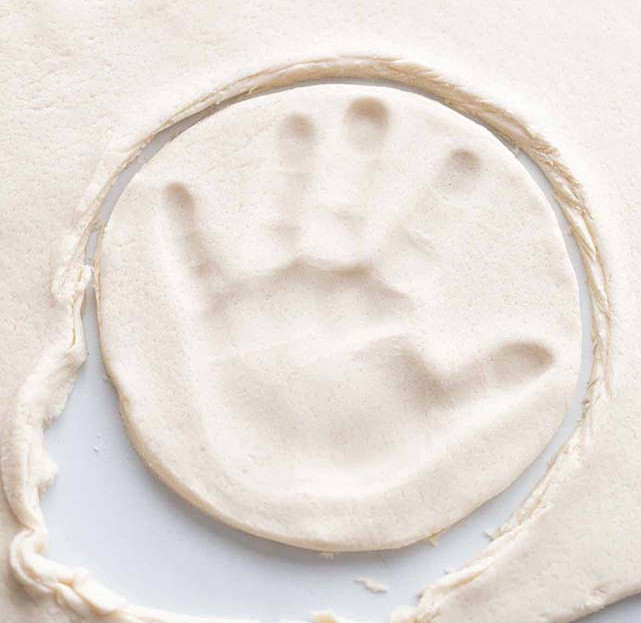
3. Use a round bowl to trace around the handprint.
Have an adult carefully cut around the handprint with a knife.
You can also print a circle or heart pattern and trace its outline with a knife, with an adult completing the cutting.
For a smaller handprint, try using a round cookie cutter or a large heart-shaped cutter.
TIP: Make the handprint before cutting around its outline, since this is easier to manage. Roll out any leftover dough again to create another handprint.
4. Use a straw to punch a hole close to the ornament’s top edge.
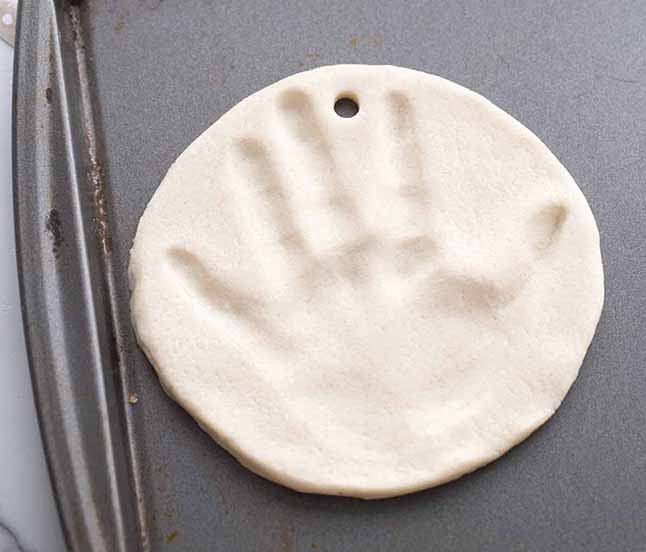
5. Let the ornaments air-dry for 24 hours.
If you have enough time, leave the ornaments exposed to air for an entire day. This can shorten the baking time and help prevent them from puffing up. When necessary, you may place them in the oven right away.
Bake the ornaments at 250 degrees Fahrenheit for 1-2 hours. Once the tops look dry and solid, flip them over and bake the other side.
NOTE: Check that your oven temperature is set to Fahrenheit. Using Celsius by mistake is a common reason ornaments burn or swell. For a Celsius oven, use the lowest available setting, approximately 120 degrees Celsius.
If the ornaments remain soft or doughy, bake them for one more hour. Baking time varies according to thickness, with thinner pieces drying faster and thicker ones requiring longer. If oven drying is taking too long, leave the ornaments to air-dry for a few additional days. Flip them periodically so both sides receive adequate airflow.
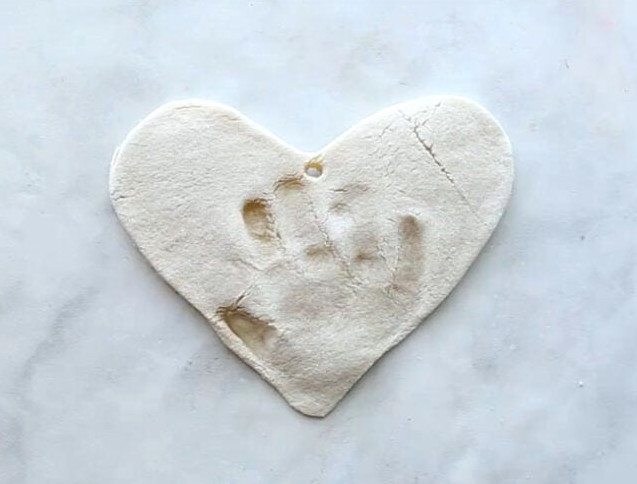
6. After the ornaments are completely dry, they are ready to paint.
You can paint only the handprint and leave the rest of the ornament plain. Another option is to coat the entire piece with white paint and add color to the handprint once the base coat has dried.
class=”wp-block-paragraph”>To add glitter to the handprint, begin by painting the entire ornament. Then brush glue inside the handprint and cover the area with glitter.
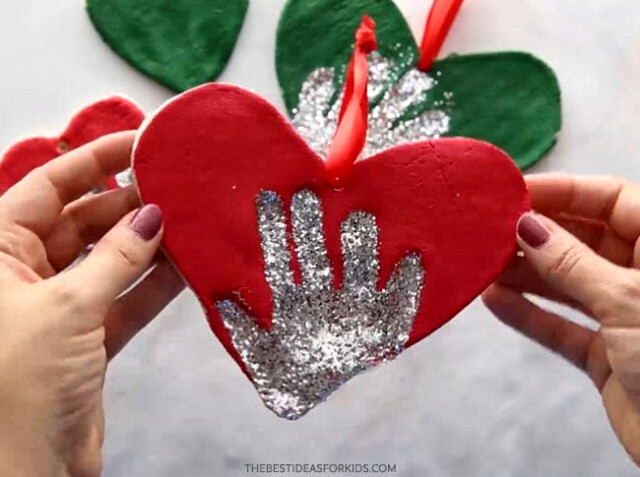
After the paint has dried fully, protect the ornament with either mod podge or a clear glaze spray. The sealer should be added after painting and only when the paint is completely dry.
7. Feed ribbon or twine through the hole to make the ornament ready for hanging on the Christmas tree.
Why Does My Salt Dough Puff Up?
Salt dough usually puffs up when the oven temperature is too high, causing the dough to expand. If possible, let the ornaments air-dry for 24 hours before baking. This can help prevent them from puffing. If you need to bake them right away, choose the lowest oven setting (200-250 degrees Fahrenheit).
Note: Make sure your oven temperature is set to Fahrenheit, not Celsius.
Always use regular all-purpose flour rather than self-rising flour.
How Should I Seal Them?
Once the ornaments are complete, seal them with either mod podge or a clear glaze spray. This spray is our top choice for a durable finish. An adult should apply it according to the directions provided with the product.
Applying a sealant helps protect the finished ornaments from cracking over time and keeps moisture from getting inside.
Which Type of Paint Should I Choose?
Non-toxic acrylic paint is my preferred option for salt dough ornaments. It provides fuller coverage and more vibrant color than children’s paint. This acrylic paint brand is one we particularly like.
Decoration Ideas
The space around the handprints can be shaped as either a heart or a circle.
For this ornament, we selected a large heart cookie cutter since the handprints were small (baby handprints):

For bigger handprints, use a heart template to trace the shape, or ask an adult to carefully cut a heart outline around the handprint.
How Many Ornaments Can This Make?
The yield varies according to the size of the handprints and how thickly the salt dough is rolled, but this recipe can produce roughly 8 handprints. If you use the dough for small cookie-cutter designs, you may get around 15 ornaments.
When making these ornaments for a classroom or a larger group of children, I recommend bringing an extra batch in case more is needed. The final number will depend on the cookie-cutter size, handprint dimensions, and dough thickness. To avoid waste, I like to reroll the dough and combine any remaining scraps.
Helpful Tips
- Work the dough well until it feels smooth; I generally knead it for at least 10 minutes.
- Whenever possible, let the ornaments dry in the air for a full day before baking. This shortens baking time and helps limit puffing.
- Whether the ornaments are baking or air-drying, turn them over occasionally so the underside receives airflow.
- Apply one of the recommended sealers above to help preserve the ornaments for many years.
- Store the ornaments somewhere cool and dry, away from dampness. A sealer offers additional protection against moisture.
- Store them where pets cannot reach them.
- Combine all of the dry ingredients, then knead the dough for 10 minutes. If it seems too dry, slowly add extra water a few tablespoons at a time while continuing to knead. The dough is ready when it feels smooth, rolls out evenly, and allows you to press your hand into it without difficulty. If it feels stiff or dry, work in a small amount of water and knead it once more.
- Roll or press the dough to the thickness you want for your salt dough ornament. A thickness of 1/4 to 1/2 inch works well.
- Cut out different salt dough ornament shapes with a large cookie cutter. To make handprints, press a hand into the dough and then trace around the impression.
- Have your child place their hand firmly into the salt dough ornament. If the dough will not hold the imprint because it feels too hard, it may need more moisture. Knead until supple and smooth, adding a little water as needed.
- Use a straw to punch a hole close to the top of each ornament for hanging.
- Whenever possible, let the ornaments air-dry naturally for 24 hours.
- Preheat the oven to 250 degrees Fahrenheit, then bake the ornaments for 1-2 hours. If they are still soft or doughy, bake them for an additional hour. The exact time depends on their thickness: thin ornaments finish sooner, whereas thicker pieces need longer.
- If the ornaments swell significantly, roll the dough thinner to reduce puffing. If one still has a slightly doughy center, continue baking it or let it sit out for a few days until it hardens before decorating. Baking time is determined by the thickness of the dough. We like to bake the ornaments at 250 degrees Fahrenheit for a longer period, then air-dry them for several days to limit swelling.
- Once the ornaments are completely cool, paint them using non-toxic acrylic paint.
- Finish with a clear glaze spray or a layer of mod podge. Do this before adding any glitter.
- To create a glitter handprint, brush glue onto the imprint, cover it with glitter, gently shake off the excess, and allow it to dry.
Kids will love taking part in making this simple salt dough recipe. Decorating the finished salt dough ornaments with paint is just as enjoyable.
One important reminder: keep these away from pets because the salt they contain can be toxic to dogs.