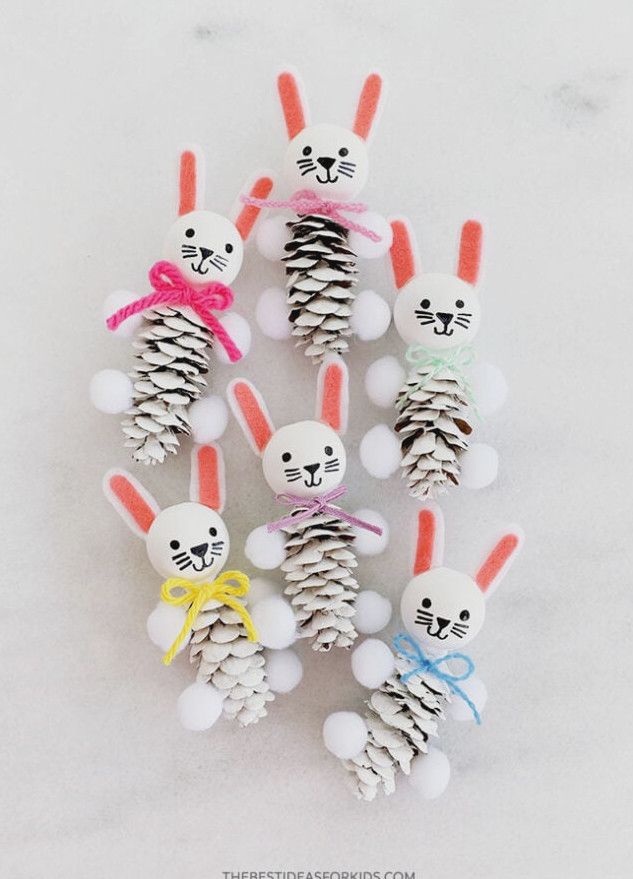
Personalize each bunny with a different colored bow. You only need a tiny piece of material, so this project is perfect for using up fabric or ribbon scraps from your craft collection!
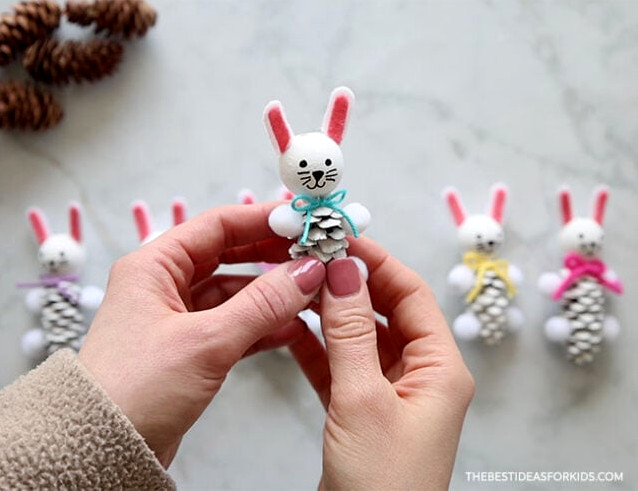
Because this Easter craft comes together quickly, children can make several pine cone bunnies to create a cheerful little collection!
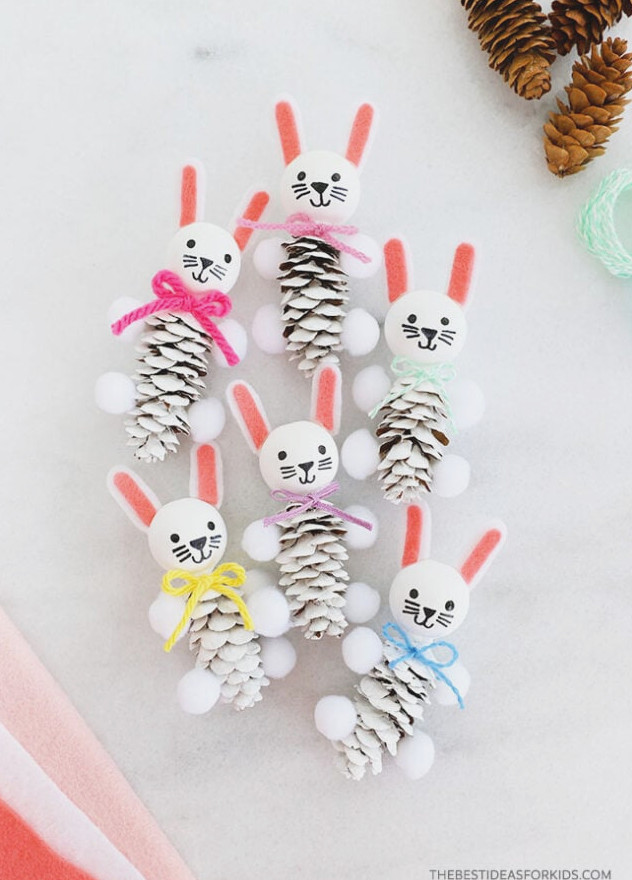
Watch the Video Tutorial
Supplies You’ll Need
- Pine cones – use 1 for each bunny (select small pine cones; for larger ones, see our other pine cone bunny here).
- Felt – white and pink shades
- Fine yarn – or cord in a variety of colors
- White pom poms – 10mm across, with 4 needed per bunny
- Wood bead – 1″ wide, 1 per bunny
- Black permanent marker – choose one with a fine, pointed tip or use a black acrylic paint pen
- Hot glue gun – an adult should assist with its use
- Tacky glue – white glue can also be used
- White paint
- Paintbrush – a medium-sized brush
Helpful Reminder
If you collect pine cones outside, make sure they are completely dry and safe to use for crafts. Adults can place them on a parchment- or foil-lined baking sheet and heat them in a 250-degree Fahrenheit oven for 10-20 minutes. This can shorten the drying process and remove any insects that may be hiding inside. Keep a close eye on the pine cones as they bake, then let them cool completely before crafting.
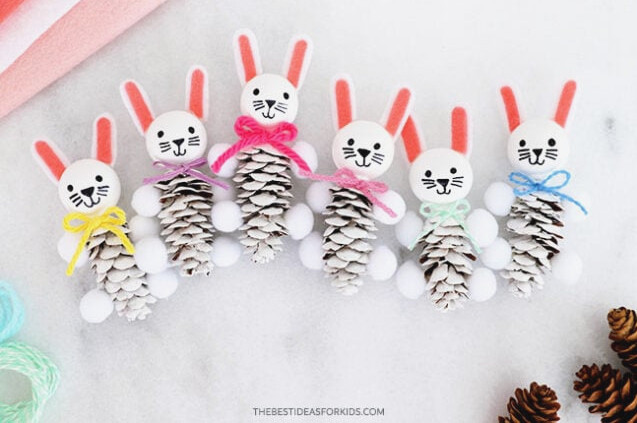
How to Make a Pine Cone Easter Bunny
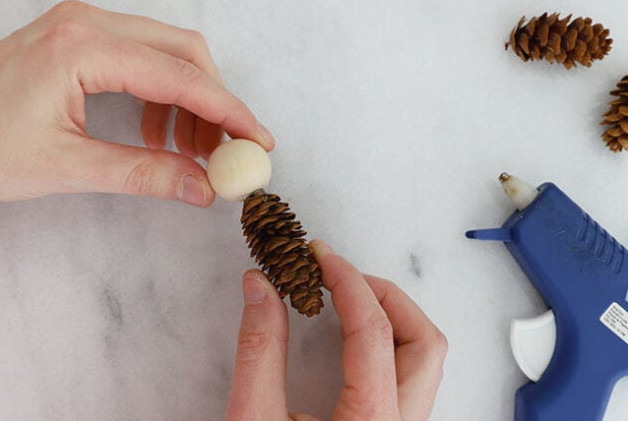
1. Assemble the bunny body.
Ask an adult to help with the hot glue gun. Apply glue to the end of a pine cone, place the wood bead there, and hold it securely until the adhesive begins to set.
You can also paint the pine cone and wood bead separately before gluing them together. Still, attaching the bead first may make it easier to paint the wood bead without holding it separately.
2. Add paint to the bunny.
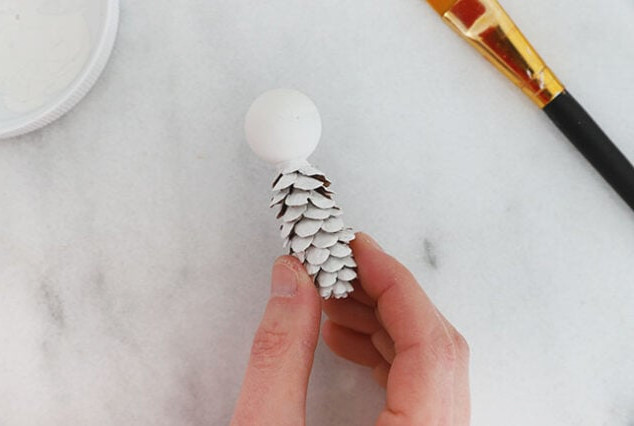
Cover the pine cone and wood bead with white paint, then set the assembled piece aside until the paint has dried completely.
3. Make the felt ears.
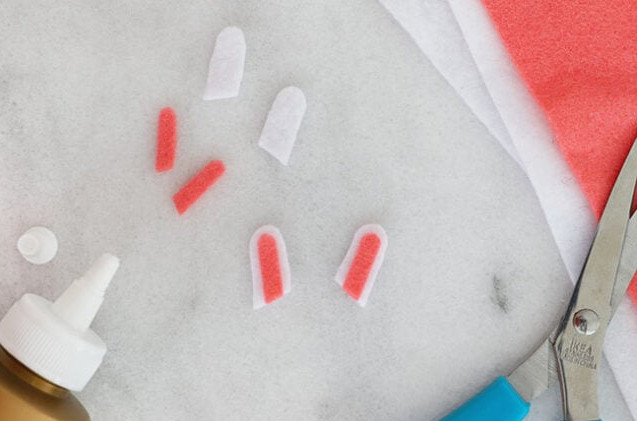
For each ear, cut one outer piece and one inner piece. We used white felt for the outer ears and pink felt for the centers. Glue the inner pieces onto the outer pieces with tacky glue or white glue.
4. Attach the ears and arms.
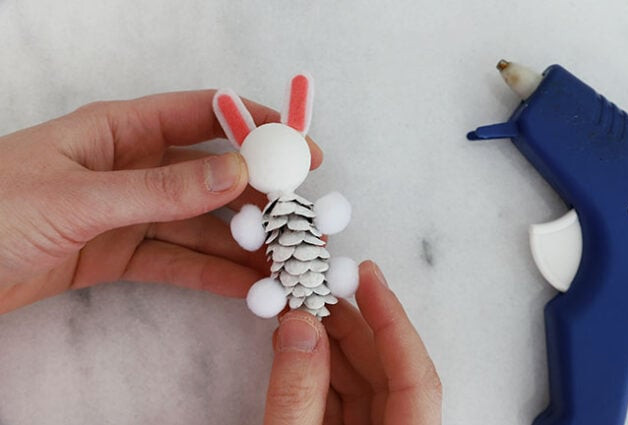
Under adult supervision, use hot glue to fasten the felt ears onto the wood bead head. Then glue 4 pom poms onto the pine cone body.
White glue or tacky glue will work as well, but you will need to keep each piece in place until the glue has dried.
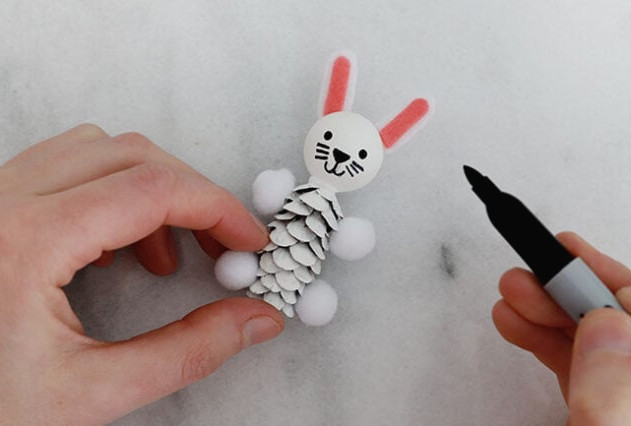
5. Add the facial details.
Use a fresh fine-tip permanent marker or a black acrylic paint pen to draw the bunny’s eyes, nose, mouth, and whiskers.
Tip: lightly sketch the facial features in pencil first so you can adjust their placement. Once the ink or paint is dry, erase any visible pencil lines.
6. Add the bow.
Cut about 4″ of fine yarn, tie it into a petite bow, and shorten the loose ends if needed.
Place a dab of tacky glue on the back of the bow knot. Press it onto the pine cone directly below the bead head, then leave it undisturbed until dry.
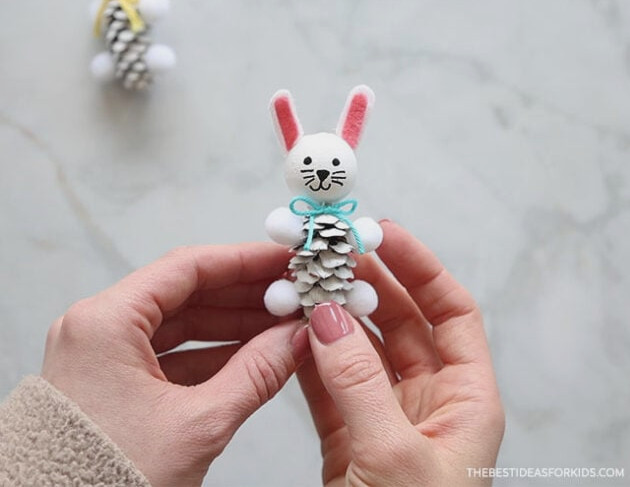
Your adorable pine cone Easter bunny is ready!
Find even more Easter crafts for kids.