Add a cheerful seasonal touch to your windows with these DIY Easter Egg Window Clings! This fun Easter craft lets you make colorful decorations to welcome the arrival of spring.
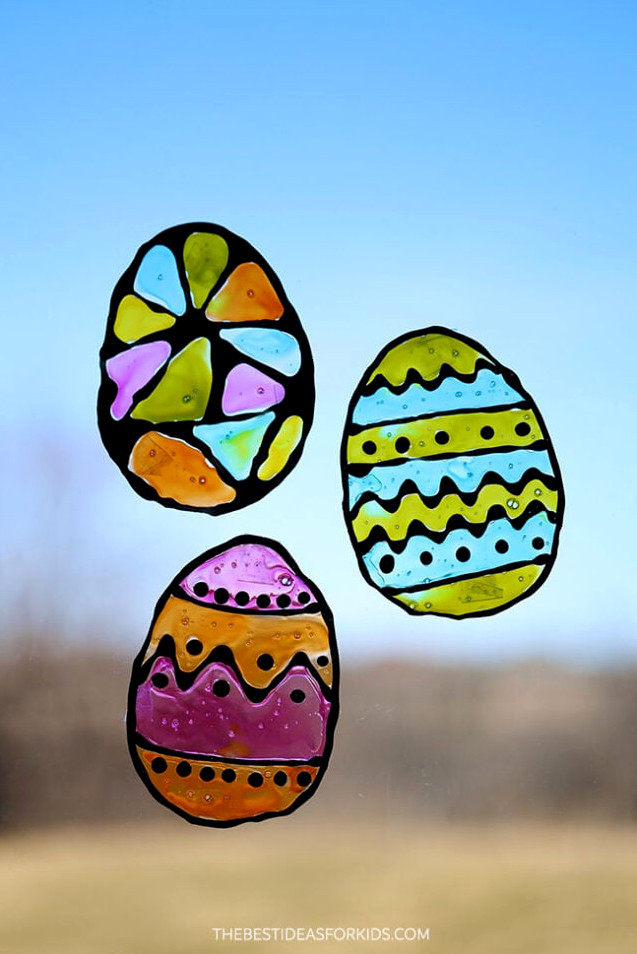
Design a one-of-a-kind decoration with our free printable template! Mix different shades and patterns to create sweet Easter window clings that can be reused year after year.
Supplies You’ll Need
View the Video Tutorial
Making Easter Egg Window Clings
1. Make the black glue.
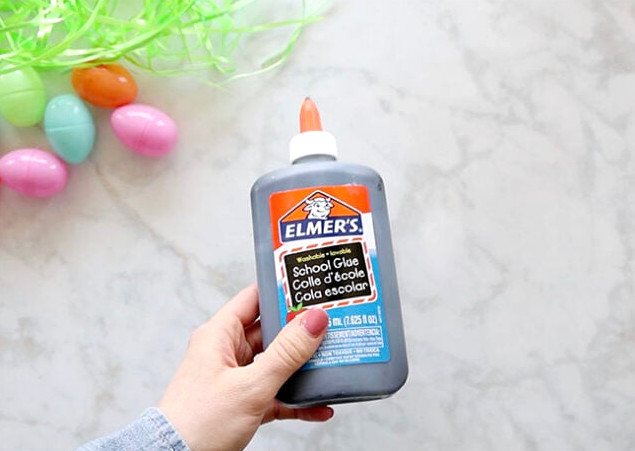
Mix black acrylic paint with white glue to prepare the dark outlining mixture used for the stained-glass-style Easter egg window cling.
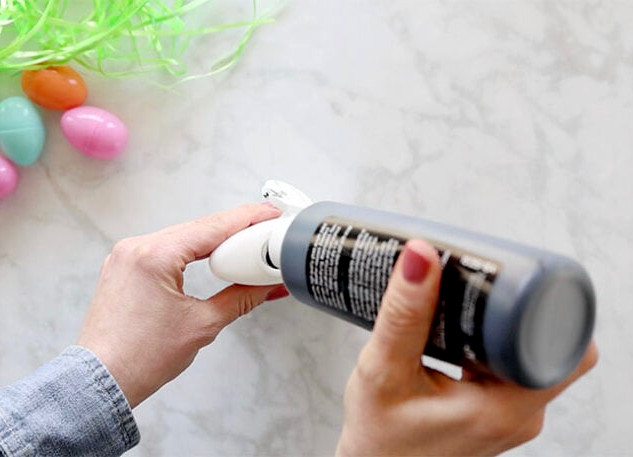
Add approximately two generous squeezes of paint, then shake the bottle of white glue well so the ingredients combine. Look at the color and add a little more black paint if the mixture appears too pale or gray. Do not overdo it, because too much paint can make the glue watery. If it becomes too thin, add more white glue to balance it out.
2. Create the window cling outline.
Print the egg template—we used the plain egg version with two designs on each page—and slide it into a clear sheet protector. A piece of recycled transparent plastic will also work, as the glue must dry on a plastic surface.
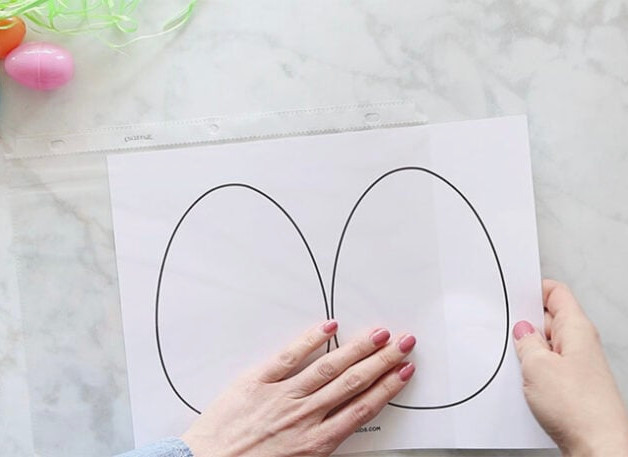
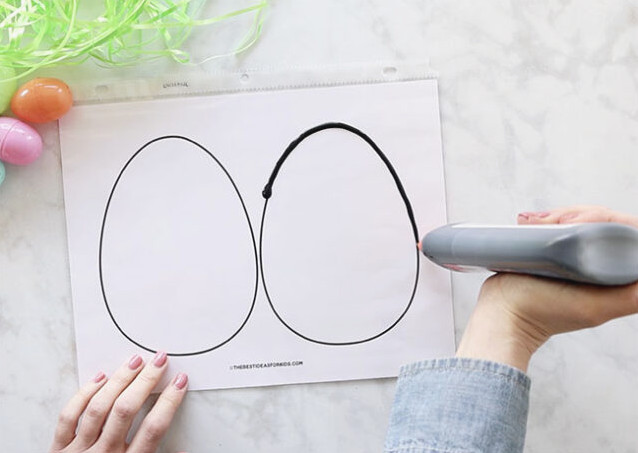
Follow the template and outline the outside of the egg with the black glue.
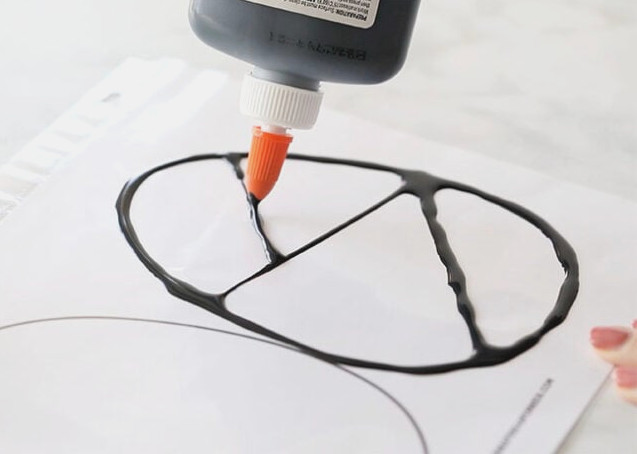
Then add lines across the inside to divide the egg into decorative sections. Try a simple geometric design or invent your own creative pattern! Once the outline is complete, set it aside to dry. It is best to finish the project the next day because the black glue may start lifting slightly from the sheet protector.
3. Add color to the window cling.
Mix concentrated food coloring into clear glue, preparing one bottle for each color you plan to use. Add three small drops of clear dish soap to every bottle so the finished cling will attach more easily to the glass. Shake the bottles until the mixtures are fully combined.
Note: You can use colored glue instead if you prefer not to make your own tinted mixture.
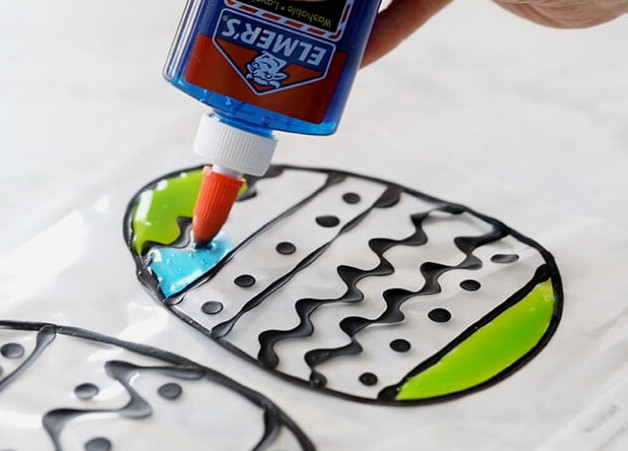
Fill each open area of the egg with the colored clear glue. Apply a thin layer to prevent it from flowing over the black borders. Smooth the glue across each section and leave the design undisturbed until it is fully dry.
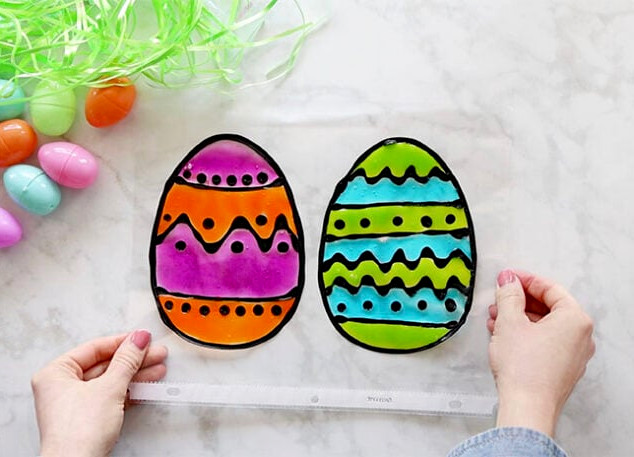
5. Peel it off and show it off!
Once the cling has dried overnight, carefully peel it away from the sheet protector. If it does not feel sticky enough, gently apply a small amount of water to the back.
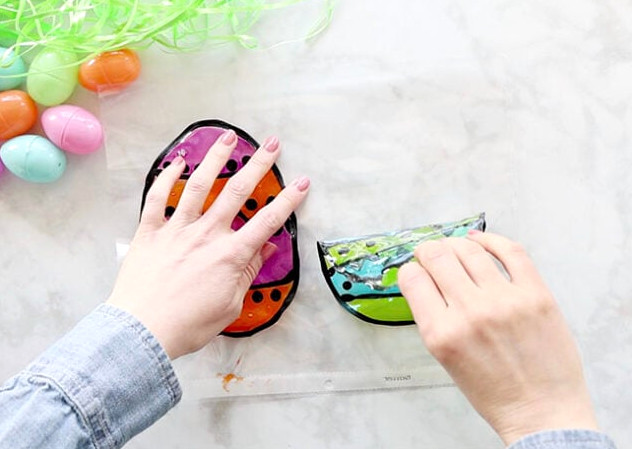
Tip: If the clings do not stay attached to the glass, use a small piece of tape to hold them in place.
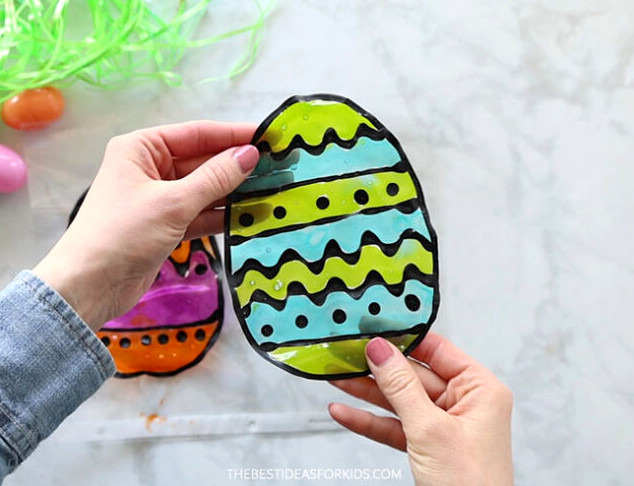
Note: Leaving the clings for several days before displaying them may cause the glue to curl a little. To make them flexible again, brush a small amount of water over the back and press them onto the window. Be aware that some glue could remain on the glass when you take them down. Choose washable glue, then remove leftover residue with warm soapy water.
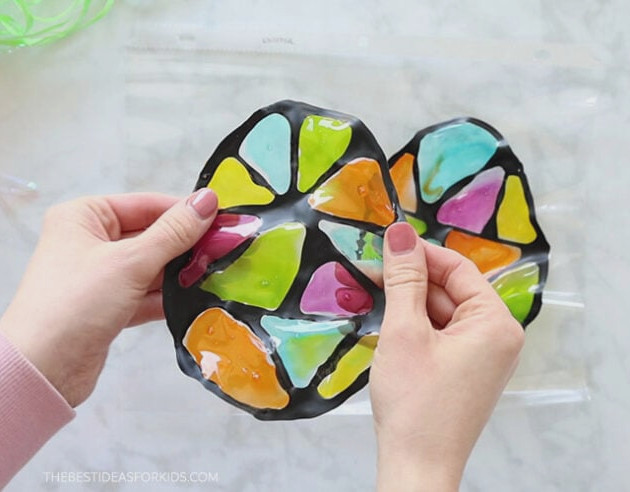
Stick your colorful egg to the window and admire your finished Easter decoration!
Find even more creative seasonal activities in our collection of 25+ Easter Crafts for Kids.